

Page 1
Version 1.0
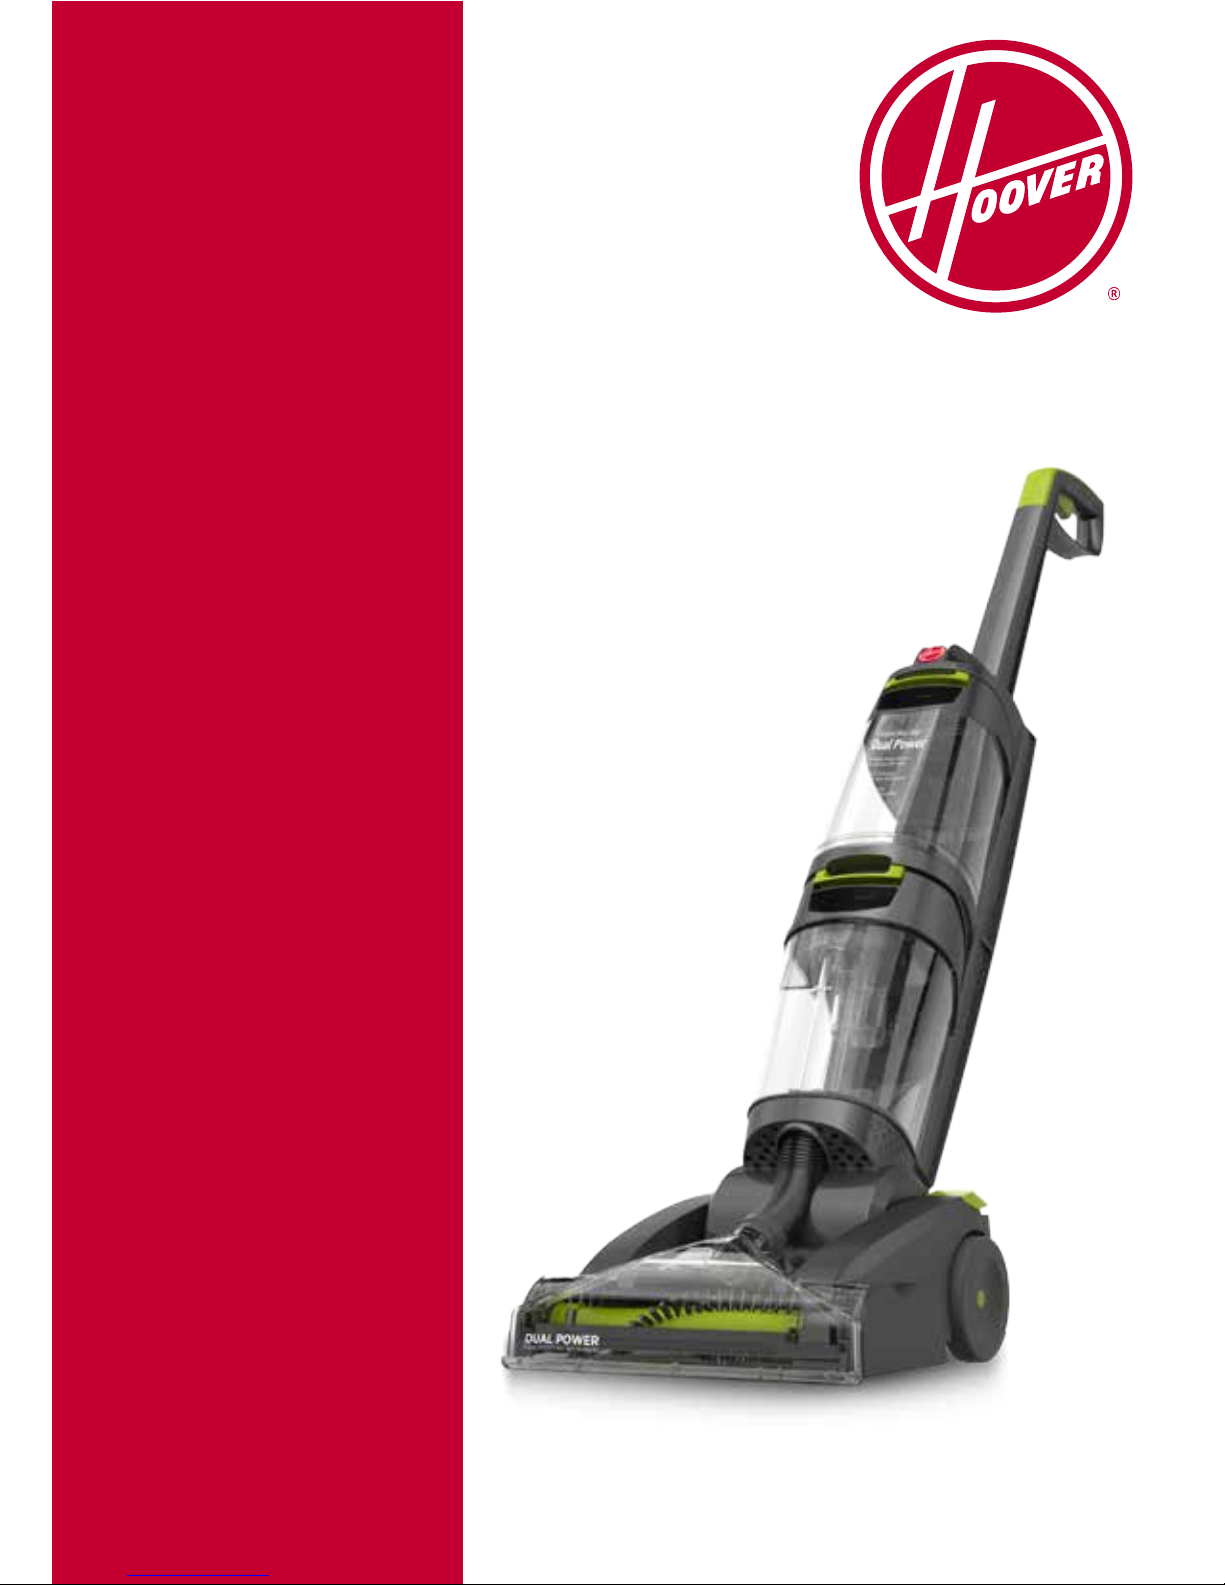
Dual
Power
User Guide
HW86-DP-ZA
Page 2

Contents
Machine Overview
General Safety Information
Operation
Maintenance
FAQs
Other Information
CONTENTS
1
1
9
6
2
10
7
4
3
11
8
5
Page 3

Unit
Accessories
NOTE: Some parts may vary according to model. Please check inside ap of box for more details.
Handle
Carry Handle
Clean Water Tank
Release Button
Clean Water Tank
Dirt Water Tank Handle
Dirty Water Tank
Dual Rotating Brushbars
Solution Trigger(hidden)
Cord Storage Hooks
Power Cable
On/o Pedal
Handle Release Pedal
Wheels
Solution
MACHINE OVERVIEW
2
1
1
7
4
4
10
10
14
14
2
2
8
8
7
5
5
11
11
3
3
9
9
13
13
6
6
12
12
Page 4

GENERAL SAFETY INFORMATION
FOR HOUSEHOLD USE ONLY.
When using the carpet washer, basic safety precautions should always be observed, including the following:
1. This carpet washer is intended for household use only and NOT for commercial or industrial use.
2. Only use the carpet washer indoors and keep the area you’re cleaning well lit.
3. Keep ngers, hair and loose clothing from moving parts and openings whilst using the carpet washer.
4. This carpet washer is NOT to be used by children under eight years or persons with reduced physical, sensory or
mental capabilities, unless they have been given instructions on how to use the machine or are supervised during use.
5. Any cleaning or maintenance of your carpet washer should not be made by children without supervision and ensure
they don’t play with the carpet washer.
6. Before using your carpet washer test your carpets/rugs/upholstery for colourfastness and pile distortion.
7. Only Hoover recommend tools and solution should be used with this carpet washer. Using other solutions may
invalidate the guarantee.
8. Don’t leave the carpet washer plugged in when unattended.
9. Don’t use this carpet washer if it has been dropped, damaged or le outdoors.
10. Don’t run over the power cord or use carpet washer if the power cord or plug is damaged.
11. Don’t use your carpet washer to pick up any ammable or combustible materials (lighter uid, petrol, kerosene etc.)
or use the carpet washer in an area with explosive vapours or liquid.
12. Don’t handle the plug or use the carpet washer with wet hands.
13. Don’t carry the carpet washer while it’s switched on.
14. Don’t pull or carry this carpet washer by the power cord.
15. Don’t use the power cord as a handle, pull the power cord around corners, sharp edges or close a door over the
Power cord. Don’t unplug carpet washer by pulling on the power cord.
16. Don’t use your carpet washer to pick up hot coals, cigarette butts, matches or smoking hot burning items or use in an
area where there may be harmful uids (chlorine, bleach, and ammonia drain cleaner).
17. Don’t attempt to remove blockages with sharp objects as this may cause damage to your carpet washer.
18. Don’t over saturate your carpet.
19. Don’t use the carpet washer with incorrect voltage as this may result in damage or injury to the user. The correct
voltage is listed on the ratings label.
20. Check with the manufacturer of your ooring prior to using the carpet washer
21. The clean water tank should only be lled with warm water (max 40’C). Filling the clean water tank with hot or
boiling water may damage your machine and invalidate your guarantee.
22. Store your carpet washer in a cool, dry area. Before storing your carpet washer please ensure all water/solutions
tanks and lters are thoroughly clean and dry.
23. Always vacuum your carpets thoroughly before using your carpet washer.
24. Always unplug the carpet washer before carrying out any maintenance and before connecting or disconnecting the
hose/accessories.
25. Turn o all controls on the carpet washer before disconnecting or connecting the power cord, aer use always wrap
the power cord around the cord clips provided.
26. Always replace the fuse in the plug with a 13amp fuse. Always protect the power cable from heated surfaces or near
open ames.
27. Always keep the power cord away from the brushes whilst using your carpet washer.
28. Use only CE approved 13amp extension cords, non-approved extension cords may overheat. Care should be taken to
arrange the extension cord as it can be a trip hazard.
29. Take extra care when cleaning on the stairs.
30. Always use the carpet washer with all water/solution tanks and lters in place.
31. Keep all openings clear and free from debris as this may aect the airow/suction.
32. Always use the carpet washer in an upright position.To prevent motor damage from dirty water, never hold
the carpet washer upside down or lay on its side.
PLEASE KEEP INSTRUCTIONS FOR FURTHER USE.
3
Page 5

Assembling your Vacuum Cleaner
OPERATION
Please read General Safety Information at the beginning before use.
4
Stand base in upright
position and lower
top section to connect
onto base
Slide handle down
onto unit.
Assemble the two lower handle screws and tighten
with a cross/at head screwdriver.
Assemble the upper handle screw and tighten
with a cross/at head screwdriver
Page 6

Before you begin cleaning
• IMPORTANT: Carpets should be dry vacuumed thoroughly before washing
• Test for colourfastness- Wet a white absorbent cloth with the solution. In a small hidden area of your carpet/rugs/
upholstery gently rub with the dampened cloth. Wait ten minutes and check for colour removal or bleed with white
paper towel or cloth. If your carpet has more than one colour, check all colours
• Test your carpet/rugs/upholstery – Run the carpet washer over a small hidden area. If no pile distortion occurs
continue cleaning
• Don’t over saturate your carpets.
• When using the carpet washer, basic safety precautions should always be observed
• IMPORTANT: Only use Hoover carpet solution. Using other solutions may cause excess foaming and may invalidate
your warranty
• IMPORTANT: The clean water tank should only be lled with warm water (max 40°C). Filling the clean water tank with
hot/boiling water may damage your machine and invalidate your warranty.
• CAUTION: This is a powerful carpet washer, before plugging in make sure all controls are turned o also hold carpet
washer rmly when staring and during use.
TIP: When cleaning an entire room, move furniture out
of the area to be cleaned. If the furniture is too heavy
to move, place aluminium foil or wax paper under
legs. This will prevent wood nishes from staining your
carpet. Pin up furniture skirts and curtains.
Your dirty water tank is tted with a oat. When the dirty water tank is full or the oor head is not in contact with the
carpet the oat will shut o the suction at the oor nozzle. You will be able to hear if this has happened as the motor
noise on the unit will increase. Once the oat is activated, empty the dirty water tank if full. If the dirty water tank is not
full then turn o your machine at the power switch and wait for the oat to settle.
Remove clean water tank Unscrew the clean water
tank cap from the top of the
clean water tank.
Pour required dose of
carpet cleaning solution
(approx.40ml per 1.0L of
water) and pour into tank.
Operating your carpet washer
OPERATION
5
Page 7

TIP: Carpets should be dry vacuumed thoroughly
before washing.
Turn the machine on. Recline the machine. Press trigger to
release solution.
For best results apply
solution on the forward
stroke and release the
trigger to recover solution
on the backward stroke.
40C
Max
Fill clean water tank with
solution mix.
Tighten cap before
returning tank to unit.
Unwrap power cord and
plug unit in.
Mix solution with
warm water.
(40°C Max)
Operating your carpet washer
OPERATION
6
Page 8

Remove dirty water tank To empty the tank, unplug
the quick spout pour cap and
empty.
Insert dirty water tank
back into the cleaner
IMPORTANT: All solution must be emptied from tanks when storing the machine
NOTE: Rinse out tank with clean water and leave to air dry before storing your machine
Turn the machine on. Recline the machine. For best results use
straight parallel strokes.
For large spills use the carpet washer
Emptying the dirty water tank
MAINTENANCE
7
WARNING: Always switch o and unplug the carpet washer from the electrical outlet before
assembling, lling and emptying the clean water tank, emptying the dirty water tank, or
before connecting / disconnecting the attachments.
Page 9

Remove dirty water tank
Open quick spout pour cap and partially ll dirty water tank with
clean water and swirl around to loosen debris
To clean dirty water tank ducting, place dirty water tank
under a tap and dispense high pressure clean water into the
inlet port of the dirty water tank to loosen debris that has
accumulated
Allow tank to dry
completely, replace quick
spout pour cap and insert
dirty water tank back onto
unit
TIP: During normal use of cleaning, debris may accumulate inside the dirty water tank. In order to keep your unit
functioning properly and to prevent any odours building up, it is best to rinse out your dirty water tank with fresh
water aer each use.
Cleaning the dirty water tank
Storage
IMPORTANT: Be sure to remove any debris that has accumulated in the screen above the oat. If the screen becomes
clogged, this may reduce the performance of your cleaner.
IMPORTANT: For full suction it is important that the quick pour cap is securely in place. If misplaced, suction will be
severely aected.
MAINTENANCE
8
Empty and rinse out clean and dirty water tanks and leave to air dry before replacing.
Do not leave solution stored in the tanks between uses.
Page 10

Threads caught in the
brushbar can be cut.
Use a crosshead
screwdriver to remove
the seven screws.
Remove belt cover from unit.
NOTE: Wheel is intended to
be removed with belt cover.
Pull both brushbars
towards user to remove
from unit.
Remove and dispose of
old belt.
To replace belt, slip
the brushbars through
the belt. NOTE: Place
belt on rounded areas
of brushbars without
bristles.
With the belt in place, pull
and slide the brushbars into
the unit, making sure the
brushbar end caps are in
the correct position.
Place new belt on motor sha. Replace belt cover
and secure by replacing all screws.
Removing blockages from the brushbar
Replacing the belt for brushbars
WARNING: To reduce the risk of electric shock, turn the machine o and unplug from electrical
socket before performing maintenance/troubleshooting checks.
WARNING: Do not open the motor cover
MAINTENANCE
9
Page 11

FAQs
Warning: Always switch o and unplug the carpet washer from the electrical outlet before assembling, lling and emptying
the clean water tank, emptying the dirt water tank, or before connecting/disconnecting the attachments.
Important: Carpets should be dry vacuumed thoroughly before washing.
Caution: The carpet washer is a very powerful unit. Before plugging the cord into the electrical outlet, make sure all
controls on the unit are turned o. Hold the carpet washer rmly when starting and in use.
Important: The motor is equipped with a thermal cut-out. If for any reason the unit should overheat, the thermostat will
automatically turn the unit o. Should this occur, unplug the carpet washer from the electrical outlet and turn o the
switch. Check the hose for blockages.
Clean the lters. Allow the unit to cool for approximately one hour. To re-start the machine, plug it into an electrical outlet
and switch it back on.
Why won’t my carpet washer turn on?
• The plug may not be fully pushed into the electrical socket.
• Check the fuse in the plug if this needs replacing, always replace with a 13amp fuse
Why won’t the solution/clean water dispense?
• Make sure the clean water tank is tted securely
• The clean water tank valve may be stuck, hold the clean water tank over the sink and press the valve underneath to
release
Why won’t my carpet washer pick up?
• The oat in the dirty water tank may have been activated. Empty the dirty water tank wait for the oat to settle before
re-starting your carpet washer
• Check the dual spin power brushes for blockages and clear
• The dirty water tank may not be tted correctly, also make sure the lid is pushed down securely
• Check the nozzle for blockages and clear
Why won’t the brushes spin?
• Check the power brushes for blockages and clear
• Check the belt Go to ‘Replacing the belt or brushbars’
10
Page 12

Please ax proof of purchase/receipt here
In the event of a claim under warranty this receipt must be produced.
WARRANTY
1. Home of Living Brands (Pty) Limited warrants to the original purchaser of this product (“the customer”) that this
product will be free of defects in quality and workmanship which under normal personal, family or household use
and purpose may manifest within a period of 1 (one) year from the date of purchase )”warranty period”).
2. Where the customer has purchased a product and it breaks, is defective or does not work properly for the
intended purpose, the customer must notify the supplier from whom the customer bought the product (“the
supplier”) thereof within the warranty period. Any claim in terms of this warranty must be supported by a proof
of purchase. If proof of purchase is not available, then repair, and/or service charges may be payable by the
customer to the supplier.
3. The faulty product must be taken to the supplier’s service centre to exercise the warranty.
4. The supplier will refund, repair, or exchange the product in terms of this warranty subject to legislative
requirements. This warranty shall be valid only where the customer has not broken the product himself, or used
the product for something that it is not supposeed to be used for. The warranty does not include and will not
be construed to cover products damaged as a result of disaster, misuse, tamper, abuse or any unauthorised
modication or repair of the product.
5. This warrant will extend only to the product provided at the date of the purchase and not to any expendables
attached or installed by the customer.
6. If the customer requests that the supplier repairs the product and the product breaks or fails to work properly
within 3 (three) months of the repair and not as a result of misuse, tampering or modication by or on behalf of
the customer, then the supplier may replace the product or pay a refund to the customer.
7. The customer may be responsible for certain costs where the products returned are not in the original
packaging, or if the packaging is damaged. This will be deducted from any refund paid to the customer.
HOME OF LIVING BRANDS (PTY) LTD (JOHANNESBURG)
JOHANNESBURG
CAPE TOWN
DURBAN
TEL NO. (001) 490-9600
TEL NO. (021) 552-5161
TEL NO. (031) 792-6000
www.hoover.za
WARRANTY
11
Page 13

Service & Help
If you have queries or concerns about using your Hoover, please visit www.hoover.za
Technical Specication
Voltage: 220-240V ~50Hz
Wattage: 1000W
Cord length: 10m (approx)
Weight: 10.5 kg (approx)
Subject to technical change without notice.
Consumables
Hoover Ultra + Solution 1.5L 1-9-134076-00
Hoover AAA Solution 1.5L 1-9-131840-00
Hoover Ultra Solution 1.42L 1-9-131841-00
EEC Statement of Compliance
Manufacturer/EEC importer: Hoover, hereby on our own responsibility, declare that the
HW86-DP-ZA series is manufactured in compliance with the following Directives:
Safety: 2006/95/EC Low Voltage Directive
EMC: 2004/108/EC Electromagnetic Compatibility Directive
Waste electrical products should not be disposed of with household waste. Please recycle
where facilities exist. Check with your Local Authority or retailer for recycling advice.
OTHER INFORMATION
12
 Loading...