

Hooker Furniture 96385122 Assembly Guide

ASSEMBLY INSTRUCTION
1. Place the top
(C)
upside down on a soft surface.
Item#: 963-85-122 72in Hall Console
** Please ensure you have all the parts indicated below prior to assembly.
This unit is heavy and can best be assembled with the help of two or more person.
F
E
D
C
E
D
D
C
Diagram 2
Diagram 1
Assembly steps:
2. Attach the post (D) to the top (C), secure by turning in a clockwise direction (See diagram 1)
3. Install other posts in the same way as step 2.
4. Put the shelf (E) on the posts.
5. Attach the foot (F) to the post (D) through the shelf (E). Secure by turning in a clockwise direction.
(See diagram 2)
6. Attach the other feet in the same way as step 5.
7. Turn the Console upright.
NO
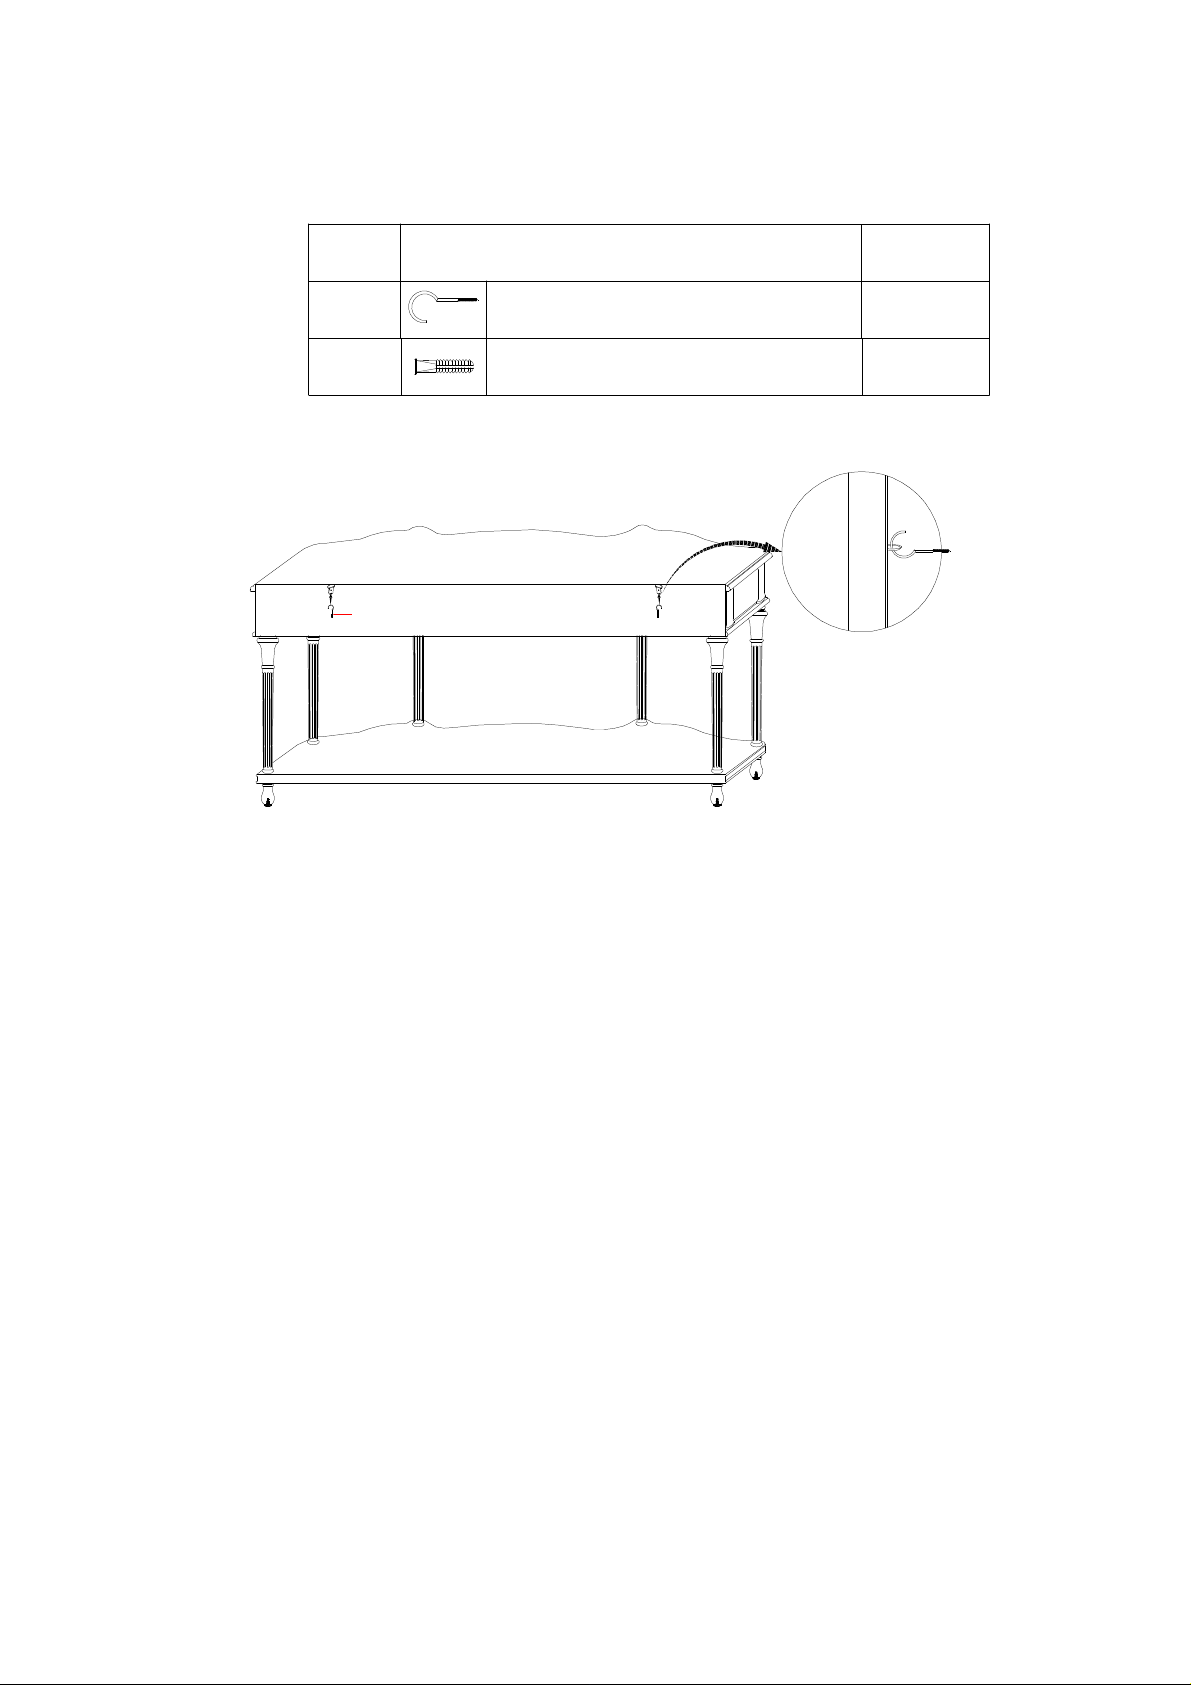
Hardware List
Q'ty
Assembly Steps:
A
B
A
Hook
Plastic Anchors
2
2
1. Drill two holes into the wall using 1/4”drill bit at the desired place you want to set the Console
and insert the Plastic Anchors (B).
2. Screw the Hook (A) into the Plastic Anchor (B). Check and make sure the Plastic Anchor (B) is
securely held in the wall.
3. Hang the metal rings onto the Hook (A) and set the Console in place.
Above hardware is packed in the plastic bag with the instruction sheet.
Cleaning Instruction: Clean finished parts with a mild dishwashing liquid and water solution on a damp
cloth. Polish the finish with soft cloth and an industry recognized furniture polish
 Loading...