

Hooker Furniture 63885044 Assembly Guide
1
/2
ASSEMBLY INSTRUCTIONS
Diagram 1
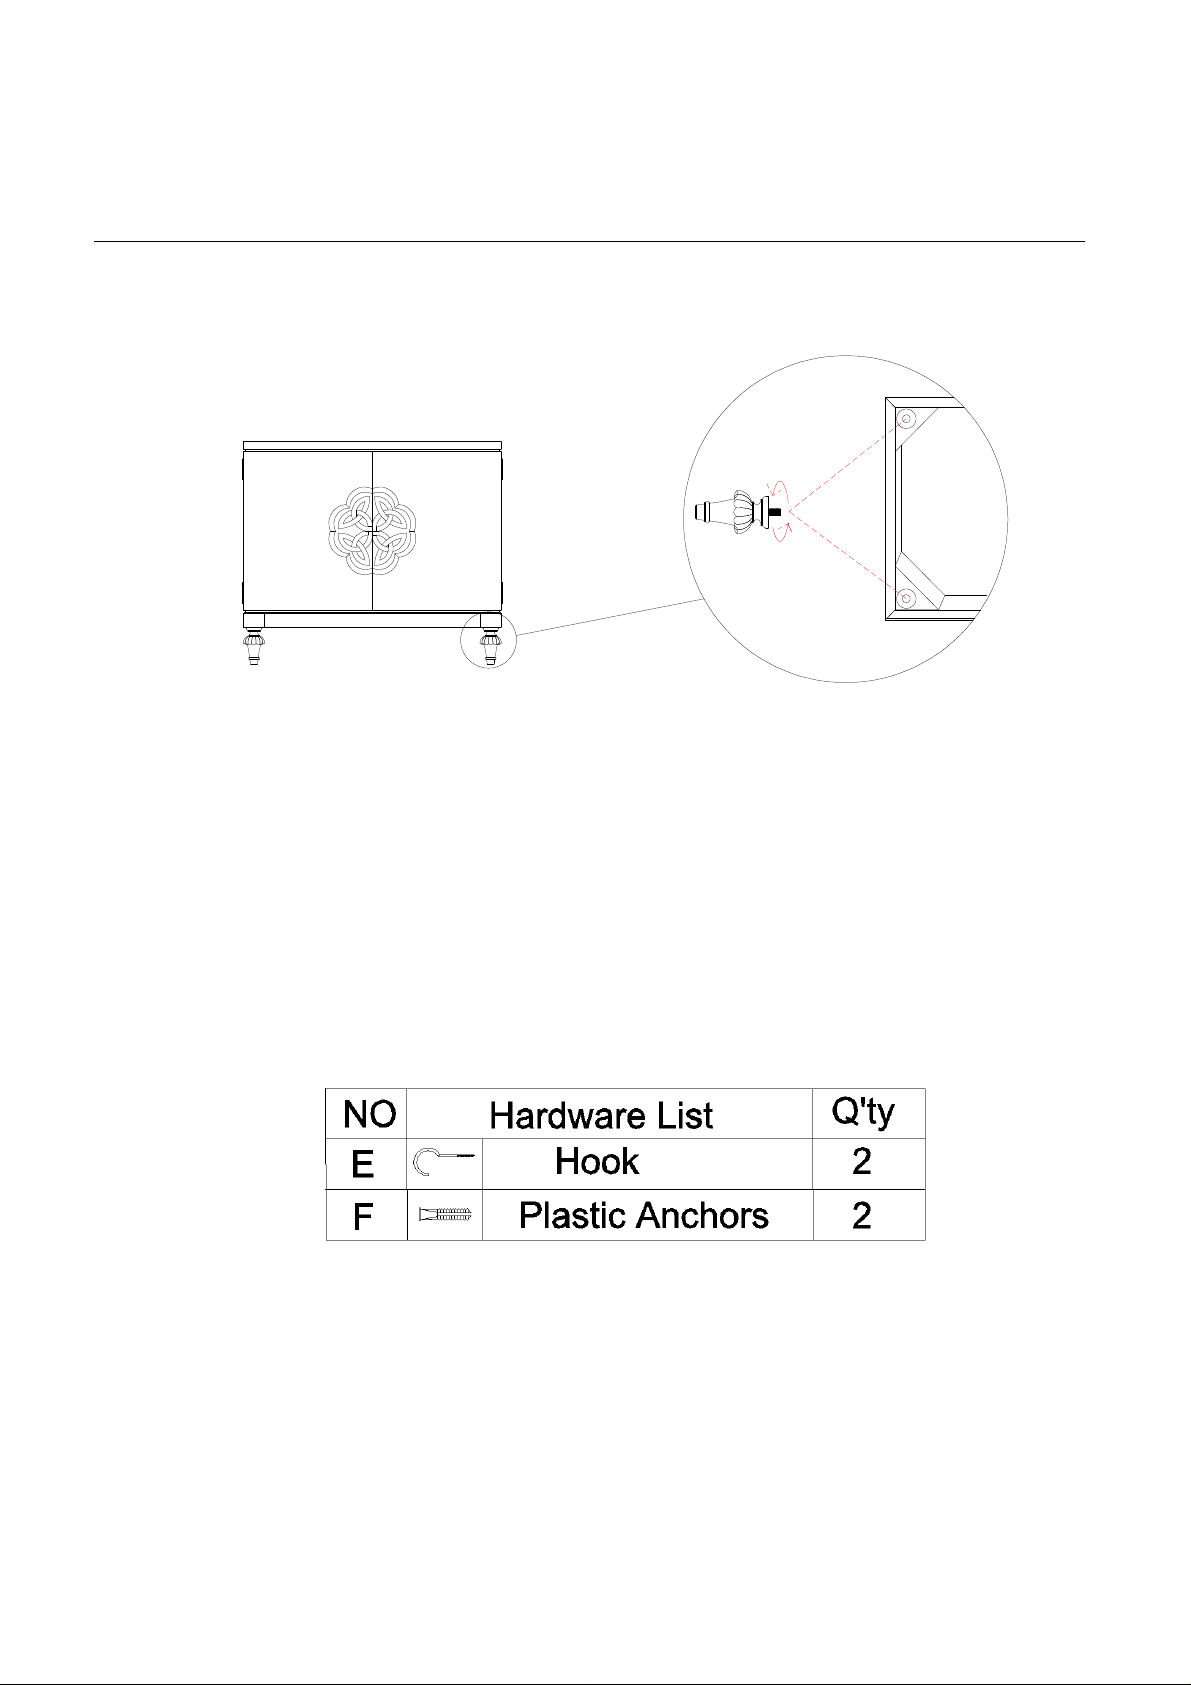
Item#: 638-85044 Savion Chest
** Please make sure you have all parts indicated below prior to assembly.
This unit is heavy and can best be assembled with the help of two or more persons.
A
Assembly Steps:
1. Place chest upside down on a soft surface to prevent from scratching.
2. Tighten bun feet (A) to bottom rail in a clockwise direction (See diagram 1).
3. Turn the chest upright.
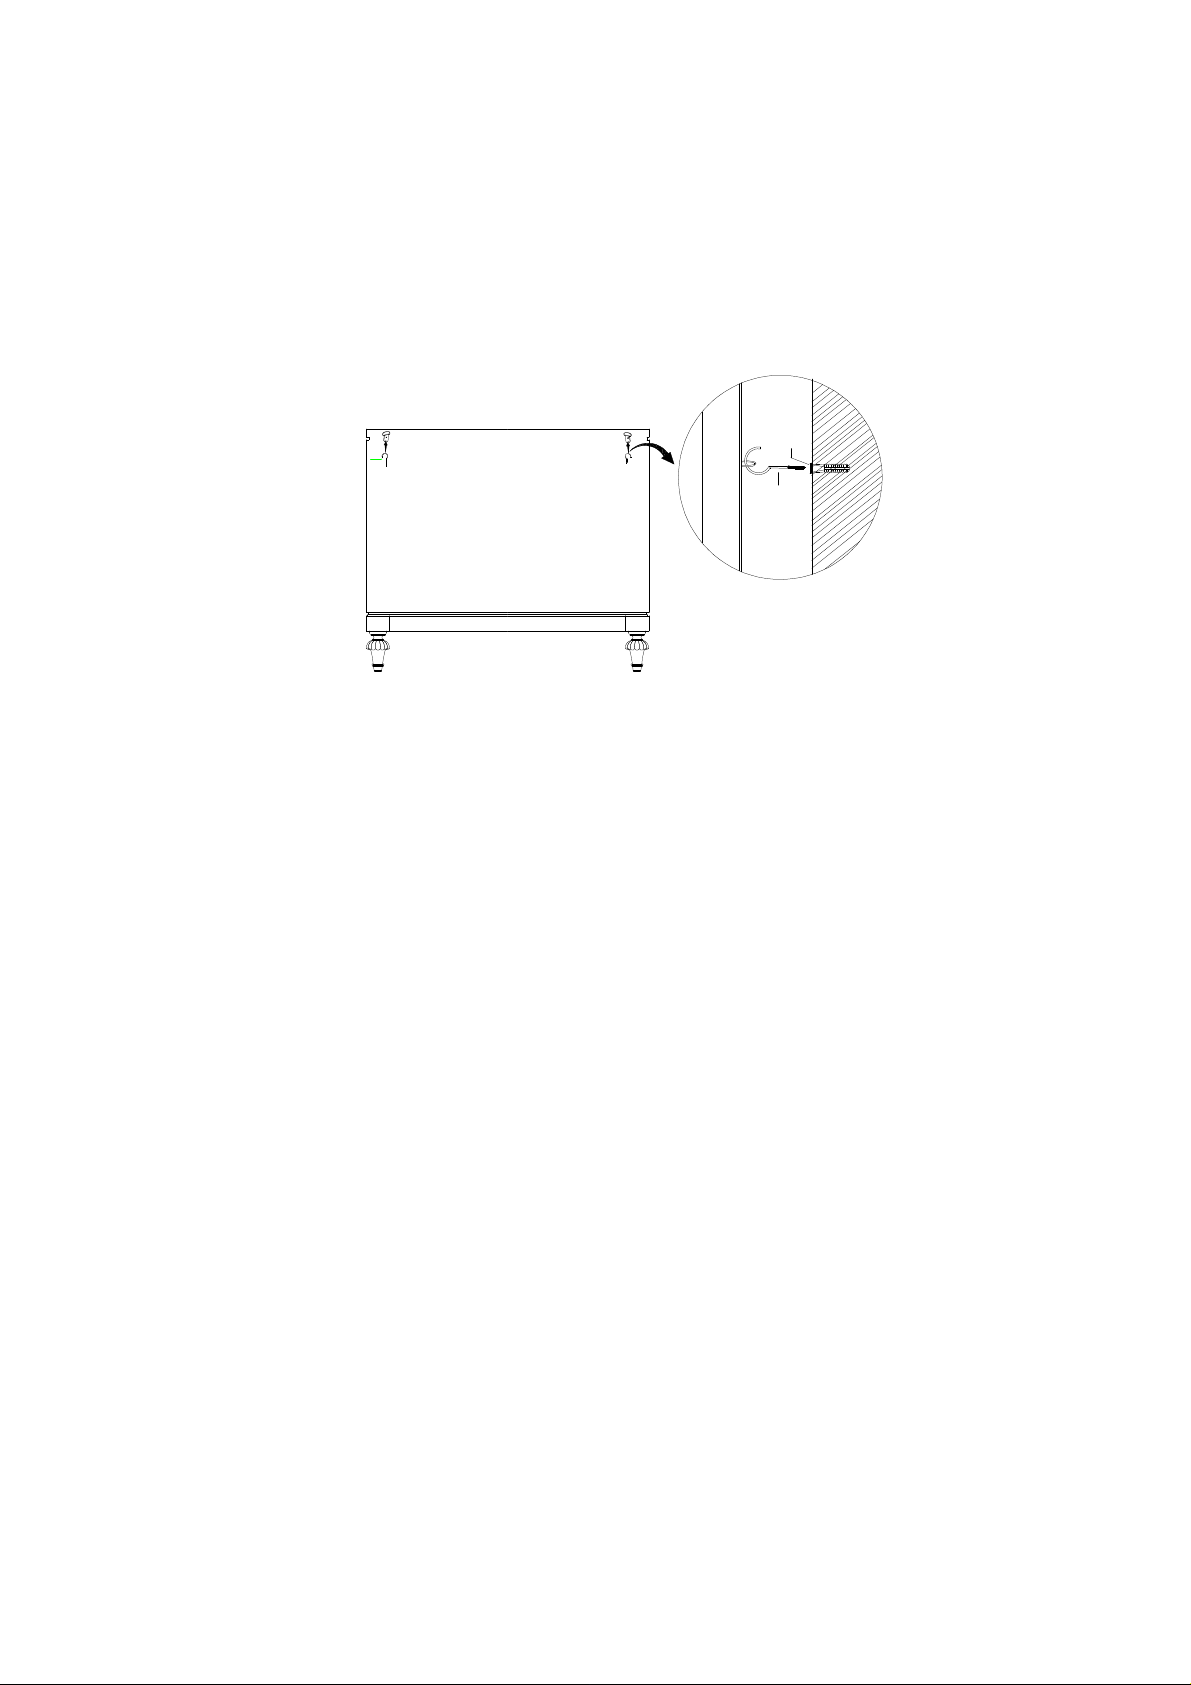
Assembly Steps for anti-tipping mechanism:
1. Once you have your chest level and in its desired location, use a pencil to mark the
location on the wall where the two metal rings on the back of the chest would be located.
2. Remove the chest from the desired location and then using a ¼” drill bit, drill two holes into
the wall where you previously marked. Once the two holes are drilled, insert the plastic
anchors (F).
2
/2
3. Once plastic anchors (F) are in place, screw the hooks (E) into the plastic anchors (F)
securely.
4. Once steps 1, 2 & 3 are complete you are ready to set the chest back into the desired
location and hang the metal rings on the back of the chest onto the hooks (E). (See
diagram below)
F
E
E
Cleaning Instruction:Clean finished parts with a damp cloth using a mild dishwashing liquid and water
solution. Polish the finish with soft cloth and an industry recognized furniture polish.
 Loading...