

Honcam technology HC S0362L, HC S0362R User Manual
中性
HC-S0362无线蓝牙耳机英文说明书
128G铜板纸 折页 两面印刷
折后尺寸:80X80mm
HC-S0362
Operation Book
TWS EARPHONES USER MANUAL
Please read this manual carefully before use.
Box contents
•TWS earphones
•USB charge cable
•S/M/L ear buds
•Carry pouch
•User manual
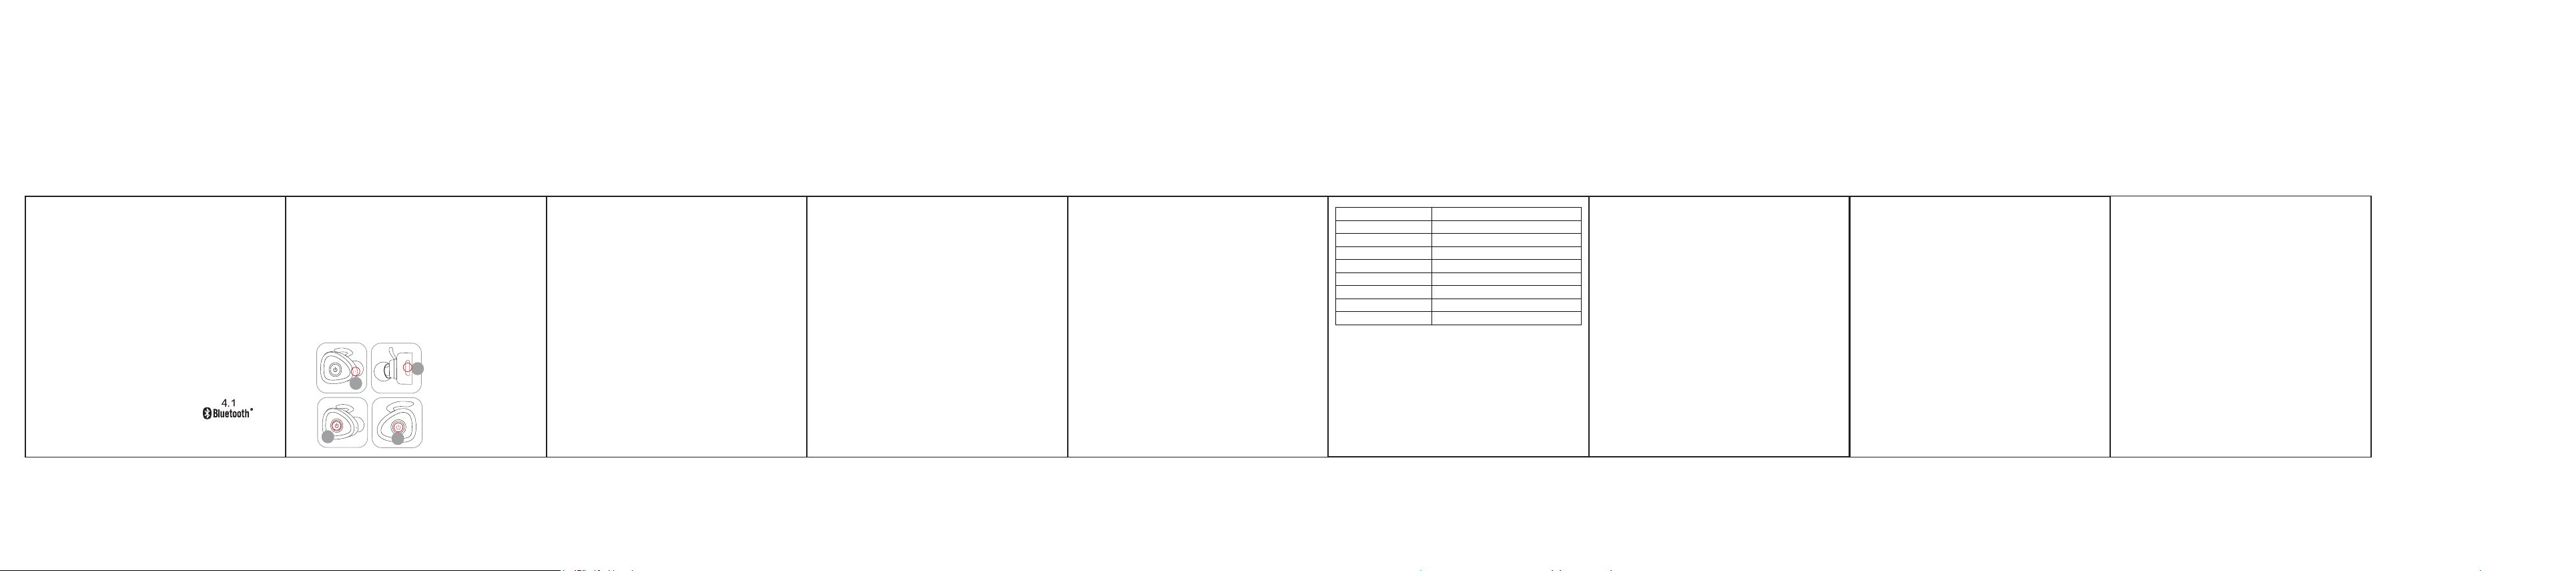
Function
THE ARTWORK NEEDS CHANGING SO YOU
CAN SEE THE COMPONENT OR BUTTON CORRECTLY
2
1
3
4
1.Microphone
2.Micro USB charging port
3.LED indicator
4.Multi-Function Button (MFB)
Instructions for use
Charging the battery
1. Connect the micro USB end of the charging cable to the Micro USB
charging port (2) and the standard USB end to a PC USB port or USB
mains charger
2. The LED indicator (3) will be red whilst charging. It will turn blue after
around 1 hour. The battery is now fully charged
3. If the LED indicator (3) flashes three times every 20 seconds, it means
the battery is running low. Once this happens, you have about 5-10
minutes of use before the earphones power off automatically
Pairing the left and right channels:
1.Start by hold the MFB (4) on both ear units at the same time for up to
10 seconds; you will have an audible cue saying ‘Power On’ and
both ear units will be flashing red and blue. Release the MFB (4) when
this happens.
2.Once connected you will hear a single beep on the left channel and
a single beep on the right channel. Another cue will be heard stating
‘Connected’ and then ‘Left Channel’ and ‘Right Channel’ confirmation
checks will be performed.
Pairing a Bluetooth device:
1.Once the ear units have paired, you will hear a single beep in the left
channel and an audible cue stating the ear unit is ‘pairing’.
2.Only the left unit will be flashing red and blue during this time.
3.Activate the Bluetooth feature on your device, and search for Bluetooth
devices (check your device’s manual if you’re unsure how to do this)
4.Select ‘HC-S0362’ from list of found devices
5.If asked for a passcode, enter ‘0000’ or ‘1234’ and the earphones will
then be connected to your device
6.After pairing successfully, the LED indicator (3) will flash blue and you
will hear a double beep and ‘pairing successful’; you can then answer the
phone or listen to your music
7.The next time the earphones are switched on, they will automatically
search for and attempt to connect to the last paired device
Re-pairing or pairing new devices
1. Make sure the Bluetooth is turned off on any previously paired devices
2. Follow the ‘Pairing a Bluetooth device’ instructions from step 1
Call-handling
Answer a call When a call comes through, the earphones will
play a voice prompt.Press the MFB (4) to answer
End call During a call, press the MFB (4) to end call
Re-dial Whilst not in a call, press the MFB (4) twice in quick
succession to redial the last phone number you
called on your device
Playing music Press (don’t hold) the MFB (4) to switch between
play and pause
Care for your Comet
Please DON’T:
•Get the Comet wet
•Drop the Comet as this will invalidate your warranty
•Open up the Comet. There are no user serviceable parts inside
•Expose the Comet to extreme temperatures or rapid changes of
hot to cold or vice versa
Please DO:
•Clean the Comet with a soft dry cloth and no detergents
Battery information
•Your device is powered by a rechargeable battery. Unplug the
charger from the electrical plug and the device when not in use
•If left unused, a fully charged battery will lose its charge over time.
We recommend a full charge twice a month to ensure battery integrity
•Please do not leave the device in hot or cold places, such as in a
closed car in summer or winter conditions as it will reduce the
capacity and lifetime of the battery
•Do not dispose of batteries in a fire as they may explode. Batteries
may also explode if damaged
Specifications
–
-
Troubleshooting
•
If you cannot connect the earphones to your device, please try
the following:
– Ensure that the earphones are charged, switched on, paired with
and connected to your device
– Check the earphones are within 10 metres (30 feet) of your
device and that there are no obstrucons (such as walls or other
electronic devices) between the earphones and the device
– Only one device may be paired to these earphones at a me, so
please ensure there are no conflicng Bluetooth devices trying to
connect to the earphones
•
If the earphones will not switch off, they can be reset back to
normal by pung them on charge
•
If you receive an intermient signal, please ensure the earphones
are fully charged before connuing use
•
If you do not use the earphones for longer than 3 minutes whilst
not connected to a device, they will automacally power off
to conserve power
We hope you've now got all the informaon you need to get started,
but if you're having problems with anything, please feel free to
contact us at: info@honcam.com
Please do not aempt to open this product. There are no user
serviceable parts inside, in parcular if your product has an
embedded, non-replaceable baery, do not aempt to access
or remove the baery as this may cause personal injury and will
damage the product.
Making any aempt to open the product or carry out repair voids
any and all warranes
We apologise for any inconvenience caused by minor
inconsistencies in these instrucons, which may occur as a result
of product improvement and development.
<ICON> Do not dispose of Lithium Polymer baeries with general
waste. Please return it to baery recycling collecon point
<ICON> Hearing icon
Warning: To prevent possible hearing damage, do not listen at
high volume levels for long periods. For your own safety, please
be aware of your surroundings when using these earphones.
Your product and baeries must be recycled or disposed of
properly. Please contact your local recycling centre for more
informaon on proper disposal.
changes or modifications not expressly approved by the party responsible for
compliance could void the user’s authority to operate the equipment.
This device complieswith Part 15 ofthe FCC Rules. Operation issubject to the following
two conditions:
(1)this devicemay notcause harmfulinterference, and
(2) this device must accept any interference received, including interference that may
cause undesiredoperation.
Note:This equipment has been tested and found to comply with the l imits for a
ClassB digital device,pursuant toPart 15 ofthe FCCRu les.These limitsare designed to
provide reasonableprotection against harmful interferencein aresidential installation.
This equipmentgenerates, uses, andcan radiate radio frequencyenergy, andif not
installed andused in accordancewith theinstruction s, maycause harmful interference
to radio communications.However, there is noguarantee that interference will not
occur in a particular installation. If this equipment does cause harmful interferenceto
radioor televisionreception, whichcan bedetermined byturning theequipment off
and on,the useris encouragedto try tocorrect theinterference by oneor moreof the
following measures:
– Reorientor relocatethereceiving antenna.
– Increasethe separationbetweenthe equipmentand receiver.
– Connect theequipment into anoutlet on acircuit different fromthat to whichthe
receiver is connected.
– Consultthe dealeror anexperiencedradio/TV technicianfor help.
 Loading...