

Homewerks Worldwide 74 102 BT Users manual
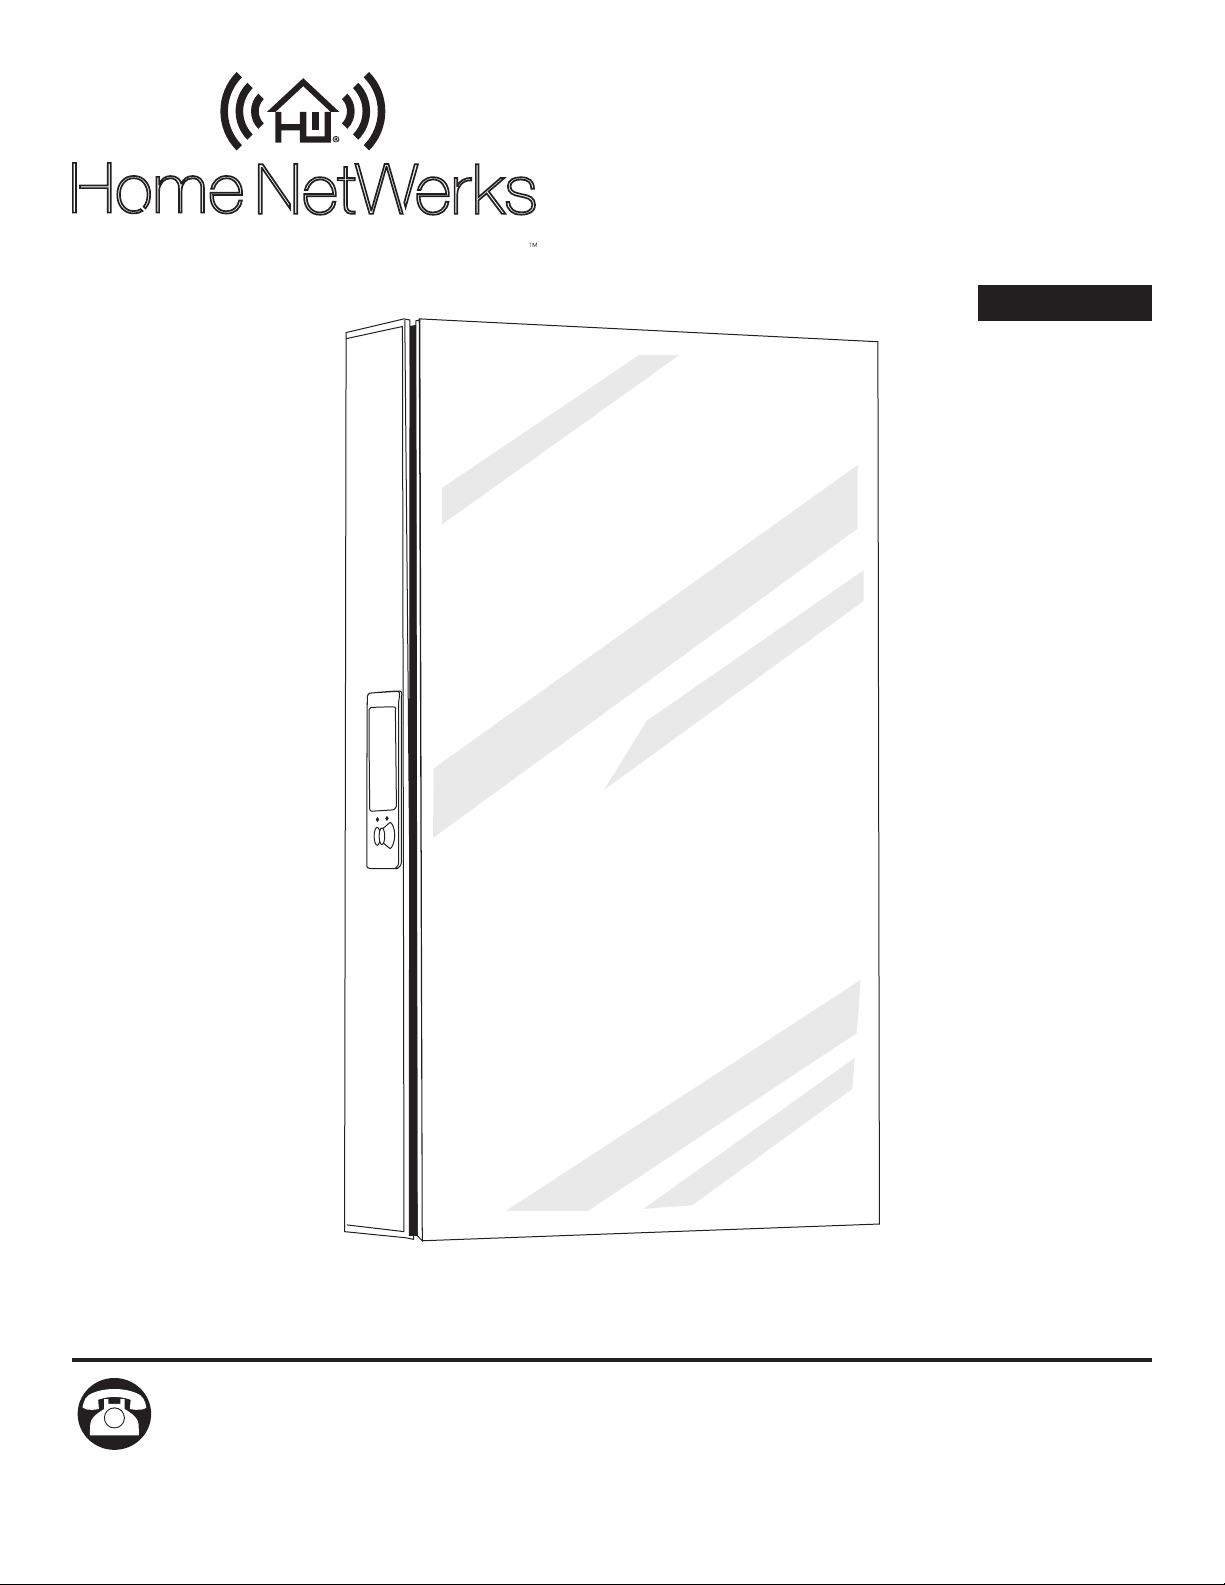
MEDICINE CABINET
WITH BLUETOOTH®
Home
SIMPLE SOLUTIONS FOR A SMARTER HOME
NetWerks
SPEAKERS
MODEL #74-102-BT
Español p. 8
The BLUETOOTH® word mark and logos are registered trademarks owned by BLUETOOTH SIG, Inc. and any use of the said
mark by Homewerks Worldwide is under license. Other trademark and trade names are those of their respective owners.
Questions, problems, missing parts? Before returning to your retailer, call our customer
service department at 1-877-319-3757, 8 a.m. - 5 p.m., CST, Monday - Friday.
READ AND SAVE THESE INSTRUCTIONS
www.homewerksww.com
Feb. 25, 2015

TABLE OF CONTENTS
Package and Hardware Contents.......................................................................................................3
Preparation ......................................................................................................................................... 4
Recommended Tools ..........................................................................................................................4
BLUETOOTH® Medicine Cabinet Installation Instructions .................................................................4
A. Normal Battery Charging Option ................................................................................................6
B. Hard Wire Battery Charging Option ............................................................................................ 6
Glass Shelf Installation ....................................................................................................................... 6
Pairing Your BLUETOOTH® Device to the Speaker ........................................................................... 6
BLUETOOTH® Speaker Operation .....................................................................................................7
Care and Maintenance .......................................................................................................................7
Troubleshooting ..................................................................................................................................7
Warranty .............................................................................................................................................7
2
www.homewerksww.com
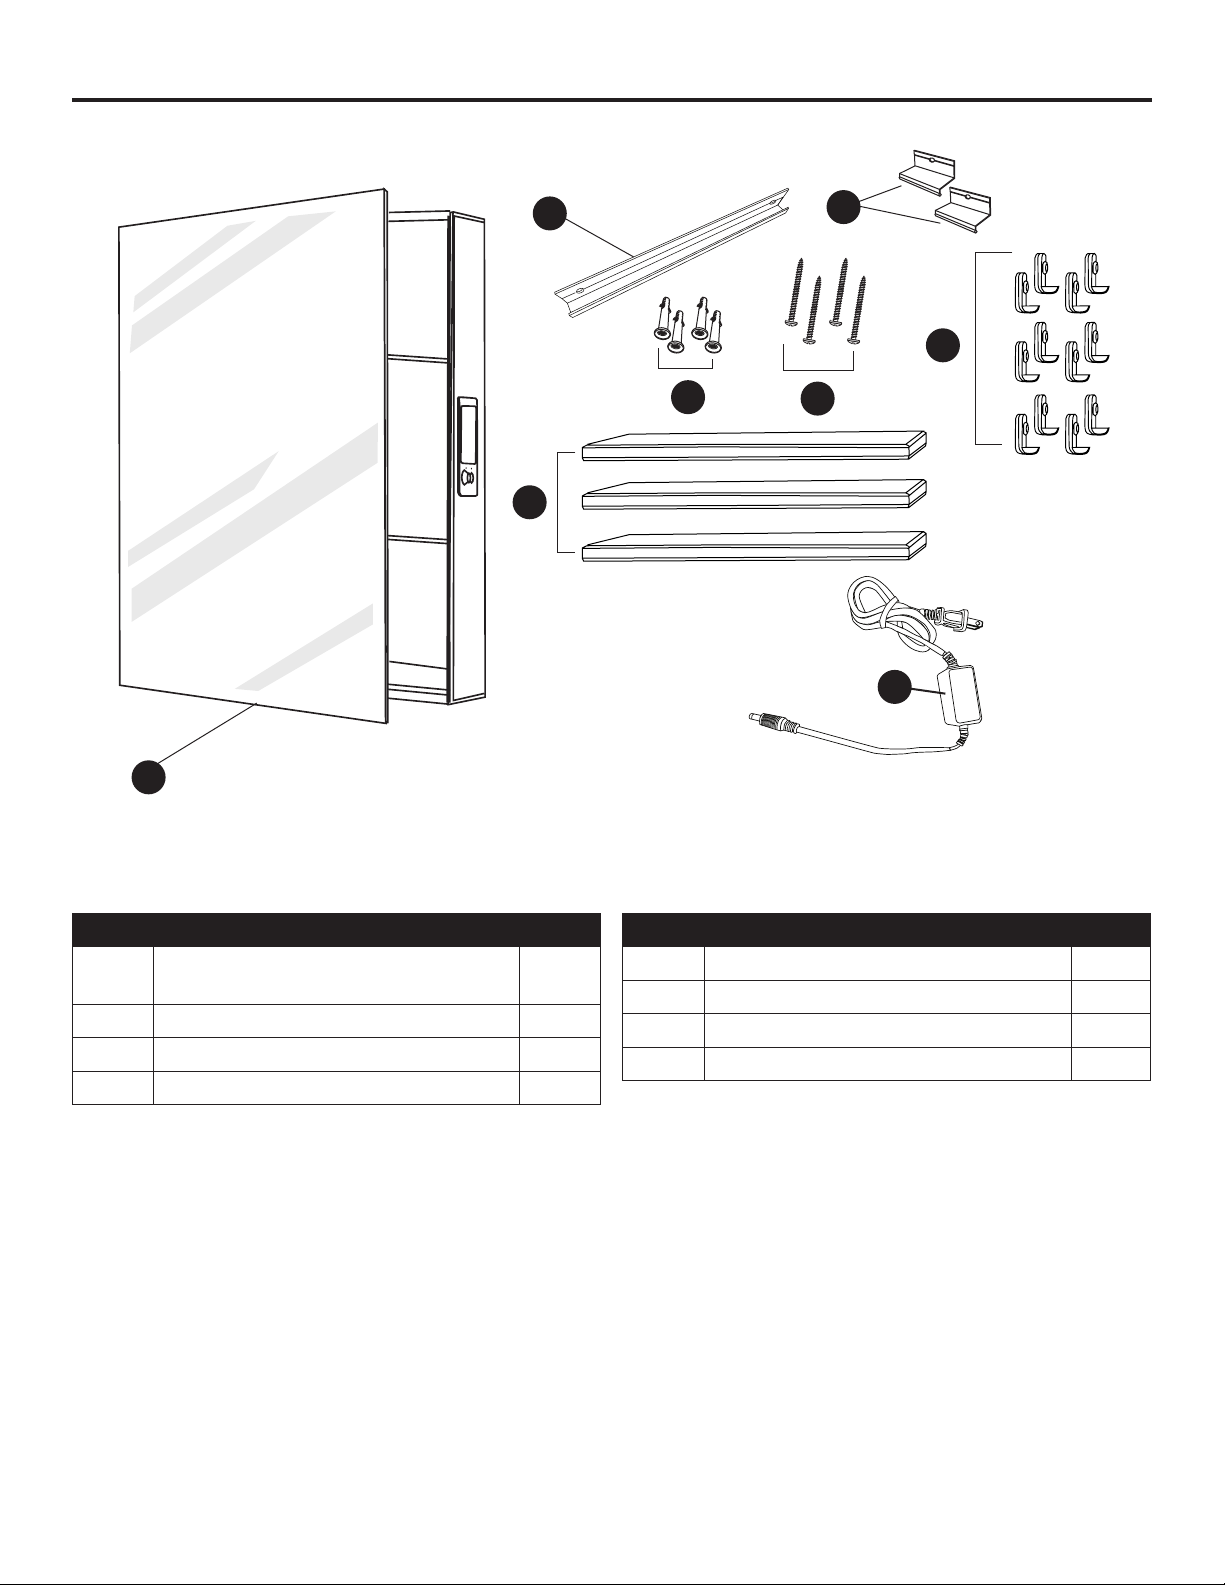
PACKAGE AND HARDWARE CONTENTS
A
G
B
D
C
F
E
H
PART DESCRIPTION QTY
A
Medicine cabinet
w/BLUETOOTH® Speakers
1
B Mounting bar 1
C Mounting clips 2
D Anchors 4
PART DESCRIPTION QTY
E Screws 4
F Shelf locking clips 12
G Glass shelves 3
H Power adapter with cord 1
www.homewerksww.com
3
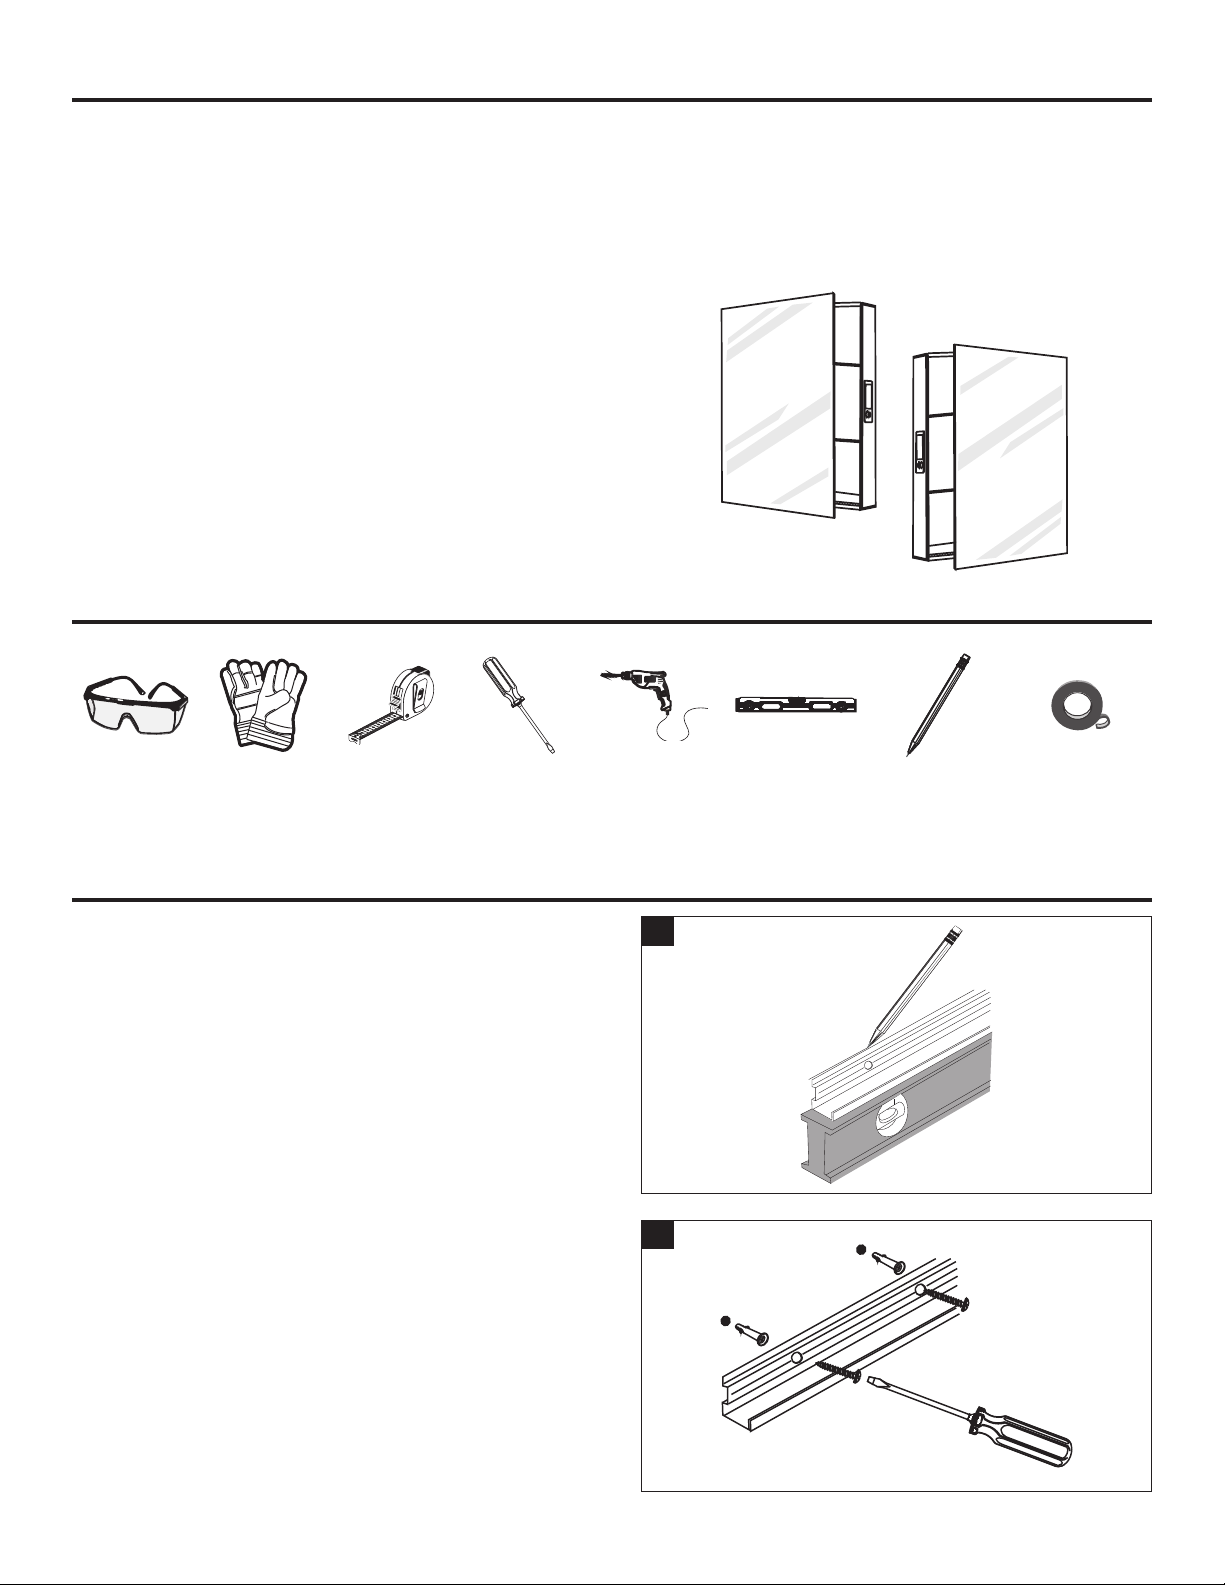
PREPARATION
Before beginning assembly of product, make sure all parts are present. Compare parts with package
contents list and hardware contents. If any part is missing or damaged, do not attempt to assemble
the product. Contact customer service for replacement parts.
• It is important to make sure the medicine cabinet body is level and plumb upon installation. Use
a level (not included) to ensure accuracy, or the door may not close and/or secure itself properly.
• If you wish to reverse the hinge side and have it
hinged on the other side, just ip the medicine
cabinet over 180º.
• Speaker battery will hold charge for up to 8
hours of use. Then it will need to be charged
with the power adapter.
• The speaker battery may be delivered partially
charged. Charge battery completely before
using for the rst time to enjoy a full use.
RECOMMENDED TOOLS (NOT INCLUDED)
Safety
goggles
Gloves
Tape
measure
Screwdriver Electric drill Level Pencil
INSTALLATION INSTRUCTIONS
1. Determine at what height the bottom mounting
bar (B) is to be hung. Mark with a pencil. Using
a level make a horizontal line parallel to the
oor were the medicine cabinet (A) is to be
mounted.
2. Place the mounting bar (B) on this line in the
desired location and mark the anchor holes.
Drill holes. Insert anchors (D). Secure the
mounting bar (B) with two screws (E) into
the anchors (D).
Double-sided
foam tape
1
2
4
www.homewerksww.com
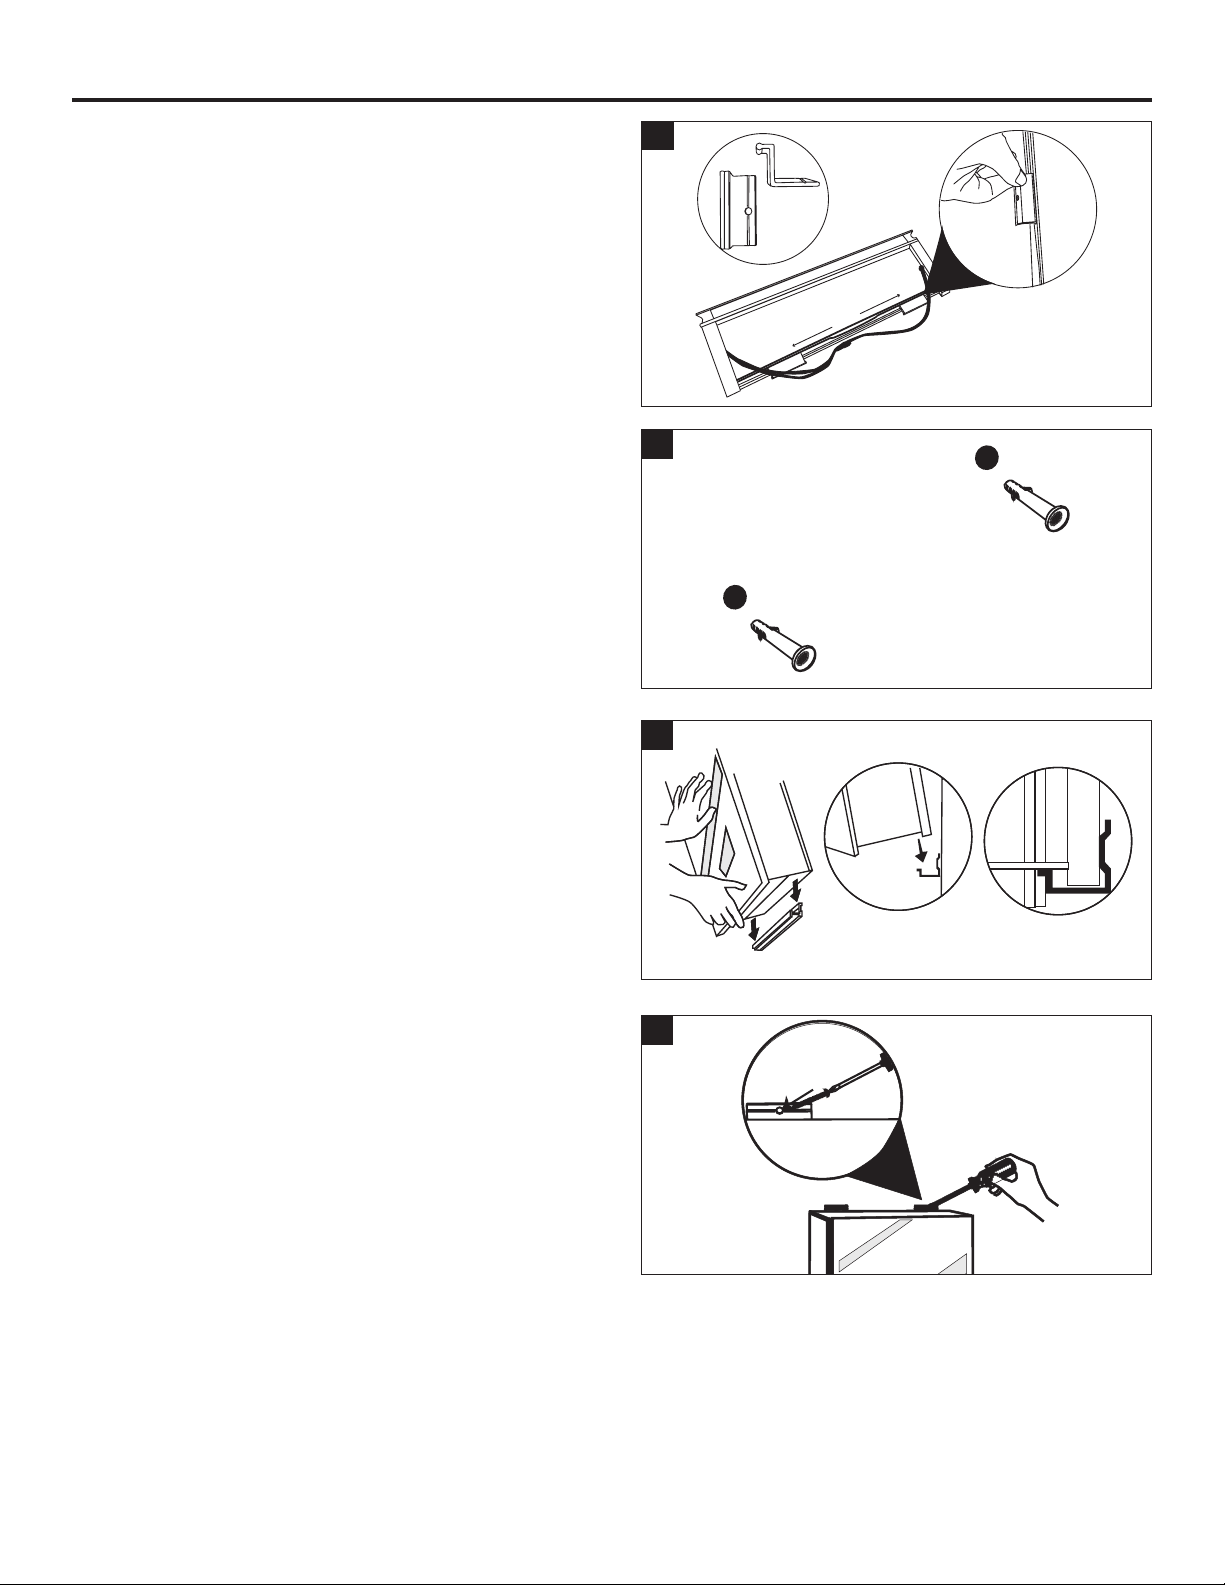
INSTALLATION INSTRUCTIONS
3. Rotate the medicine cabinet (A) for right or left
door swing. Position the mounting clips (C)
into the center channel and slide one left and
one right as shown. Place and hold medicine
cabinet (A) onto mounting bar (B). Mark hole
locations for mounting clips (C).
4. Set medicine cabinet aside (A). Drill holes and
insert anchors (D) for mounting clips (C).
3
4
5. Carefully lower medicine cabinet (A) into
position on the mounting bar (B).
6. Secure the mounting clips (C) on the medicine
cabinet (A) to the wall with a two screws (E)
into the anchors (D).
5
6
www.homewerksww.com
5
 Loading...