

HomeSeer WFTT07-2 Quick Start Manual
Page 1
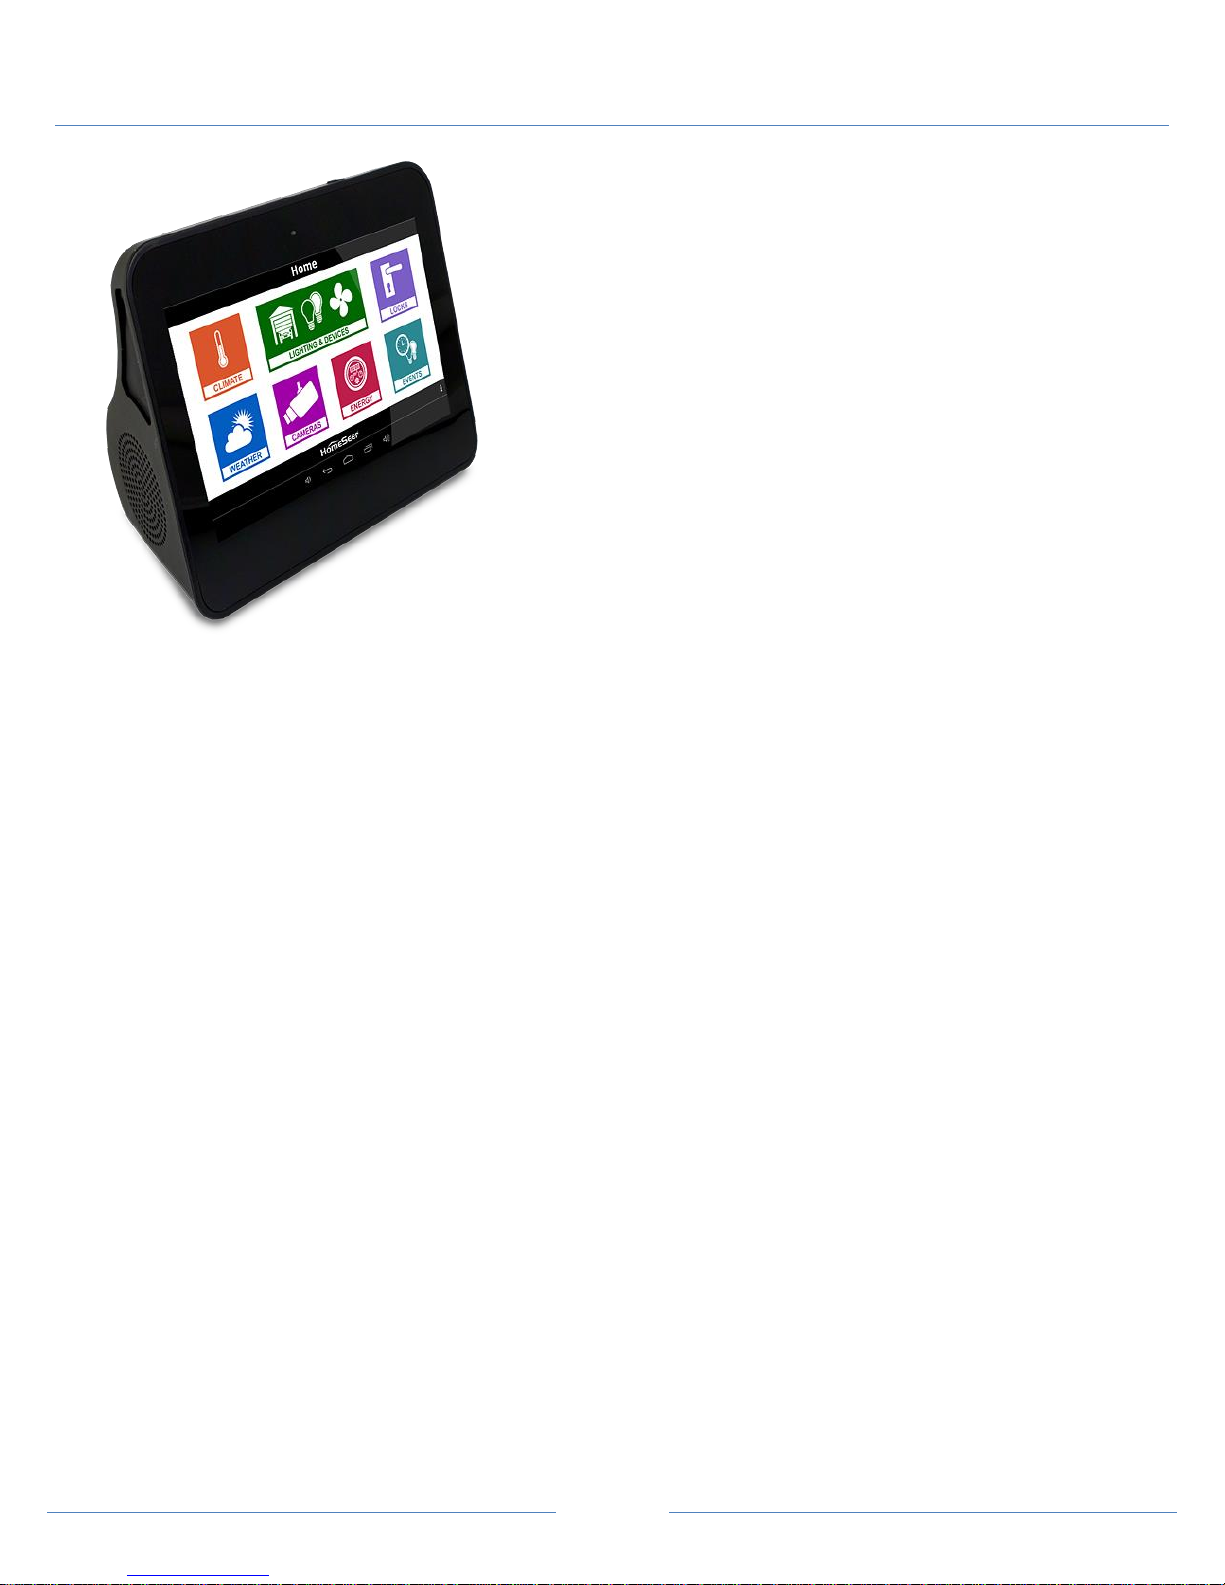
HomeSeer WFTT07-2 Quick-Start Guide
Congratulations on your purchase! Your Tabletop Touchscreen is
ready to allow you to control your home! Please take a few minutes
to read through this guide to familiarize yourself with the steps
required to set up the Wi-Fi and HSTouch.
STEP #1 – WFTT07-2 Initial Set-up
Once you’ve unpacked your Control Pad 2 you should follow these
steps to getting started!
HomeSeer WFTT07-2 Hardware Installation
a) Unpack the WFTT07-2, AC power supply, and rubber feet.
b) Insert the USB cable into the AC adapter. Plug the AC
adapter into the wall and then into the back of the WFTT07-2.
(Do not use the mini-USB cable for power)
c) Turn on the product by holding down the power button for 3
seconds, and then the screen will show the starting logo.
Power on, Power off, Reset, and Hibernate
a) Power On: Turn on the device by holding down the power button for 3 seconds when the WFTT07-2 is off.
b) Power Off: Holding the power button for seconds and click ok to power off when prompted on the screen.
c) Restart: Hold the power button for 8 seconds to force the WFTT07-2 to turn off when the system has halted.
d) Sleep: Press the power button once to shut off the screen. (HSTouch and WiFi will stay connected)
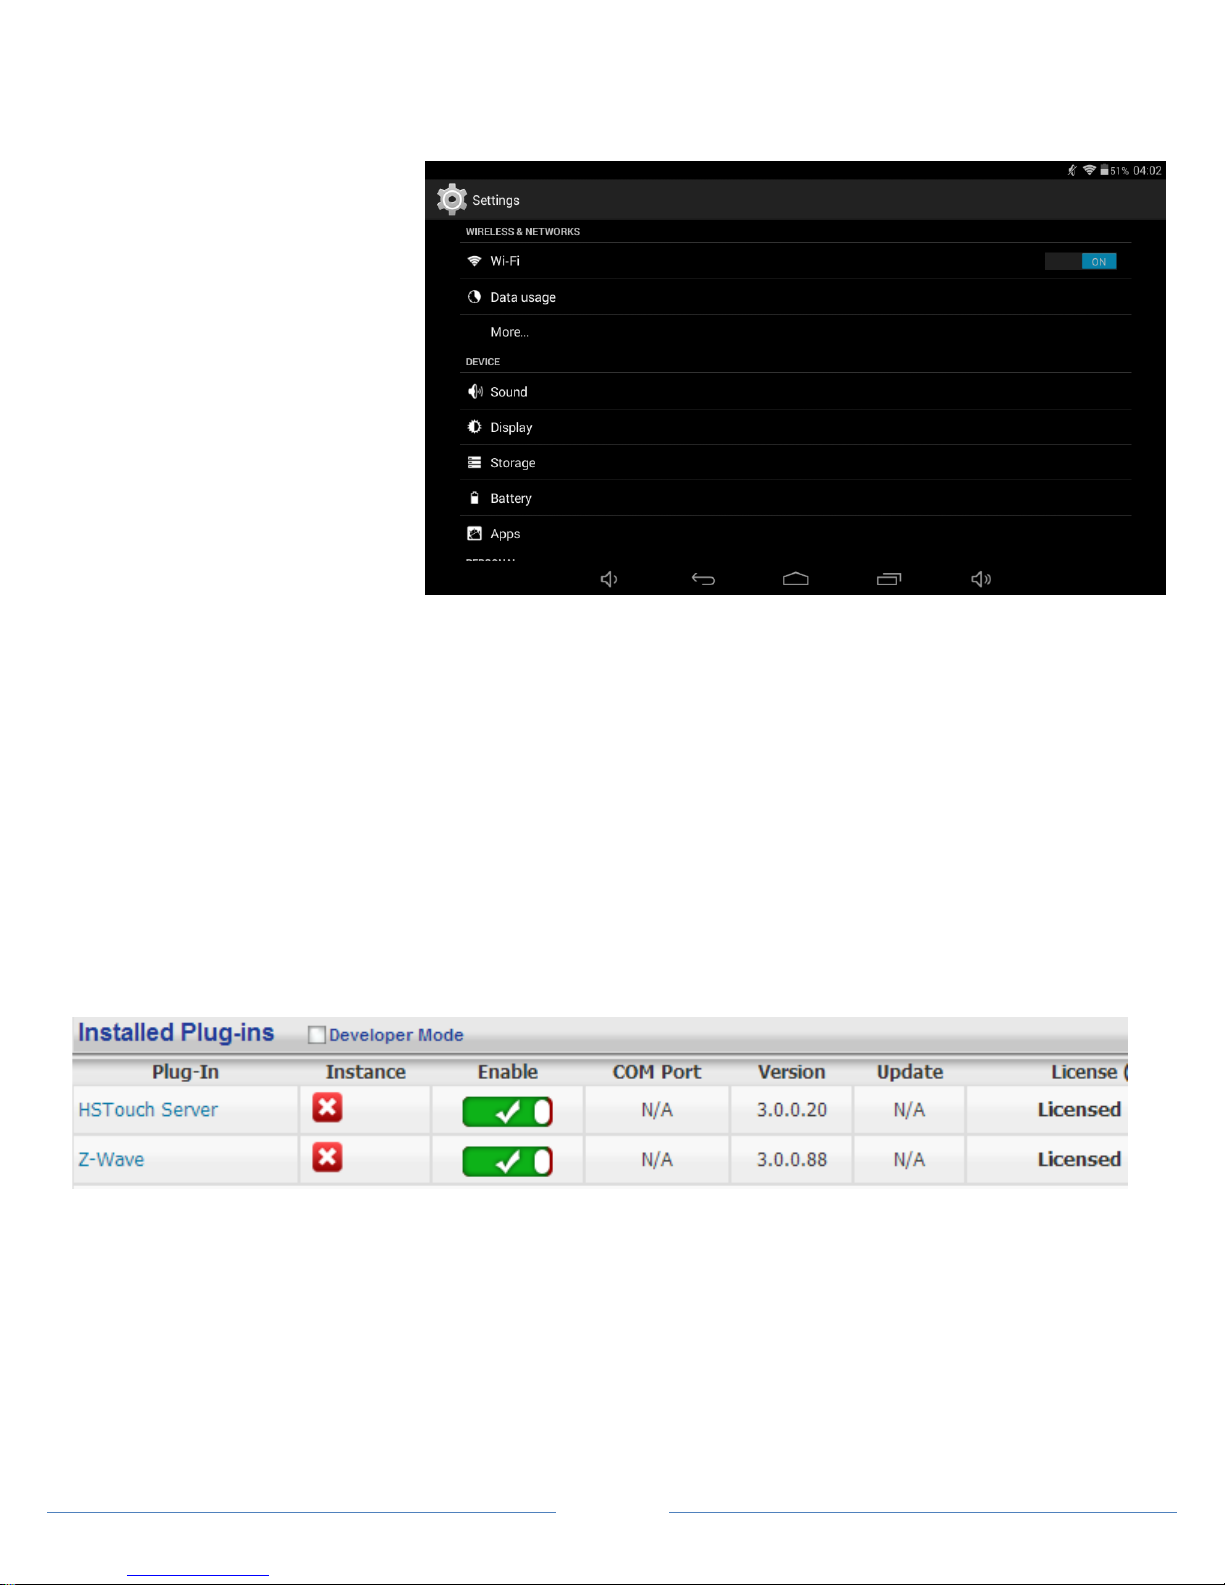
Settings
Enter into the apps by clicking the upper right corner function button at the interface, and click ‘Settings’ to enter the
settings list interface, as the following. To control the volume, there are on screen buttons on the bottom action bar to
increase and decrease the volume.
a) Wi-Fi: turn on or turn off the wireless network connections, set and manage the wireless network access point.
b) Data usage: show the data message when using a 3G communication card.
c) More: include airplane mode, Ethernet, VPN, portable hotspot and mobile networks.
d) Sound: set the volumes, silent mode, default notification, touch sounds, and screen lock sound.
e) Display: set the brightness, wallpaper, auto-rotate screen, sleep, font size, accelerometer coordinate system,
screen adaption, and smart backlight.
f) Storage: query the total space, usage space and available space of system disk, and internal storage.
g) Battery: show the battery message and status.
h) Apps: query the downloaded apps, on SD card apps, running apps, and all apps.
i) Accounts & Sync: users can add an email account and manage accounts synced to the WFTT07-2.
j) Location Services: Google’s location service, location, and Google Search.
k) Security: set the screen lock, owner info, encrypt tablet, unknown sources, and others.
l) Language & Input: set the system default language, input methods, text-to-speech output and pointer speed.
m) Backup & Reset: backup or reset the WFTT07-2 data back to factory default.
n) Date & Time: automatic time zone or set by yourself, use 24-hour format and select data format.
o) Accessibility: set the system text size, auto-rotate screen, touch & hold delay, and install web scripts.
p) Developer Options: set USB debug, pointer location, show touches, and others.
q) About Tablet: information of system updates, status, version, and legal.
Page 2
STEP #2 – Wi-Fi Setup
In order to control your home, you will need to put your WFTT07-2 onto your WiFi network. Follow the instructions below
to connect this to your network.
a) Enter into the settings and
turn on the Wi-Fi.
b) Once the Wi-Fi list is
populated, select your Wi-Fi
network to connect to.
c) Enter the password when
prompted to.
d) Once the network says
‘Connected’, go to your app
drawer and open up
‘Browser’ to make sure you
are connected to the internet.
e) Once connected you can
proceed to setting up the
HSTouch Server & Client.
STEP #3 – HSTouch Server Setup
After you have successfully connected to your Wi-Fi network, you will need to make sure HSTouch Server is properly set
up before connecting the client to your HomeSeer system. This guide will assume that you have gone through the
necessary steps to set up HomeSeer. Follow the instructions below to set up HSTouch Server.
a) Go to the Plug-in’s menu within your HomeSeer Web Control and click on Manage.
b) If HSTouch Server is not installed follow these steps, otherwise skip to step f
c) Click on Additional Interfaces to expand the plug-in updater.
d) Scroll down to User Interfaces and expand that. Check the box next to HomeSeer HSTouch Sever.
e) Scroll back up and click on Download and Install.
f) Now that HSTouch Sever is installed we will need to enable it. Underneath the Enable column click on the red
toggle. It should become green with a check mark in it.
g) HSTouch Server is now enabled. You can now go into your WFTT07-2 to configure HSTouch.
 Loading...