

HomeSeer HomeTroller SE3, PRO-100 S5 Quick Start Manual
Page 1
HomeTroller SE3 Quick-Start Guide
Congratulations on your purchase! Your HomeTroller SE3 is ready to put you in control of your home. Please take a few
minutes to read through this guide to familiarize yourself with the steps required to set up your Z-Wave network and
your HomeTroller.
STEP #1 – HomeTroller SE3 Setup
To begin using HS3 you will need to setup your HomeTroller SE3.
Follow these steps:
HomeTroller Hardware Installation
a) Unpack the HomeTroller and AC power supply.
b) Connect a monitor, mouse, and keyboard for initial set up. (The unit is also accessible remotely using VNC or
find.homeseer.com)
c) Connect an Ethernet cable to your HomeTroller and to a network port on your internet router.
d) Connect the AC power adapter to your HomeTroller to begin the boot process. Turn on the HomeTroller on and
allow the unit to boot fully.
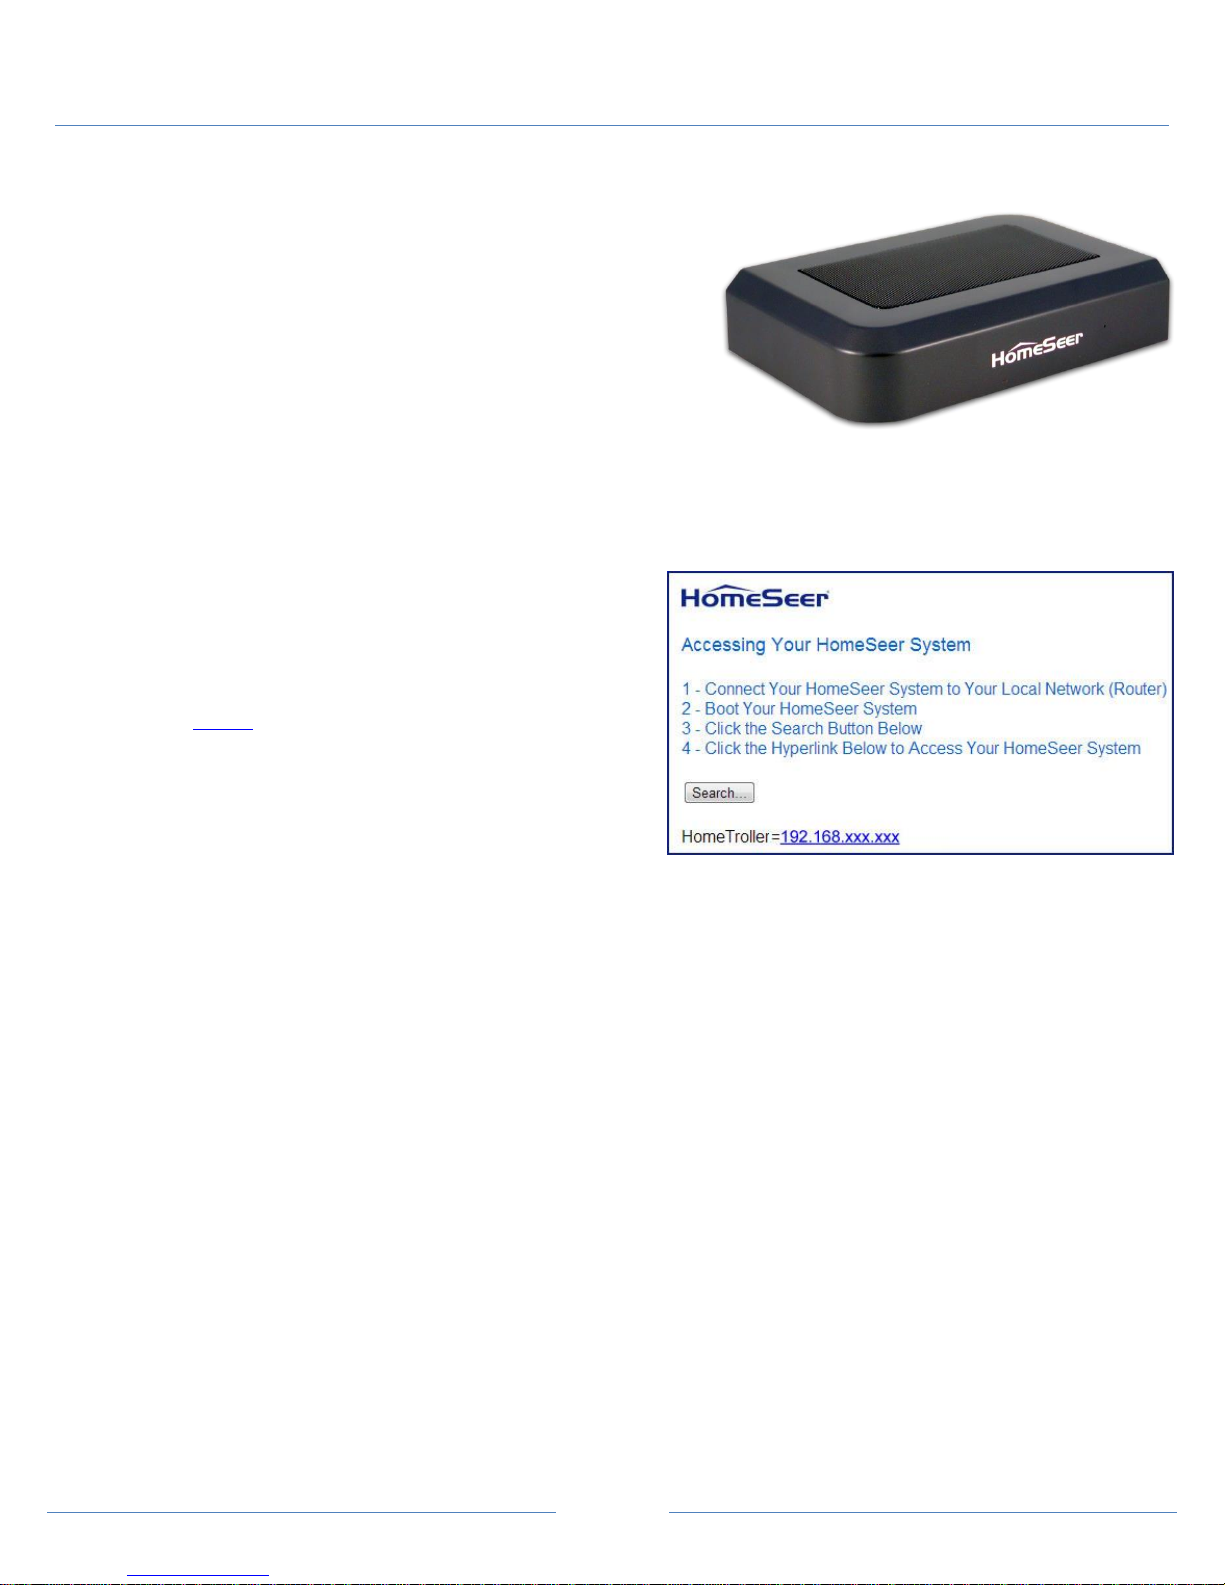
Accessing the HomeTroller Web Interface
Once the unit is set up you will want to access the web interface
to set the system up. First you must register the unit though.
Please skip to Step 2 to access the HomeTroller remotely if you
do not have a monitor and keyboard set up with the SE3.
The method below should work with any browser on any device
(mobile or desktop).
a) Navigate to http://find.homeseer.com
b) Click the “Search” button. Your HomeSeer system should now appear at the bottom.
c) Click the IP address hyperlink to access your system’s web interface.
Changing the Username and Password
The default username is: default and the default password is: default. It is highly recommended that you change the
username and password to something more secure. Please make sure to save this information.
a) Go to the Tools menu and click Setup.
b) Click on the Network tab at the top and you will see a list under Web User Settings.
c) Enter a User Name and Password in to the respected fields and then choose the User Rights.
d) Click Add User once all fields have been completed. Click Delete to remove a User.
Updating Your HomeTroller SE3 and Setting the Time Zone
Be sure to check for updates and install any that are available and set the time zone. To do this, follow these steps:
a) Upon HomeSeer booting it will check for updates.
b) You can either restart your HomeTroller or just restart HS3.
c) HomeSeer needs to be shut down once the update procedure begins.
d) Double click on the time in the bottom right of your screen in the system tray and then click Change Time Zone.

Page 2
Registering your HomeTroller
You must register your unit to allow HS3 to boot up fully and automatically every time a restart occurs. Your licenseID
and password is located on the bottom of the unit.
a) Go to the Tools dropdown navigation at the top and click on Setup.
b) Once the setup page loads, at the very top there is a License section. Click Register Online.
c) Enter your License ID and Password located on the bottom of the unit.
d) Once completed fill out the form and proceed to your next step.
STEP #2 – Using RealVNC for Remote Access
RealVNC is a freeware software tool that will allow you to access the Windows® interface of the HomeTroller from any
remote computer via home network (LAN) or the internet (WAN). The HomeTroller is shipped with RealVNC pre-installed
for remote access.
To Access the HomeTroller from Any Computer on your Home Network
1. Open any Java-compatible browser and in the address box enter http://HomeTroller:5800. Alternately, you may
use the LAN IP address for your HomeTroller. Example: http://192.168.0.100:5800
2. If a security message appears, click the run button.
3. A small box titled “VNC Viewer: Connection Details”. Click ‘OK’ in this box.
4. Another small box titled “VNC Authentication” now appears. Use the password “hsthst” and hit the ‘enter’ key.
The Windows interface for the HomeTroller should now appear.
To Access the HomeTroller from Any Computer on the Internet
1. Open any Java-compatible browser and in the address box enter
http://[IP Address]:5800 (where [IP Address] represents the physical or virtual internet IP Address for your
HomeTroller). Example: http://77.324.445.103:5800 or http://mydomain.com:5800
2. If a security message appears, click the run button.
3. A small box titled “VNC Viewer: Connection Details”. Click ‘OK’ in this box.
4. Another small box titled “VNC Authentication” now appears. Use the password “hsthst” and hit the ‘enter’ key.
The Windows interface for the HomeTroller should now appear.
NOTE: If your internet connection is protected by a firewall or router, you’ll need to open port 5800 to allow internet
access to your HomeTroller. Check with your firewall or router manufacturer for details on how to do this.
NOTE: VNC Viewer can also be downloaded and used as an application on your remote computer to access your
HomeTroller.
STEP #3 – Installing Plug-ins
HomeSeer works with many different protocols. All of these protocols require a plug-in to be installed. There are
HomeSeer Tech plug-ins and many 3rd Party plug-ins. Please follow the instructions below on installing a plug-in or you
can click here to watch a video tutorial.
5. Locate the Plug-Ins drop down at the top of the screen. With
that dropdown click Manage.
6. Click the yellow circle to right of the Additional Interfaces.
This will present you with a list of categories. Each category
has a list of plug-ins that can be installed.
7. Click on the circle next to the category that you wish to expand.
Page 3
8. Once you see the list of plug-ins, click the check box to
the left of the plug-ins that you want to install. (You
may check more than one at a time.)
9. After you have selected the plug-ins you wish to install,
a Download and Install button will appear. Click this
button to proceed with the install.
10. You will be given a progress bar under the Installed
Plug-ins section indicating the status of the install.
11. You must now Enable your plug-ins to use them. Once
they are enabled they will be available to configure.
Some plug-ins will require you to enter a COM port
before going into the configuration pages.
12. To get to the configuration pages, go back to the top
where the plug-ins menu is and you will see a list of
your installed plug-ins. Within each plug-in there is another menu that has a link to the configuration pages.
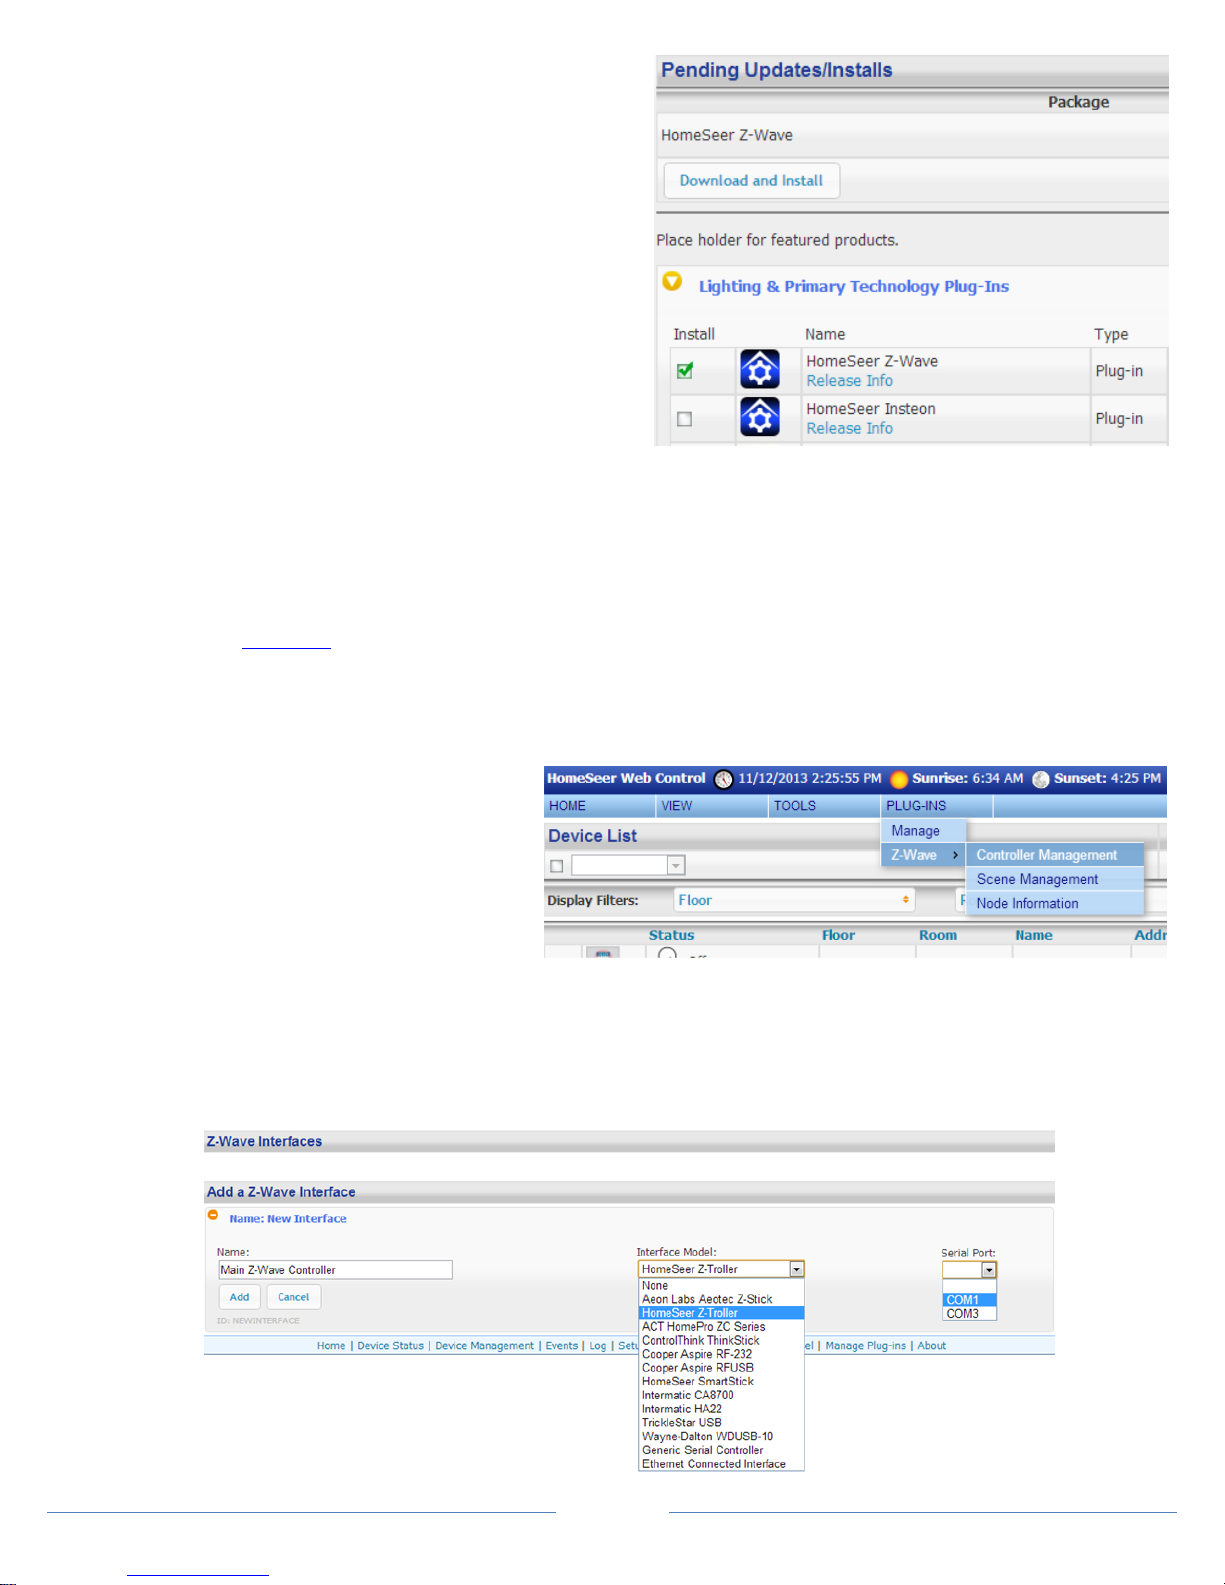
STEP #4 – Adding a Z-Wave Controller
In order to control Z-Wave devices, such as light switches, thermostats, door locks and sensors, they must be included
into a Z-Wave “network”. Follow the steps below to add your Z-Wave controller and create a Z-Wave network. For a more
visual walkthrough, click here.
a) Go to the Plug-ins drop down menu and hover over Z-Wave. Select Controller Management.
b) Click the Add Interface button to begin the management process.
c) You will now be prompted to add an interface name, interface type, and the COM port of the interface. A good
naming scheme is either the name of the
interface you are using or the location of
your Z-Wave controller (if you have
multiple). The interface type corresponds
to the type of Z-Wave controller you are
using. If you have using an IP2SL/WF2SL,
select the Ethernet option.
d) Go ahead and click Add and let HomeSeer initialize the unit. Once initialized, you will be brought to a new
screen.
e) You must now enable the controller. Click the red circle with a line through it (“No symbol”) to enable it. You will
see a green checkmark if the interface enabled correctly.
f) To add another Z-Wave interface simply follow these instructions again.
 Loading...