

HomeSeer HomeTroller Zee S2 Getting Started Manual

Page 1
HomeTroller Zee S2 Getting Started Guide
Congratulations on your purchase! Your HomeTroller Zee S2 is ready to put you in control
of your home. Please take a few minutes to read through this guide to familiarize yourself
with the steps required to set up your Z-Wave network and your new HomeTroller Zee S2.
STEP #1 – HomeTroller Zee Initial Setup
Hardware Installation
1. Unpack the HomeTroller Zee, Ethernet cable and AC power supply.
2. Connect the Ethernet cable to your HomeTroller Zee and to a network port on your internet router.
3. Connect the AC power adapter to your HomeTroller Zee to begin the boot process. Allow the unit to boot fully
(about 45 seconds to 1 minute).
Accessing the Web Interface
Once the unit boots, you’ll need to access the
web interface to set the system up. The method
below should work with any web-enabled device.
We recommend using Google Chrome
1. Navigate to http://find.homeseer.com
2. Click the “Search” button. Your
HomeSeer system should now appear at the bottom.
3. Click the IP address hyperlink to access your system’s web interface.
Set Your System Password
The system password screen will appear the first time you run your HomeTroller Zee. You MUST set a system password
to prevent unauthorized access to your unit. Please do this now by following the prompts on your screen. Choose a
secure password that will also be easy for you to remember.
Activate and Register Your HomeTroller Zee Online
Be sure to activate your HomeTroller Zee and register the unit to receive HomeSeer support. To do this, make sure your
unit is connected to the internet and follow these steps:
1. From the HomeTroller Zee web interface, use the pull down menus to navigate to the General Tab of the Setup
Area (TOOLS > Setup)
2. Click the “Register Online” button in the License section of the Setup screen and enter your license codes.
Note: License codes are included on a sticker on the bottom of your HomeTroller Zee.
Update Your HomeTroller Zee and Set the Time Zone
1. From the HomeTroller Zee web interface, use the pull down menus to navigate to the General Tab of the Setup
Area (TOOLS > Setup). If an update is available, click the update button near to top of the page and wait for the
update to download and install. Your HomeTroller Zee will automatically reboot once the update is installed.
2. Access the General Tab of the Setup Area again and scroll to the “Location” area. Find the Time Zone field and
change that to time zone where your HomeTroller Zee is installed. Example: US – America/New York
Page 2
Configuring the Optional Wi-Fi Adapter
If you wish to connect your Zee to your home network using WiFi, you’ll need to purchase and install the optional WiFi
adapter. Follow these instructions to configure the WiFi adapter:
1. Connect the Wi-Fi adapter to your HomeTroller with the Ethernet cable still attached.
2. Access the Network Tab of the Setup section. Locate the Wi-Fi Settings section.
3. Enter the SSID (Wi-Fi network name) of your Wi-Fi. (This is case sensitive)
4. Choose your encryption type and enter your Wi-Fi password. Keep ‘Use DHCP’ checked.
5. Go to Tools->System->Shutdown System and shut the system down. Unplug the power and Ethernet cables.
Now reconnect the power and let the system boot.
6. Using any browser-enabled device, access find.homeseer.com. Your WiFi connected HomeTroller Zee should
now be accessible!
STEP #2 – Setting Up Remote Access
MyHomeSeer Remote (“MyHS”) is a free cloud service that will allow you to access your HomeTroller Zee from
anywhere using a browser-enabled device or our HSTouch mobile app. Follow these instructions to set up MyHS.
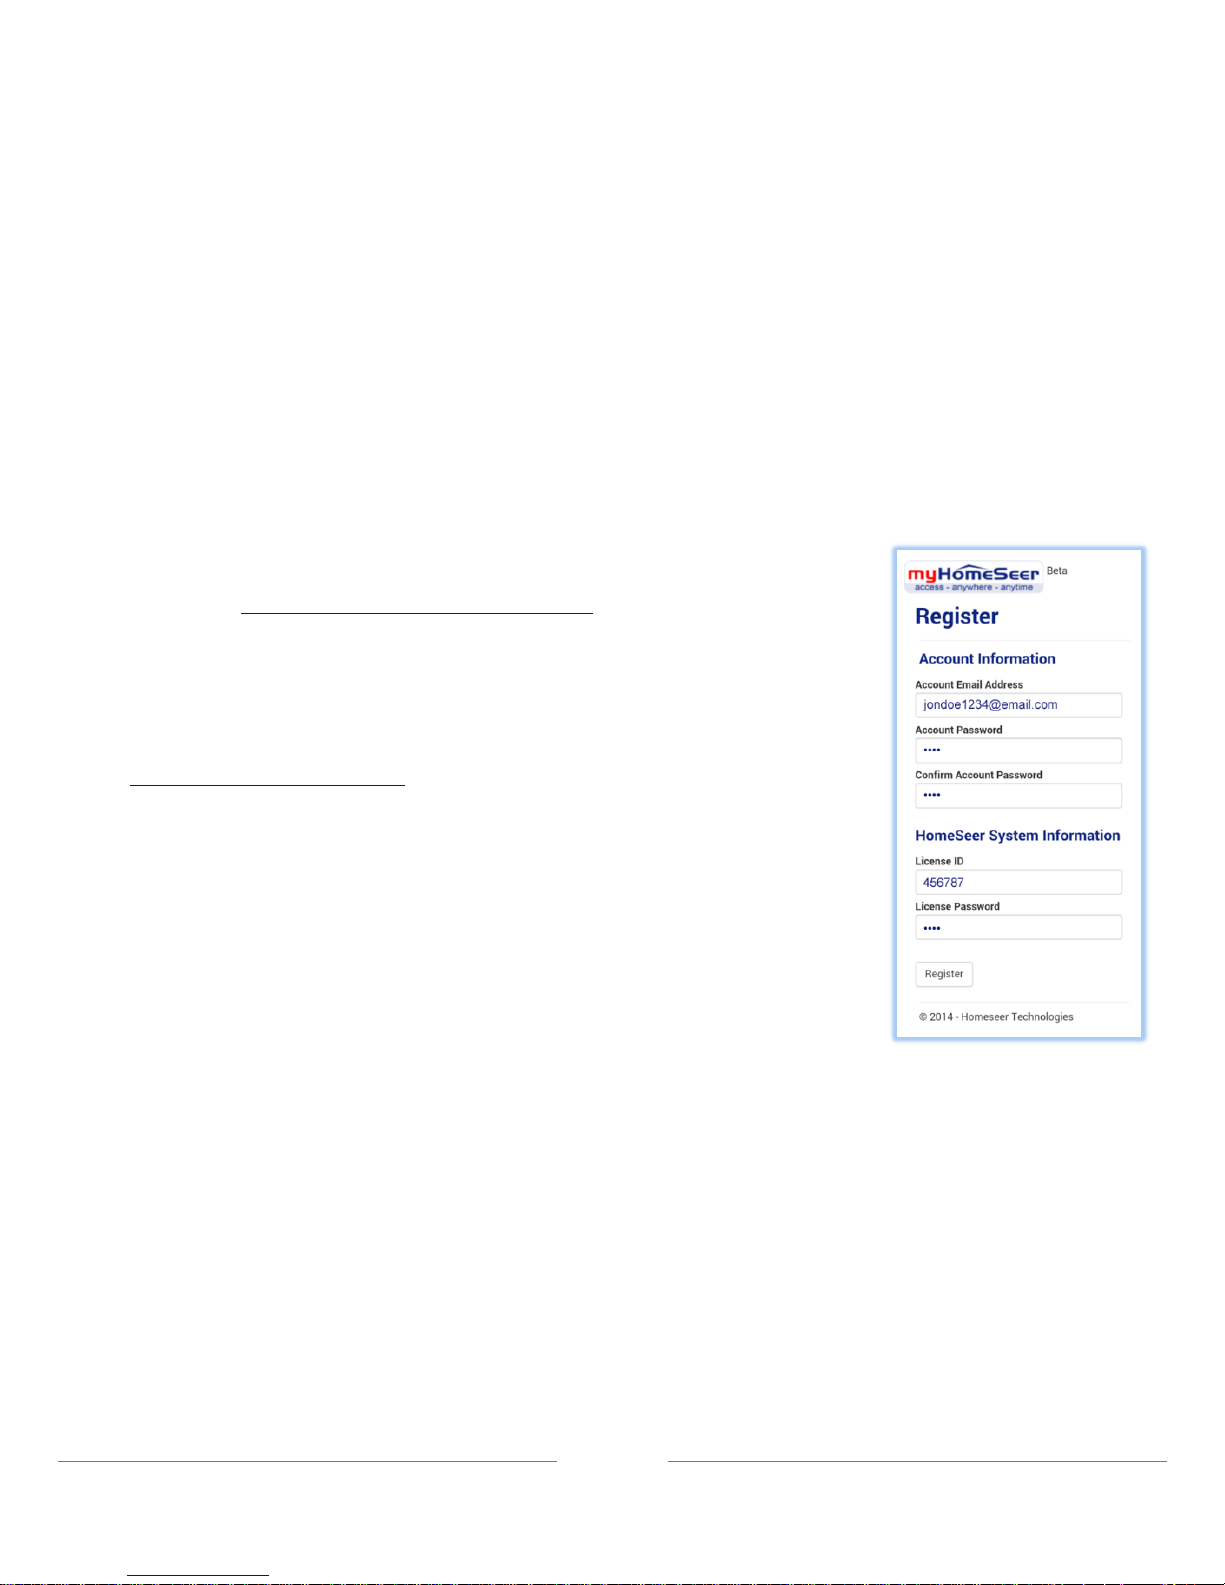
Register for MyHS
1. Navigate to https://myhs.homeseer.com/Register
2. Enter account information as shown on right. Check the sticker on the bottom
of your HomeTroller Zee S2 to get your License ID and License Password.
3. Click the Register Button.
4. Check your email and click the verification link. Your MyHS account has now
been created and your HomeTroller can be accessed any time at
https://myhs.homeseer.com/
Configuring HSTouch Mobile App with MyHS
HSTouch Android:
1. Download and install the HSTouch mobile app from the Google Play store.
2. Launch HSTouch and choose “settings” from the Select Server menu.
3. Click MyHomeSeer and enter your MyHS username and password.
4. Launch HSTouch and choose MyHomeSeer when prompted.
HSTouch iOS (Apple):
1. Download and install the HSTouch mobile app from the Apple App store.
2. Access Apple Settings and open HSTouch settings.
3. Enter your MyHS username and password in the MyHomeSeer server settings.
4. Launch HSTouch and choose MyHomeSeer when prompted.
STEP #3 – Installing Drivers (Plug-ins)
Your HomeSeer system was designed to work with many different home automation technologies. Each technology
requires a specialized hardware interface and software driver (“plug-in”). Your HomeTroller Zee S2 includes a built-in
hardware interface for Z-Wave. Other hardware interfaces must be connected externally. Follow the steps below to
enable the appropriate plug-in(s) for the technologies you wish to work with:
Page 3
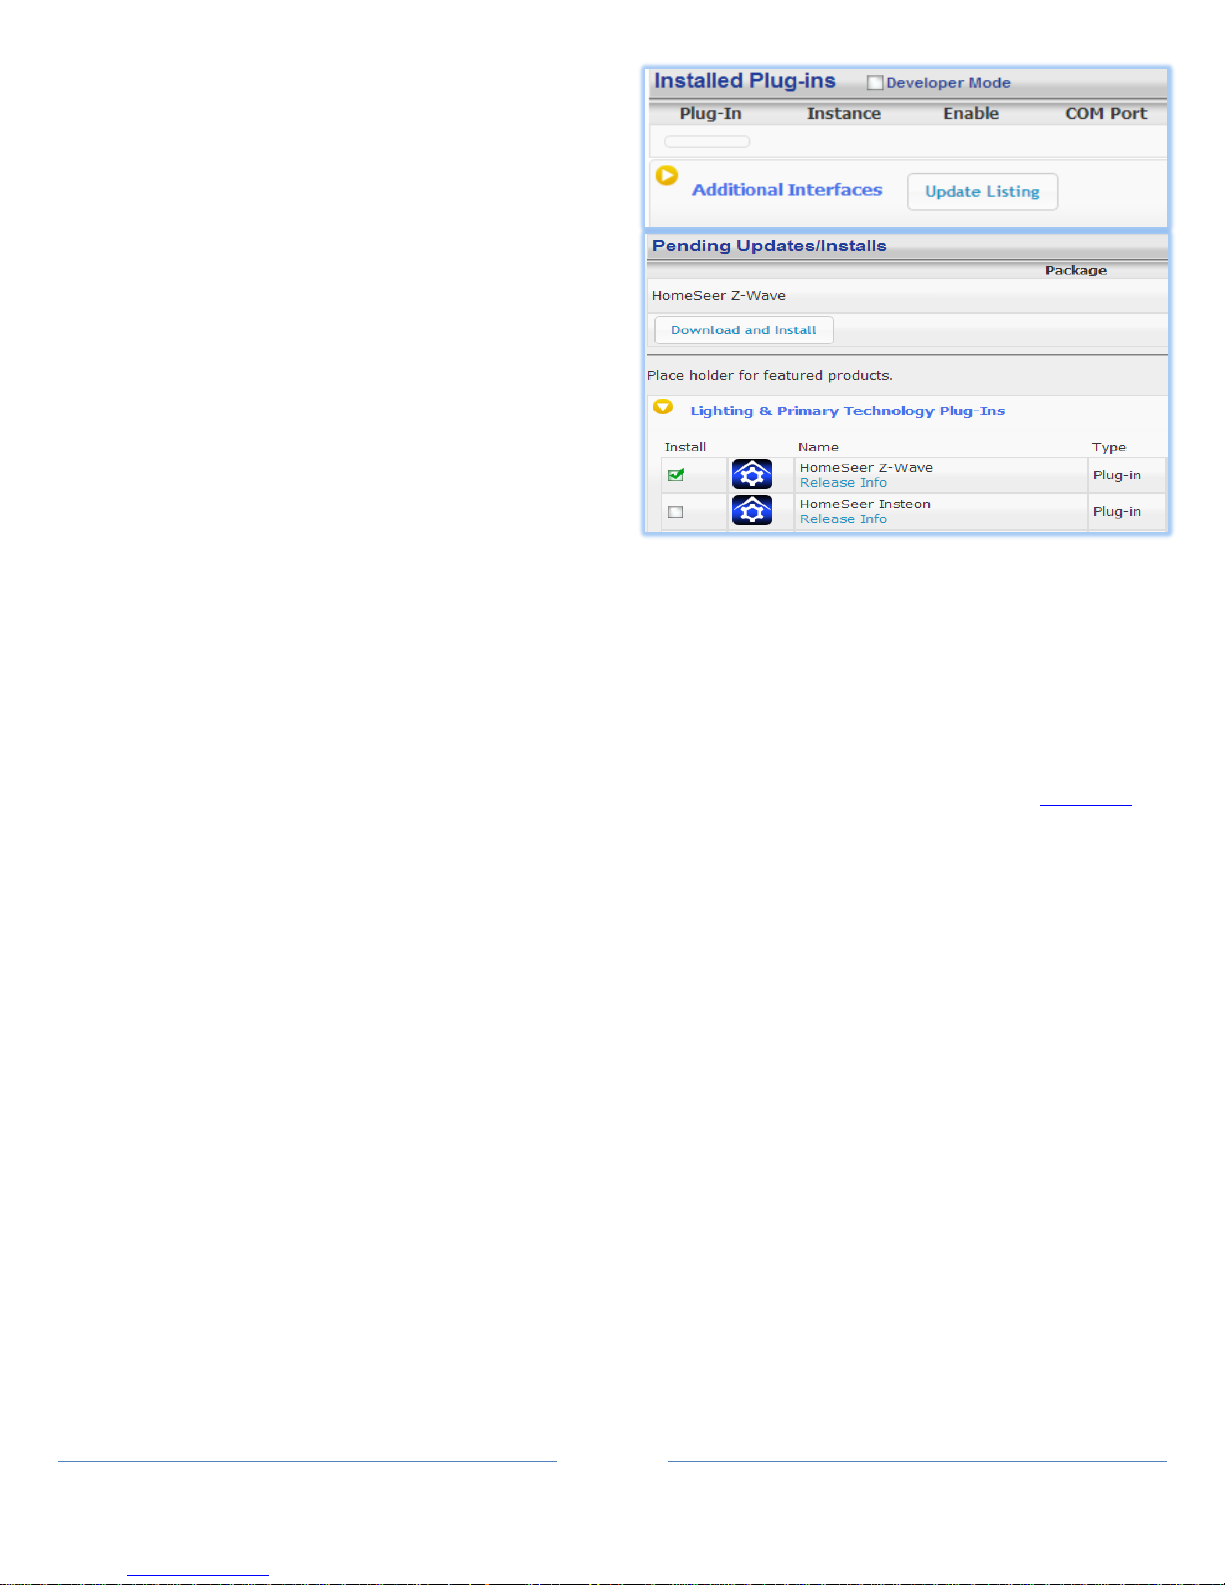
1. From the HomeTroller web interface, open the Plug-
ins menu and select Manage.
2. Click the yellow circle before Additional Interfaces to
open the listing of plug-in categories.
3. Click the corresponding yellow circle before each
category to browse the list of available plug-ins.
4. To install a plug-in, simply click the checkbox before
it and then click the “Download and Install” button
in the section above.
5. The installation process may take a few minutes.
When done, your plug-in will now display in the
“Installed Plug-ins” section at the top of the page.
6. You must now Enable the plug-in and configure it
with the correct COM port or IP Address setting,
depending on the type of hardware interface
installed. Refer to the hardware interface manual
for details.
STEP #4 - Z-Wave Network Setup
In order to control Z-Wave devices, such as light switches, thermostats, door locks and sensors, they must be included
into a Z-Wave “network”. Follow the steps below to create your Z-Wave network and to include devices. Note: the steps
below assume you’ve already physically installed Z-Wave devices in your home.
Via Z-Tool+ (requires HS3 version 3.0.0.194 and Z-Wave version 3.0.1.23)
To begin using Z-Tool+, the app must be downloaded from within your App Store. Open either the Play Store, iTunes
Store, or Windows Store and search for ‘Z-Tool+’. The search will return the app and then just click Install. Click here for
a more comprehensive guide to using Z-Tool+.
a) Z-Tool+ will automatically find your system(s). Click Select a System if you have more than one local system.
b) Select the Add or Remove action you wish you complete.
c) Activate the network button (or button sequence) on your Z-Wave device and observe the inclusion process in
the log window. Once removed a confirmation will show in the log.
d) Once the Add process is finished a window will pop up to name and change the location attributes of the device.
e) Your device can now be controlled via HSTouch or HS3 Web Control.
Via Web Control Page
Adding Z-Wave Devices (wall switches, receptacles, plug-in modules, sensors, door locks, etc)
a) From the web interface, use the pull down menus and navigate to the Z-Wave Controller Management page
(PLUG-INS > Z-Wave > Controller Management).
b) Locate the “Z-Wave Interfaces” area and expand your Z-Wave Controller section. Open the “Actions:” menu and
choose “Add/Include a Node”.
c) Click the ‘Start’ button below the Actions menu. Your HomeTroller is now in inclusion mode and is ready to
communicate with your device.
d) Activate the network button (or button sequence) on your Z-Wave device and observe the inclusion process in
the green log window. When done, you’ll receive an acknowledgement such as “Finished with Replication
 Loading...