

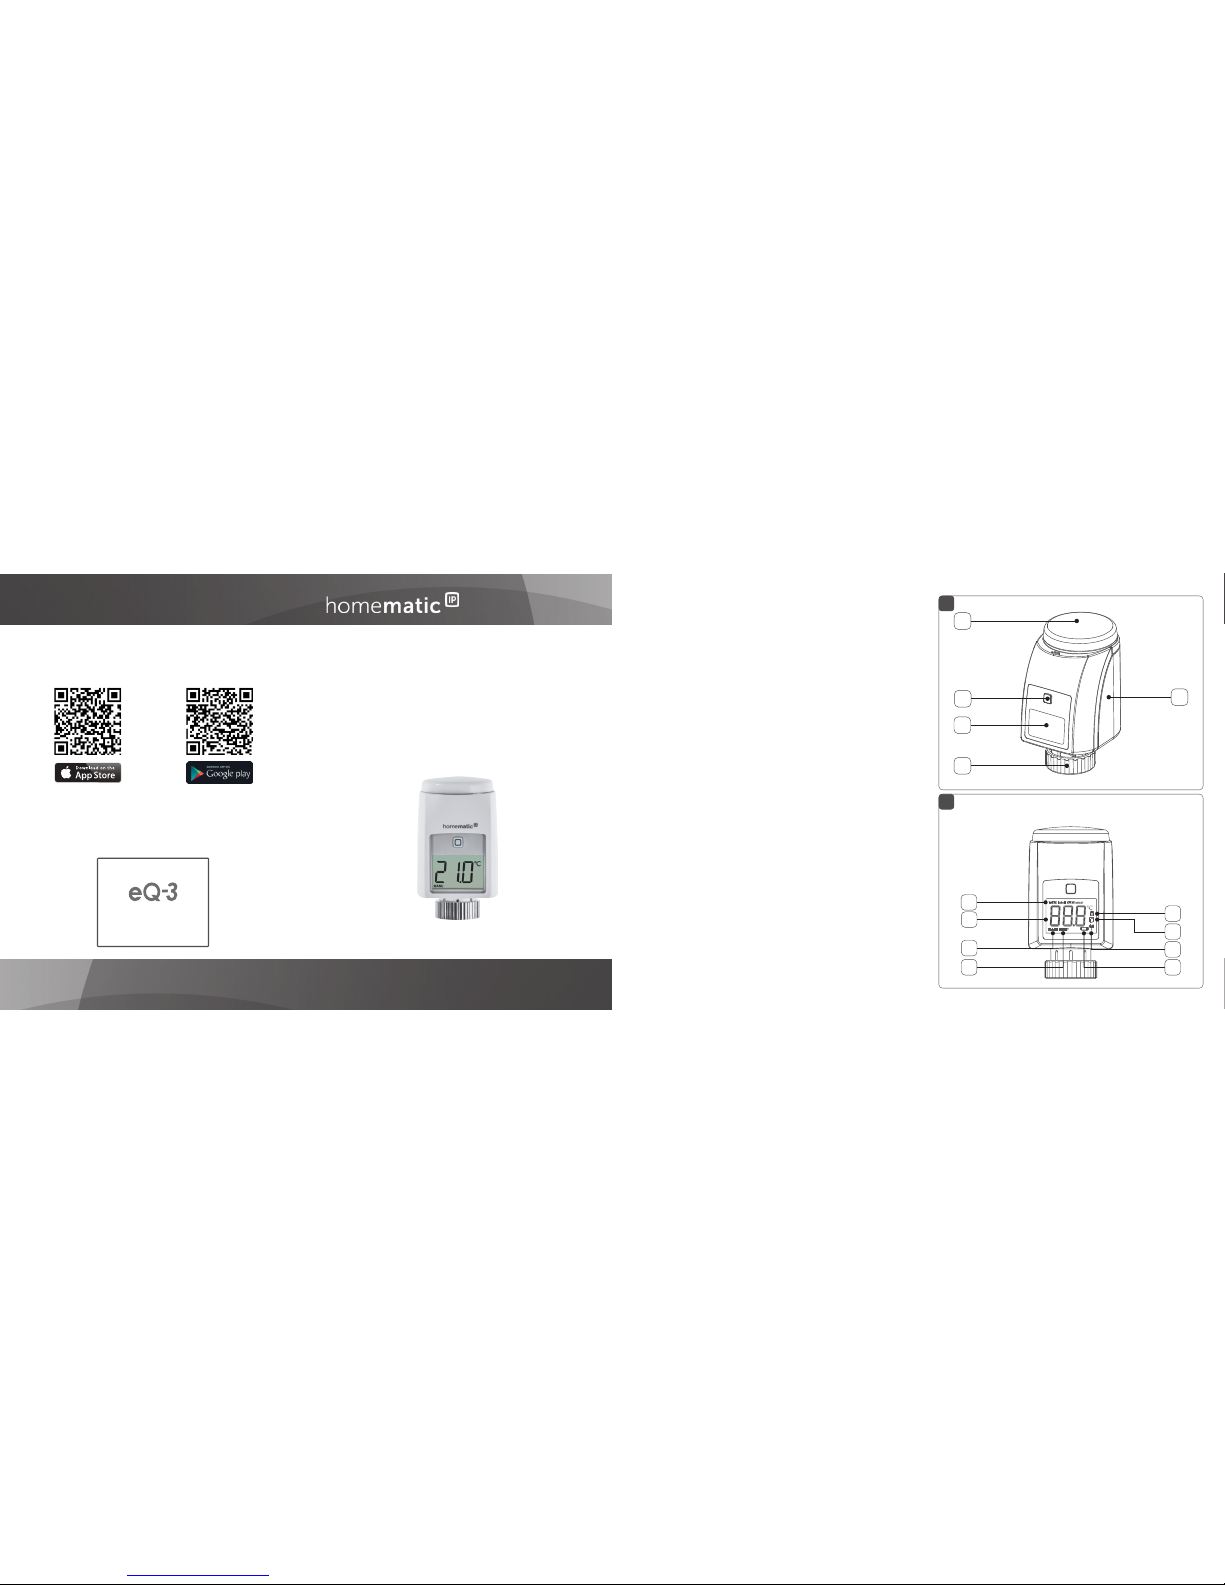
Mounting instruction and
operating manual
Radiator Thermostat UK p. 1
HmIP-eTRV-2-UK
Package contents
Quantity Description
1 Homematic IP Radiator Thermostat UK
3 Adapters Danfoss (RA, RAV and RAVL)
1 Danfoss RAV spigot extension
1 Support ring
1 Nut M4
1 Cylinder head screw M4 x 12 mm
2 1.5 V LR6/mignon/AA batteries
1 Operating manual
Documentation © 2017 eQ-3 AG, Germany
All rights reserved. Translation of the original version in German.
This manual may not be reproduced in any format, either in
whole or in part, nor may it be duplicated or edited by electronic,
mechanical or chemical means, without the written consent of
the publisher.
Typographical and printing errors cannot be excluded. However,
the information contained in this manual is reviewed on a regular
basis and any necessary corrections will be implemented in the
next edition. We accept no liability for technical or typographical
errors or the consequences thereof.
All trademarks and industrial property rights are acknowledged.
Printed in Hong Kong
Changes may be made without prior notice as a result of technical advances.
151305
Version 1.0 (02/2017)
2
1
A
C
D
E
B
F
G
L
J
K
M
H
I
Bevollmächtigter des Herstellers:
Manufacturer’s authorised representative:
eQ-3 AG
Maiburger Straße 29
26789 Leer / GERMANY
www.eQ-3.de
Free download of the Homematic IP app!

3
4
5
6
P
N
O
R
8
7

1
Table of contents
1 Information about this manual.................................... 2
2 Hazard information ........................................................ 2
3 Function and device overview ....................................4
4 General system information ........................................ 6
5 Start-up ............................................................................ 6
5.1 Teaching-in ........................................................................... 6
5.2 Mounting ............................................................................... 8
5.2.1 Mounting the radiator thermostat....................... 9
5.2.2 Adapter for Danfoss ..............................................11
5.2.3 Support ring ............................................................15
5.3 Adaption run ........................................................................15
6 Operation ....................................................................... 16
7 Replacing batteries .......................................................17
8 Troubleshooting ........................................................... 19
8.1 Weak batteries .................................................................... 19
8.2 Command not confirmed ................................................ 19
8.3 Duty cycle ..........................................................................20
8.4 Error codes and flashing sequences ..............................21
9 Restore factory settings .............................................. 23
10 Maintenance and cleaning ......................................... 24
11 General information about radio operation ........... 25
12 Technical specifications .............................................. 26
2
Information about this manual
1 Information about this manual
Please read this manual carefully before beginning operation with your Homematic IP components. Keep the
manual so you can refer to it at a later date if you need
to.
If you hand over the device to other persons for use,
please hand over this manual as well.
Symbols used:
Aenon!
This indicates a hazard.
Note.
This section contains important additional information!
2 Hazard information
Do not open the device. It does not contain any
parts that can be maintained by the user. In the
event of an error, please have the device checked
by an expert.
For safety and licensing reasons (CE),
unauthorized change and/or modification of the
device is not permitted.
3
Hazard information
The device may only be operated in dry and
dust-free environment and must be protected
from the eects of moisture, vibrations, solar or
other methods of heat radiation, cold and mechanical loads.
The device is not a toy; do not allow children to
play with it. Do not leave packaging material lying around. Plastic films/bags, pieces of polystyrene, etc. can be dangerous in the hands of a
child.
We do not assume any liability for damage to
property or personal injury caused by improper
use or the failure to observe the hazard information. In such cases any claim under warranty is
extinguished! For consequential damages, we
assume no liability!
The device may only be operated within residential buildings.
Using the device for any purpose other than that
described in this operating manual does not fall
within the scope of intended use and shall invalidate any warranty or liability.

4
Function and device overview
3 Function and device overview
With the Homematic IP Radiator Thermostat you can
conveniently regulate the room temperature via the
Homematic IP smartphone app according to individually tailored heating phases. According to your personal
needs, you can create three dierent heating profiles
with up to 6 heating phases per day.
In the climate control solution, the radiator thermostat
can simply be connected to the Homematic IP Access
Point. In connection with the Homematic IP Window /
Door Contact, the temperature is automatically reduced
during ventilation. For precise regulation of the room
temperature, the Homematic IP Wall Thermostat with
Humidity Sensor can measure the actual temperature of
a room and transmit the data to the radiator thermostat.
This ensures that the temperature is measured at the
right place in the room.
The radiator thermostat fits to all common radiator
valves and is easy to mount - without having to drain any
water or intervene in the heating system. With the additional boost function, cool rooms can be heated within
short by opening the heating valve.
5
Function and device overview
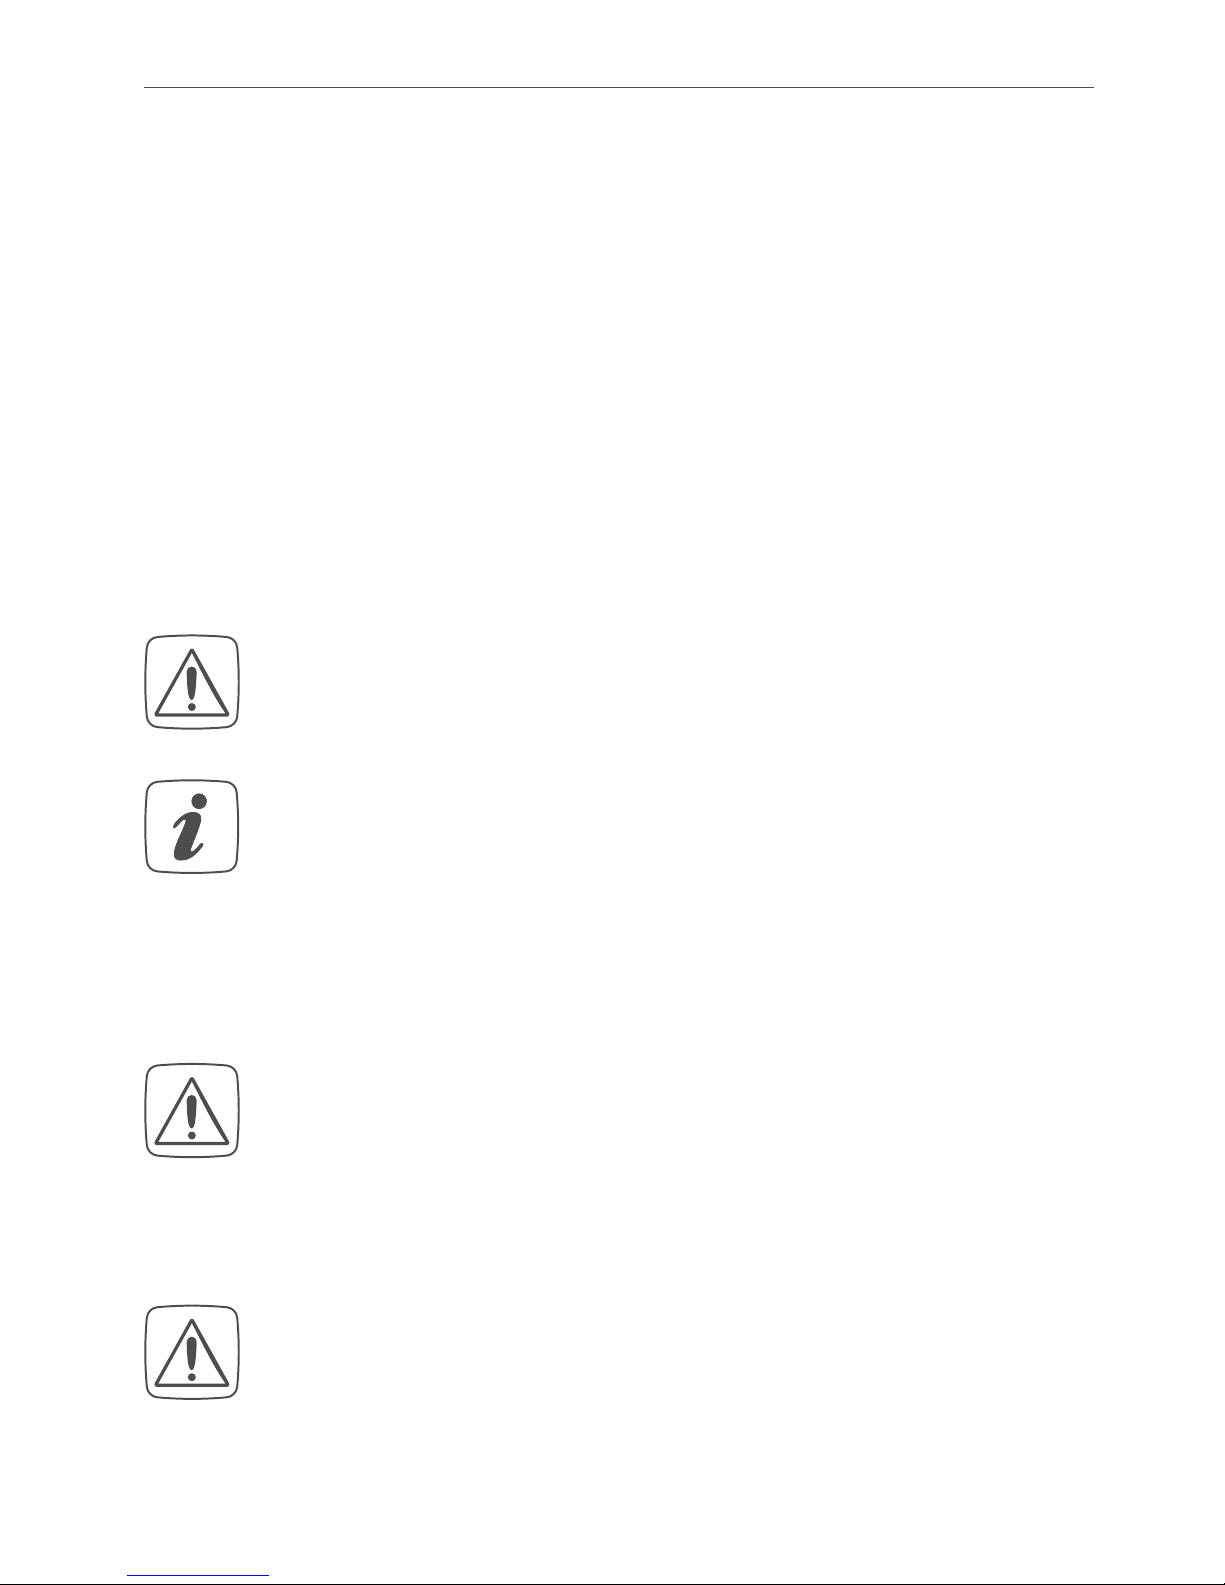
Device overview (see figure 1):
(A) Control wheel/boost button
(B) Battery compartment cover
(C) System button (teach-in button and LED)
(D) Display
(E) Metal nut
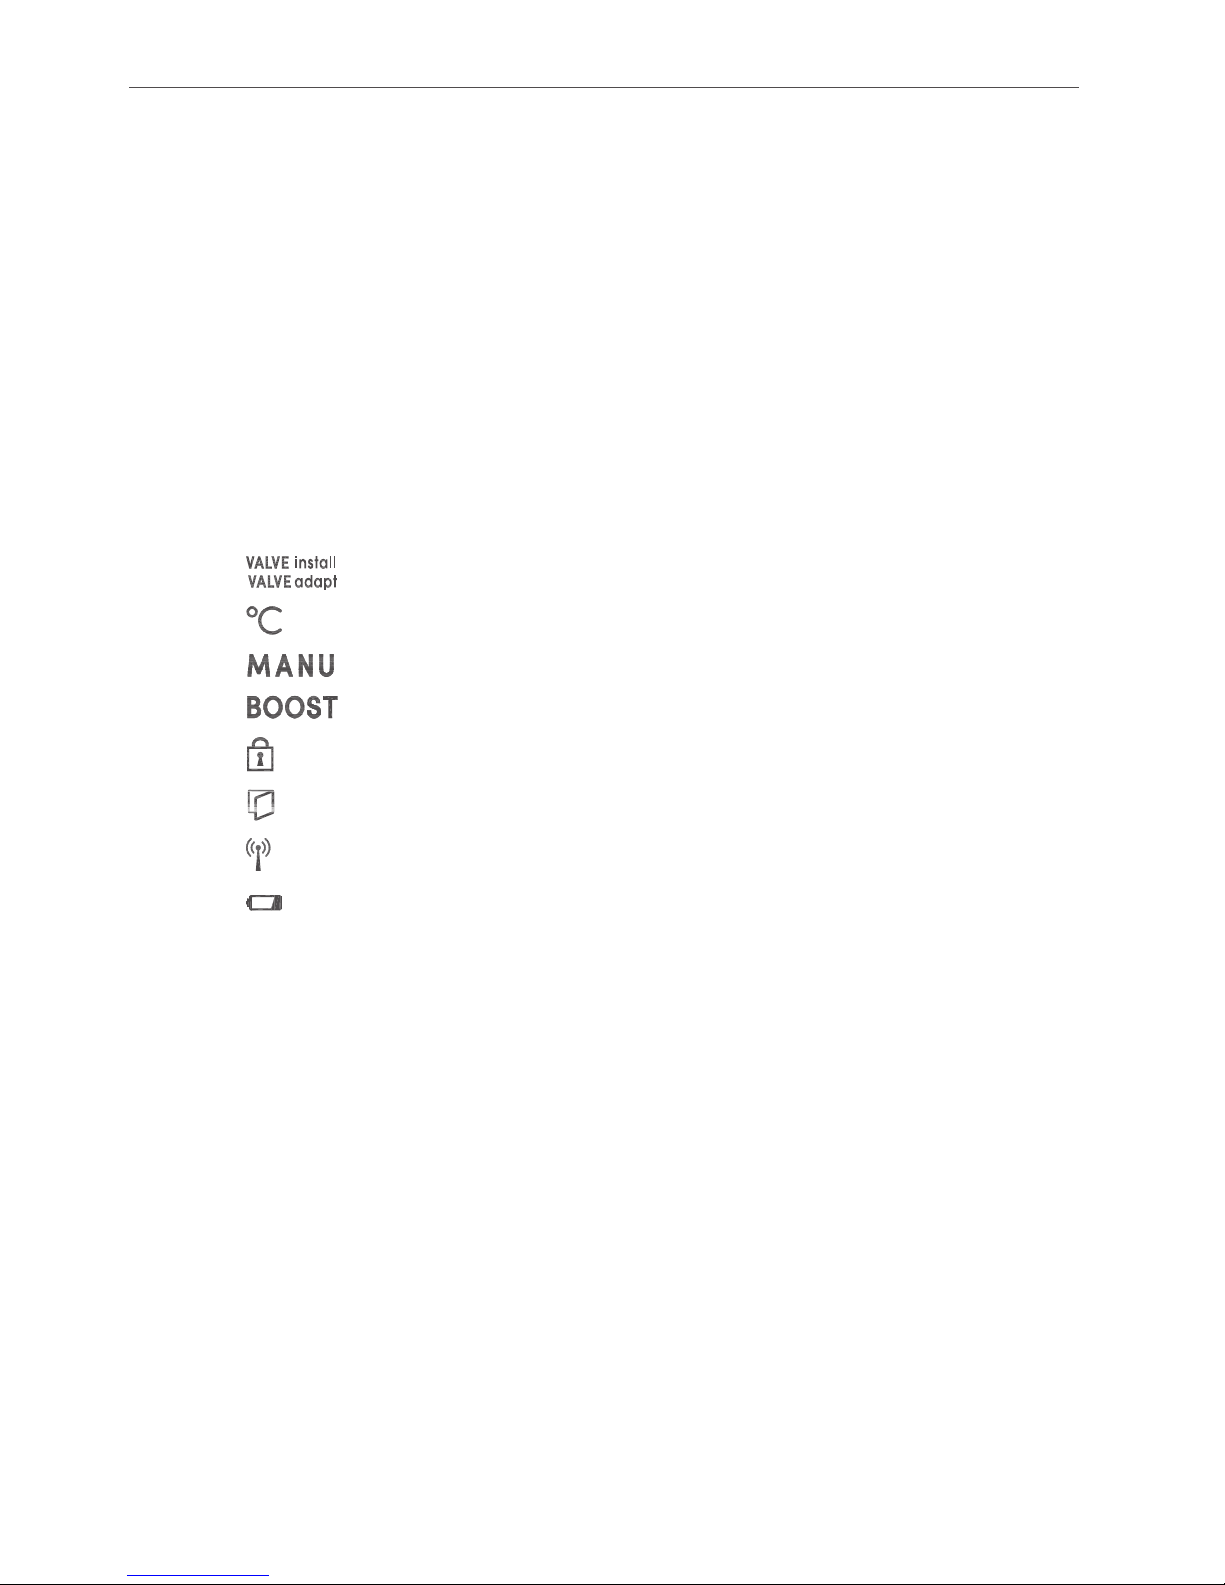
Display overview (see figure 2):
(F) Valve information
(G) Setpoint temperature
(H) Manual operation
(I) Boost mode
(J) Operating lock
(K) Open window symbol
(L) Radio transmission
(M) Battery symbol
6
General system information
4 General system information
This device is part of the Homematic IP smart home
system and works with the Homematic IP radio protocol. All devices of the system can be configured
comfortably and individually with the Homematic IP
smartphone app. Alternatively, you can operate the
Homematic IP devices via the Homematic Central
Control Unit CCU2 or in connection with various partner solutions. The available functions provided by the
system in combination with other components are
described in the Homematic IP User Guide. All current technical documents and updates are provided at
www.eQ-3.de.
5 Start-up
5.1 Teaching-in
Please read this enre secon before starng
the teach-in procedure.
First set up your Homematic IP Access Point via
the Homematic IP app to enable operation of
other Homematic IP devices within your system.
For further information, please refer to the operating manual of the Access Point.
To integrate the radiator thermostat into your system
and enable it to communicate with other Homematic IP
7
Start-up
devices, you must teach-in the device to your Homematic IP Access Point first.
To teach-in the radiator thermostat, please proceed as
follows:
• Open the Homematic IP app on your smartphone
.
• Select the menu item “Teach-in device”.
• Remove the insulation strip from the battery
compartment (B) of the radiator thermostat.
Teach-in mode remains activated for 3 minutes.
You can manually start the teach-in mode for
another 3 minutes by pressing the system button
(C) shortly (see figure 3).
• Your device will automatically appear in the
Homematic IP app.
• To confirm, please enter the last four digits of the
device number (SGTIN) in your app or scan the
QR code. Therefore, please see the sticker supplied or attached to the device.
• Please wait until teach-in is completed.
• If teaching-in was successful, the LED lights up
green. The device is now ready for use.
If the LED lights up red, please try again.
• Please select, in which application (e.g. climate
control) you would like to use the device.
 Loading...