

HoMedics SS-4520-CA Instruction Manual
1
Sound Spa
®
Projection Clock Radio
Instruction Manual and
Warranty Information
SS-4520-CA
Le manuel français commence
à la page 11
#
1 BRAND IN MASSAGE*
NO 1 EN MASSAGE*
#
1 BRAND IN MASSAGE*
1
year
limited warranty
2
Create your perfect sleep environment.
Thank you for purchasing Sound Spa, the HoMedics acoustic relaxation machine.
This, like the entire HoMedics product line, is built with high-quality craftsmanship to
provide you years of dependable service. We hope that you will find it to be the finest
product of its kind.
Sound Spa helps create your perfect sleep environment. Fall asleep to any of its eight
calming sounds, then wake to nature sounds or alarm. Sound Spa can also mask
distractions to improve your concentration while you read, work or study.
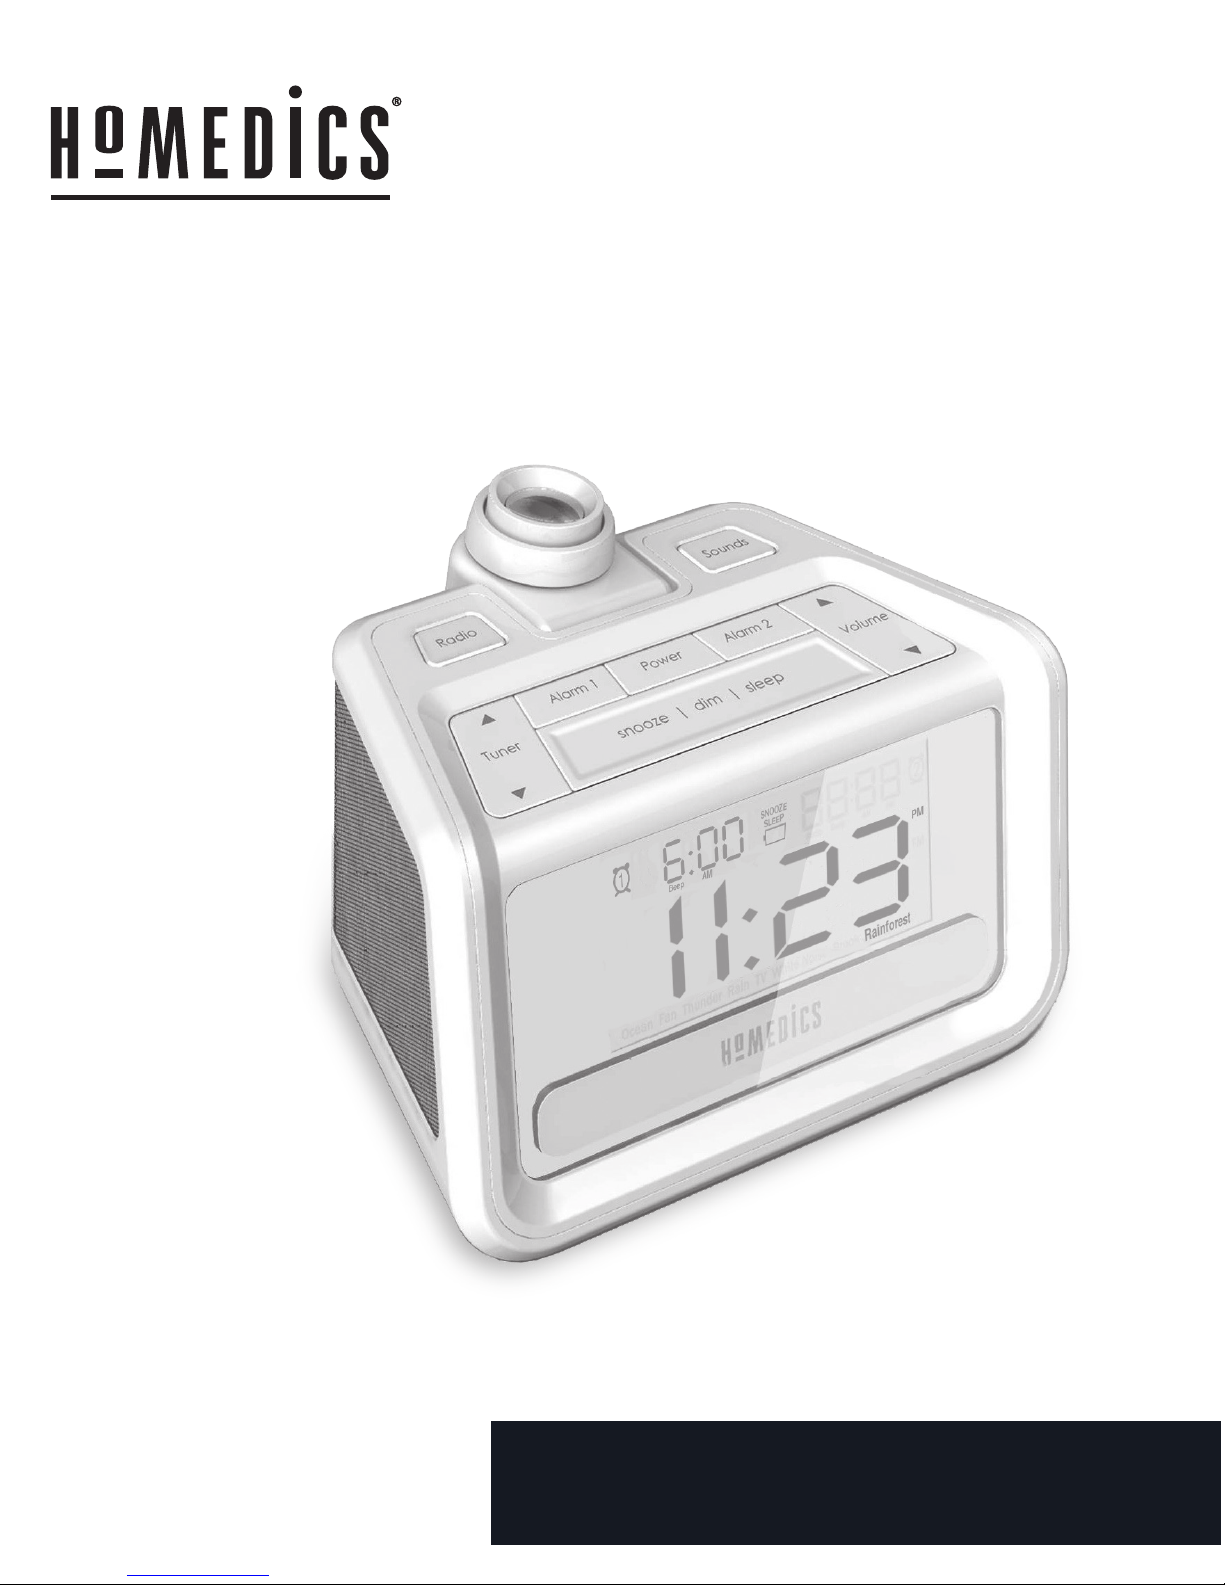
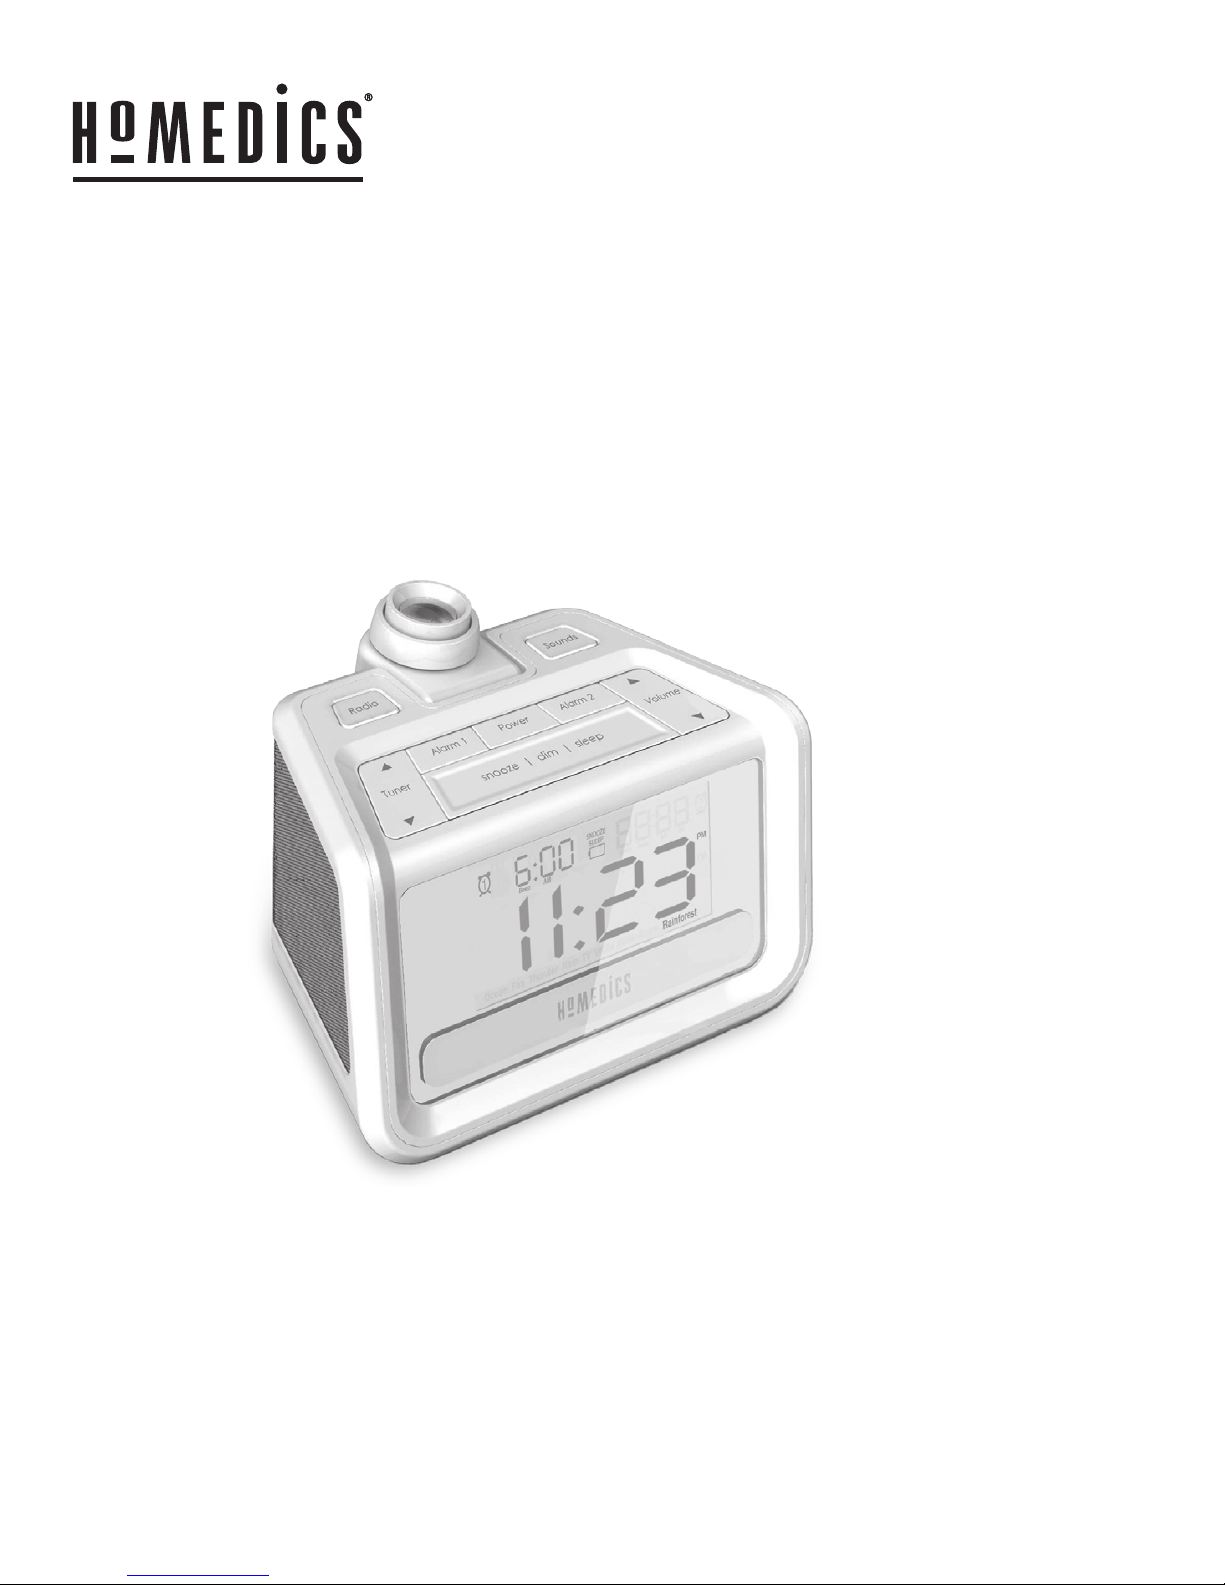
Sound Spa Clock Radio Features
• 8 Nature Sounds: rain, ocean, brook, white noise, thunderstorm, rainforest, fan,
and campfire.
• Built-in projector to display time on ceiling, wall, or any flat surface
• Full function dual alarm with snooze and gradual wake
• Digital FM radio
• Enhanced LCD display
• Battery backup (Battery type CR-2032)
#
1 BRAND IN MASSAGE*
NO 1 EN MASSAGE*
#
1 BRAND IN MASSAGE*

3
IMPORTANT SAFEGUARDS:
WHEN USING AN ELECTRICAL PRODUCT, BASIC PRECAUTIONS SHOULD ALWAYS
BE FOLLOWED, INCLUDING THE FOLLOWING:
READ ALL INSTRUCTIONS BEFORE USING
WARNING: DO NOT PLACE SPEAKERS TOO CLOSE TO EARS. MAY
CAUSE DAMAGE TO EAR DRUMS, ESPECIALLY IN YOUNG CHILDREN.
• Close supervision is necessary when this product is used by, on or near
children, invalids or disabled persons.
• Use this product only for its intended use as described in this manual. Do
not use attachments not recommended by HoMedics.
• DO NOT place or store this product where it can fall or be dropped into a
tub or sink.
• DO NOT place or drop into water or any other liquid.
• Not for use by children. THIS IS NOT A TOY.
• Turn off product when not in use.
• NEVER operate this product if it has a damaged cord, plug, cable or
housing.
• Keep away from heated surfaces.
• Only set on dry surfaces. Do not place on surface wet from water or
cleaning solvents.
SAVE THESE INSTRUCTIONS

4
CAUTION:
PLEASE READ ALL INSTRUCTIONS CAREFULLY BEFORE OPERATING.
• NEVER leave the product unattended, especially if children are present.
• NEVER cover the product when it is in operation.
• This unit should not be used by children without adult supervision.
• Always keep the product away from high temperature and fire.
Battery Precautions
• Use only the size and type of batteries specified.
• When installing batteries, observe proper +/- polarities. Incorrect installation of
battery may cause damage to the unit.
• Do not mix different types of batteries together (e.g., alkaline with carbon-zinc or old
batteries with new ones).
• If the unit is not going to be used for a long period of time, remove batteries to
prevent damage due to possible battery leakage.
• Do not dispose of batteries in fire. Batteries may explode or leak.
• Dispose of used batteries properly in accordance with all state, province, and
county regulations.

5
Assembly and Instructions for Use
Unpack the unit carefully. Remove all the accessories from the carton. Do not remove
any labels or stickers on the bottom of the unit or adapter. Before setting up the unit,
verify that the following contents are present:
• Sound Spa Auto Set Clock Radio x 1
• AC Adapter and power cord x 1
Power Source
This unit is supplied with an AC adapter; take the following steps to connect
the adaptor.
1. Unwind the power cord of the AC adaptor to its full length.
2. Connect the AC adapter to the DC5V Input.
3. Plug the AC adapter into an outlet (100V – 240VAC 50/60 Hz).
4. To power the unit off completely, unplug the AC adapter from the wall outlet.
NOTE: Connecting this system to any other power source may cause damage to
the system. For sufficient ventilation, keep other objects at least 4 inches away
from the unit.

6
Setting Clock Time
Press and hold (3 seconds) the TIME SET button on back of unit (Fig. 2), the hour will
begin to flash. Select the hour using the VOLUME buttons on the top to adjust the hour
(when in 12 hour mode remember to set correct AM/PM, a “PM” icon will be displayed)
(Fig. 1), press TIME SET button again to select the minute using the VOLUME buttons
on top again to adjust. Press TIME SET button again, now time is set.
NOTE: After time is set, press TIME SET button again and use the VOLUME button to
select 12 or 24 hour format.
Setting and Using the Alarms
Setting Alarm 1 or Alarm 2
1. Press and hold (3 seconds) the desired alarm button (ALARM 1 or ALARM 2)
located on the top of the unit to activate the alarm set feature. (Fig. 1)
2. Press and hold the ALARM button again and the hour will begin flashing.
3. Use the TUNER button (or the volume up/down button) on top of the unit to adjust
the hour, paying attention to the AM and PM indicators (when in 12
hour mode).
4. Press the ALARM button again and the minute will begin flashing. Use TUNER
button again to adjust the minute.
5. Press the ALARM button again to select the source. The alarm can be set to sound
a Beep, Nature Sounds or play the FM radio. Select using the TUNER button.
6. Press ALARM button again to adjust the maximum volume of the gradual wake
feature (alarm begins soft and slowly gets louder) by using the TUNER buttons to
adjust the sound level up or down.
7. Press the ALARM button a final time, the alarm is now set.
Turning Off The Alarm / Snooze Operation
The Sound Spa is equipped with gradual wake, which means that the alarm begins
soft and slowly gets louder. This will ensure a non-jarring wake-up.
• After the alarm sounds, press the SNOOZE bar located on the top of the unit and
the alarm will sound again after nine minutes.
NOTE: You may only press the SNOOZE button during the ALARM mode for one
hour (7 times). After the seventh time, the alarm will turn off and will not sound again
until the next set time.
• To turn off the alarm, press any button (except the SNOOZE/DIM/SLEEP button) on
the top of the unit.
 Loading...