

HoMedics ROK-LED200-GB Instruction Manual
65
2 Year Guarantee
Instruction Manual
By
ROK–LED200–GB
Rokit Gel Polish Professional Kit
INSTRUCTIONS FOR USE
PREPARATION
–Make sure hands and nails are clean and dry.
–File and shape the nails as desired, pushing back cuticles (file, buffer
and cuticle stick provided in pack).
–Using a lint free cleansing pad, apply a small amount of Rokit Ready
to the nails by wiping over the surface of the nails to clean and
prepare the nails for application. This will remove any dust, oil or
grease on the nails.
–N.B. Try not to touch the nail once this has been applied. If so, please
wipe the nails again with the solution
GEL POLISH APPLICATION & CURING - FIRST COAT
–Shake the bottle of Rokit One Step
Gel Polish vigorously before use.
–Apply one even thin coat of Rokit
One Step Gel Polish to the nails in
a sweeping motion away from the
cuticle and towards the tip of the
nails until the whole nail is coated
evenly. Remember to cap the free edge of the nail to prevent
chipping. Take care to avoid the skin and cuticle area.
–N.B If the gel polish is accidentally applied to the skin around the
nail, use the cuticle stick to remove before curing under the lamp.
–N.B. Rokit One Step Gel Polish can be applied to both finger nails and
toe nails for either a manicure or pedicure.
–Place polished nails into the Rokit
Professional LED Curing Lamp,
with nails facing upwards. Make
sure the nails are directly under
the LED lights for optimal curing
–Press the black push button on
the lamp. This will turn the lamp
on.
–Cure nails for 1 minute (you will
need to time this – the timer is
NOT set at 1 minute).
–Turn the lamp off by pressing the
black push button again once the
time is up.
–N.B Do not touch the nails.
–Recommended: apply Rokit One Step Gel Polish to four finger nails
on one hand and cure. Then apply to the other four finger nails and
cure. Finally apply to both thumb nails and cure together.
GEL POLISH APPLICATION & CURING - SECOND COAT
–Repeat the same application process as above and apply a second
coat of Rokit One Step Gel Polish.
–Place polished nails for a second time into the Rokit Professional LED
Curing Lamp for 2.5 minutes. Please note the timer is set at 2.5
minutes and will automatically turn off after this time.
–N.B To achieve a rich, shiny and full look on the nails, we recommend
at least 2 applications of Rokit One Step Gel Polish. Depending on the
desired look and depth of the colour, further coats may be applied.
–N.B Rokit One Step Gel Polish can be applied to both finger nails and
toe nails for either a manicure or pedicure.
–Recommended: apply Rokit One Step Gel Polish to four finger nails
on one hand and cure. Then apply to the other four fingers and cure.
Finally apply to both thumbs and cure together.
–N.B Make sure the gel polish bottle is kept away from the lamp
throughout application. Always place the lid on tightly after use to
avoid liquid drying up. This product reacts to sunlight and should not
be left open and exposed. Store away from direct sunlight.
Your nails are now ready to Rok!
CARING FOR YOUR ROKIT NAILS
–Recommended: Apply a drop of Rokit Conditioning Cuticle Oil to
nails once a day to help keep the natural nail, cuticle area and
surrounding skin nourished and hydrated. It may also increase the
wear of your Rokit nails.
–Whilst Rokit nails are long lasting, it is important that you take care of
your polished nails. When using household detergents, for example,
you may wish to protect your Rokit nails by wearing rubber gloves.
–N.B. All natural nails are unique and produce different amounts of
natural oils. This may affect the longevity of your Rokit nails. If you
experience bubbling or lifting of the gel polish within a day or two of
curing it could have been applied too thickly. Remove the gel polish
using Rokit Remove and re apply with thinner coats and cure
following the instructions. You may also wish to experiment with a
longer curing time. If you experience chipping of the gel polish within
a day or two of application, it could be that the nail edge was not
sealed/capped sufficiently. Repeat as above ensuring to securely cap
the free edge as much as possible.
GEL POLISH REMOVAL
Pour a considerable amount of Rokit
Remove into a small bowl/container.
–Gently tilt to get maximum depth
of the remover.
–Place nails into the remover and
soak for up to 5 minutes, make
sure the whole surface of the nails
are covered.
–Remove nails from the remover. A large amount of the Rokit One Step
Gel Polish should have peeled/soaked off.
–Gently remove the gel polish from the nail surface using the cuticle
stick to assist if needed. Be careful not to damage the natural nail.
–Recommended: once the gel polish is completely removed, if
desired apply a suitable amount of Rokit Conditioning Cuticle Oil to
nourish the nail (sold separately).
Visit www.rokitbeauty.com for the full range of Rokit One Step
Gel Polish colours and to buy additional accessories, as well as
tips and FAQS.
IB-ROK-LED200GB-0514-01
By
2 YEAR G UARANTEE
HoMedics Inc. guarantees this product from defect in material and workmanship for a period of 2 years from the date of purchase, except as noted
below. This HoMedics product guarantee does not cover damage caused by misuse or abuse; accident; the attachment of any unauthorised
accessory; alteration to the product; or any other conditions whatsoever that are beyond the control of HoMedics. This guarantee is effective only if
the product is purchased and operated in the UK / EU. A product that requires modification or adaptation to enable it to operate in any country other
than the country for which it was designed, manufactured, approved and / or authorised, or repair of products damaged by these modifications is
not covered under this guarantee. HoMedics shall not be responsible for any type of incidental, consequential or special damages. To obtain
guarantee service on your product, return the product post-paid to your local service centre along with your dated sales receipt (as proof of
purchase). Please refer to ‘HoMedics Service Centre’ information leaflet for details of your local service centre. Upon receipt, HoMedics will repair or
replace, as appropriate, your product and return it to you, post-paid. Guarantee is solely through HoMedics Service Centre. Service of this product by
anyone other than the HoMedics Service Centre voids the guarantee. This guarantee does not affect your statutory rights.
HoMedics Group Ltd, HoMedics House, Somerhill Business Park, Five Oak Green Road, Tonbridge, Kent TN11 0GP, UK. T +44 (0) 1273 567 724.
F +44 (0) 131 202 0697. e support@rokitbeauty.co.uk www.rokitbeauty.com
IB-ROK-LED200UK-0514-01_Layout 1 11/06/2014 12:03 Page 1
3
2
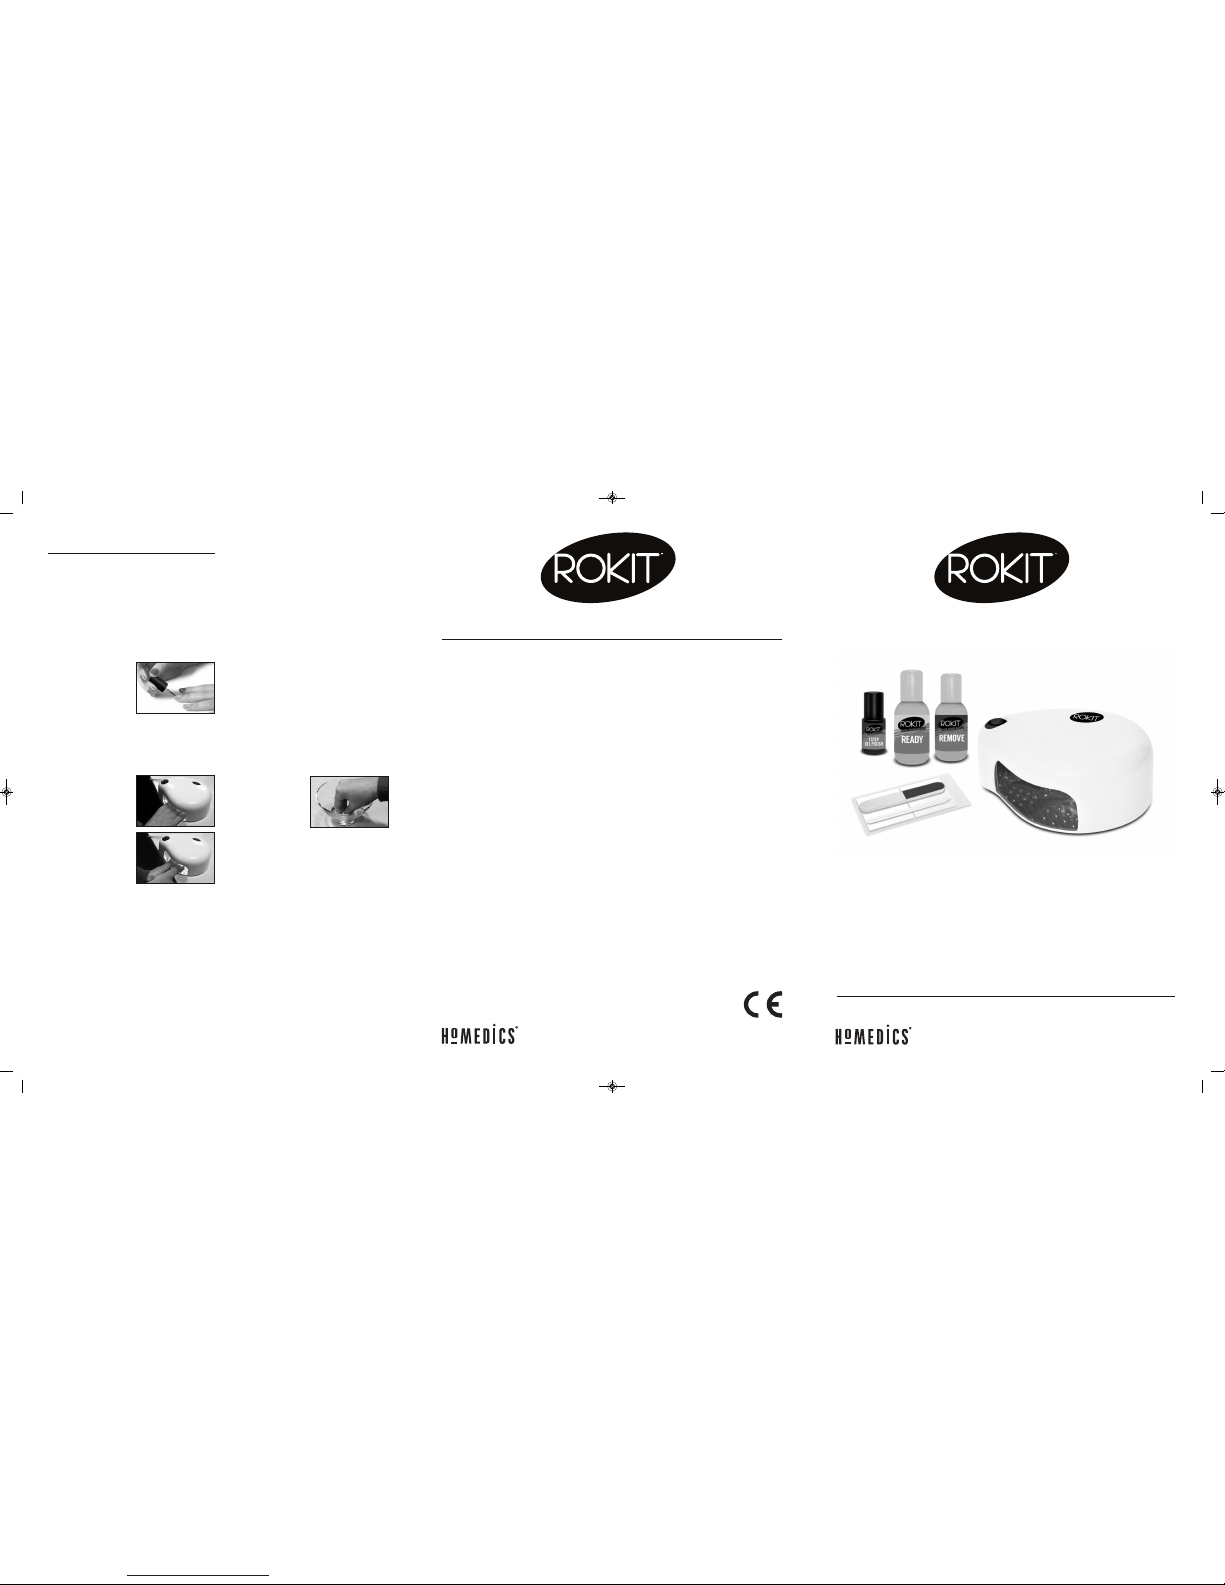
PRODUC T FEATURES
Rokit Professional LED Curing Lamp– for curing the Rokit One Step Gel Polish once applied.
5ml Rokit One Step Gel Polish– gel polish applied to the nails (Find us on Facebook or visit www.rokitbeauty.com to see our full colour range).
50ml Rokit Ready– solution used to prepare the nails for application by removing any grease or oil on the nails.
50ml Rokit Remove– solution used to remove the Rokit One Step Gel Polish from nails.
X20 lint free cleansing pads– used with the Rokit Ready and Rokit Remove solutions.
Two sided nail file/buffer– file (black section) used to file the nail into desired shape and length. Buffer (grey section) to give the nail extra shine.
Cuticle stick– used to push down the skin around the cuticle area. Also used to help when removing Rokit One Step Gel Polish.
N.B.Please check specific warnings included with the Rokit One Step Gel Polish, Rokit Ready and Rokit Remove.
R
okit Professional
L
ED Curing Lamp
50 ml Rokit Remove
5ml Rokit One Step
Gel Polish
50 ml Rokit Ready
Two sided nail file/buffer
Cuticle stick
Please read your quick start guide before use
STEP 1: PREPARATION
– Make sure hands and nails are clean and dry. File and shape the nails
as desired and push back the cuticles. Using a lint free cleansing pad,
apply a small amount of Rokit Ready to clean and prepare the nails
for application.
STEP 2: POLISHING – FIRST COAT
– Shake the bottle well and apply one even thin coat of Rokit One Step
Gel Polish to the nails. Remember to cap the free edge of the nail.
Take care to avoid the skin and cuticle area.
N.B.Rokit One Step Gel Polish can be applied to both finger nails
and toe nails for either a manicure or pedicure.
STEP 3: CURING
– Cure nails under the Rokit Professional LED Curing Lamp for 1
minute. Press the black push button to turn the lamp on. You will
need to time this and press the button again to turn the lamp off
once the time is up.
Recommended:Apply Rokit One Step Gel Polish to four finger nails
on one hand and cure. Then apply to the other four finger nails and
cure. Finally apply to both thumb nails and cure together.
STEP 4: POLISHING - SECOND COAT
– Apply a second even thin coat of Rokit One Step Gel Polish onto the
nails.
STEP 5: CURING
– Cure nails under the Rokit Professional LED Curing Lamp for another
2.5 minutes. Please note the lamp timer is set at 2.5 minutes and
will automatically turn off after this time.
STEP 6: FINISHING
Your nails are now ready to Rok!
N.B.For more detailed instructions please consult page 5.
READ ALL IN STRUCTI ONS BEFOR E USE.
SAVE THESE IN STRUCTI ONS FOR FU TURE REFE RENCE.
IMPORTANT SAFEGUARDS:
WHEN USING ELECTRI CAL PROD UCTS, ESP ECIALLY WHEN
CHILDREN A RE PRESEN T, BASIC SAFET Y PRECAU TIONS SHO ULD
ALWAYS BE FOLLOWE D, INCLUDING T HE FOLLOWI NG:
• ALWAYS unplug the appliance from the electrical outlet immediately
after using and before cleaning. To disconnect remove plug from outlet.
• NEVER leave an appliance unattended when plugged in. Unplug
from the mains outlet when not in use and before putting on or
taking off parts or attachments.
• This appliance can be used by children aged from 8 years and above
and persons with reduced physical, sensory or mental capabilities or
lack of experience and knowledge if they have been given
supervision or instruction concerning use of the appliance in a safe
way and understand the hazards involved. Children should be
supervised to ensure that they do not play with the appliance.
• DO NOT reach for an appliance that has fallen in water or other
liquids. Switch off at the mains and unplug it immediately. Keep dry
– DO NOT operate in wet or moist conditions.
• NEVER insert pins or other metallic fasteners into the appliance.
• Use this appliance for the intended use as described in this booklet.
• NEVER operate the appliance if it has a damaged cord or plug, if it is
not working properly, if it has been dropped or damaged, or dropped
into water. Return it to the HoMedics Service Centre for examination
and repair.
• Keep cord away from heated surfaces.
• Excessive use could lead to the product’s excessive heating and
shorter life. Should this occur, discontinue use and allow the unit to
cool before operating.
• NEVER drop or insert any object into any opening.
• DO NOT operate where aerosol (spray) products are being used or
where oxygen is being administered.
• DO NOT operate under a blanket or pillow. Excessive heating can
occur and cause fire, electrocution or injury to persons.
• DO NOT carry this appliance by the cord or use cord as a handle.
• DO NOT use outdoors.
• This product requires 220-240 V AC power.
• DO NOT attempt to repair the appliance. There are no user
serviceable parts. For service, send to a HoMedics Service Centre. All
servicing of this appliance must be performed by authorised
HoMedics service personnel only.
• Do not place or store appliance where it can fall or be pulled into a
bath or sink. Do not place in or drop into water or other liquid.
• Failure to follow the above may result in the risk of fire or injury.
• Burns can result from improper use.
• Appliances are not to be used by:
persons having abnormal discoloured patches on the skin;
persons suffering from sunburn;
persons under a doctor’s care for diseases that involve
photosensitivity;
persons receiving photosensitising medications;
• The appliance must not be used if the timer is faulty
• If unexpected side effects, such as itching, occur within 48 hours of
the first session of using a UV appliance, medical advice should be
sought prior to further UV exposure;
– in cases of pronounced individual sensitivity or allergic reaction to
ultraviolet radiation, medical advice is recommended before
starting exposure;
– the following precautions must be taken:
• Certain medical conditions or side effects of certain medicines may
be aggravated by ultraviolet exposure. In case of doubt, seek medical
advice;
• Seek medical advice if persistent lumps or sores appear on the skin or
if there are changes in pigmented moles;
• Excessive exposure to UV can be damaging to the skin. Use only for
the recommended time. For extra protection apply sunscreen to any
skin exposed under the lamp. N.B. Avoid applying to the nail as this
will affect the application and curing of the gel polish.
SAFETY CAUTIONS :
PLEASE REA D THIS SEC TION CAR EFULLY BEFO RE USING TH E
APPLIANCE.
• If you have any concerns regarding your health, consult a
doctor before using this appliance.
• Individuals with pacemakers and pregnant women should consult a
doctor before using this appliance.
• DO NOT use on an infant, invalid or on a sleeping or unconscious
person. DO NOT use on insensitive skin or on a person with poor
blood circulation.
• This product should NEVER be used by any individual suffering from
any ailments that would limit the user’s capacity to operate the
controls.
• NEVER use directly on swollen or inflamed areas or skin eruptions.
• If you feel any discomfort whilst using this appliance, discontinue
use and consult your doctor.
• Do not use for longer than the recommended time.
• If the product feels excessively hot, switch off at mains and contact
the HoMedics Service Centre.
• Persons insensitive to heat must be careful when using the
appliance.
Cleaning
• Cleaning shall not be done by children without supervision.
• Clean only with a soft, slightly damp sponge.
• Never allow water or any other liquids to come into contact with the
appliance
• Do not immerse in any liquid to clean.
• Never use abrasive cleaners, brushes, glass / furniture polish, paint
thinner etc to clean.
Storage
Place the appliance in its box or in a safe, dry, cool place. Store all wet
goods at room temperature and out of direct sunlight.
For guarantee information please refer to page 6.
Plug (MODEL ROK-LED200-GB ONLY)
If the plug on this appliance is damaged, it can be replaced with a BS 1363 plug, fitted with a 3A BS 1362 fuse. Only
use a 3amp fuse with this appliance. Care must be taken when changing the plug. If in doubt, contact a qualified
electrician.
WEEE explanation
This marking indicates that this product should not be disposed with other household wastes throughout the EU. To prevent possible harm to
the environment or human health from uncontrolled waste disposal, recycle it responsibly to promote the sustainable reuse of material
resources. To return your used device, please use the return and collection systems or contact the retailer where the product was purchased. They can
take this product for environmental safe recycling.
4
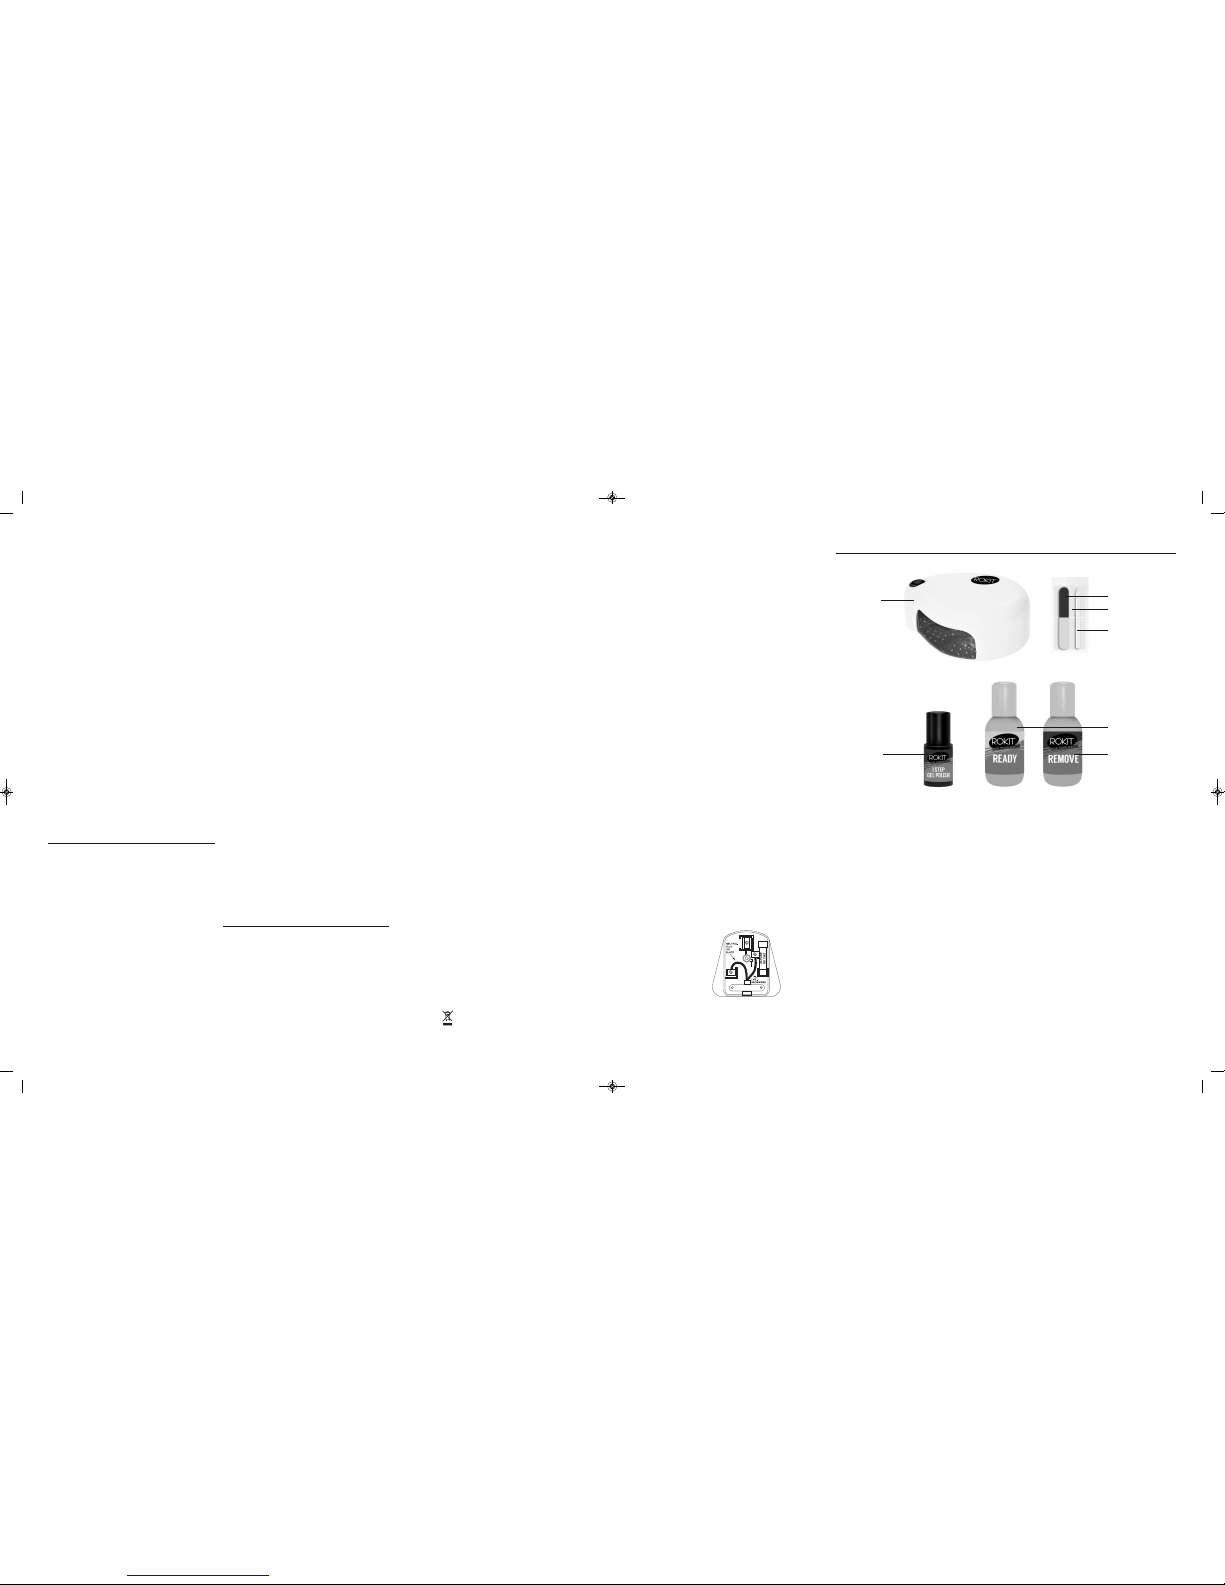
X
20 lint free cleansing pads
IB-ROK-LED200UK-0514-01_Layout 1 11/06/2014 12:03 Page 4
 Loading...