

Page 1
HAI Omni-Bus 1-Channel Wall Mount Remote
Model 113A00-2
SPECIFICATIONS
(See receiving
OPERATIONAL MODES
®
User’s Guide
o For use with HAI Omni-Bus Output devices
o Requires an HAI Omni-Bus RF Transceiver on an Omni-Bus
network
o Frequency: 433.92MHz
o Range: Up to 30m
INSTALLATION
Before installing the Wall Mount Remote Control, PROGRAM the
Wall Mount Remote Control into the target receiving device.
Programming is still possible after installation, but might require
the co-operation of two people if the receiving device is situated
far away from the Wall Mount Remote Control.
The Wall Mount Remote Control does NOT require ANY wiring. It
is a self-contained, battery-operated unit.
FUNCTIONS
To switch a device ON or OFF
To DIM a light (when used with an Omni-Bus Dimmer unit)
To RESTORE to a previous light intensity when the light is
switched OFF (Light Dimmer only)
Simply press and hold the button on the Wall Mount
Remote Control. Release the button as soon as the light
turns on.
OMNIBUS PROGRAMMING
See the HAI OMNIBUS Software User Guide for more information
on how to program the remote control into an Omni-Bus output
devices using the OMNIBUS Installation Software.
MANUAL PROGR AM MING
1. Place the receiving device into the programming mode. This
is normally done by pressing and holding the button on the
receiving device until its LED starts flashing continuously.
(See receiving device user guide for more information).
2.
3. Exit the programming mode on the receiving device.
(See receiving device user guide for more information).
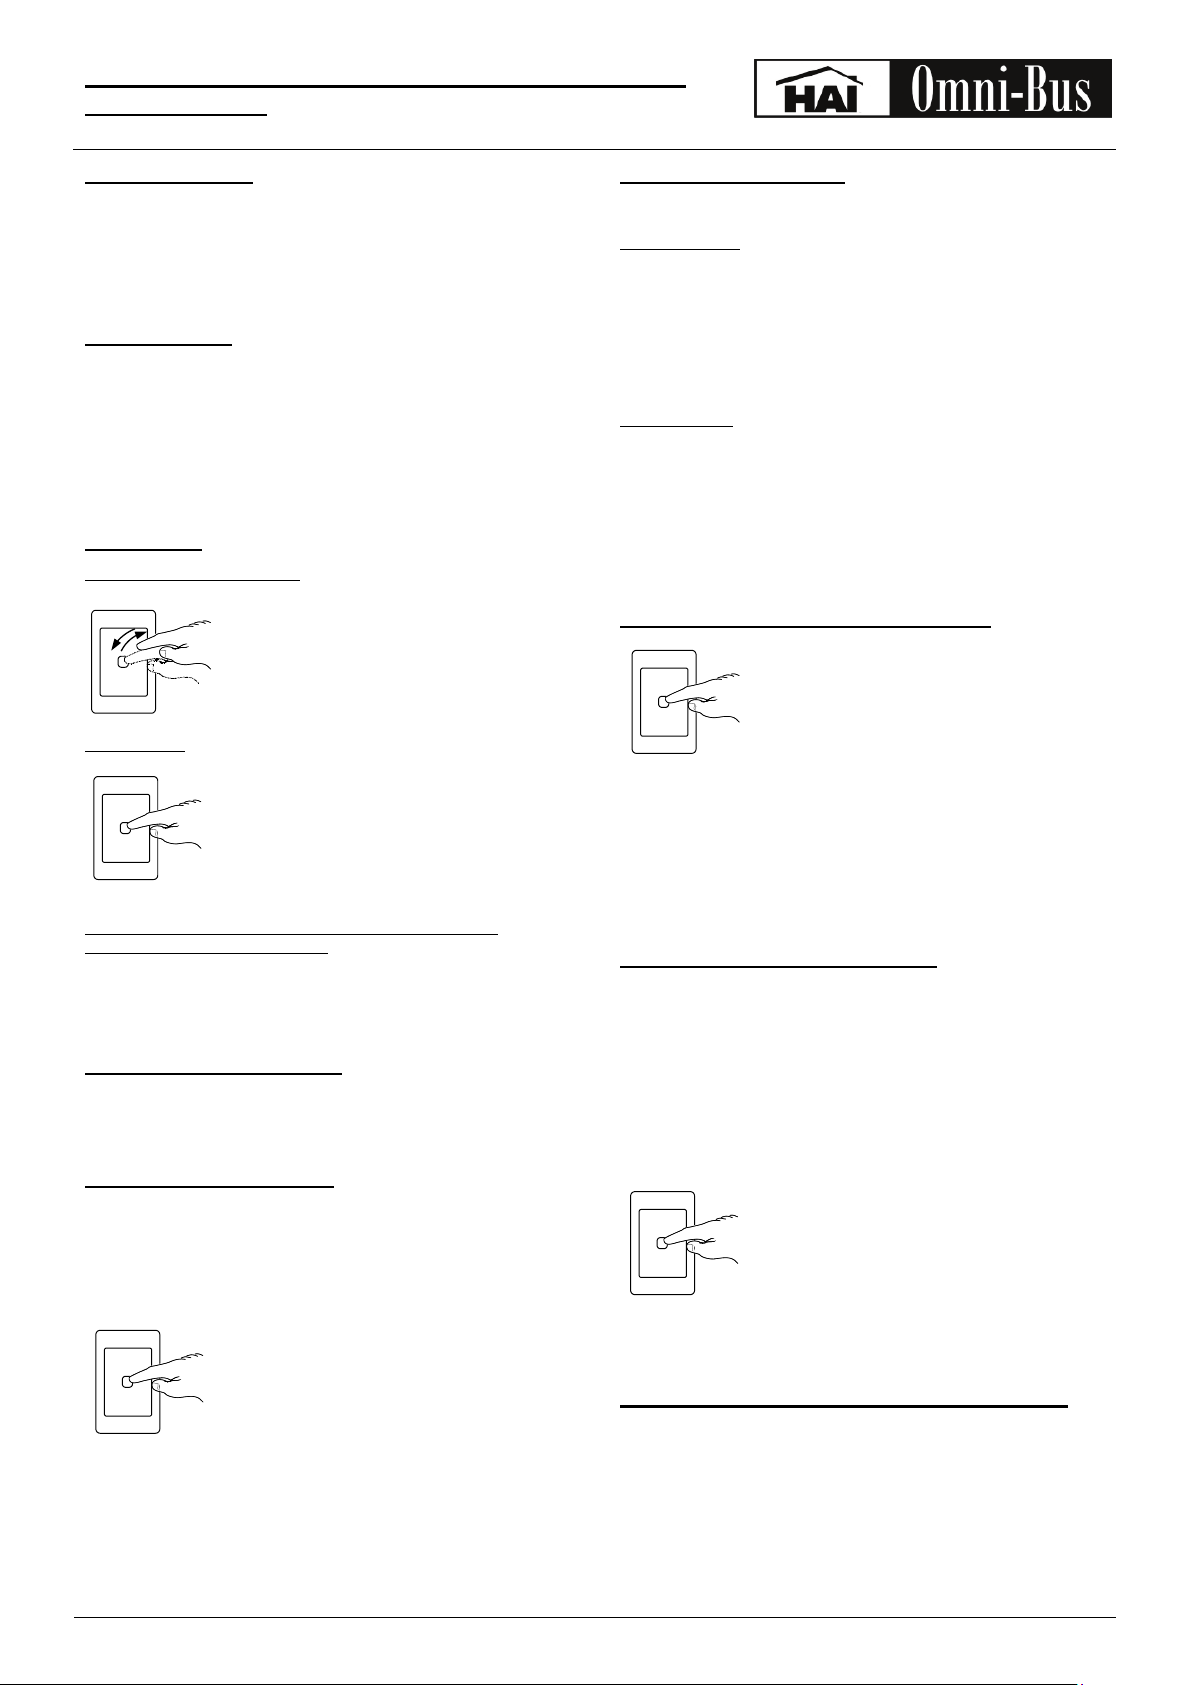
Press and release the button on the Wall
Mount Remote Control.
Press and hold the button on the Wall Mount
Remote Control.
Press and hold the button on the Wall Mount
Remote Control for exactly 10 seconds before
releasing it. Check for a confirmation signal
from the receiving device.
device user manual for more information).
The Wall Mount Remote Control has two modes of operation:
TOGGLE MODE (factory default)
In this mode, the LED indicator on the Wall Mount Remote Control
flashes 3 times when the button is pressed and released.
Every time the button on the Wall Mount Remote Control is pressed
and released, it instructs the receiving device to change its state. So
if the receiving device had been ON, it would now switch OFF or
vice versa.
ON/OFF MODE
In this mode, the LED indicator either flashes once or twice when
the button is pressed and released.
One flash indicates that the receiving device will be instructed to
switch ON, regardless of its current state.
Two flashes indicate that the receiving device will be instructed to
switch OFF, regardless of its current state.
CHANGING THE OPERATIONAL MODE
Press and release the button three times rapidly while the LED is
ON.
If the Wall Mount Remote Control was in TOGGLE mode, it will
change to the ON/OFF mode.
If the Wall Mount Remote Control was in the ON/OFF mode, it will
change to TOGGLE mode.
Press and hold the channel button on the Wall
Mount Remote Control until the indicator LED
turns on without flashing. (this operation takes
approximately 20 seconds). Release the button.
DELETING A REMOTE CONTROL
A Wall Mount Remote Control channel programmed into an
Omni-Bus receiving device may be deleted from that device by
following the procedure below:
1. Place the receiving device into the programming mode. This is
normally done by pressing and holding the button on the
receiving device until the receiving device LED starts flashing
continuously. (See receiving device user guide for more
information).
2.
3. Exit the programming mode on the receiving device. (See
receiving device user guide for more information).
Press and hold the button on the Wall Mount
Remote Control for exactly 14 seconds before
releasing it. Check for a confirmation signal
from the receiving device. (See receiving device
user guide for more information).
REMOTE CONTROL BATTERY REPLACEMENT
When the indicator LED does not function when the button is
pressed, the battery needs to be replaced.
The Wall Mount Remote Control uses one type 23A 12V battery.
© 2010 Home Automation, Inc.
www.homeauto.com
Document: 113I00-2, Rev1.0 May 2010
 Loading...