

HOME8 H13012US Quick Start Manual

What’s inside:
Smart Garage
Ultra-Secure Starter Kit
Quickstart Guide
Model No. H13012US
1x Mini Cube HD camera1x Security Shuttle 1x Garage door control button
3x Power adapters
3x Power cables
2x U-fork wires
2x 18-gauge wires
What you’ll need:
• Broadband Internet • iPhone or Android phone
• Phillips screwdriver • Home router
1x Ethernet cable
Mounting accessories
and double-sided tape
• Existing powered garage door
opener
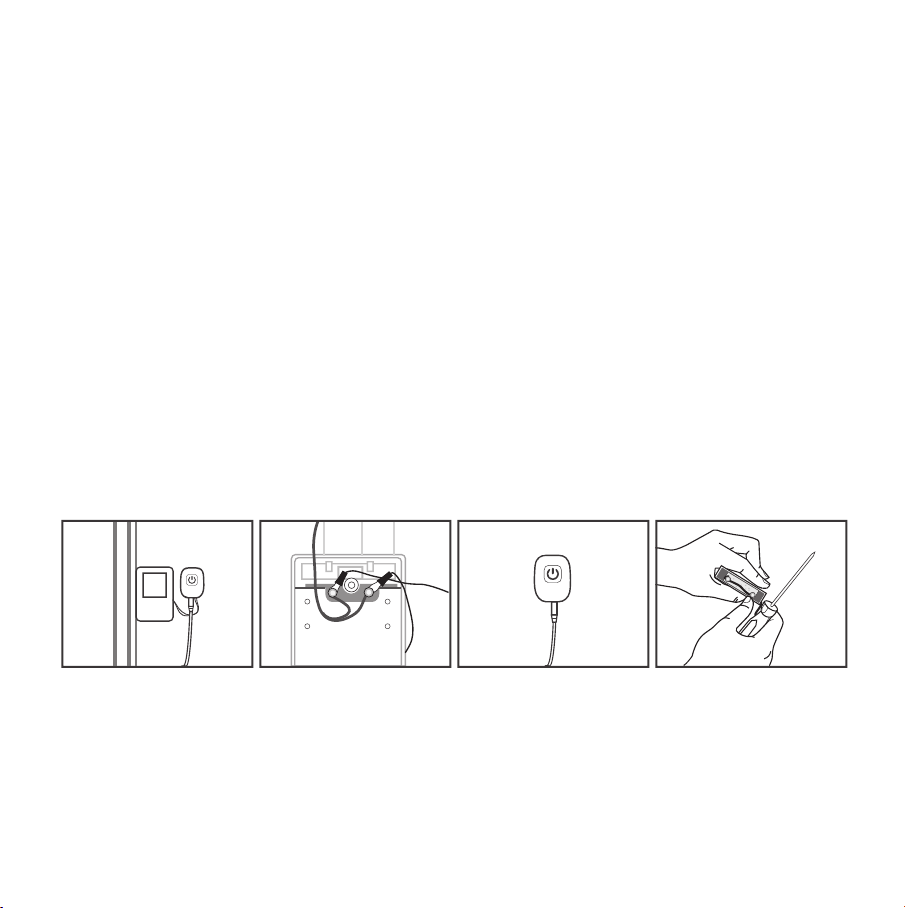
Step 1: Assemble your hardware
Unpack all of your hardware within 1-10 feet of your home router.
• Connect Security Shuttle to your DHCP-enabled router with the included Ethernet cable
• Connect Security Shuttle, Mini Cube HD camera, and garage door control button to their individual power
adapters and plug them in
Step 2: Set up your smartphone
Your phone will disrupt the setup process if it goes to sleep. So before you register your devices, disable
the autolock feature on your smartphone. You can turn it on after you’ve set up your system. Next:
• Connect your smartphone to your home Wi-Fi
• Download the Home8 app from the App Store or Google Play
• Follow the on-screen instructions and set up your account
Step 3: Choose your installation method
Review the 3 installation options below and refer to the user manual of your specific garage door opener
before you install your garage door control button.
For more information, including a list of compatible garage door openers, visit home8systems.com/faq.
Option 1: Use it with your wall existing switch
• Unscrew your existing garage door wall switch
• Locate the two wires that connect to your garage
motor. Loosen the screws that hold them in place
• Attach one U-fork wire under each screw and
tighten
• Re-mount your existing wall switch
• Continue to step 4
Option 2: Replace your existing wall switch
Replacing existing switch Remove switch completelyWith existing wall switch Attach U-fork wires
• Unscrew your existing garage door wall switch
• Locate the two wires that connect to your garage
motor. Loosen the screws that hold them in place.
• Remove your garage door wall switch completely
• Continue to step 4
 Loading...