

Page 1
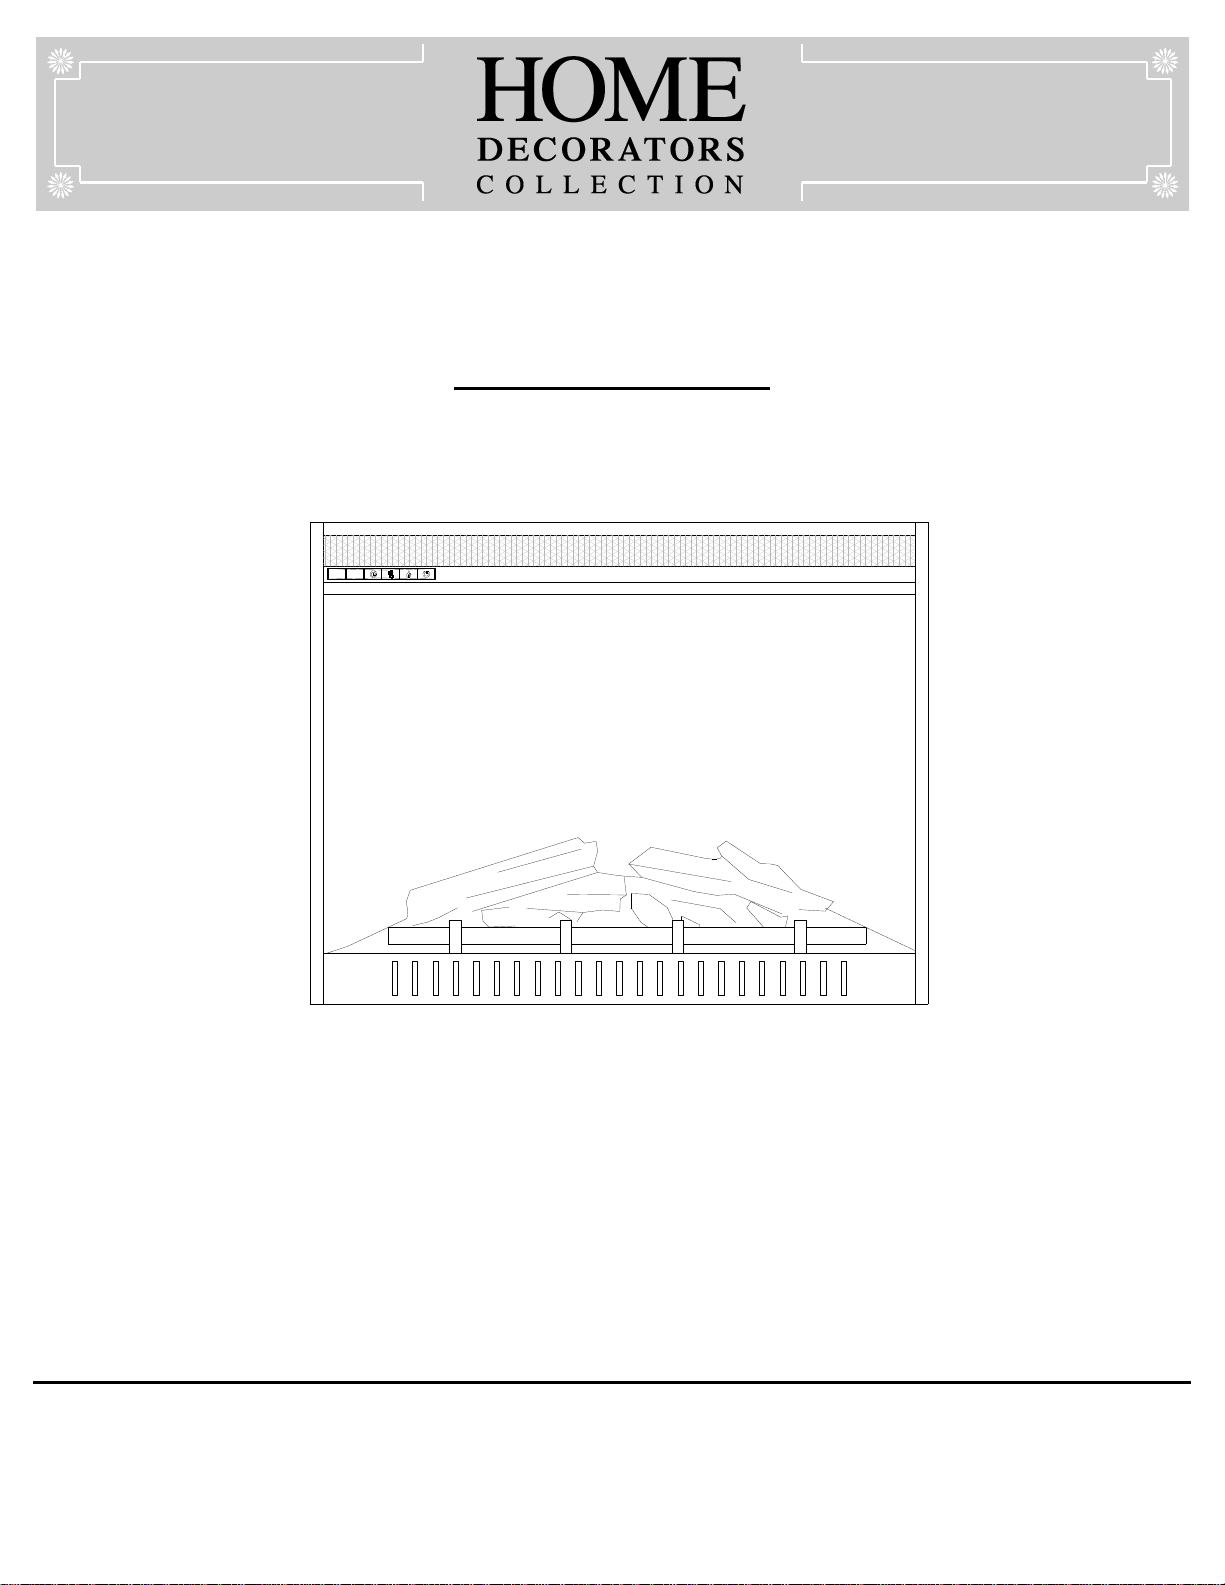
Model #SF122-26AI
USE AND CARE GUIDE
COMBINATION ELECTRIC FIREPLACE/HEATER
Questions, problems, missing parts? Before returning to the store,
call Home Decorators Collection Customer Service
8 a.m. - 6 p.m., EST, Monday-Friday
1-800-986-3460
HOMEDEPOT.COM/HOMEDECORATORS
THANK YOU
We appreciate the trust and confidence you have placed in Home Decorators Collection through the purchase of this electric fireplace/heater. We strive to
continually create quality products designed to enhance your home. Visit us online to see our full line of products available for your home improvement needs.
Thank you for choosing Home Decorators Collection!
Page 2
Table of Contents
Table of Contents .......................................................... 2
Safety Information
WARNING: There are no user serviceable parts inside the
fireplace/heater. If the unit appears to malfunction, turn the
unit off and unplug the unit from the wall immediately, and
contact Customer Service at 1-800-986-3460.
WARNING: This heater is hot when in use. To avoid
burns, do not let bare skin touch hot surfaces. If provided,
use handles when moving this heater. Keep combustible
material, such as furniture, pillows, bedding, papers,
clothes and curtains at least 3 ft. (0.9 meters) from the
front of the heater and keep them away from the sides and
rear.
WARNING: Extreme caution is necessary when any
heater is used by or near children or invalids and
whenever the heater is left operating and unattended.
WARNING: Always unplug the heater when not in use.
WARNING: Do not operate any heater with a damaged
cord or plug or after the heater malfunctions, has been
dropped or damaged in any manner. Return the heater to
an authorized service facility for examination, electrical or
mechanical adjustment, or repair.
WARNING: Do not insert or allow foreign objects to enter
any ventilation or exhaust openings as this may cause an
electric shock or fire, or damage the heater.
WARNING: A heater has hot and arching or sparking parts
inside. Do not use in areas where gasoline, paint, or
flammable liquids are used or stored.
CAUTION: While the heater is in use, the top center of the
fireplace can get hot to the touch, and may cause serious
injury or burns. Always supervise small children around the
fireplace/heater. Do not place any cloth or decorations
over the heater outlet of the fireplace, or otherwise
obstruct the heater outlet of the fireplace, as this may
cause a fire and serious injury may result.
Safety Information ......................................................... 2
Important Safety Information ...................................... 2
Save These Instructions ............................................. 2
Safety Information (continued) .................................... 3
Grounding Instructions ............................................... 3
FCC Statement ........................................................... 3
Warranty ........................................................................ 3
Pre-Operation ................................................................ 4
Electrical Specifications ............................................. 4
Package Contents ...................................................... 4
Operation ....................................................................... 5
Using the Remote Control ........................................... 7
Care and Maintenance .................................................. 8
Troubleshooting and Parts List ................................... 9
IMPORTANT SAFETY INFORMATION
PLEASE READ ALL OF THE INFORMATION IN THIS
OPERATING MANUAL, INCLUDING ALL SAFETY,
OPERATING, AND MAINTENANCE INFORMATION. TO
AVOID THE POTENTIAL RISK OF FIRE, ELECTRIC SHOCK,
OR INJURY TO PERSONS, USERS SHOULD FOLLOW THE
DIRECTIONS AND WARNINGS IN THIS MANUAL.
1. Read all instructions before using this heater.
2. Do not use this heater outdoors.
3. This heater is not intended for use in bathrooms,
laundry areas and similar indoor locations. Never
locate the heater where it may fall into a bathtub or
other water container.
4. Do not run the power cord under carpeting. Do not
cover the power cord with throw rugs, runners, or the
like. Arrange the power cord away from traffic areas
and where it will not be tripped over.
5. To disconnect the heater, turn controls to off, then
remove the plug from the outlet.
6. Connect to properly grounded outlets only. Always
plug heaters directly into a wall outlet/receptacle.
Never use with an extension cord or reloadable
power tap (outlet/power strip).
SAVE THESE INSTRUCTIONS
7. To prevent a possible fire, do not block firebox air
intakes or the exhaust in any manner. Do not
operate the firebox on soft surfaces, like a bed,
where openings may become blocked.
8. There is a thermostat limiter inside the heater. When
the inner temperature over heats or abnormal
heating occurs, the thermostat protective device cuts
off the power supply to avoid fireplace damaged or
risk of fire.
9. Use this heater only as described in this manual.
Any other use not recommended by the
manufacturer may cause fire, electrical shock, or
injury to persons.
2
Page 3
Safety Information (continued)
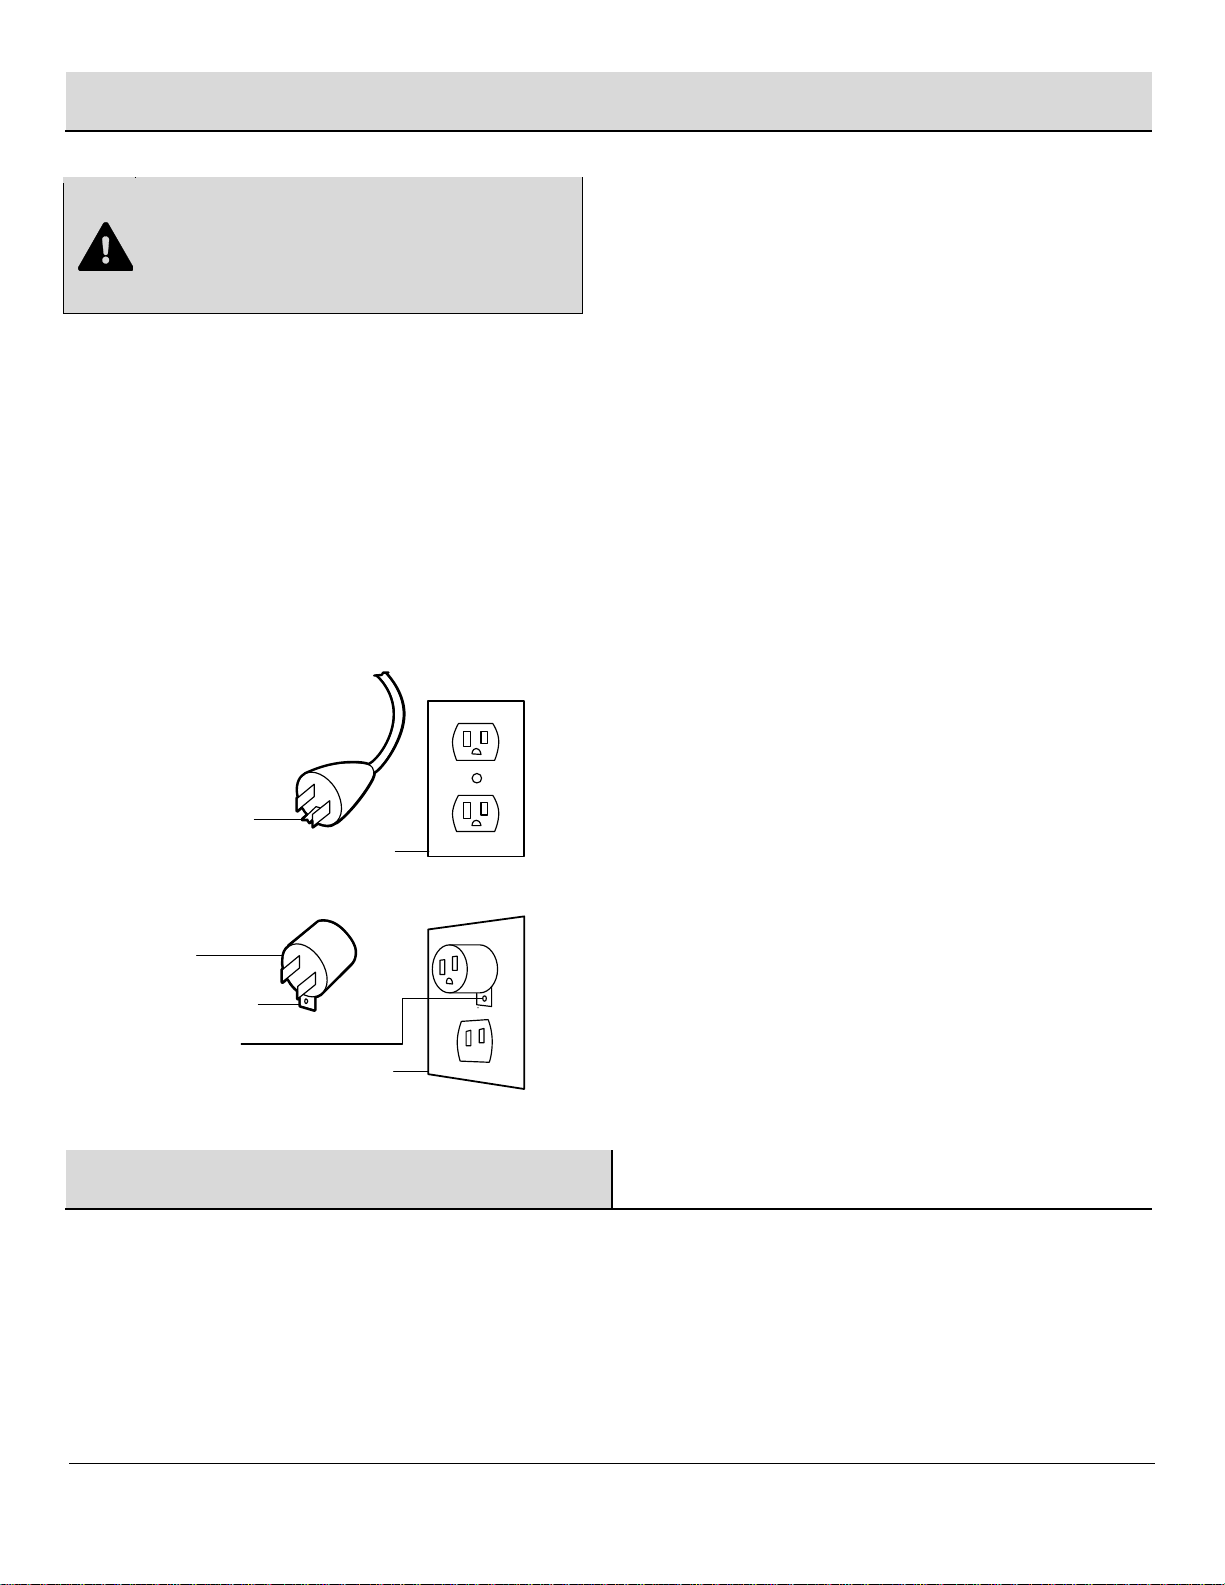
GROUNDING INSTRUCTIONS
DANGER: Improper connection of the equipment-grounding
conductor can result in a risk of electric shock. Check with a
qualified electrician or serviceman if you are in doubt as to
whether the product is properly grounded. Do not modify the
plug provided with the product. If it will not fit the outlet, have a
proper outlet installed by qualified electrician.
Warranty
A
Grounding Pin
Adapter
Metal Screw
Cover of Grounded Outlet Box
Grounding Lug
Cover of Grounded Outlet Box
B
Figure 1
This product must be grounded. If it should malfunction or breakdown,
grounding provides a path of least resistance for electric current to
reduce the risk of electric shock. This product is equipped with a cord
having an equipment-grounding conductor and a grounding plug. The
plug must be plugged into an appropriate outlet that is properly
installed and grounded in accordance with all local codes and
ordinances.
This heater is for use on 120 volt circuits and has a grounded plug.
An adapter is available for connecting three-blade grounding type
plugs to two-slot receptacles. The green grounding lug extending
from the adapter must be connected to a permanent ground such as
a properly grounded outlet box. The adapter should not be used if a
three-slot grounded receptacle is available.
FCC STATEMENT
This equipment has been tested and found to comply with the limits
for a Class B digital device, pursuant to Part 15 of the FCC Rules.
These limits are designed to provide reasonable protection against
harmful interference in a residential installation. This equipment
generates, uses, and can radiate radio frequency energy and, if not
installed and used in accordance with the instructions, may cause
harmful interference to radio communications. However, there is no
guarantee that interference will not occur in a particular installation. If
this equipment does cause harmful interference to radio or television
reception, which can be determined by turning the equipment off and
on, the user is encouraged to try to correct the interference by one or
more of the following measures:
□ Reorient or relocate the receiving antenna.
□ Increase the separation between the equipment and the
receiver.
□ Connect the equipment into an outlet on a circuit different from
that to which the receiver is connected.
□ Consult the dealer or an experienced radio/TV technician for
help.
This device complies with Part 15 of the FCC Rules. Operation is
subject to the following two conditions:
1) This device may not cause harmful interference, and
2) This device must accept any interference received, including
interference that may cause undesired operation.
We are confident that you will be delighted with this purchase. Should this product be defective in workmanship or materials, or fail under normal use,
we will repair or replace it for a period of up to one (1) year from date of purchase.
This warranty gives you specific rights and you may also have other rights which vary from state to state.
Contact the Customer Service Team at 1-800-986-3460 or visit www.HomeDepot.com/homedecorators.
Modifications not approved by the party responsible for compliance
could void user’s authority to operate the equipment.
This Class B digital apparatus complies with Canadian ICES-003.
3 HOMEDEPOT.COM/HOMEDECORATORS
Please contact 1-800-986-3460 for further assistance.
Page 4

Pre-Operation
ELECTRICAL SPECIFICATIONS
Part
Description
Quantity
A
Fireplace 1 B
Remote control
1
B
A
□ Voltage: 120 VAC, 60 Hz
□ Watts: 1500 Watts
PACKAGE CONTENTS
4
Page 5

Operation
1
Identifying the control panel
2
Understanding the function indicator
□ The control panel is located on the top left corner of the
fireplace/heater unit.
□ The control panel contains the display unit (1), function
indicator (2), timer function (3), heater control (4), flames
control (5), and main power (6).
□ The display unit (1) displays information about the flame level,
timer, and current temperature.
□ The function indicator (2) has three square LEDs – red, green,
and blue. The red LED indicates that the Fahrenheit
temperature heating function is running, the green LED
indicates that the Celsius temperature heating function is
running, and the blue LED indicates that the timer function is
engaged.
□ To the right of the three LEDs, is the infrared receiver module
which communicates with the remote control to control the
heater.
3
Using the timer function
□ The timer button (3) allows you to set the amount of time you want the fireplace/heater to run. The timer button (3) operates both the flames
and the heater function. If the heater is operating when the timer is set, then the heater is on the timer. If the flames are operating, then the
timer will control the flames. If both the heater and flames are operating with the timer set, then the timer controls both the flames and the
heater. Pressing the button in sequence will set the timer for a set interval. This interval period is shown in the display (1), in blue. The set
intervals are displayed in this table. The timer interval is set from the time the interval is selected. There is no clock function for turning the
heater or flames on or off at a specific time.
Button Press
Timer Interval
Display
1st press
30 Minutes
30
2nd press
1 Hour
1h
3rd press
2 Hours
2h
4th press
3 Hours
3h
5th press
4 Hours
4h
6th press
5 Hours
5h
7th press
6 Hours
6h
8th press
OFF
None
1
2
3
4
5
6
2
1
3
5 HOMEDEPOT.COM/HOMEDECORATORS
Please contact 1-800-986-3460 for further assistance.
Page 6

Operation (continued)
4
Using the heater control
□ The heater button (4) turns the heater on or off. There is no speed setting for the heater blower. If the heater is on when the unit is turned
off by the main power button, when the power is turned back on, the heater will come on at the same time. If the heater is off when the
power is off, the heater will remain off when power is turned back on.
□ When the heating function turns on, press and hold the heater button (4) for five seconds to enter temperature adjustment mode. The LED
indicator is red. In adjustment mode, the display (1) flashes (interval is 0.5 second). There are 22 levels to change Fahrenheit temperature
72°F―73°F…82°F ―ON—62°F ―63°F …71°F. After this is set, the display (1) flashes five times and exits from setting status. If idle,
the display turns off after 10 seconds.
□ With the heater on, press and hold the main power button for five seconds to enter temperature converting mode. The LED indicator is
green. In this converting mode, the display (1) flashes (interval is 0.5 second). There are 12 levels to change Celsius temperature 22°C―
23°C …27°C ―ON ―17°C ―18…21°C. After it is set, the display (1) flashes five times and exits from the setting function. . If idle, the
display turns off after 10 seconds.
□ To lock the heating function, with the main power button on, press and hold the heater button (4) for ten seconds. The log lights flash six
times to indicate that the heater function is locked. In this mode, there is no heating function but only glowing logs.
□ To unlock the heating function, press and hold the heater button (4) for ten seconds. The log lights flash six times and then enter heating
function mode.
5
Using the flame control
□ Press the flame button (5) to set the flames for different levels of flame height. These flame levels are shown in the display (1). The flame
settings are as follows:
Button Press
Flame Level
Display Value
Fireplace Appearance
1st press
High
L4
Flames Highest, Logs Glow Highest
2nd press
Medium
L3
Flames Medium, Logs Glow Medium
3rd press
Low
L2
Flames Low, Logs Glow Low
4th press
Flames Off
L1
Flames Off, Logs Glow Highest
5th press
All Off
None
Flames Off, Logs Off
□ Regardless of the previous flame setting, when powered off by the main power button, the flames will come on in L4 mode (High) when you
turn the heater on.
□ To lock the flame function, with the flame in L4 mode, press and hold the flame button (5) for five seconds. The log lights flash six times to
indicate that the flame function is locked. In this mode, there are no flames but only glowing logs. Pressing the flame button in sequence
will set the logs for different levels of log brightness. The logs brightness levels are shown in the display segment (1). The logs settings are
as follows:
Button Press
Flame Level
Display Value
Fireplace Appearance
1st press
Flames Off
L4
Logs Glow Brightest
2nd press
Flames Off
L3
Logs Glow Medium
3rd press
Flames Off
L2
Logs Glow Low
4th press
Flames Off
L1
Logs Glow Brightest
5th press
All Off
None
Logs Off
□ To unlock the flame function, press and hold the flame button (5) for five seconds. The log lights flash six times and then both flame lights
and log lights turn on.
1
4
1
5
6
Page 7

Operation (continued)
6
Using the main power button
□ Press the power button (6) to turn the fireplace/heater unit on and off. Press the power button (6) once to turn the unit on. Press again
to turn the unit off.
Using the Remote Control
1
Installing the battery
For replacement batteries, use AAA batteries.
□ Press down and slide back cover off the battery compartment.
□ Insert two provided AAA batteries into the battery
compartment making sure that the ends of the batteries with
the negative (-) symbols are against the springs in the
battery compartment.
□ Replace the battery compartment cover, making sure it
snaps into position.
□ Turn the remote over and aim it towards the fireplace/heater unit.
□ Press the power button on the upper left, and see if the flames on the fireplace/heater turn on or off.
□ If nothing appears to happen, check to make sure the battery is installed correctly, and try again.
2
Battery Replacement
NOTE: Do not mix old and new batteries.
Do not mix alkaline, standard (carbon zinc), or rechargeable (nicad, nimh, etc.) batteries.
WARNING: Do not ingest batteries.
1. Non-rechargeable batteries are not to be recharged.
2. Batteries are to be inserted with the correct polarity.
3. Exhausted batteries are to be removed from the product.
4. Always purchase the correct size and grade of battery most suitable for the intended use.
5. Replace all batteries of a set at the same time.
6. Clean the battery contacts and also those of the device prior to battery installation.
7. Remove batteries from equipment with is not to be used for an extended period of time.
NOTE:
Battery disposal
Please always dispose of batteries
at a suitable recycling point.
6
7 HOMEDEPOT.COM/HOMEDECORATORS
Please contact 1-800-986-3460 for further assistance.
Page 8

Using the Remote Control (continued)
3
Using the remote control
□ The operation of the remote control buttons works the
same as the buttons on the front panel of the
fireplace/heater. Review the Operation section for more
information on the functionality of these buttons.
NOTE: The remote control cannot lock/unlock the
flame and heating function, and it cannot switch
between Fahrenheit and Celsius.
Care and Maintenance
WARNING: Always disconnect from the power supply before
cleaning the heater. First turn off the main power. Then remove
the electrical plug from the wall outlet.
WARNING: Do not use this fireplace insert if any part of it has
been under water. Immediately call a qualified service technician
to inspect the firebox and replace any part of the electrical
system which has been under water.
Heater Up
Main Power
Heater Control
Flames Control
Timer Control
Heater Down
The blower motor and flame motor are pre-lubricated for a durable using time and need no further lubrication or maintenance. To remove any
accumulation of dust or fluff the soft brush attachment of a vacuum cleaner should occasionally be used to clean the outlet grille of the fan heater.
□ Use a soft, clean cloth that will not scratch the surface when dusting.
□ Use a clean soft cloth dampened with warm water to clean the fireplace surface. DO NOT use household or abrasive cleaners, as these
8
products may damage the surface.
□ When cleaning the glass viewing screen use a non-abrasive damp cloth with liquid cleaner or soft soap if necessary; DO NOT use cleaning
powders or any other substance with abrasives since these substances will scratch glass.
□ Under no circumstances should this product be operated with a broken or chipped glass panel.
□ Do not strike or slam the glass.
□ In the event that your appliance is stained or otherwise damaged during use, we recommend that you call a professional to repair your
furniture.
□ When not in use please unplug the cord from the outlet to prevent any damage or accidental plug of the cord.
Page 9

Troubleshooting
Problem
Solution
The unit does not turn on.
Check that the unit is plugged into a standard 120V outlet.
Press the Power button on the control panel.
The Main power switch lights up, but there is no flame effect.
Open the top and back panels to check if the flame spindle has fallen
off from the spindle motor.
There is a visible flame effect, but the heater does not blow warm air.
Confirm that the temperature setting exceeds the room temperature.
Turn on/off the Heater button several times to make sure it is in the
“ON” position.
The heater does not work, but the Power and Heater switches are in
the “ON” position and thermostat is set to “HI”.
Turn all switches to the “OFF” position and unplug the unit from the
wall outlet for 5 minutes. After 5 minutes plug the unit back into the
wall outlet, and operate as normal.
The display unit on the control panel shows “88” and the function
indicator is quick flashing, indicating it is in alarm mode.
Unplug the unit from the wall outlet for 5 minutes. After 5 minutes plug
the unit back into the wall outlet, and operate as normal.
Remote control is not working.
Change the remote batteries.
Operate remote transmitter at a slow measured pace. Press the
remote control buttons with an even motion and gentle pressure.
Repeatedly pressing buttons in rapid succession may cause the
transmitter to malfunction.
PARTS LIST
Part Name
Part Number
Flame Generator Drive Motor
SF122-26AI-FGDM
Heater
SF122-26AI-H
Blower
SF122-26AI-B
Ember bed/Logs
SF122-26AI-EBL
Main PCB
SF122-26AI-MPCB
Control Panel PCB
SF122-26AI-CPPCB
Flame Light PCB
SF122-26AI-FLPCB
Logs Light PCB
SF122-26AI-LLPCB
Ember Bed Light PCB
SF122-26AI-EBLPCB
Remote Control - 6 Buttons
SF122-26AI-RC
9 HOMEDEPOT.COM/HOMEDECORATORS
Please contact 1-800-986-3460 for further assistance.
Page 10

Questions, problems, missing parts? Before returning to the store,
call Home Decorators Collection Customer Service
8 a.m. - 6 p.m., EST, Monday-Friday
1-800-986-3460
HOMEDEPOT.COM/HOMEDECORATORS
Retain this manual for future use.
 Loading...