

Holtkoetter 5231 User Manual
ASSEMBLY INSTRUCTIONS FOR
205 Hardman Avenue South, South Saint Paul, MN 55075
Voice: (800) 899-5444 • Fax: (888) 552-8661
e-mail: customerservice@holtkoetter.com
www.holtkoetter.com
UL SAFETY REQUIREMENTS
Underwriter’s Laboratories requires that these IMPORTANT SAFETY INSTRUCTIONS be listed:
INSTRUCTIONS PERTAINING TO RISK OF FIRE OR INJURY
LIGHTED LAMP IS HOT!
WARNING: TO REDUCE THE RISK OF FIRE OR INJURY, PLEASE FOLLOW THESE SAFETY INSTRUCTIONS:
1. Turn off power and allow to cool before replacing lamps.
2. Lamp gets HOT quickly! Contact only switch/plug when turning on.
3. Keep lamp away from materials that may burn.
4. Do not touch lamp at any time. Use a soft cloth. Oil from skin may damage lamp.
5. Do not operate luminaire with missing or damaged glass.
6. CAUTION: The recommended replacement bulbs for this fixture are 75 Watt Halopin
bulbs. Use of other brands of unknown quality may cause a risk of overheating.
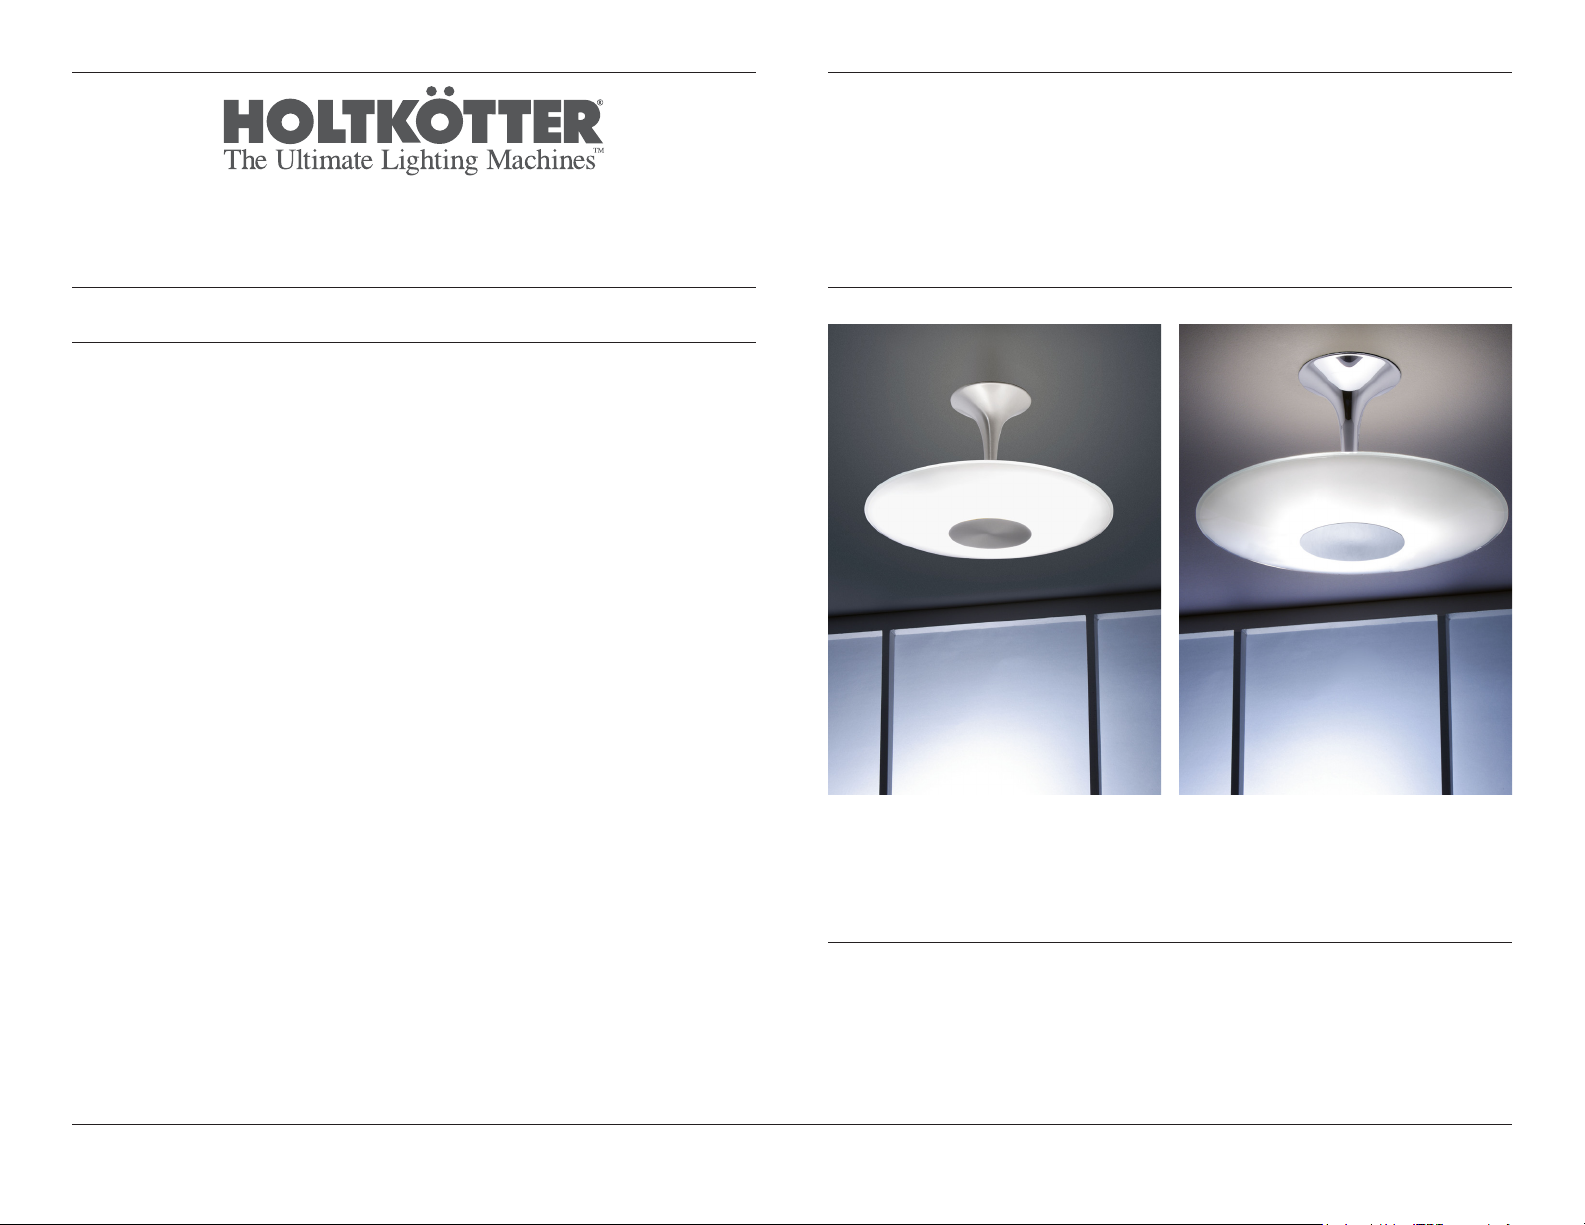
Ceiling Fixtures
No. 5231 & No. 5232
Major lamp parts manufactured in Germany by Holtkötter Leuchten GmbH.
Final assembly by Holtkötter in South Saint Paul, MN.
No. 5232/3
No. 5231/3
Care Instructions
Use only a soft, dry cloth to clean. If necessary, a slightly damp, soft cloth can be used to spot
clean. Do not use common household cleaners on lamps or fixtures, as the lacquer on the
outside of the brass may be damaged as a result.
Enjoy your new Holtkötter lamp.
Holtkötter ® and Holtkötter Leuchten® are registered trademarks of Holtkötter. All Rights Reserved.
© Holtkötter

ASSEMBLY INSTRUCTIONS FOR
e-mail: customerservice@holtkoetter.com
www.holtkoetter.com
Please make sure that the following parts are enclosed:
A. Fixture including crossbar strap assembly
B. Glass shade
C. Allen Wrench
D. Bulb: 3 each, max. 75 Watt Halopin, Frosted
Order Code: 9250*075-HPNFR
Be sure to turn off the circuit breaker before installing this fixture. It is
recommended that this fixture be installed and hung by a licensed
electrician.
Mounting Instructions
1. Disconnect power to the outlet box prior to installation.
2. Loosen the set screw (E) located on the main stem of the fixture to release the fixture
from the inner stem and crossbar strap assembly (F) with the allen wrench (C) provided.
3. Mount the crossbar strap assembly (F) to the outlet box.
4. Connect the wires from the fixture with the wires in the outlet box according to generally
accepted electrical standards.
5. Slip the fixture onto the crossbar strap assembly being careful to align the groove of the
inner stem (F) with the location of the set screw (E) on the stem of the fixture. Tighten the
set-screw (E) to secure the fixture to the crossbar strap assembly.
Ceiling Fixtures
No. 5231 & No. 5232
Diagram 1
F
A
C
E
D
Install the Bulb and Glass Shade
Once the fixture is mounted to the outlet box, install the three bulbs.
1. Being careful not to touch the glass portion of the bulb with bare hands, hold the 75
Watt Halopin bulb and push straight into the socket. Repeat for the other two bulbs.
2. Install the glass shade by carefully putting the glass over the bulbs and socket
assemblies. Holding the glass up against the upper backplate, screw the finished
reflector plate (G) onto the stem of the fixture.
Major lamp parts manufactured in Germany by Holtkötter Leuchten GmbH.
Final assembly by Holtkötter in South Saint Paul, MN.
B
G
Holtkötter ® and Holtkötter Leuchten® are registered trademarks of Holtkötter. All Rights Reserved.
© Holtkötter
 Loading...