

Hollywood Racks HR135 User Manual
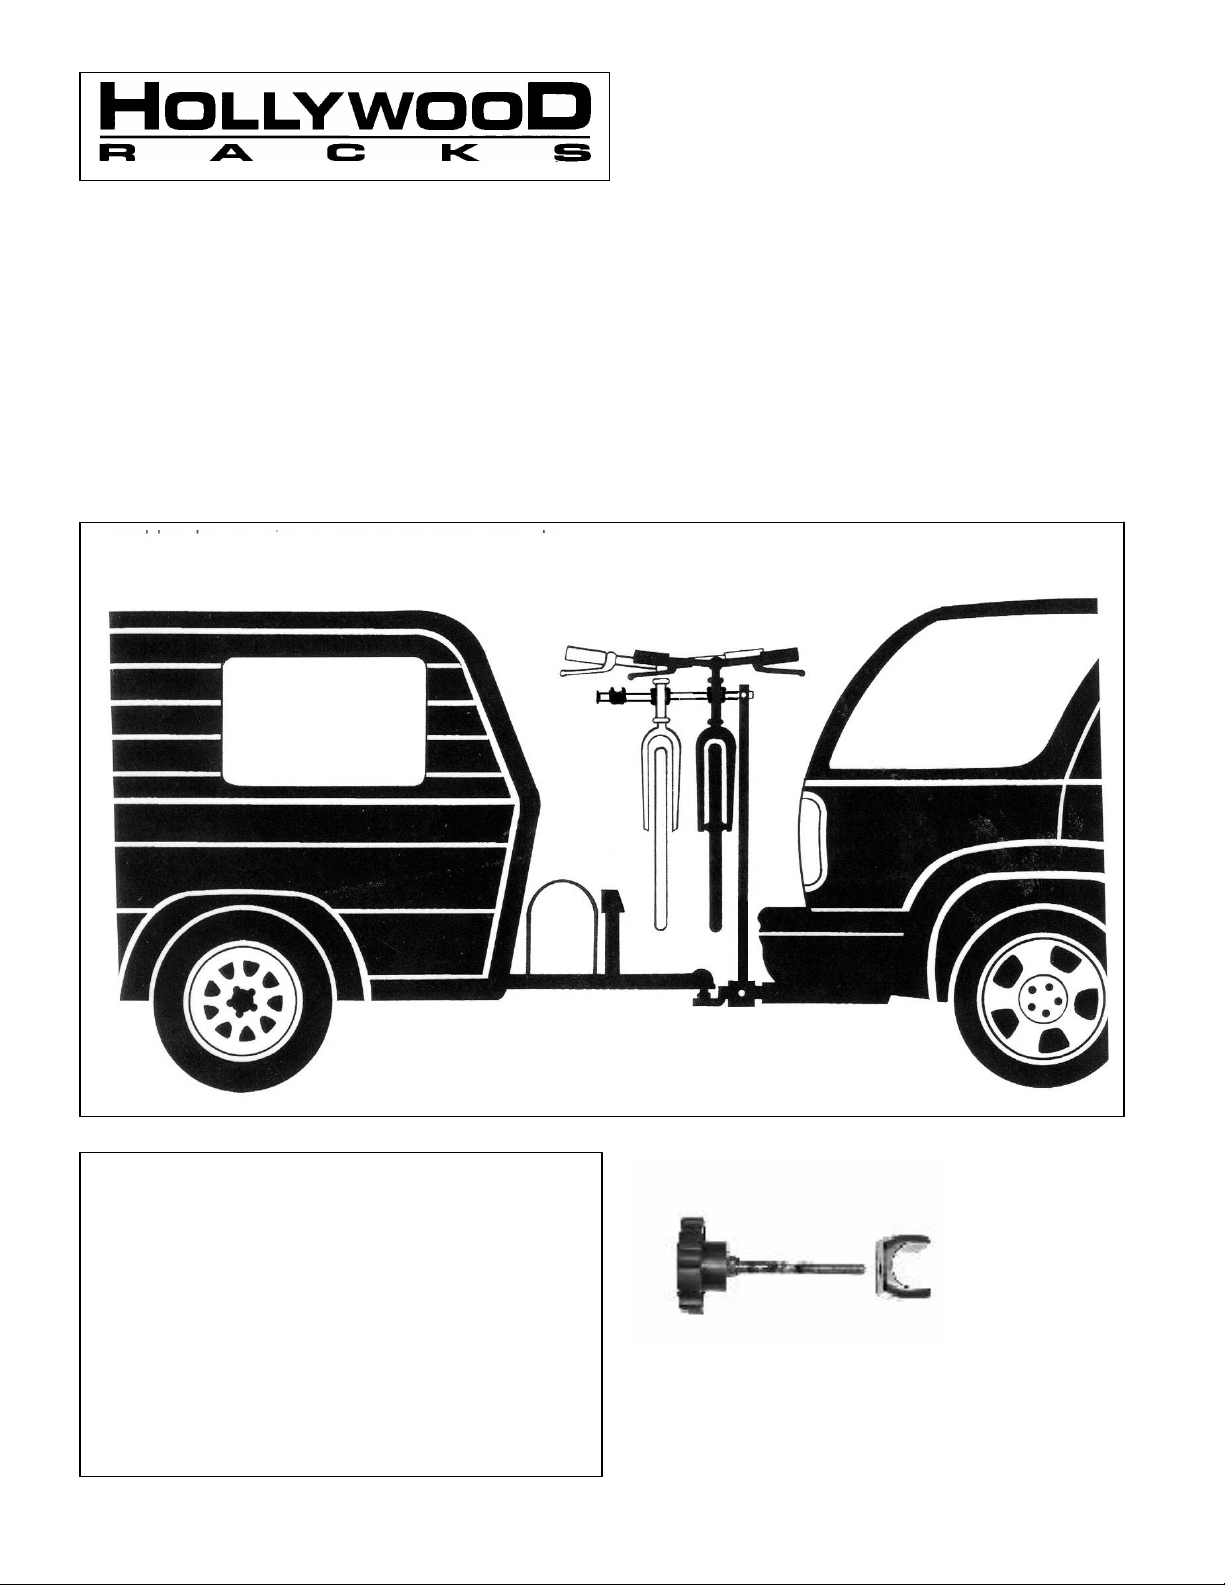
FIG. 1:
Black
threaded k
nob
and
Tow ‘n Go Hitch Rack
Class III Hitch Required if you tow and carry bikes at the same ti
me. A
After opening the Tow N’ Go box, you should
Model HR135 For 2” hitches only
Assembly and Use Instructions for Traveler Style Tow ‘n Go Hitch Rack
Drive slowly when using the rack on bumpy or dirt roads.
Check the rack bikes and straps regularly during use.
If you have any questions or installation problems, please see your Hollywood Racks retailer or
contact Hollywood Racks at 800-747-4085.
longer hitch ball mount may be required for use of this product. (Tow N’ Go
requires 3” of space on your hitch ball mount insert tube)
have the following parts:
1. Parts bag including:
a. Two black threaded knobs
b. Two pivoting spacer blocks
c. Allen wrench for set screws.
2. Upright “T” shaped main beam
3. Two Support arms with bike separators
attached.
4. Nine rubber straps & Safety tie-down strap
spacer block
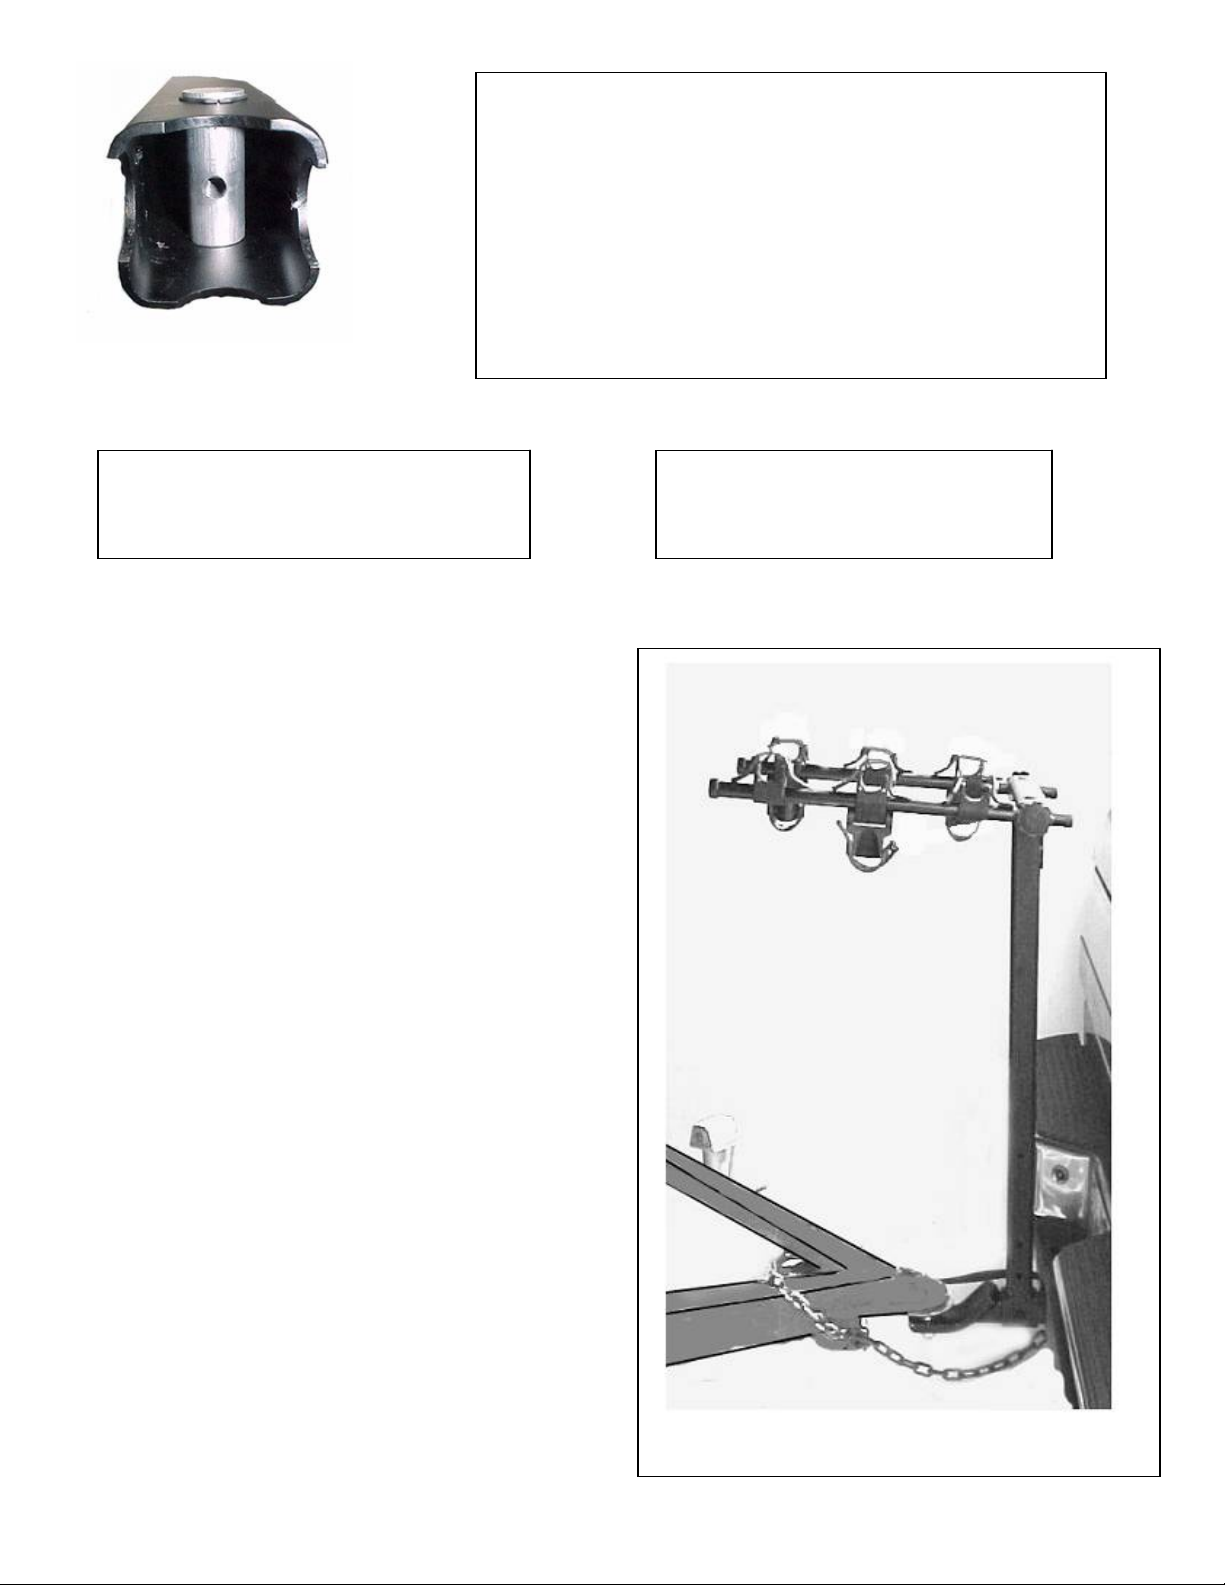
Fig. 2 Vertical Cylinder
cylinder. Insert the knob through the support arm, and thread
Installation Instructions
:
If the support arms are not already in a horizontal
position, back off the knob at the end of the rack’s
izontal position. Retighten
Installing the support arms:
Insert the knob through the spacer as shown in Fig. 1 (the
knob should be against the flat end of the spacer block).
Align the threaded hole in the vertical cylinder (fig. 2) so that
it faces out. You can rotate the vertical cylinder using a coin
or flat blade screwdriver in the slot at the top of the vertical
the knob into vertical cylinder inside the main top horizontal
tube. Repeat for the Driver’s side arm.
FIG. 4 Driver’s Side Support ArmFIG. 3 Passenger’s Side Support Arm
1. Install your trailer hitch receiver tube through
the base of the rack (at the bottom of the main
beam.
2. Locate the base as far forward as possible.
3. Using Allen wrench supplied tighten the set
screws on the base unit until snug.
Installing your bikes on the Traveler rack:
support arms, pull out the support arms and
rotate them into the hor
the knobs securely.
.
 Loading...