

Page 1
Electronics LLC
RK-UNIV
INSTALLATION MANUAL
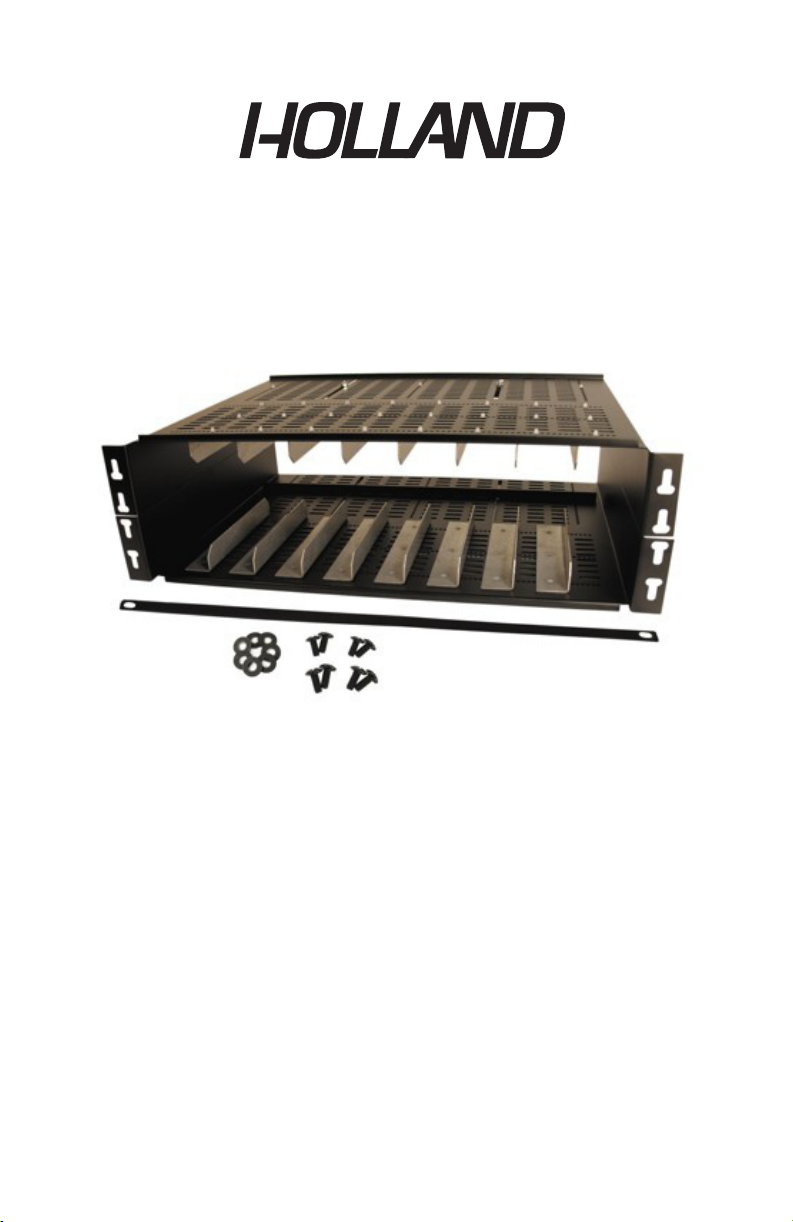
PARTS
1. 2pcs. RK-UNIV receiver shelves
2. 2pcs. Rear retaining bracket
3. 1pc. Front retaining bar
4. 18pcs. Dividing brackets
5. 8pcs. Mounting screws
6. 4pcs. Nylon locking nuts
7. 60pcs. Snap pins
TOOLS REQUIRED
5/16” Nut driver or wrench
Philips Screwdriver
Page 2
ASSEMBLY
Divider Spacing
1. Place one RK-UNIV receiver shelf down on a at surface with
the mounting tabs facing you.
2. Using one receiver as a guide, place the receiver on its side with
the front of the unit facing you and place it against the mounting
tab walls.
3. Place a Dividing bracket close to the receiver while still being
able to align it and press one snap pin into a aligning hole, align
the divider and press in the other two pins. Keep in mind to leave
enough room for the feet of the receiver.
4. Now place the receiver against the divider that was just installed.
5. Continue step #3 for all the required dividers on that shelf.
6. See Rear retaining bracket installation.
Page 3

7. Follow the same steps as in #1 through #6 to the second RK-UNIV
receiver shelf, but start on the opposite side of the shelf as shown.
This is so when the shelf is turned upside-down during mounting the
divider spacing will line up properly.
Page 4

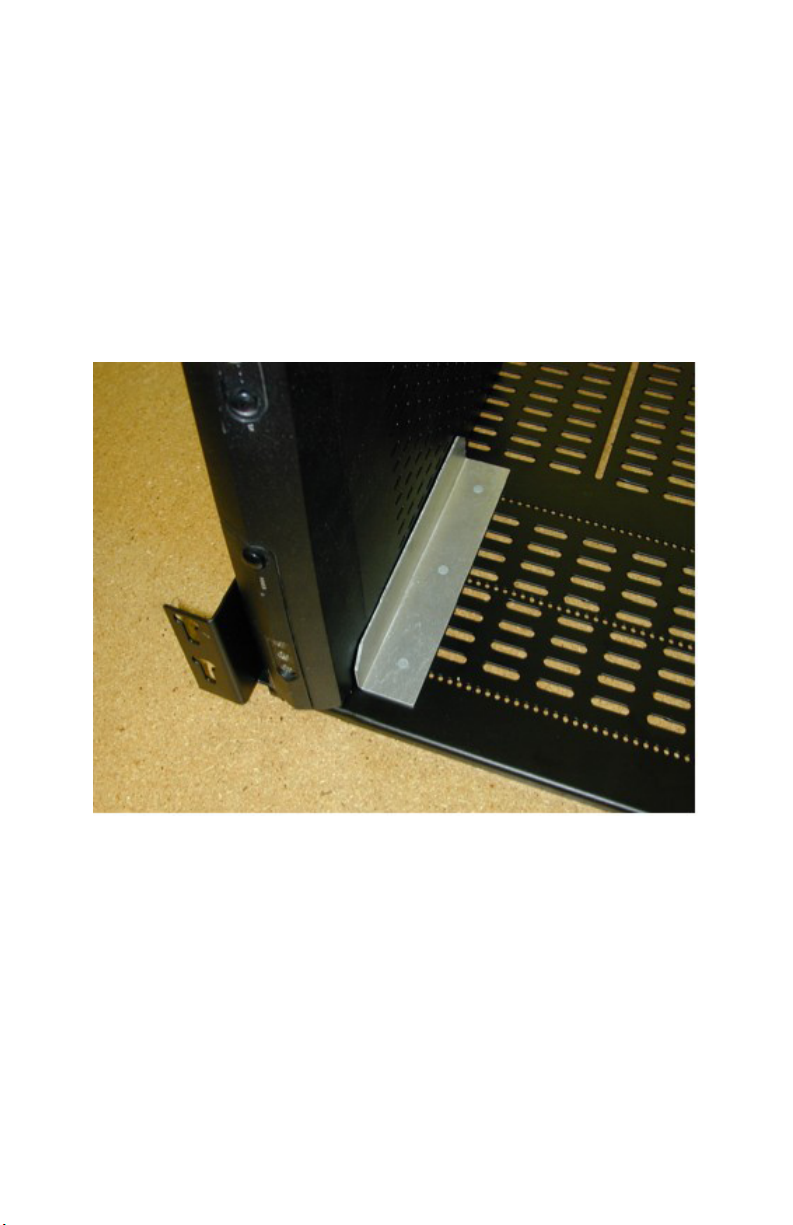
Rear Retaining Bracket Placement
This step can be done after the rack has been mounted, but there will
be situations that may require this step to be done before mounting.
1. When installing the Rear retaining bracket, line up the mounting
studs on the bracket to the elongated holes that are located on the
rear half of the shelf.
2. Place the bracket so the 90º bend in the bracket is closest to the
rear of the unit being racked.
3. Keep in mind the front of the receiver should not extend passed
the mounting tabs on the front of the shelf, as this is critical for
proper mounting in the Head-End rack.
4. Slide the bracket up to the rear of the receiver. Make sure the
bracket is properly aligned and press in the snap pins.
Page 5

5. Once the pins are pressed in, turn the unit over and thread on the
Nylon Locking Nuts as shown above until they are tight.
6. Repeat this process for the second shelf.
Mounting
1. Determine the amount of space that is required to mount the rack
with units in the Head-end rack.
2. (One way this can be done is by putting 2 units in the bottom half of
RK-UNIV while it is still sitting on a at surface. Place one unit at
each end of the RK-UNIV then place the top half of the shelf on top
of the units and measure the distance from top to bottom.)
3. Mount the top and bottom in the proper manner in the
Head-End rack within the required space using the Mounting
screws provided.
4. Slide the units to be racked in the RK-UNIV.
5. Once the units are in the RK-UNIV. There are vertical holes on the
mounting tabs for the users to micro adjust the spacing for a tight t.
6. Mount the Front retaining bar with the Mounting screws provided.
Be careful to properly place so it does not press on any buttons on
the front of the unit being racked.
Page 6

Electronics LLC
HOLLAND ELECTRONICS LLC
LIMITED WARRANTY
Holland Electronics LLC warrants that the product enclosed with
this Limited Warranty statement will conform to the manufacturer ’s
specications and be free of defects in the workmanship and material
for a period of five years (5) from the date of original purchase.
WARRANTY PROCEDURE:
If the product appears to be defective contact Holland Electronics LLC.
We will analyze the problem and offer solutions to prevent removing the
unit from service. If no solution is found, and the unit must be returned
for repair, you will be issued a Return Authorization (RA) number.
Holland Electronics LLC will, at its option, repair or replace the defective
unit under warranty, without charge for parts or labor. This repair will be
subject to charges if signs of tampering or misuse are detected. Incoming
shipping costs will be the customer’s responsibility. Returns will not be
accepted without an RA number.
The warranty and remedy provided above are exclusive and in lieu of all
other express warranties and unless stated herein, any statements or
representations made by any other person or rm are void. The duration
of any implied warranties of merchantability or tness for a particular
purpose on this product shall be limited to the duration of the warranty
set forth above. Except as provided in this written warranty, Holland
Electronics LLC shall not be liable for any loss, inconvenience, damage,
including direct, special, incidental, or consequential damages,
resulting from the use or inability to use this product, whether resulting
from breach of warranty or any legal theory.
Some states do not allow limitations on how long an implied warranty
lasts and some states do not allow the exclusion or limitation of
incidental or consequential damages, so the above limitation and exclusion
may not apply to you.
The warranty gives you specic legal rights, and you may also have
other rights, which vary from state to state.
To arrange for warranty service:
Call Holland Electronics LLC (805) 339-9060
Return Address with appropriate Return Authorization Number:
2935 Golf Course Drive Ventura, CA 93003
 Loading...