

Holland Hitch XL-FW232-02, XA-71-DA, Hitch XA-71, XA-71-DA-03705, XA-71-OA-03713 Troubleshooting Manual
XL-FW232-02
GO THE DISTANCE.
FIFTH
WHEELS
HITCH
XA-71 Series
Fifth Wheel Top Plates
TROUBLESHOOTING
AND REBUILD
PROCEDURES
XA-71-DA
2” SAE Kingpin (Rebuild Kit RK-65014)
XA-71-DA-03705
2” SAE Kingpin for FW2570-7103 SERIES or
FW2570-7113 SERIES - RK-65014-1
XA-71-OA-03713
31⁄2” SAE Kingpin for FW2570-7103 SERIES or
FW2570-7113 SERIES - RK-65015-1
XA-71-OA
31⁄2” SAE Kingpin (Rebuild Kit RK-65015)
2 XL-FW232-02
TROUBLESHOOTING HINTS
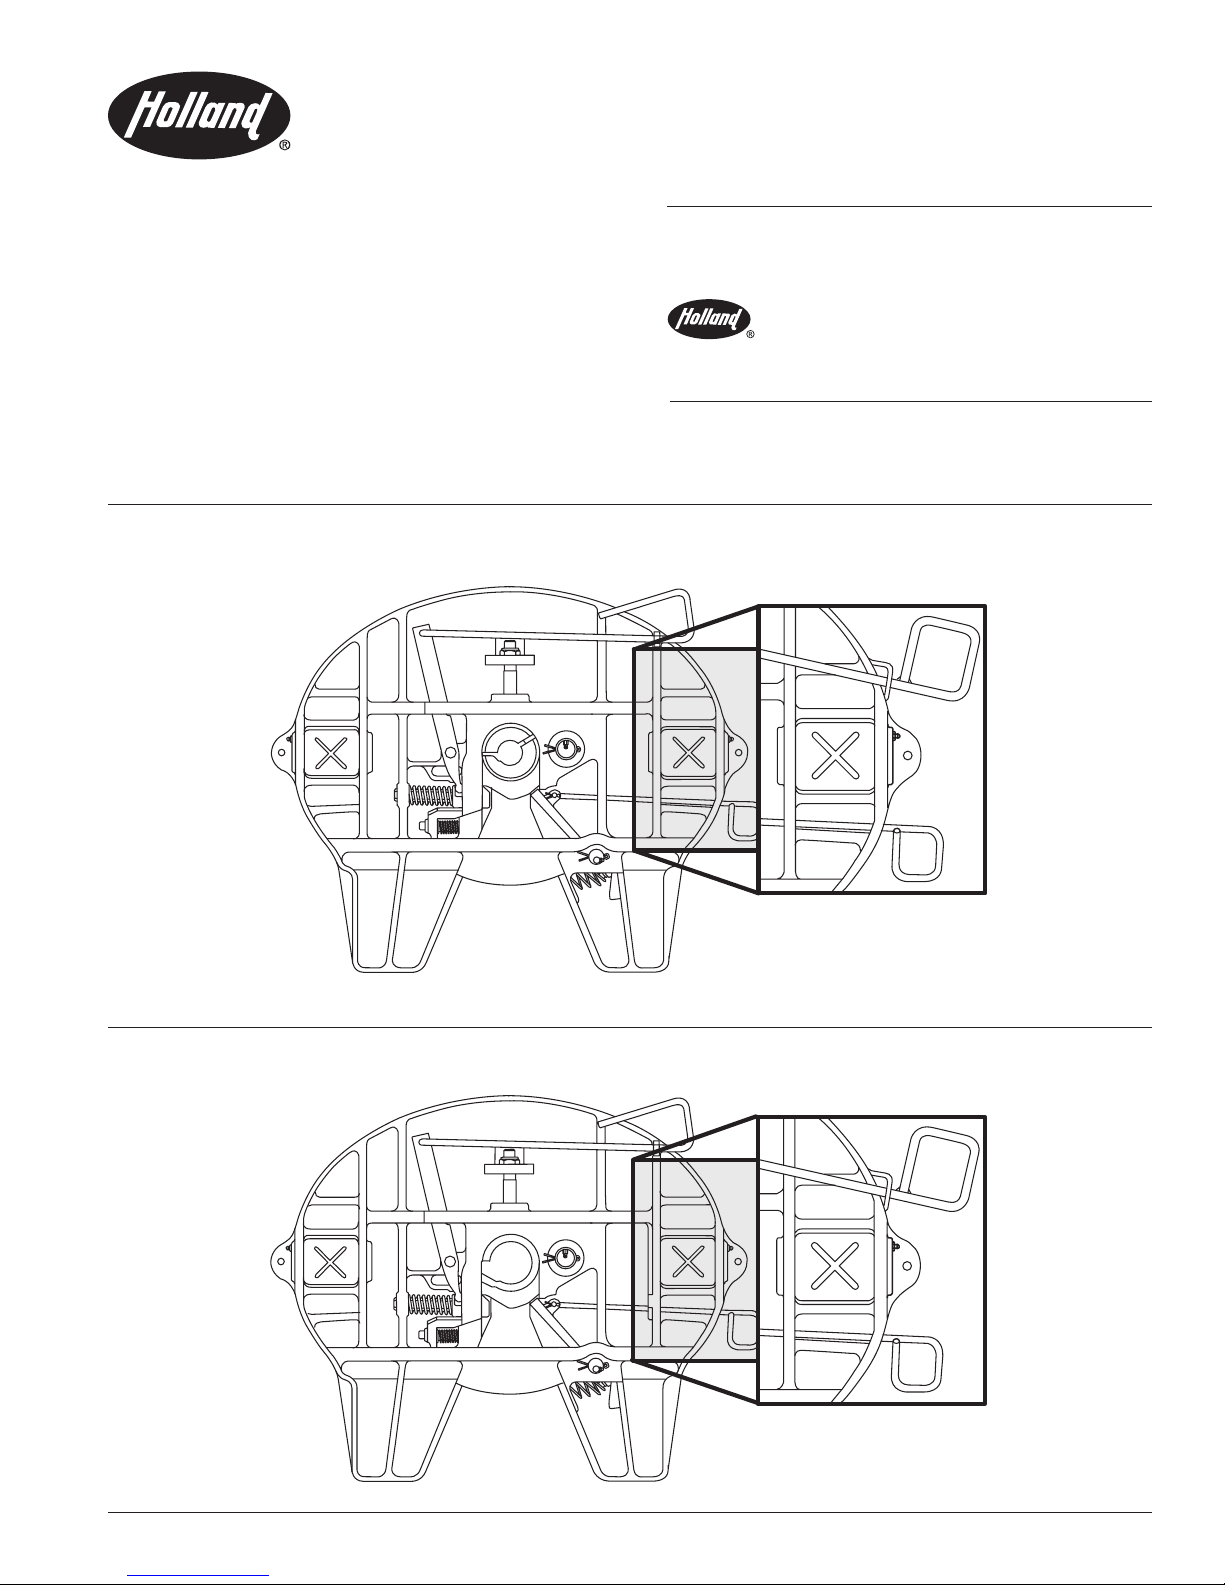
Fifth Wheel is Hard to Hook Up to Trailer:
✔ POSSIBLE CAUSE REMEDY
■■
The trailer may be too high; the kingpin Lower the trailer landing gear.
is not entering the locks properly.
■■
Locks are closed. Pull the secondary and primary release handles to the unlocked position and force the
hinged lock open.
■■
The locks are adjusted too tightly. Check lock adjustments in accordance with the procedure in this manual.
■■
Accumulated rust or grime Spray a light lubricant or diesel fuel on all moving parts, including the release
interfering with the lock operation. handle, and operate several times.
■■
Bent release handle or kingpin or Check and repair/replace as required. The kingpin can be inspected in accordance
damaged bolster plate may be with SAE J2228.
interfering with lock movement.
■■
The locks may be damaged. Inspect and replace, if required, following the procedures in this manual.
■■
The fifth wheel may need rebuilding. Follow the procedures contained in this manual using the appropriate rebuilding kit.
■■
Using lube plate with wrong kingpin See Holland Service Bulletin XL-SB004.
length.
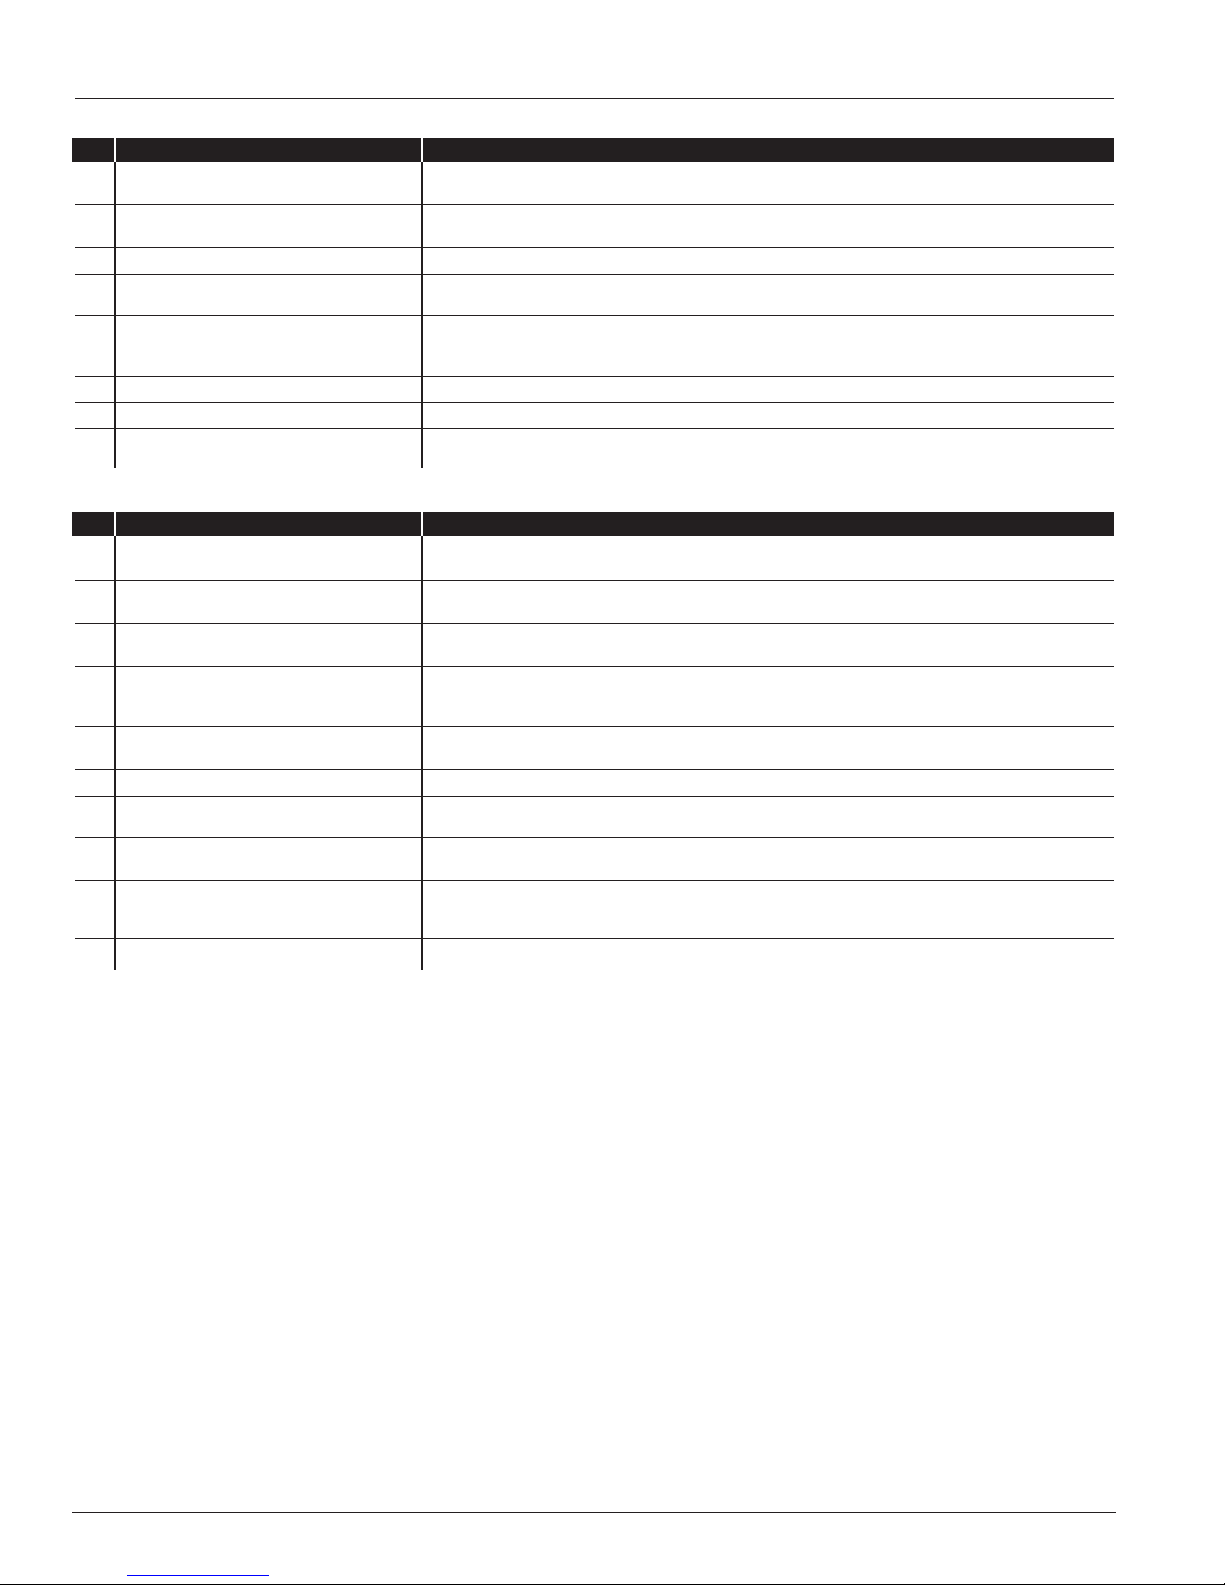
Fifth Wheel is Hard to Unhook from Trailer:
✔ POSSIBLE CAUSE REMEDY
■■
The secondary lock is not released. Pull the secondary lock release handle and lift up to engage the handle lug with the
top plate casting.
■■
The tractor may be putting pressure Back the tractor into the trailer to relieve the pressure and lock the tractor brakes
against locks. before pulling the release handle.
■■
Rust or grime on the locking Spray a light lubricant or diesel fuel on all moving parts, including the release handle,
mechanism. and operate several times.
■■
Bent kingpin or damaged bolster Check the kingpin with a Holland TF-0110 Kingpin Gage and bolster plate with a 48”
plate. straightedge. Repair/replace as required. The kingpin can be inspected in accordance
with SAE J2228.
■■
Fifth wheel locks may be adjusted Check the lock adjustment in accordance with procedures in this manual.
too tightly.
■■
The release handle will not stay out. Pull the release handle out and up, then release.
■■
The release handle will not stay out; Replace release handle.
pops off lug.
■■
The release handle must be held out. Build up release handle lug to hold out further or replace XA-1005-FH, XA-1117-H or
XA-03715 release handles.
■■
Long plunger. Pull the release handle to the fully extended position and hold it while someone else
attempts to uncouple. If the locks do not open under this condition, close the swinging lock
partially and grind 1/16” of the tip of the swinging lock. Round off after grinding.
■■
Using lube plate with wrong See Holland Service Bulletin XL-SB004.
kingpin length.
NOTE: After the fifth wheel is unlocked and moves freely from the kingpin, it is normal for the release handle to return to the “in” position.
XL-FW232-02 3
1 XA-71-D 1 Fifth wheel top plate for 2˝ kingpin
1A XA-71-O 1 Fifth wheel top plate for 3.5˝ kingpin
1B XA-71-03706 1 Fifth wheel top plate - 2˝ kingpin for
FW2570-7103 series or
FW2570-7113 series only
1C XA-03711 1 Fifth whl. top plate - 3.5˝ kingpin
for FW2570-7103 or
FW2570-7113 series only
2 XB-5 1 Cotter pin 1/4˝ x 2˝
3 XA-1016-C 1 Lock pin
4 XB-T-60 1 Cotter pin 1/4˝ x2.5˝
5 XA-FW-108-D 1 Lock pin
6 XA-FW-104-D 1 Lock set for 2˝ kingpin
6A XA-FW-104-03 1 Lock set for 3.5˝ kingpin
7 XA-FW-128 1 Spring
8 XB-16 1 Cotter pin 1/8” x 1”
9 XA-FW-78 1 Secondary lock release handle
10 XA-FW-137-2 1 Secondary lock arm
11 XB-1028-2 1 Spring
12 XB-2083 1 Hex hd. bolt 1/2” - 20 x 1.75”
13 XB-T-49 1 Plain washer
14 XB-T-69-A 1 Hex lock nut
15 XA-1005-FH 1 Release lever
16 XA-1117-H 1 Release handle
16A XA-03715 1 Release handle
17 XA-1104 1 Plunger
18 XB-1007 1 Compression spring (red)
19 XB-04473 1 Jam nut 1” - 14
20 XB-09407 1 Socket head cap screw
21 XB-HNH-58-C 1 Lock nut 5/8” - 11
22 XD-3123-1 1 Adjusting wedge
23 XB-403 1 Compression spring
24 XB-02949 1 Nylon bushing
25 XB-0769 2 Lube fitting (90˚)
26 XB-H-38 2 Lube fitting
*27 XB-1604-9 2 Bushing (prior to 5/82)
* 27A XB-0012-1 2 Bushing (5/82 - 9/87)
* 27B XB-0012-3 2 Bushing (after 9/87)
*28 XA-2632 2 Pivot bolt (prior to 11/86)
* 28A XE-02759 2 Pivot pin (after 11/86)
*29 XB-T-9N-2 2 Nut (prior to 11/86) (not shown)
*30 XB-T-60 2 Cotter pin (prior to 11/86)
*31 XB-21-S-375-1750 2 Roll pin
*32 XB-T-69-A 2 Hex lock nut
*33 XB-08002 2 Socket button head cap screw
*34 TF-0110 1 Kingpin gage
*35 TF-TLN-5001 1 2˝ kingpin lock tester
* 35A TF-TLN-1500 1 3.5˝ kingpin lock tester
36 XA-05768-1 1 Adjusting block
37 XB-10327 1 Lock washer, 1˝
ITEM PART NO. NO. PART NAME ITEM PART NO. NO. PART NAME
*
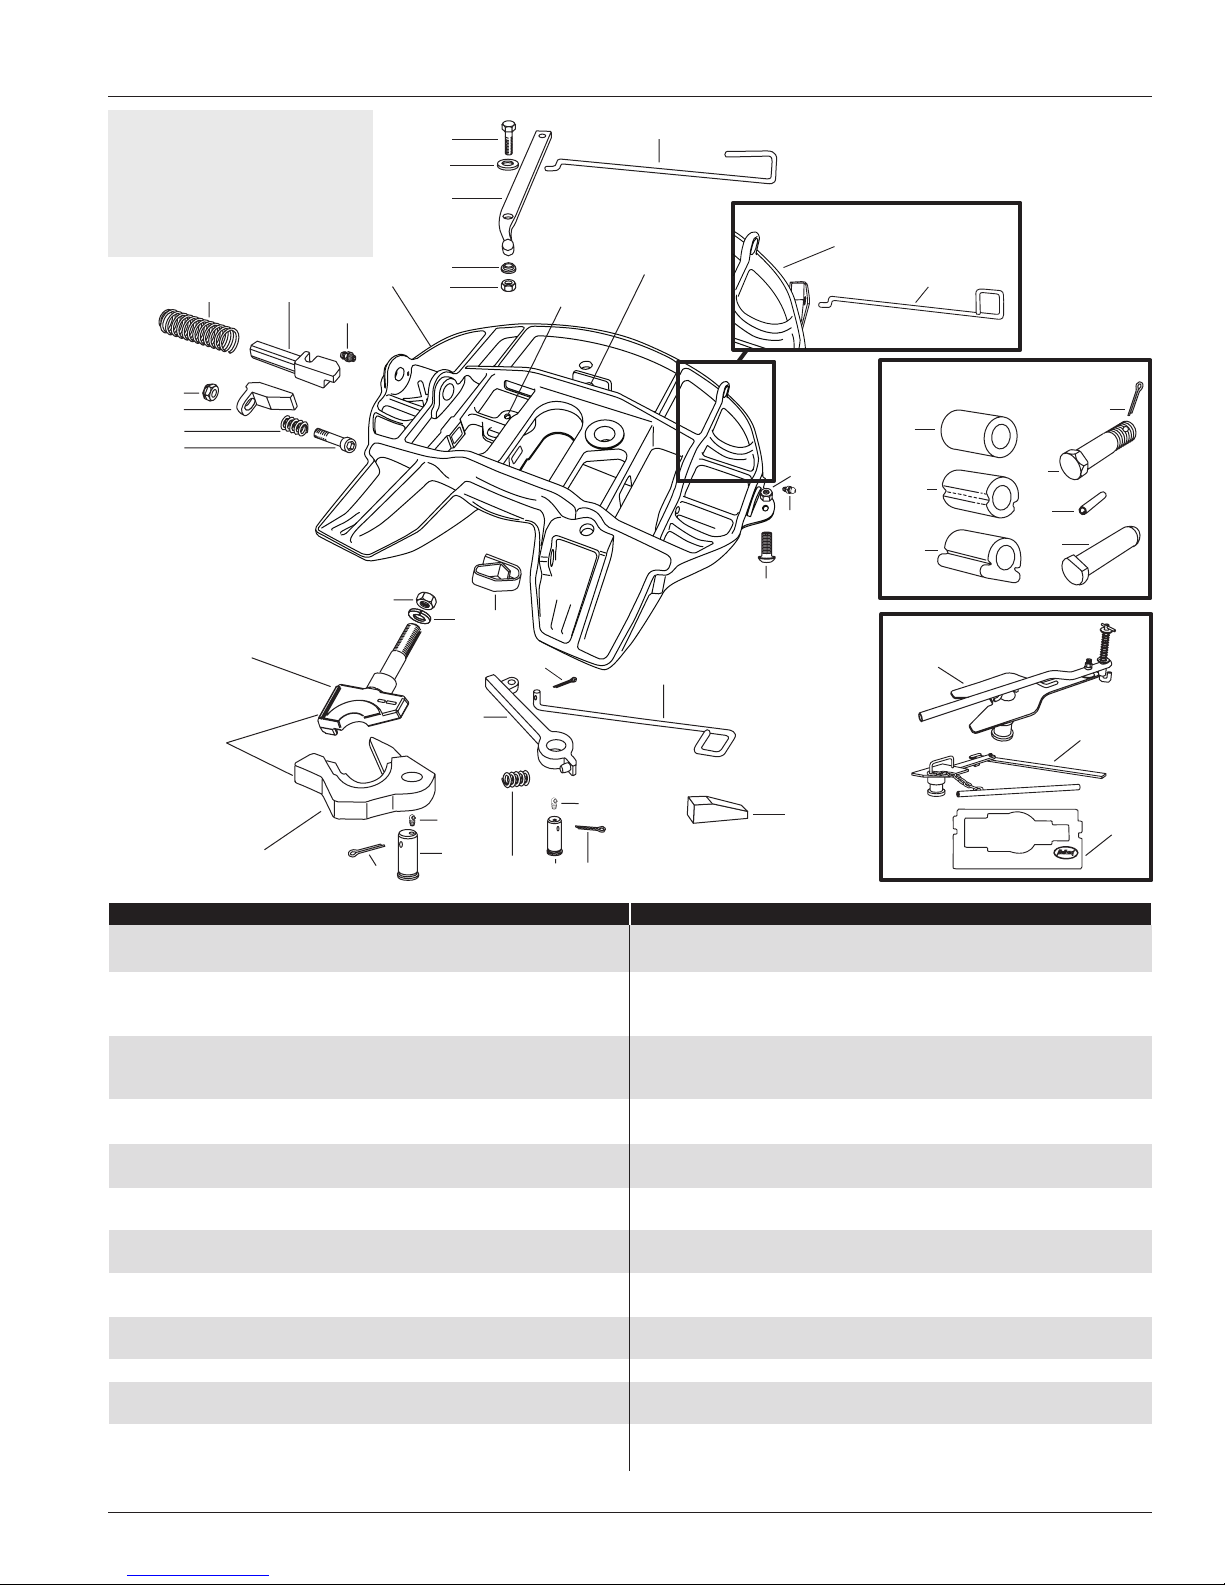
Not included in Rebuild Kits
16
1 or 1A
26
18 17
20
21
22
23
Lockset
6 or 6A
(6 shown)
19
7
8
9
25
2
3
33
26
32
5
10
4
11
25
37
15
12
13
14
24
16A
ACCESSORIES
35
34
27
27A
27B
28
31
28A
NOT INCLUDED IN
REBUILD KIT
30
35A
Stationary lock
Swinging lock
Hole A
36
Hole B
Fifth Wheel Top Plate
1B or 1C
XA-71 SERIES PARTS EXPLOSION
Part numbers indicated
throughout the instructions
in bold numbers—for
instance “fifth wheel top
plate (
1)”—refer back to
this drawing.
4 XL-FW232-02
REBUILDING PROCEDURES
1. Before attempting to rebuild, review each troubleshooting hint on page 2 of this manual. You may
find that rebuilding is not necessary.
2. If rebuilding is required, check the front page of this
manual to be sure you have the correct kit for the fifth
wheel you are about to rebuild.
3. Totally disassemble and clean the top plate.
4. Inspect the top plate for cracks and a loose lock pin
hole. If the plate is cracked, or if the lock pin hole is
elongated, the top plate must be discarded.
Do not attempt to repair or
rebuild if the top plate is cracked
or distorted, or the lock pin does not fit tightly, as
the top plate may fail or the locks may malfunction.
Failure to properly install, operate, or maintain this
fifth wheel could result in tractor and trailer
separation causing death or serious injury to others.
NOTE: When rebuilding, use only Holland rebuilding
kits and replace all roll pins, cotter pins, springs, bolts,
nuts, and washers. Also, check the rebuild kit and
verify that all parts are present (refer to page 3).
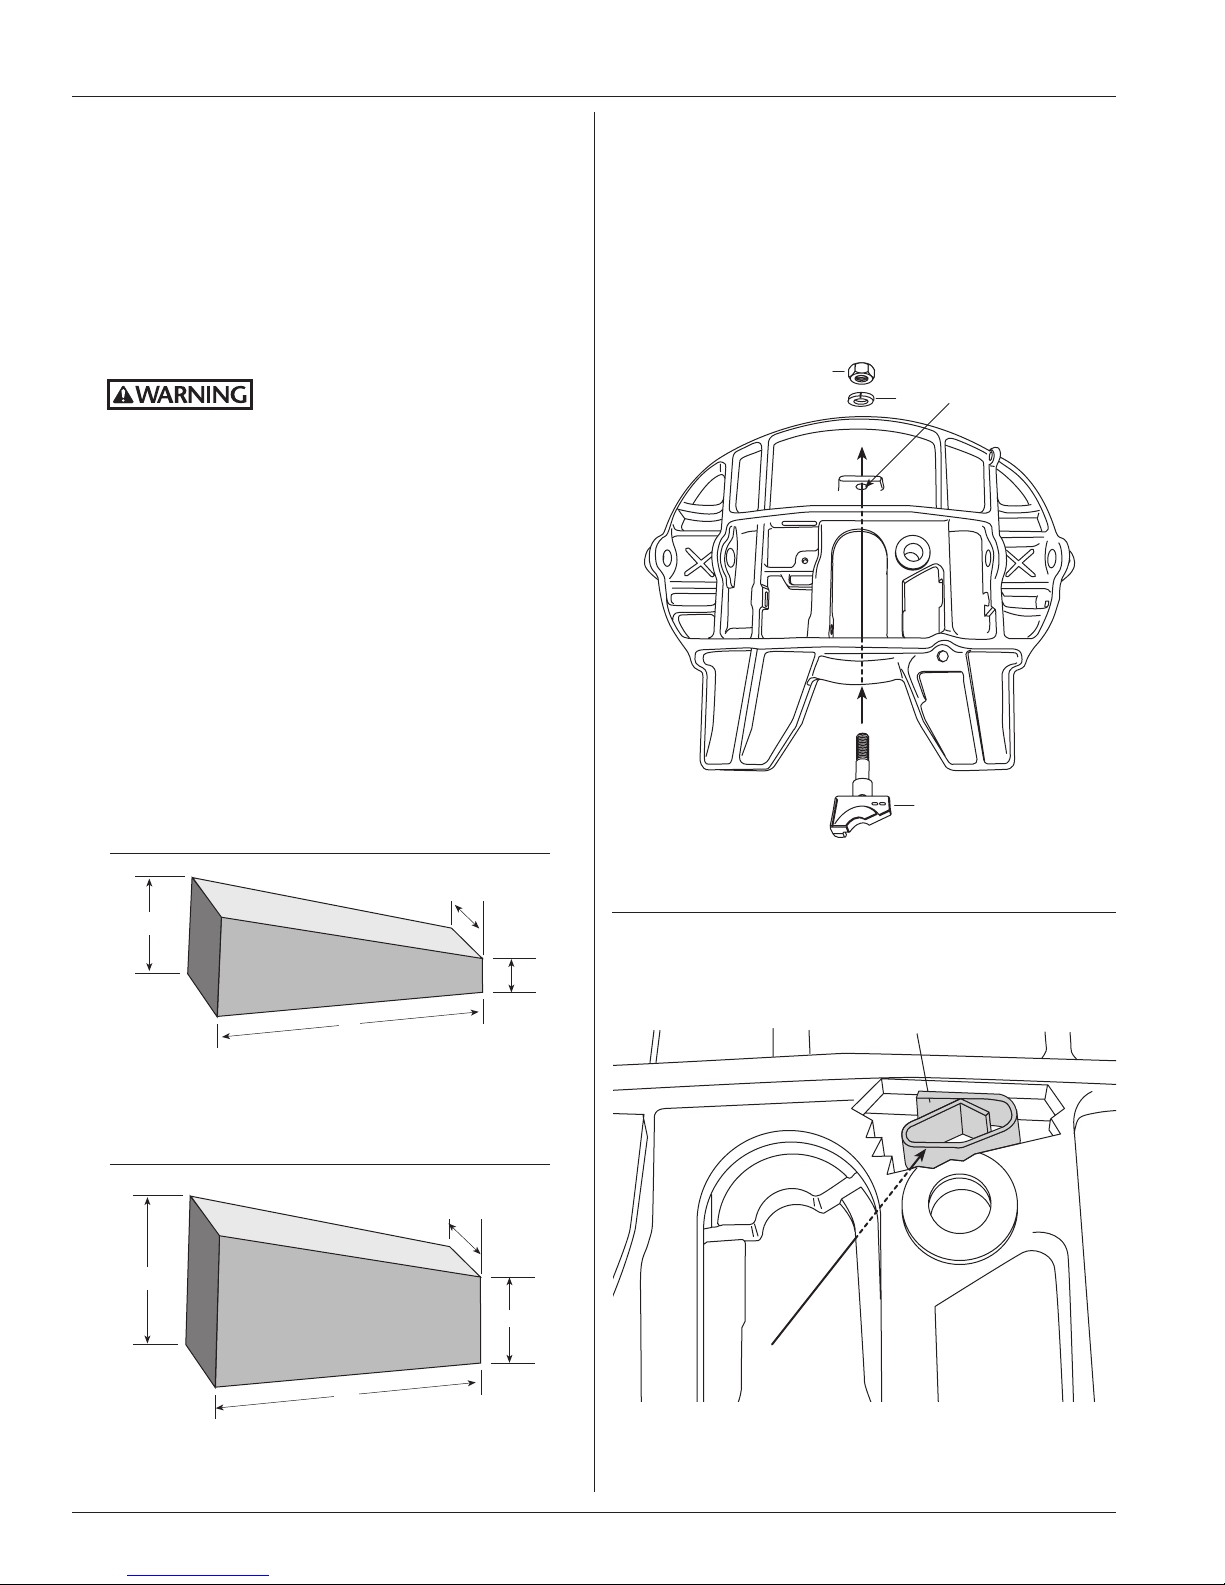
Fifth Wheel Reassembly
Before starting to reassemble the fifth wheel, it will be
helpful to fabricate a helper block. It can be made from
hardwood or steel. Refer to
FIGURE 1 for proper dimensions.
Primary Lock Installation
1. Install the stationary lock (6) in HOLE A in the casting,
with the large counterbore facing down (see
FIGURE 2).
Install the lock washer (
37) and lock nut (19) onto the
threaded end of the stationary lock. Tighten until
tight, but still allow the lock to rotate slightly, in order
to ensure alignment with the kingpin. The lock nut will
be tightened fully when adjusting the fifth wheel locks
later in this procedure.
8˝
1˝
1.5˝– 2˝
3˝
8˝
2.5˝
4.5˝
1.5˝– 2˝
FIGURE 1
XA-71-DA
XA-71-OA
FIGURE 2
7
FIGURE 3
2. Apply grease to the spring (7) and install it into the
casting. Position it as shown in
FIGURE 3.
continued
19
HOLE A
37
6
 Loading...