

HOKLARTHERM Riga XL Assembly Instructions
Type IV
Type V
Type VI
ALU MI NI UM
Greenhouse
Riga XL
Assembly
Instructions
As at
9/2016

2
Dear Gardening Friend,
Please read these Assembly Instructions and helpful suggestions carefully. If you
follow them step by step you should not have any diffi culty assembling your
EXTRA LARGE RIGA Greenhouse.
Good Luck!
Placing your greenhouse:
When possible place your greenhouse in a location with as much sun as possible.
We do not recommend putting it directly under trees since branches might damage
the glazing.
Direction:
If you intend to primarily grow vegetables: north-south; for fl owers: east-west.
Warning:
Do not try to assemble this greenhouse in windy conditions, as your glazing panels
might blow away and become damaged. Damages during assembly process, due to
bad weather, are not covered by our warrantly.
Thank you for buying a top quality greenhouse from HOKLARTHERM in Germany.
What to do First:
Check all the boxes you have received. Make sure you have received the correct
number as shown on the Bill of Lading from the freight carrier. If you are missing a
box or if any of the boxes are damaged please write this down on the Bill of
Lading, before the driver leaves. Please notify Exaco as soon as possible of any
damage noted.
Note:
Please do not refuse any of the boxes or the whole shipment, because of any
damage. We will gladly replace any damaged items. Sending replacement parts is
much simpler, quicker and less costly for all involved.
In the case of damage:
Please, if possible, take digital pictures and contact our USA distributor ASAP:
Exaco Trading, Austin, TX: Customer Service: 877-760-8500 or by email at:
customerservice@exaco.com.
Protection from heavy winds:
If your area is subject to very strong wind gusts we strongly recommend against
putting your greenhouse up without some kind of protection: a row of small trees,
large shrubs of a wooden fence. Please contact our distributor to discuss
additional anchoring options and window bracing kits for high wind.
3
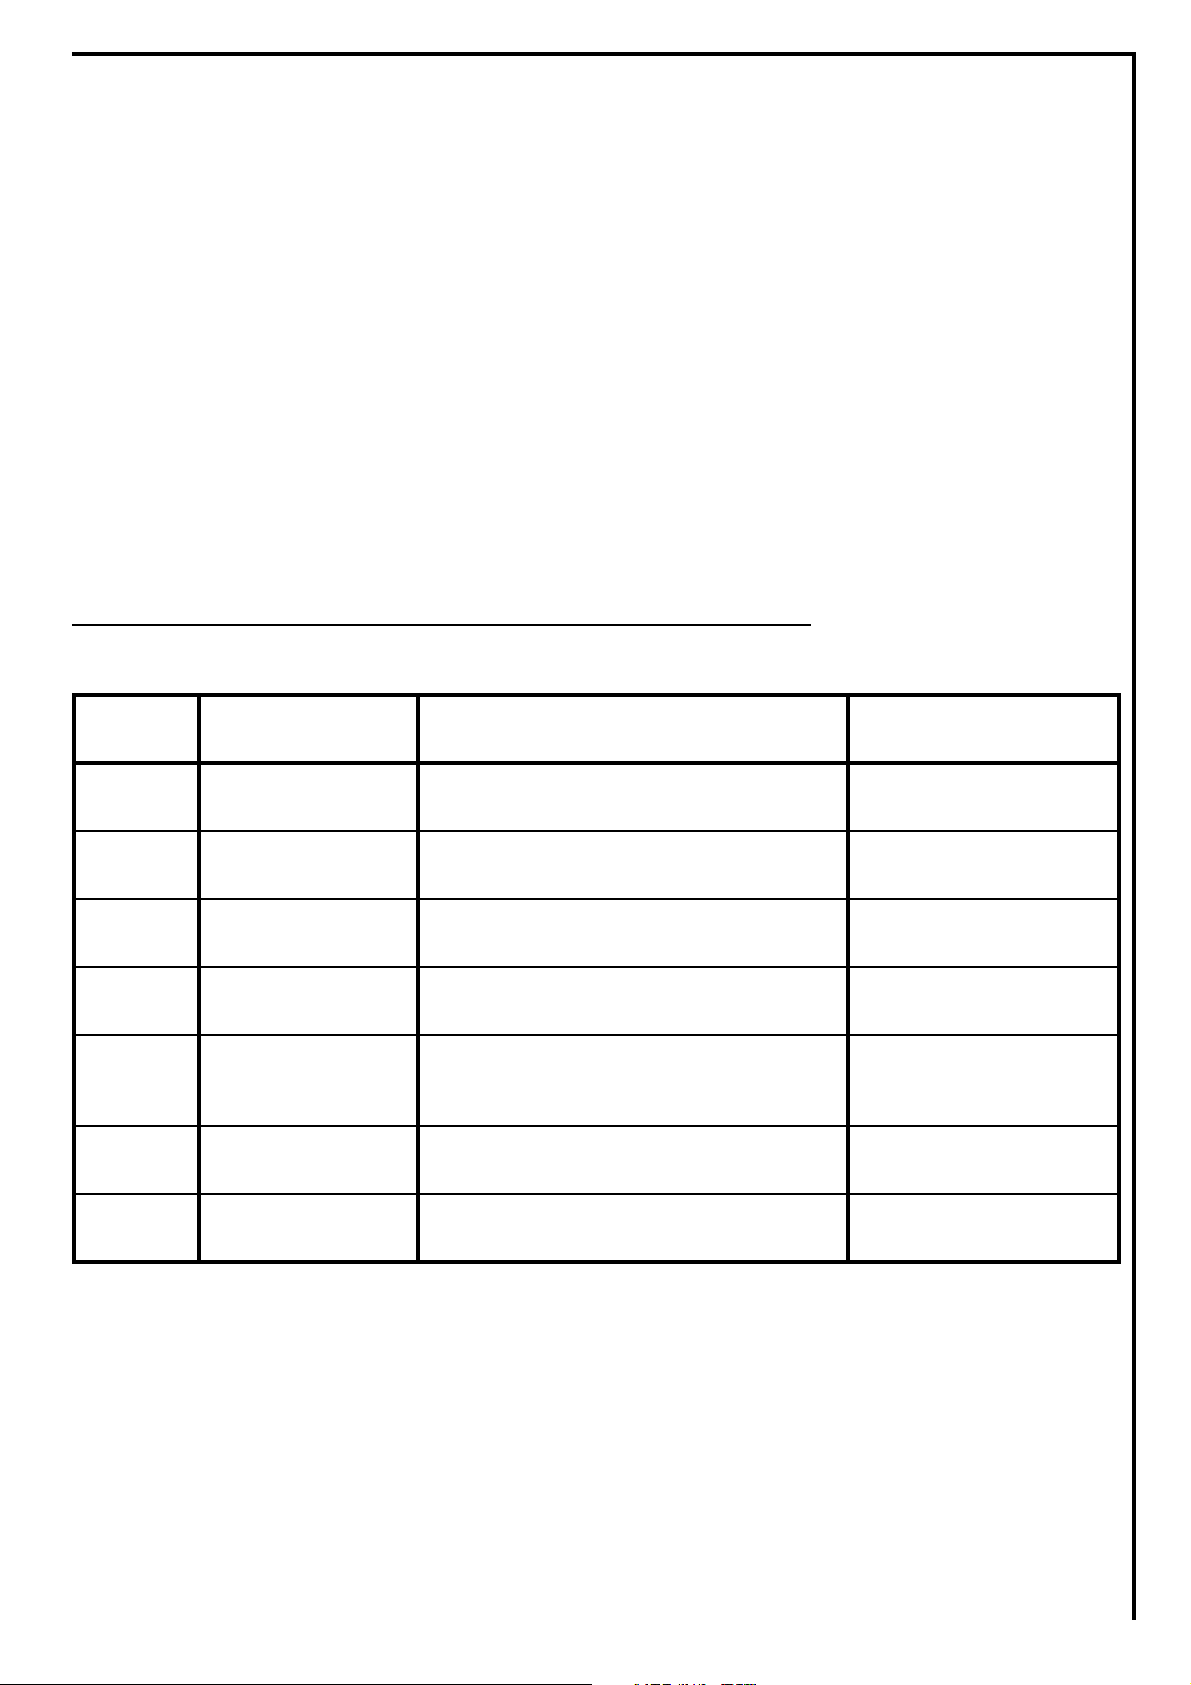
What you will need:
Quantity Content table
1x
Basic constructions
Gables Page 5
1x
Basic constructions
Long parts (with fl oor profi le - gable) Page 5
1x Roof window/door Page 7 und 8
1x Accessories Seals, automatic window opener, etc. Page 6 - 8
2x
bundles
Curved center
profi les
Page 5
2x Glazing Page
1x Foundation frame (special accessories) Page 8
Depending on the greenhouse you have received 9 to 10 boxes:
Special accessories: Table-shelf, Shelf for pots ever a box extra
- Patience - do not rush
- 2 people (3 will make it easier - when inserting the glazing panels)
- Gloves - the ends of the aluminium profi les can be sharp
- Measuring tape
- 2 A-frame step ladders (10‘ and 8‘ preferable)
- 2 Rubber mallets
- Adjustable wrench
- 10 mm socket wrench
- 10 mm wrench
- Philips head screwdriver (manual and electric)
- Level
- Permanent Marker (to mark glazing panels)
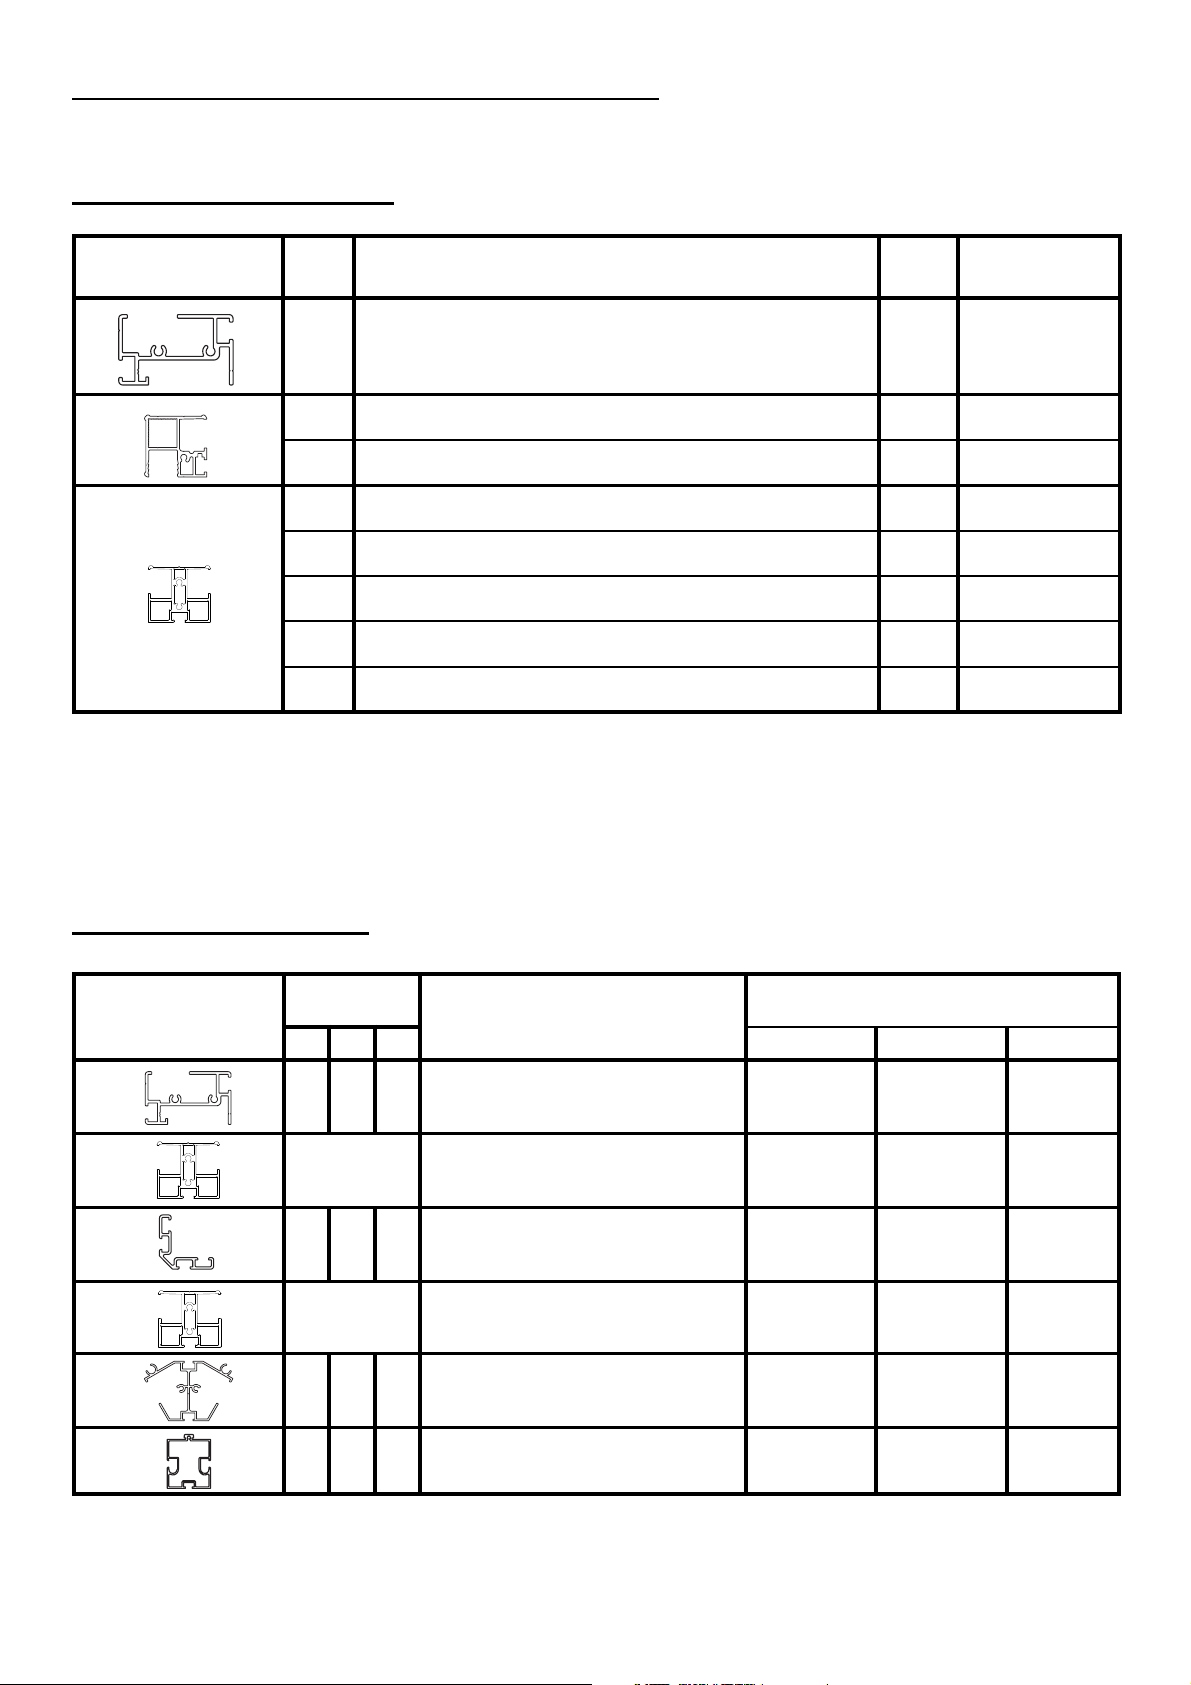
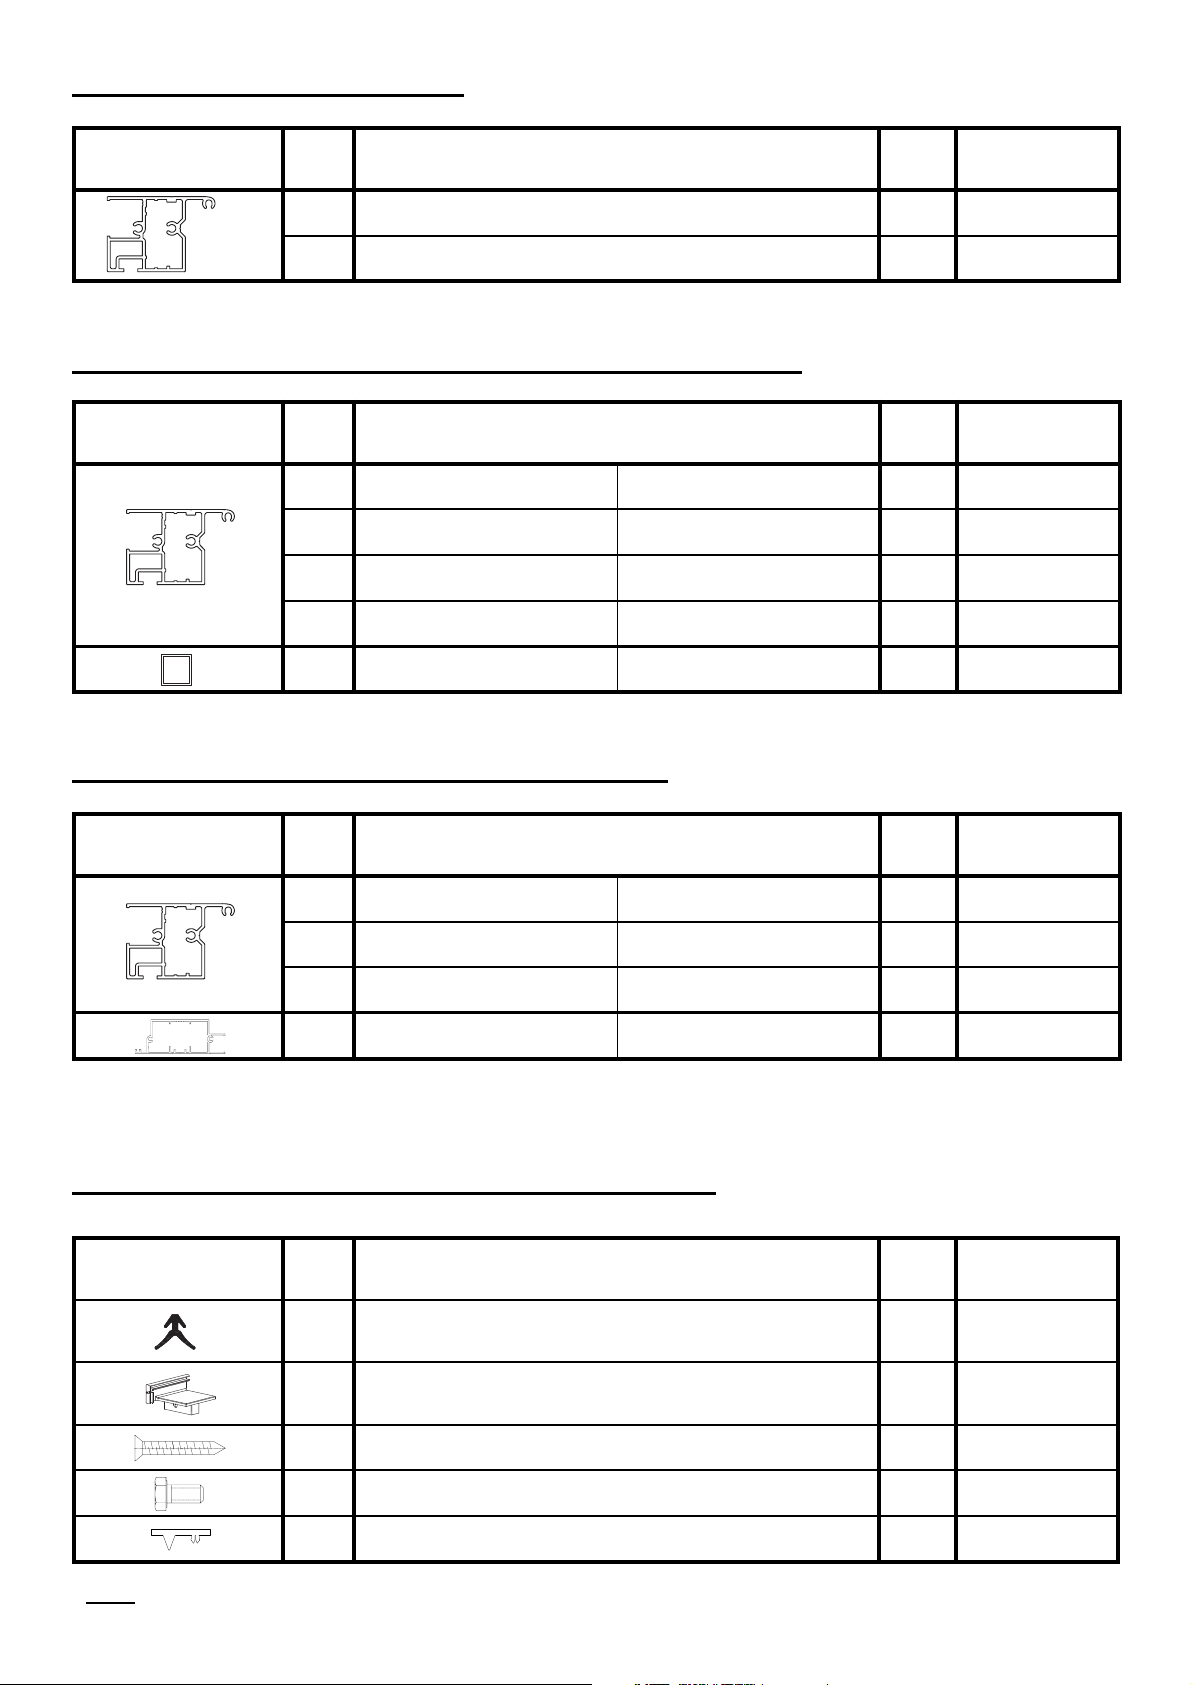
Profi le design Pos. Description
Quan-
tity
Length
[mm]
1 Front/Back fl oor profi les 2 4145
2 Edge stay bar - curved - right side 2
3 Edge stay bar - curved - left side 2
4 Vertical profi le - middle - left - with 50° angle at top 2 1929
5 Vertical profi le - middle - right - with 50° angle at top 2 1929
6 Vertical door profi le - left - with 30° angle at top 2 2641
7 Vertical door profi le - right - with 30° angle at top 2 2641
8 Crossbar 10 952
Profi le design
Pos.
Type
Description
Quantity/Length [mm]
IV V VI
Type IV Type V Type VI
16 17 18 Floor profi le - side
2
3914
2
4909
2
5903
19 Curved center profi les 6 8 10
20 21 22 Lateral supports (wind braces)
4
3970
4
4965
4
5960
25 Cross bar - under window
2
952
4
952
4
952
26 27 28 Roof beam
1
4013
1
5008
1
6002
29 30 31
Re-enforcement bar roof beam
1
3971
1
4966
1
5960
4
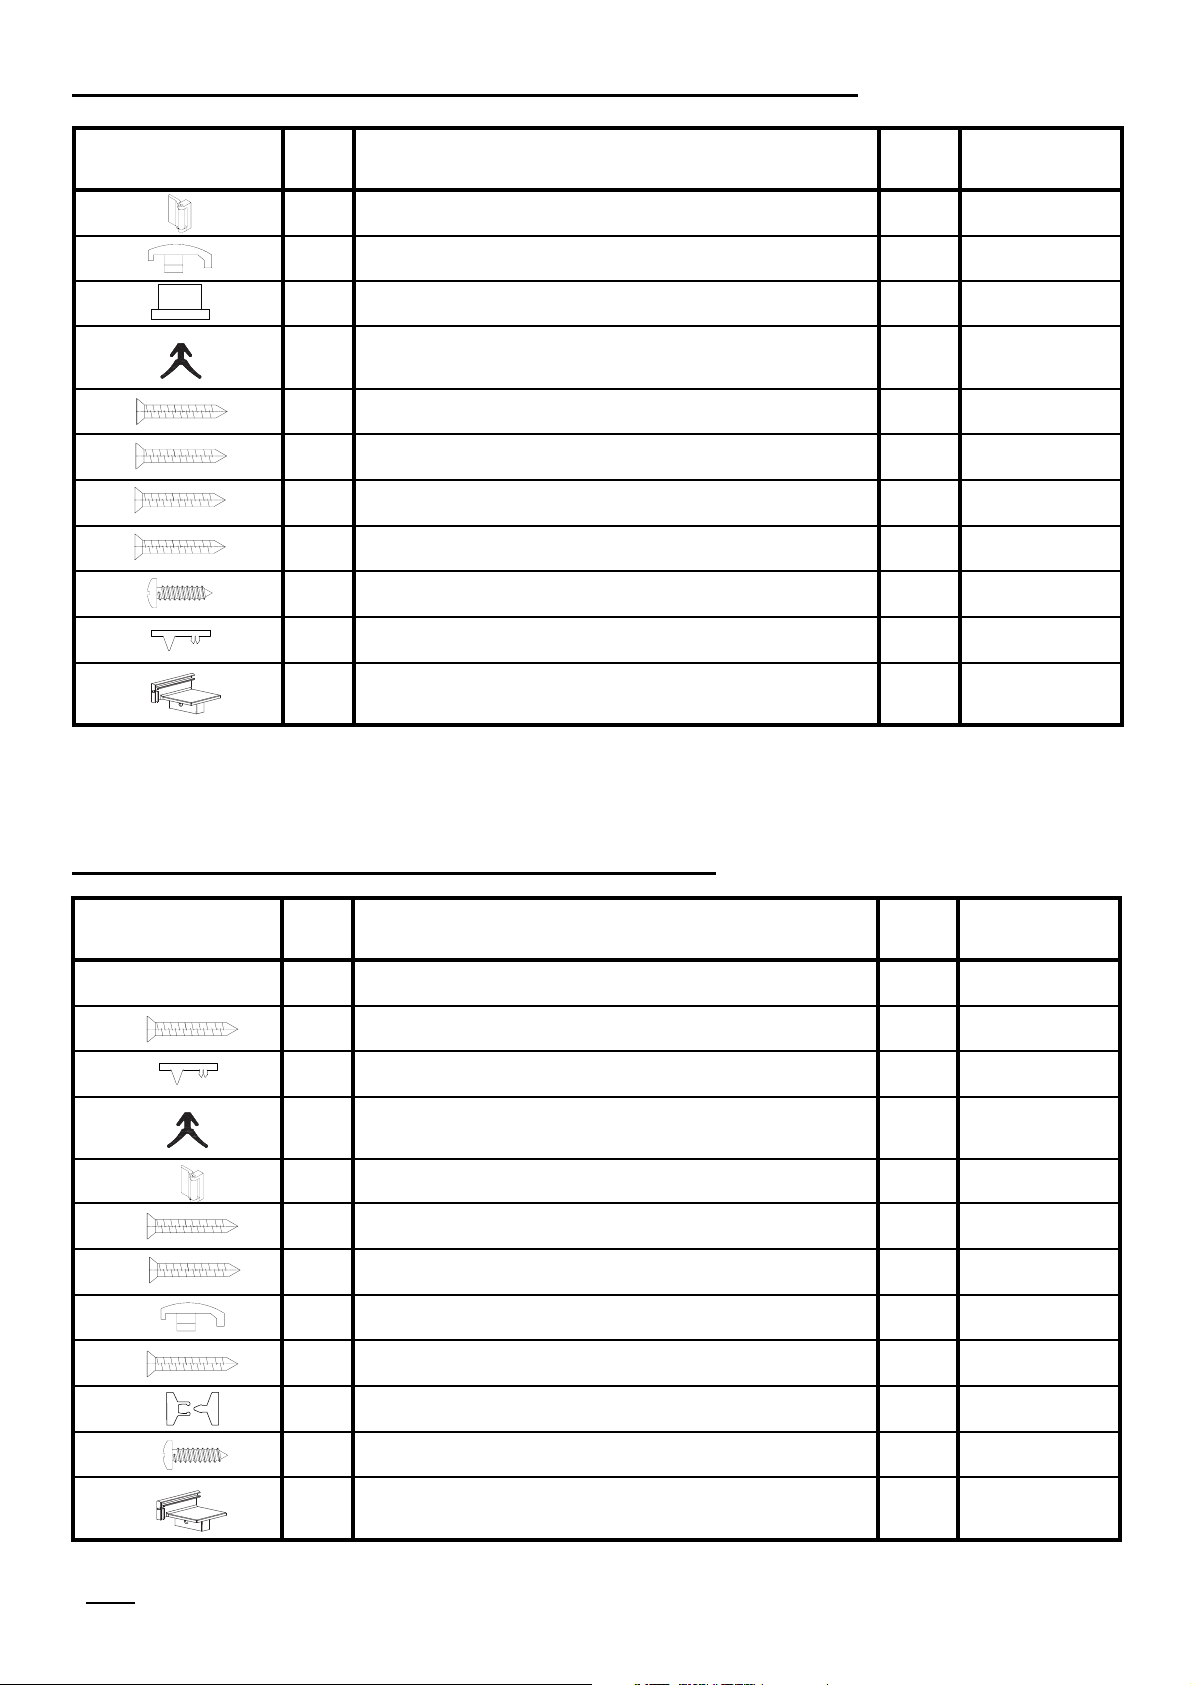
Contents of main box - basic construction
Profi les for both gables:
Please check out the tables, the completeness of the components.
Profi les for side walls:
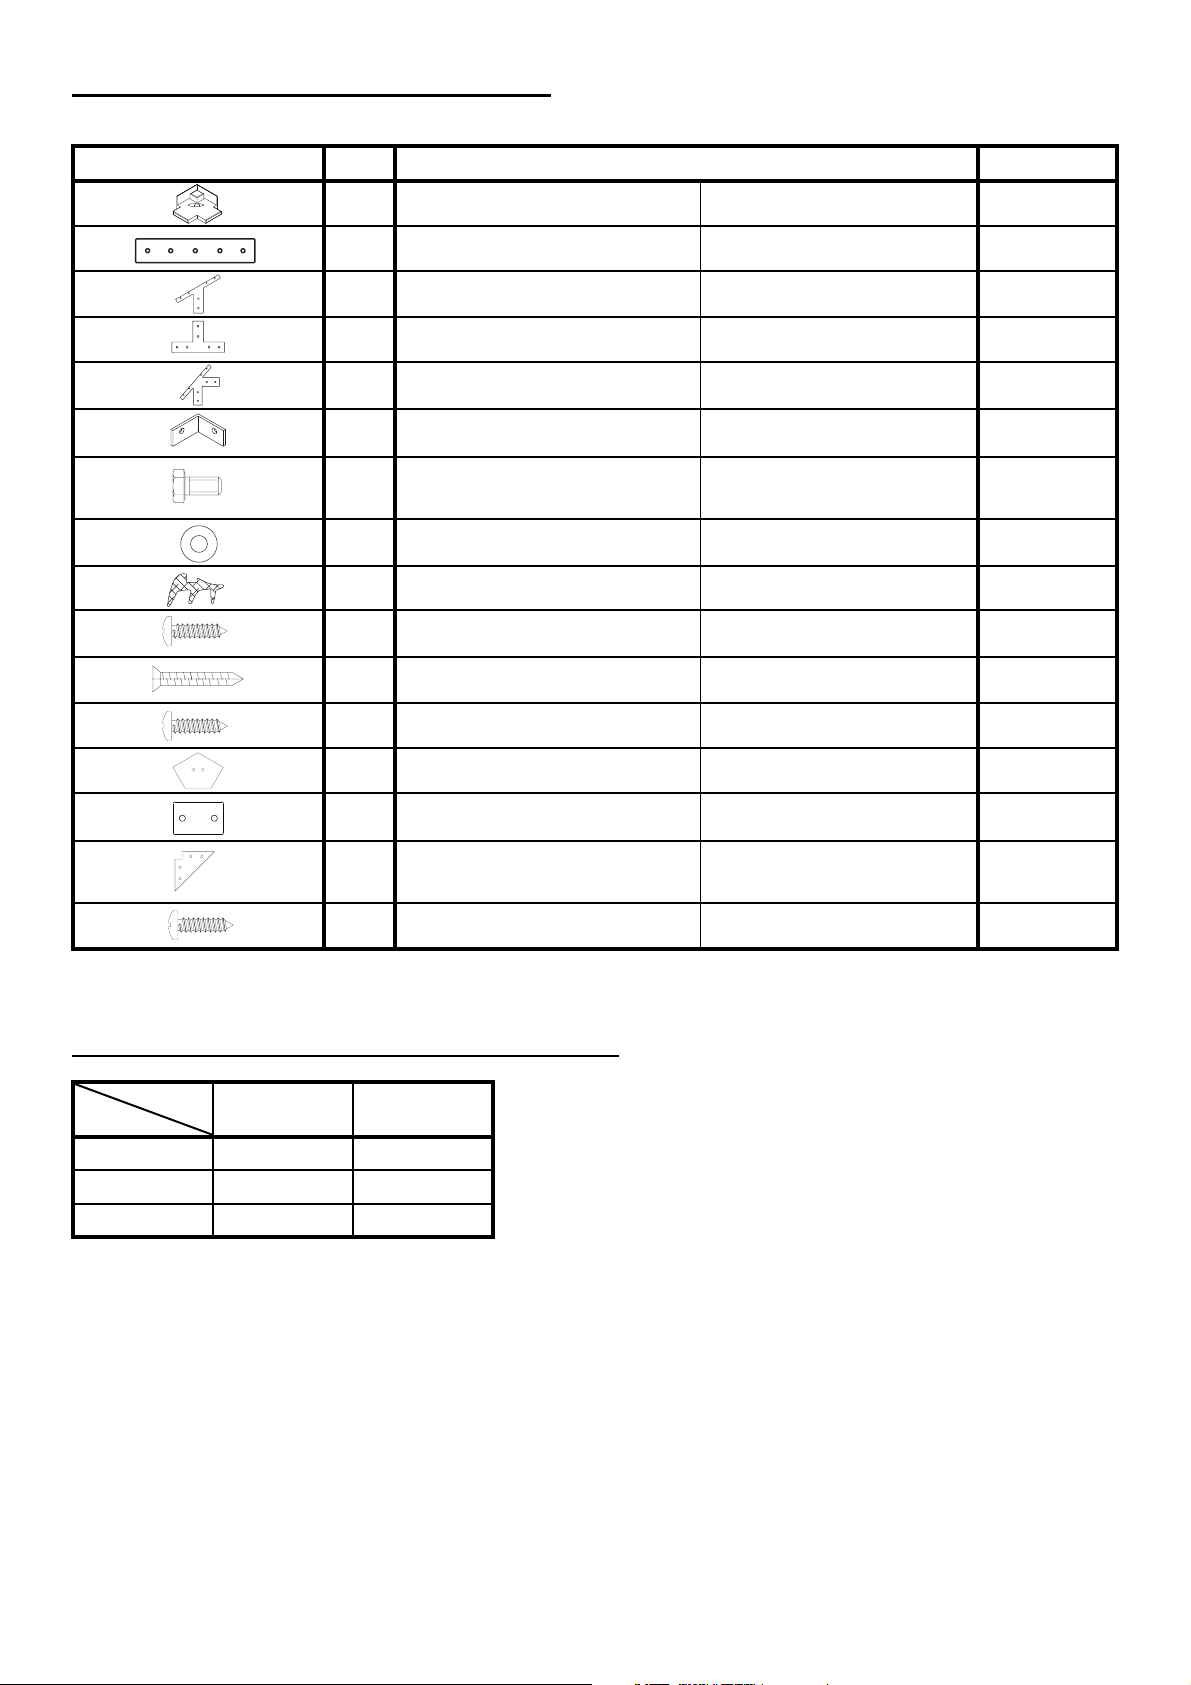
Part design Pos. Description Quantity
100 Plastic corner connector 4
101 Straight connector plate
for cross bars above doors
4
102 T-connector slanted
for door upright and edge clamp
4
103 T-connector
door profi les to cross bars
8
104 T-connector slanted
vertical profi le middle/cross bar/
edge clamp
4
105 Floor profi le connectors
inside
4
107
Hexagon head screw
M6 x 16 + nuts M6
screws for feeding
160*
108 Washers (f. pos. 8)
to be used in the later support
connections
28
110 Insulation seal 6 - 8 thick
used on the inside
See table below.
111 Phillips head screws 4,2 x 13
for cross bar/roof beam- end cap/
cover plate
12
142 Phillips head screws 4,2 x 50
for cross bars in front and back walls
4
113 Phillips head screws 4,8 x 16
for fl oor profi le corner connectors
16
114 Roof beam - end cap/cover plate 2
115 Connector plate
for cross bars under windows
4/8/8
depends on type
116
Floor profi le corner connector covers
4
117 Self drilling screws 3,5 x 13
t-connector 102 + 104
32
Length
Type
952 mm 571 mm
Riga XL IV 12 pc 4 pc
Riga XL V 14 pc 4 pc
Riga XL VI 16 pc 4 pc
5
Accessories bag basic construction
*plus substitute screws
Heavy insulation seal 6- 8 mm in pre cut section
Part design Pos. Description
Quan-
tity
Length
[mm]
*
126 T-seal
1
2
974
1027
127 Plastic corner connector
2x left
2x right
112 Phillips head screws 4,2 x 60 8
107 Hexagon head screws M6 x 16 + nut M6 3
143 Glazing block 30 x 16 x 4 2
Profi le design Pos. Description
Quan-
tity
Length
[mm]
34 Window profi le - roof 2 865
35 Window profi le - roof 2 993
Profi le design Pos. Description
Quan-
tity
Length
[mm]
44 Door profi le - left
with borings for Sash lock
1 887
45 Door profi le - right
with hinge borings
1 887
46 Door profi le - top 1 864
48 Door profi le - bottom 1 864
47 Rectangular tube
with cross holes
1 933
Profi le design Pos. Description
Quan-
tity
Length
[mm]
41 Door profi le - left 1 949
42 Door profi le - right
with hinge borings
1 949
48
Door profi le - top 1 864
43 Door profi le - bottom
with large hole for door handle
1 864
6
Profi les for each roof window
Profi les for each divided revolving door - at the bottom
Profi les for each divided revolving door - top
Accessories and hardware for each roof window
* Note: The rubber seal is bundled in one hank for all doors and windows. Cut accordingly please.
Part Design Pos. Description
Quan-
tity
Length
[mm]
135 Hinge 2
136 Sash lock 1
137 End cap for rectangular tube 2
*
138 T-
seal
2
2
936
973
139 Phillips head screw 4,8 x 25 (for hinges) 4
140 Phillips head screw 4,8 x 16 (for hinges) 4
112
Phillips head screw 4,2 x 60 (for doors) 8
141 Phillips head screw 3,5 x 22 (sash lock) 2
142 Phillips head screw 4,2 x 50 (to attach square tube) 2
143 Glazing block 30 x 16 x 4 2
127 Plastic corner connector
2x left
2x right
Part design Pos. Description
Quan-
tity
Length
inches
see page 19/20 150 Door sets, 8-piece (Assembly see page 18.) 1
112 Phillips head screws 4,2 x 60 (door) 8
143 Little white spacers 30 x 16 x 4 2
*
153 T-seal
2
2
966
973
135 Hinge 2
139 Phillips head screws 4,8 x 25 (hinges) 4
140 Phillips head screws 4,8 x 16 (hinges) 4
136 Sash Lock 1
141 Phillips head screws 3,5 x 22 (Sash Lock) 2
158 Door holder - black - 2 parts 1
159 Phillips head screws 3,5 x 16 (door holder) 4
127
Plastic corner connectors
1x left
1x right
7
Accessories bag for divided revolving door - at the bottom
Accessories bag for divided revolving door - top
* Note: The rubber seal is bundled in one hank for all doors and windows. Cut accordingly please.
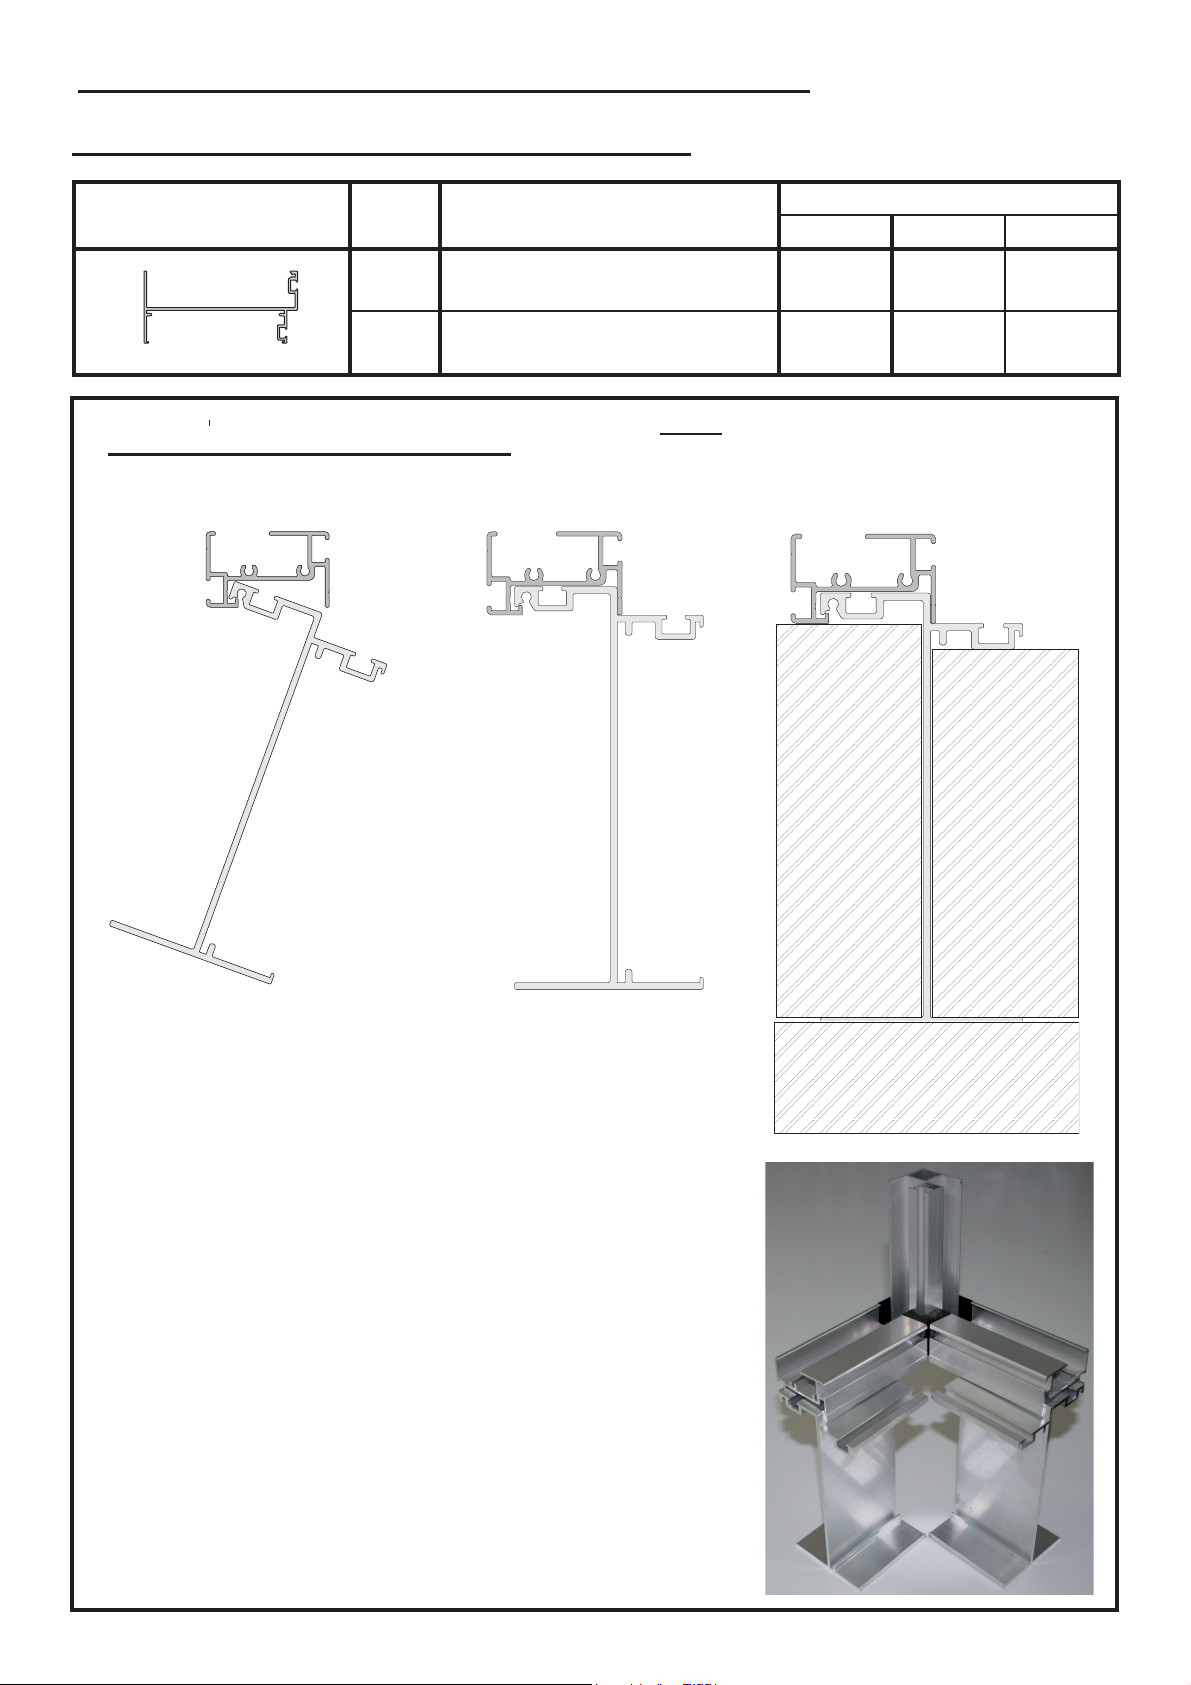
Attaching the foundation frame (special accessories)
Profiles and accessories for foundation frame:
Profile/part design Pos. Description
6.1
6.2
Foundation frame profile for
gable
Foundation frame profile for
the sides
Assembly of foundation frame
1.
2. 3.
Quantity/Length in mm
Typ IV Typ V Typ VI
2
4085
2
3864
Note: Foundation frame profiles are
shorter than the floor profiles!
2
4085
2
4859
2
4085
2
5853
1.
The foundation frame hooks into, then rotates to attach to
the floor profiles. Center the foundation on the floor profile.
Note: Foundation frame is shorter than the floor profiles.
2.
When installed. You may use a few self-tapping screws
to attach the foundation frame to the soil profile to make
installation easier
Fill both sides with soil after greenhouse is fully
3.
assembled.
 Loading...