

Hobo RXW-WCF, RXW-WCF-922, RXW-WCF-900, RXW-WCF-868 Series Manual
HOBO® RX Wireless Sensor Network
W
O
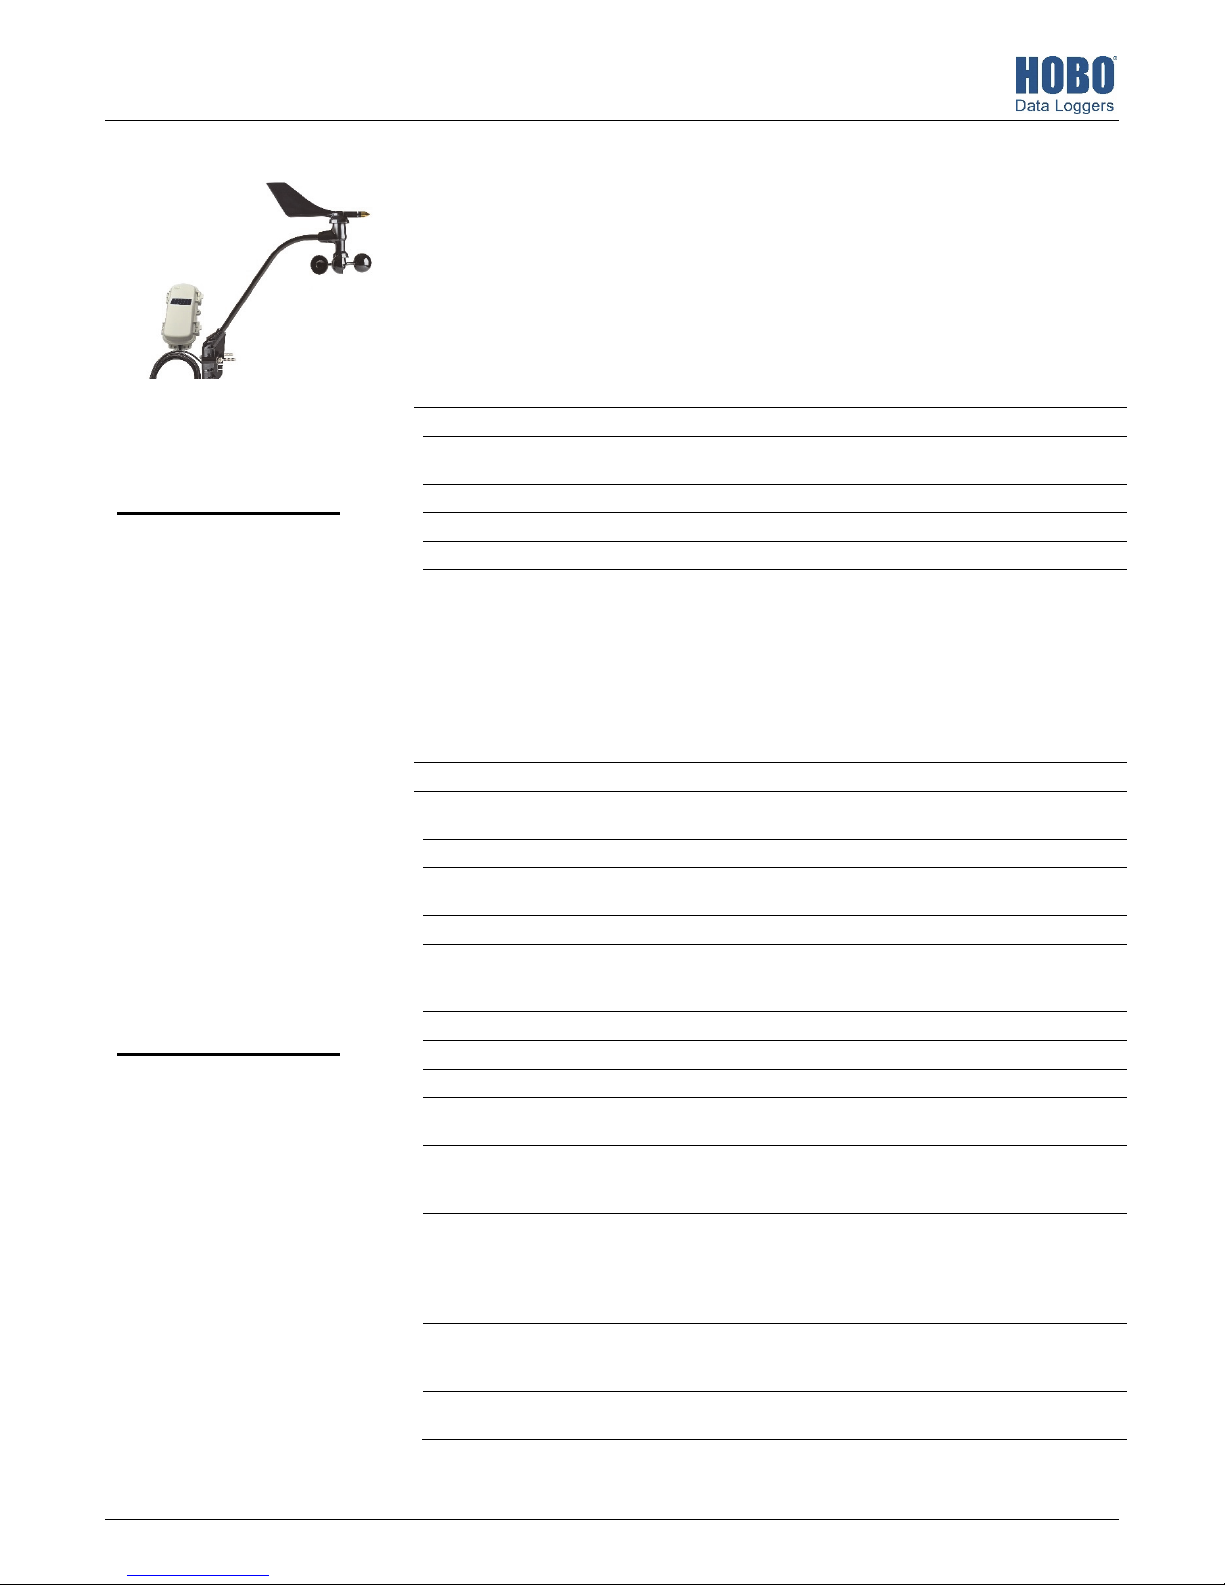
RXW Davis® Wind Speed and Direction Sensor (RXW-WCF-xxx) Manual
This sensor measures wind speed and direction and is designed to work with the HOBO RX
Wireless Sensor Network in which data is transmitted wirelessly from the sensor mote across
the network to the RX3000 station and then uploaded to HOBOlink® web-based software. With
HOBOlink, you can monitor sensor readings, view graphs, set up alarms, download data, and
more.
Specifications
Sensor Wind Speed/Gust Wind Direction
Measurement Range 0 to 76 m/sec (0 to 170 mph) 0 to 355 degrees
RXW Davis Wind Speed &
Direction Sensor
Models:
• RXW-WCF-900 (US)
• RXW-WCF-868 (Europe)
• RXW-WCF-922
(Australia/NZ)
Items Included:
• Cable ties
Items required:
• Weather-resistant cable
ties or cable clips
• Electrical tape
• Handheld compass, local
area map, or handheld GPS
If mounting on tripod or mast:
• Adjustable wrench
If mounting on wooden surface:
• Drill with 5 mm (3/16 inch)
drill bit
Accessories:
• Grounding kit (M-GKA)
Accuracy ±1.1 m/sec (±2 mph) or ±5% of
Resolution 0.5 m/sec (1.1 mph) 1 degrees (0 to 355 degrees)
Starting Threshold ≤1 m/sec (2.2 mph) 1 m/sec (2.2 mph)
Turning Radius 108 mm (4.25 in.) Approximately 135 mm (5.25 in.)
Measurement Definition Cup revolutions are accumulated
ireless Mote
perating Temperature
Range
Radio Power 12.6 mW (+11 dBm) non-adjustable
Transmission Range At least 304.8 m (1,000 ft) line of sight at 1.8 m (6 ft) from the ground,
Wireless Data Standard IEEE 802.15.4
Radio Operating
Frequencies
Modulation Employed OQPSK (Offset Quadrature Phase Shift Keying)
Data Rate Up to 250 kbps, non-adjustable
Duty Cycle <1%
Maximum Number of
Motes
Battery Type/
Power Source
Battery Life With NiMH batteries: Typical 3–5 years when operated in the temperature
Dimensions Sensor: 470 x 191 x 121 mm (18.5 x 7.5 x 4.75 in.)
Weight Sensor and cable: 1.332 kg (2 lb, 15 oz)
reading, whichever is greater
every three seconds for the
duration of the logging interval (see
Measurement Operation)
Wind speed: Average speed for the
entire logging interval
Gust speed: The highest threesecond wind recorded during the
logging interval
-25° to 60°C (-13° to 140°F) with rechargeable batteries
-40 to 70°C (-40 to 158°F) with lithium batteries
457.2 m (1,500 ft) typical
RXW-WCF-900: 904–924 MHz
RXW-WCF-868: 866.5 MHz
RXW-WCF-922: 916–924 MHz
50 motes per one RX Wireless Sensor Network
Two AA 1.2V rechargeable NiMH batteries, powered by built-in solar panel
or two AA 1.5 V lithium batteries for operating conditions of -40 to 70°C (-40
to 158°F)
range -20° to 40°C (-4°F to 104°F) and positioned toward the sun (see
Deployment and Mounting), operation outside this range will reduce the
battery service life
With lithium batteries: 1 year, typical use
Cable length: 3 m (9.8 ft)
Mote: 16.2 x 8.59 x 4.14 cm (6.38 x 3.38 x 1.63 inches)
Mote: 223 g (7.87 oz)
±7 degrees
Unit vector averaging used; vector
components for each wind
measurement are calculated every
three seconds for duration of
logging interval (see Measurement
Operation)
22245-2
RXW Davis Wind Speed and Direction Sensor (RXW-WCF-xxx) Manual
C
Specifications (continued)
Materials Sensor: Polycarbonate wind cups, sealed stainless steel bearing, UV-resistant
Environmental Rating Sensor: Weatherproof
ompliance Marks RXW-WCF-900: See last page
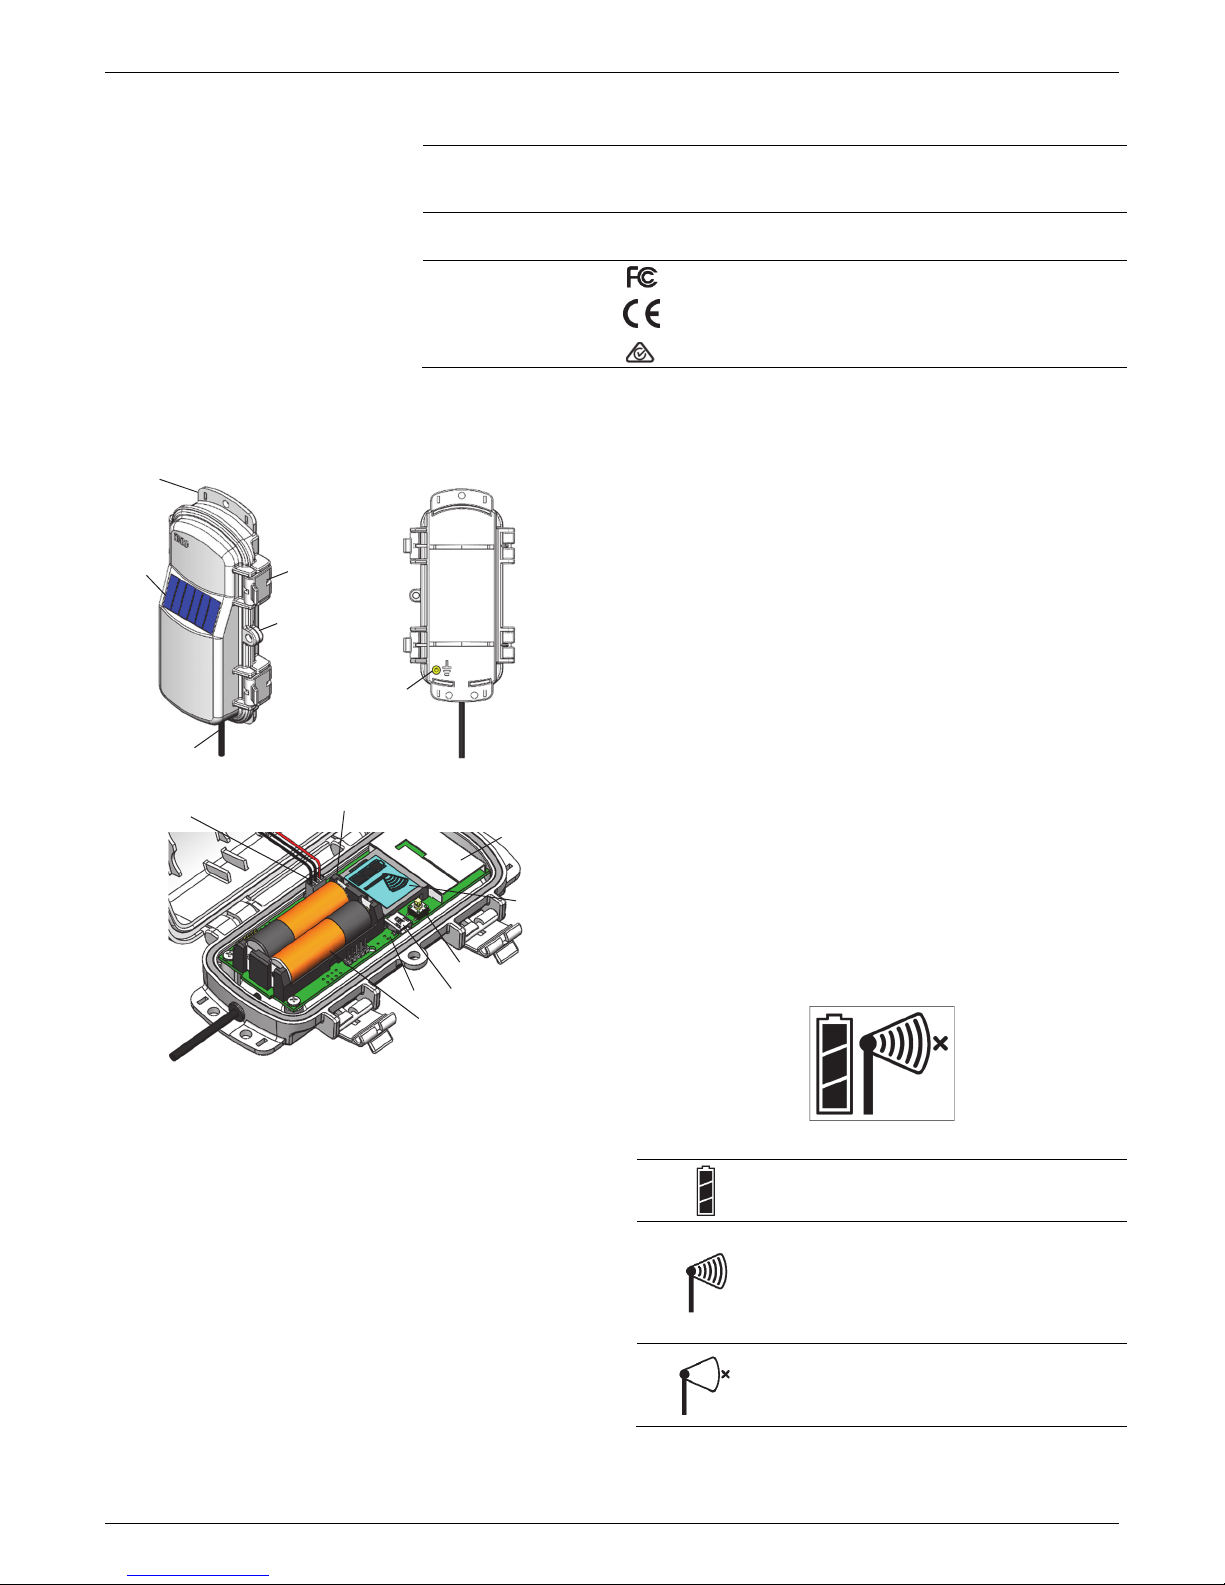
Mote Components and Operation
Mounting
Tab
Solar Panel
Sensor Cable
Sensor Mote Closed, Front Sensor Mote Closed, Back
Solar Panel Cable
Latch
Eyelet
Ground Wire
Port
LED
LED
Battery Holder
Antenna
LCD Screen
Button
USB Port
ABS wind vane and black-anodized aluminum anemometer arm
Mote: PCPBT, silicone rubber seal
Mote: IP67
RXW-WCF-868: The CE Marking identifies this product as
complying with all relevant directives in the European Union (EU).
RXW-WCF-922: See last page
Solar Panel Cable: This cable connects the built-in solar panel
to the mote circuitry.
LEDs: The blue LED to the left of the LCD screen blinks at 4
seconds during normal operation. It blinks more frequently
when initially joining a network. If the mote is not currently
part of a network, the blue LED will be off. If the LED is on and
not blinking, there is a problem with the mote. Contact
Technical Support at www.onsetcomp.com/support/contact.
The yellow-green LED to the upper right of the batteries only
blinks during the process of joining a network.
Battery Holder: The location where the rechargeable AA
batteries are installed as shown (see Battery Information).
USB Port: Use this port to connect to the mote to a computer
via USB cable if you need to update the firmware (see Updating
Mote Firmware).
Button: Push this button for 1 second to illuminate the LCD or 3
seconds for the mote to search for an RX Wireless Sensor
Network to join (see Adding the Mote to the RX Wireless Sensor
Network).
LCD Screen: The mote is equipped with an LCD screen that
displays details about the current status. This example shows all
symbols illuminated on the LCD screen followed by definitions
of each symbol in the table.
Sensor Mote Opened
Mounting Tab: Use the tabs at the top and bottom of the mote
to mount it (see Deploying and Mounting).
Solar Panel: Position the solar panel towards the sun to charge
the mote batteries (see Deploying and Mounting).
Sensor Cable: This is the cable that connects the mote to the
sensor.
Eyelet: Use this eyelet to attach a 3/16 inch padlock to the
mote for security.
Latch: Use the two latches to open and close the mote door.
Ground Wire Port: Use this port to connect a ground wire (see
Deploying and Mounting).
Antenna: This is the built-in antenna for the radio
communications across the RX Wireless Sensor Network.
1-800-LOGGERS 2 www.onsetcomp.com
LCD Symbol Description
The battery indicator shows the approximate
battery charge remaining.
This is a signal strength indicator. The more bars,
the stronger the signal between motes. This icon
will blink when you press the button on the mote
to search for a network to join (see Adding the
Mote to the RX Wireless Sensor Network for
details).
This indicates that the mote is not part of a
network. See Adding the Mote to the RX Wireless
Sensor Network for details on how to add a mote
to the network.
RXW Davis Wind Speed and Direction Sensor (RXW-WCF-xxx) Manual
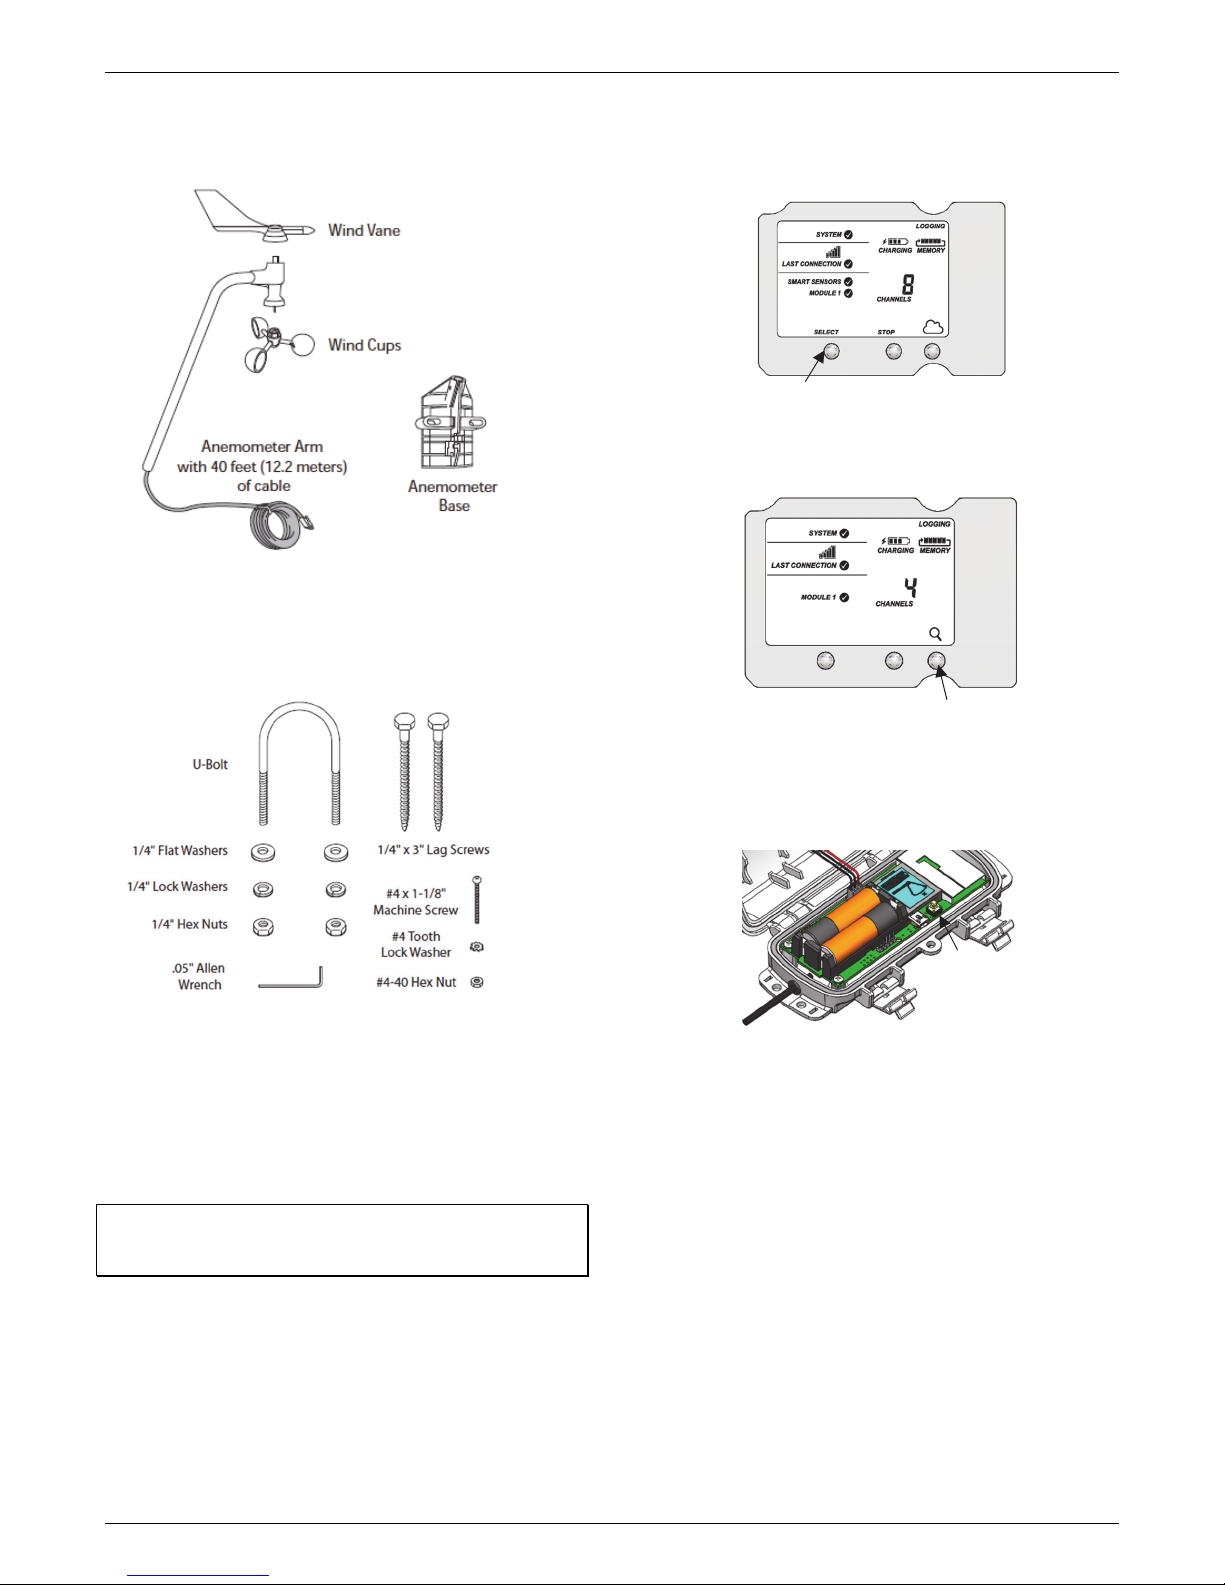
Sensor Components
The sensor includes the components shown below.
The sensor also includes a hardware kit with the items most
commonly needed for installation as shown below. The items
you use from the kit depend on where you install the sensor.
You may need to adapt or purchase additional hardware to fit
your individual requirements.
2. Press the Select button once (which shows the number of
smart sensors installed) and then press it again once if the
HOBO RXW Manager is installed in the left slot (module 1)
or twice if it is installed on the right slot (module 2).
Press this button to view the module
where the RXW Manager is installed
3. Press the Search button (the magnifying glass). The
magnifying glass icon will blink while the RX3000 is in search
mode.
Press this button so the station is ready
to have motes join the network
4. Open the mote door and install the batteries if you have not
already done so.
5. Press the button on the mote for 3 seconds. The signal
strength icon will flash and then cycle.
Adding the Mote to the RX Wireless Sensor
Network
The mote must join an RX Wireless Sensor Network before it
can begin measuring wind speed and direction and transmitting
data. This requires accessing the RX3000 Station and the mote
at the same time so it is recommended that you complete
these steps before deploying the mote.
Important: If you have not configured the RX3000 Station with
the RXW Manager, follow the instructions in the RX3000 Quick
Start before continuing.
To add a mote to the RX Wireless Sensor Network:
1. If the LCD is blank on the RX3000 station, press any button
to wake it up.
1-800-LOGGERS 3 www.onsetcomp.com
Press this button for 3
seconds for the mote to
join the network
6. Watch the LCD on the mote. The signal strength icon and
the LEDs will quickly blink while the mote searches for the
wireless network. Once it has found the network, the icon
will stop blinking and the signal strength bars will slowly
cycle from left to right. As the mote completes its
registration process with the network, the “x” icon to the
right of the signal strength icon will flash and the yellowgreen LED will stop blinking. Once the registration is
complete, the signal strength bars will stop cycling and
remain solid and the channel count on the RX3000 LCD will
be updated. This process may take up to five minutes. Note:
The channel count on the LCD will increase by 3: two for
wind speed and direction, and one for the mote battery.
 Loading...