

Page 1

RXW TEROS-21 Soil Water Potential Sensor (RXW-T21-xxx) Quick Start
1
2
3
4
5
6
Press the Search button. The magnifying glass icon
Press the Select button on the station to switch to the
Open the mote door and install the rechargeable
Press the Search button on the station again to
stop the search for motes.
This signal strength icon
a network.
Once a network is found,
a.
b.
c.
d.
This network connection
Once the mote has finished
Adding a Mote to the HOBOnet® Wireless Sensor Network
Important: Keep the mote near the station while completing
these steps.
If you are setting up a new station, follow the instructions in the
station quick start before setting up this mote (go to
www.onsetcomp.com/support/manuals/24380-man-rx2105rx2106-qsg for RX2105 and RX2106 stations or
www.onsetcomp.com/support/manuals/18254-MAN-QSGRX3000 for RX3000 stations.
Watch the mote LCD during the process of joining the
network:
module with the manager (module 2 on RX2105 or
RX2106 stations).
blinks while searching for
“x” icon blinks while the
mote completes the
registration process,
which may take up to
five minutes.
the icon will stop flashing
and the bars will cycle from
left to right.
joining the network, the “x”
icon is removed and the
channel count on the station
LCD increases by three (two
for water potential and
temperature, and one for the
mote battery).
will blink while the station is in search mode
waiting for motes to join the network.
Go to www.hobolink.com to
monitor mote status and health.
See the HOBOlink Help for details.
batteries. Press the button on the mote for 3 seconds.
Mounting and Positioning the Mote
• Close the mote and use a padlock to keep it secure.
• Mount the mote vertically using cable ties or screws.
• Position the mote towards the sun, making sure the solar panel is oriented so that it receives optimal sunlight throughout each
season. It may be necessary to periodically adjust the mote position as the path of the sunlight changes throughout the year or if tree
and leaf growth alters the amount of sunlight reaching the solar panel.
• Make sure the mote is mounted a minimum of 1.8 m (6 feet) from the ground or vegetation to maximize distance and signal strength.
• Consider using plastic poles such as PVC to mount the mote as certain types of metal could decrease the signal strength.
• Place the mote so there is full line of sight with the next mote. Use a repeater if there is an obstruction between motes.
• There should not be more than five motes in any direction from a repeater or the manager. Data from sensor motes travels or “hops”
across the network and may not reach the station if the mote is more than five hops away.
24851-A MAN-QSG-RXW-T21
Page 2
1
www.onsetcomp.com/support/contact
24851-A MAN-QSG-RXW-T21
Sensor Mounting Guidelines
• Minimize exposure of the ceramic material on the sensor to skin oils, grease, synthetic oils, or other hydrophobic compounds.
• When creating the hole to install the sensor, avoid interfering objects.
• Make sure the sensor has good hydraulic contact with the soil. This is critical for the sensor to make accurate measurements.
• Do not install the sensor with the body exposed above ground. Exposure of the body drastically decreases the life expectancy of the
sensor.
• Note that soils with high shrink-swell potential may pull away from the sensor as they dry and disrupt measurements.
• Secure the sensor cable to the mounting pole or tripod with cable ties.
• Use conduit to protect the cable against damage from animals, lawn mowers, exposure to chemicals, etc.
Sensor Installation Instructions
To install the sensor, you’ll need an auger or shovel, knife (if installing in shallow depth), and water (for packing soil or making slurry).
1. Auger or dig a hole to the desired sensor depth.
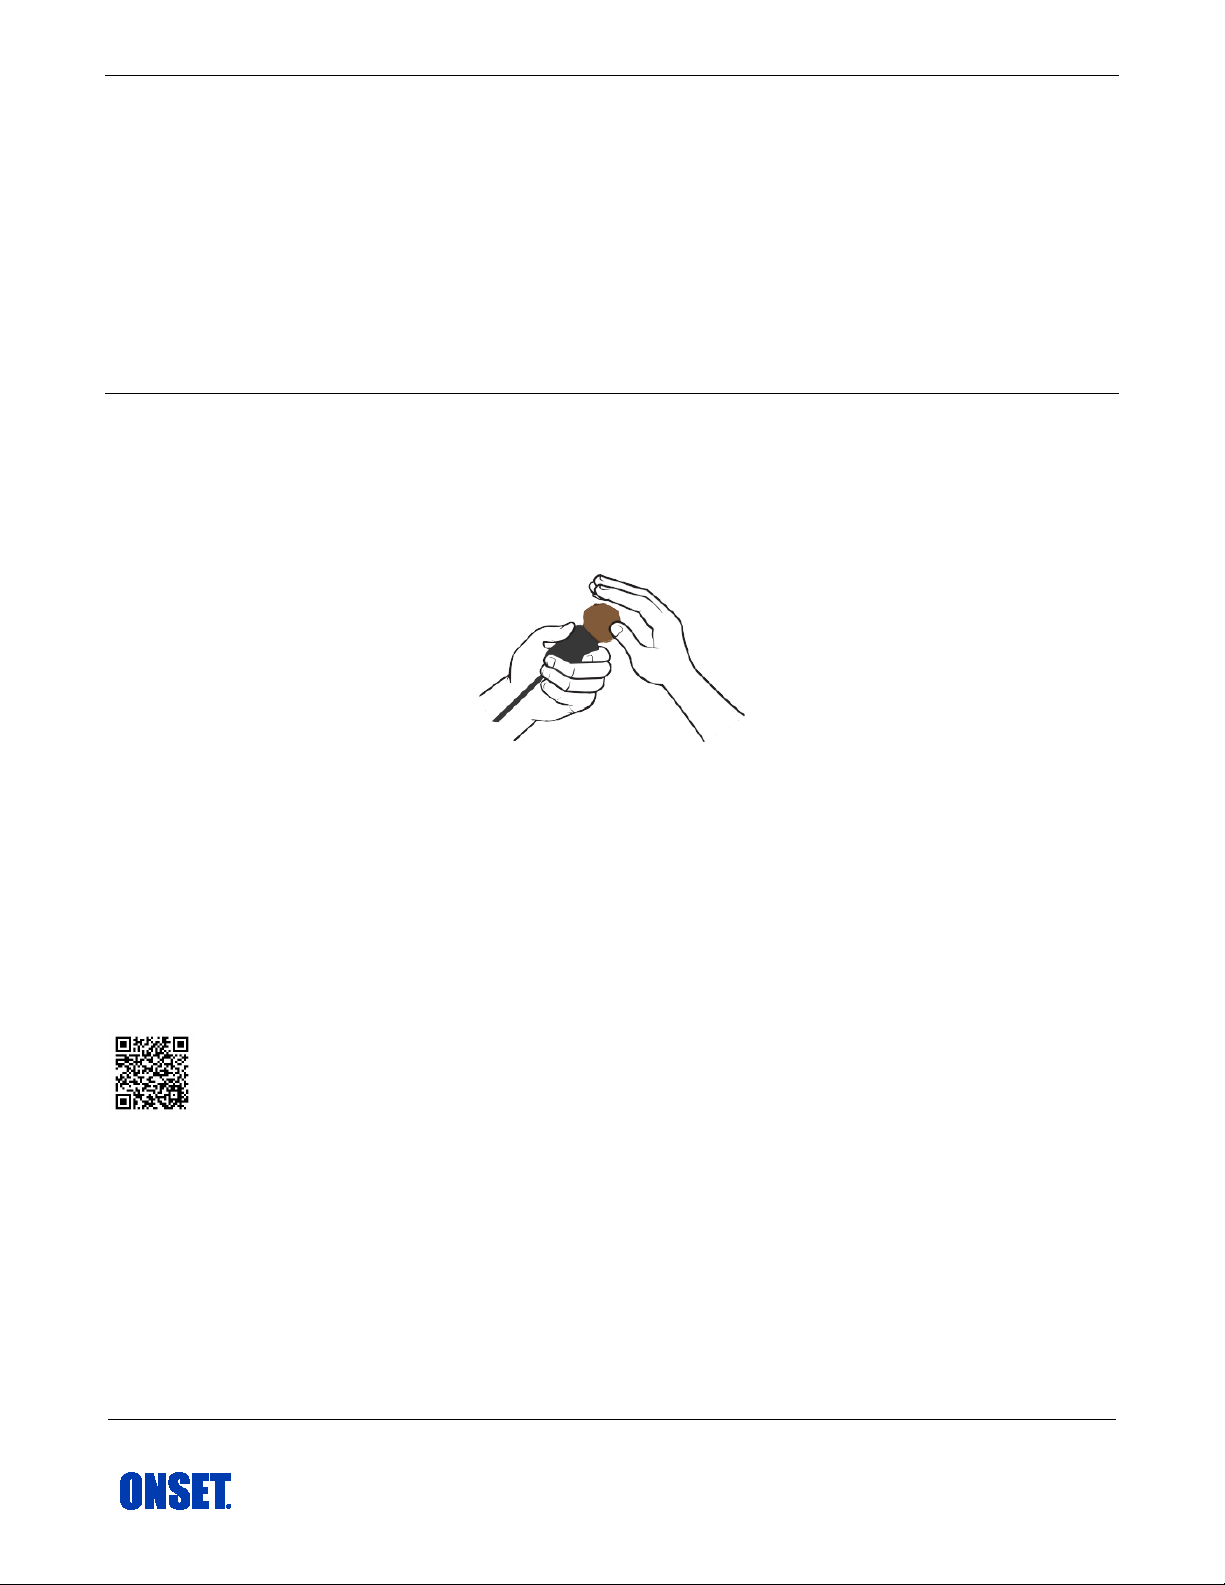
2. Moisten native soil and pack it firmly around the entire sensor discs as shown. Ensure the soil is in contact with all surfaces of the
ceramic.
Note: Sandy soils may not adhere to the sensor even when wet. If so, place the sensor at the bottom of the hole and carefully pack
the soil around the sensor. Be sure to pack the soil firmly around ceramic surfaces.
3. For shallow installations less than ~30 cm (~11.8 inches), use a knife to remove a small sliver of soil. Insert the packed sensor into the
channel.
For deep installations greater than ~30 cm (11.8 inches), use the native soil to make a slurry with water. Lower the sensor into the
hole and fill it with the slurry.
4. Secure the cable to the mounting pole or tripod and install flexible conduit before backfilling the hole. Leave at least 15 cm (6 inches)
of sensor cable beneath the soil before bringing the cable to the surface. At least 10 cm (4 inches) of cable should exit the sensor
body in a straight line before bending the cable.
5. Carefully return the soil to the hole, packing it back to its native bulk density.
For specifications, complete mounting guidelines, and other details about this mote, refer to the full product manual. Scan the code at left
or go to www.onsetcomp.com/support/manuals/24850-rxw-t21-manual.
-800-LOGGERS (564-4377) • 508-759-9500
© 2020 Onset Computer Corporation. All rights reserved. Onset, HOBO, and HOBOlink are registered trademarks of Onset
Computer Corporation. Some material reprinted with permission of METER Group, Inc. All other trademarks are the property
of their respective companies.
This product has been manufactured by Onset Computer Corporation and in compliance with Onset’s ISO 9001:2015 Quality
Management System.
 Loading...