

Hobo RXW-SPER, RXW-SPER-900, RXW-SPER-868, RXW-SPER-922 Series Manual
HOBO® RX Wireless Sensor Network
Sensor
External Contact Input
Range
Maximum Pulse Frequency
Maximum State, Event,
Runtime Frequency
Pulse, Event Lockout Time
Solid State Switch Closure
Internal Weak Pull
Input Impedance
Wireless Mote
Operating Temperature
Range
Radio Power
Transmission Range
Wireless Data Standard
Radio Operating
Frequencies
Modulation Employed
Data Rate
Duty Cycle
Maximum
M
Battery Type/
Power
Battery
Dimensions
Weight
Materials
Environmental Rating
Compliance Marks
RXW State/Pulse/
RXW State/Pulse/Event/Runtime Sensor (RXW-SPER-xxx) Manual
Event/Runtime Sensor
Models:
• RXW-SPER-900 (US)
• RXW-SPER-868 (Europe)
• RXW-SPER-922
(Australia/NZ)
Items Included:
• Cable ties
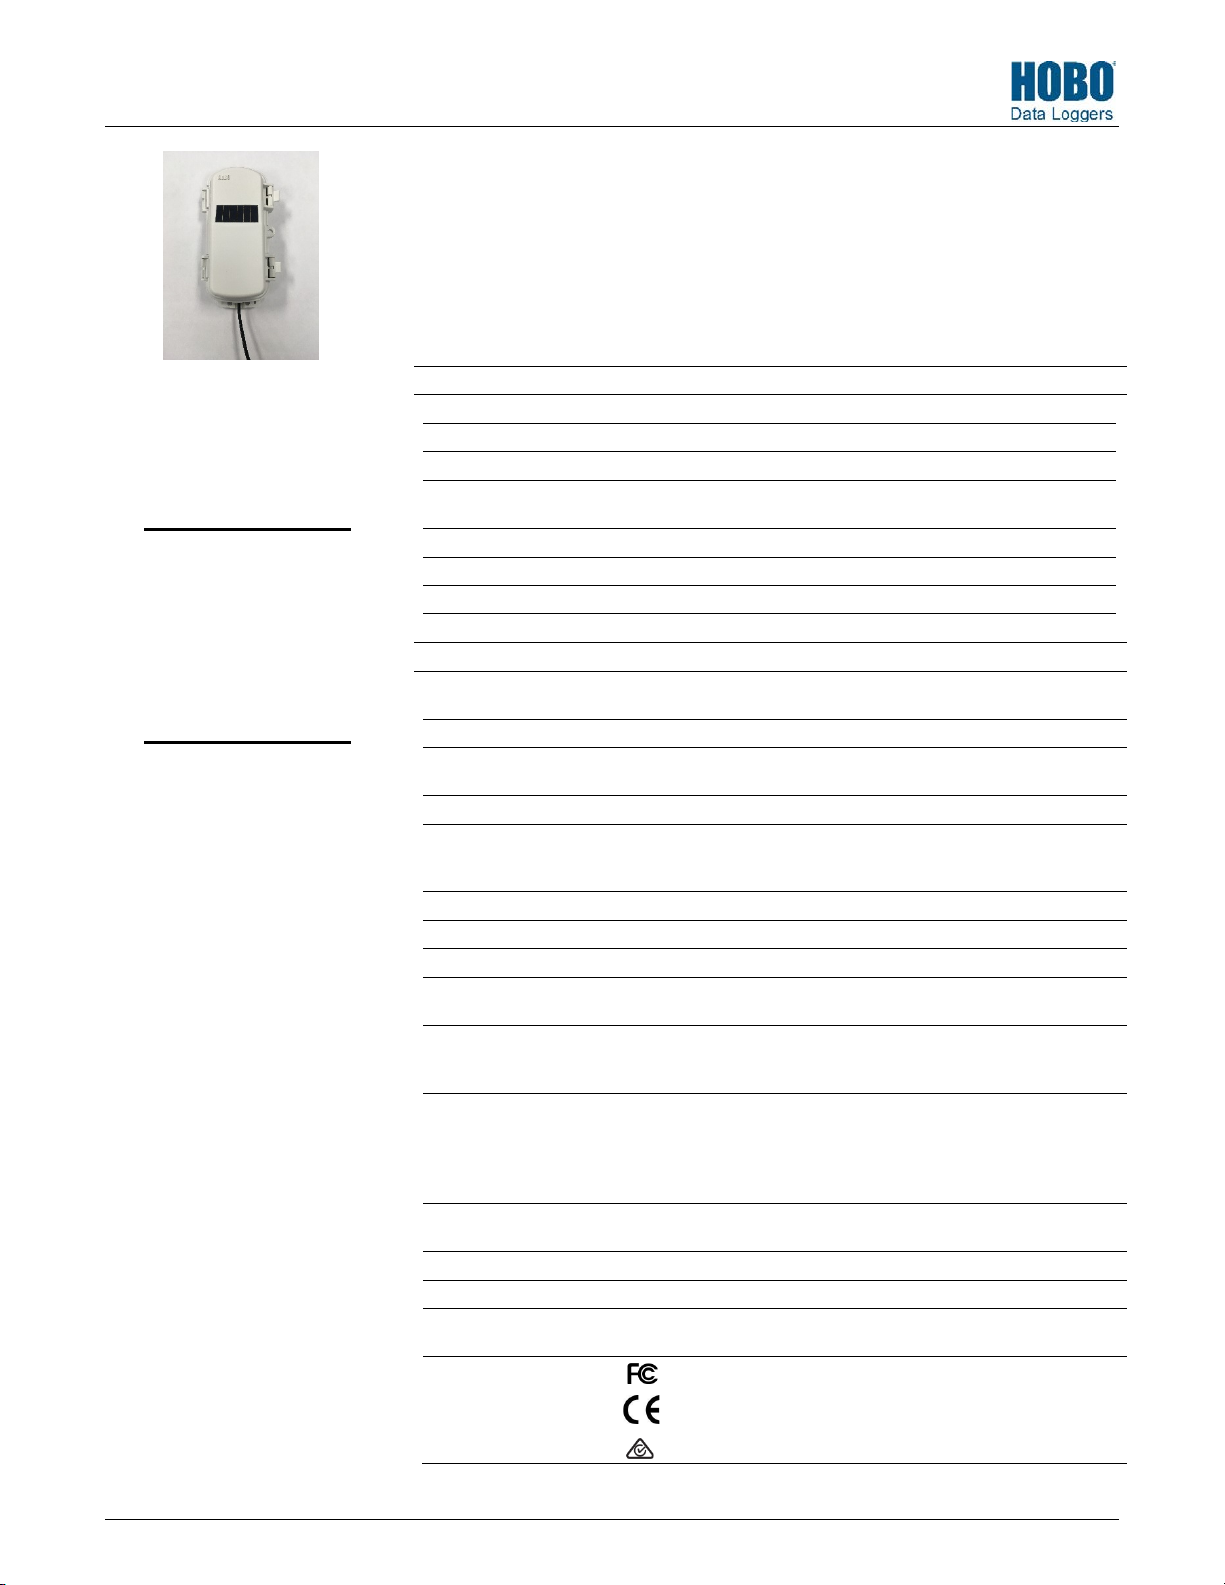
This sensor measures state changes, electronic pulses, and mechanical or electrical contact
closures from external sensing devices. It is designed to work with the HOBO RX Wireless
Sensor Network in which data is transmitted wirelessly from the sensor mote across the
network to the RX3000 station and then uploaded to HOBOlink® web-based software. With
HOBOlink, you can monitor sensor readings, view graphs, set up alarms, download data, and
more.
Specifications
Electronic solid state switch closure or logic driven voltage output
0 to 2.5 V DC
50 Hz
-Up 100 KΩ
Solid state switch closure: 100 KΩ pull up
12.6 mW (+11 dBm) non-adjustable
Up to 250 kbps, non-adjustable
<1%
Number of
otes
Source
Life
223 g (7.87 oz)
PCPBT, silicone rubber seal
1 Hz
0 to 1 second in 100 ms steps
Input Low: < 10 KΩ; Input High: > 500 KΩ
-25° to 60°C (-13° to 140°F) with rechargeable batteries
-40 to 70°C (-40 to 158°F) with lithium batteries
At least 304.8 m (1,000 ft) line of sight at 1.8 m (6 ft) from the ground,
457.2 m (1,500 ft) typical
IEEE 802.15.4
RXW-SPER-900: 904–924 MHz
RXW-SPER-868: 866.5 MHz
RXW-SPER-922: 916–924 MHz
OQPSK (Offset Quadrature Phase Shift Keying)
50 motes per one RX Wireless Sensor Network
Two AA 1.2 V rechargeable NiMH batteries powered by built-in solar panel
or two AA 1.5 V lithium batteries for operating conditions of -40 to 70°C (-40
to 158°F)
With NiMH batteries: Typical 3–5 years when operated in the temperature
range -20° to 40°C (-4°F to 104°F) and positioned toward the sun (see
Deployment and Mounting), operation outside this range will reduce the
battery service life
With lithium batteries: 1 year, typical use
Cable length: 2 m (6.56 ft)
Mote: 16.2 x 8.59 x 4.14 cm (6.38 x 3.38 x 1.63 inches)
Sensor and cable: Immersion in water up to 50°C (122°F) for 1 year
Mote: IP67
RXW-SPER-900: See last page
RXW-SPER-868: The CE Marking identifies this product as
complying with all relevant directives in the European Union (EU).
RXW-SPER-922: See last page
22438-1
RXW State/Pulse/Event/Runtime Sensor (RXW-SPER-xxx) Manual
to the network.
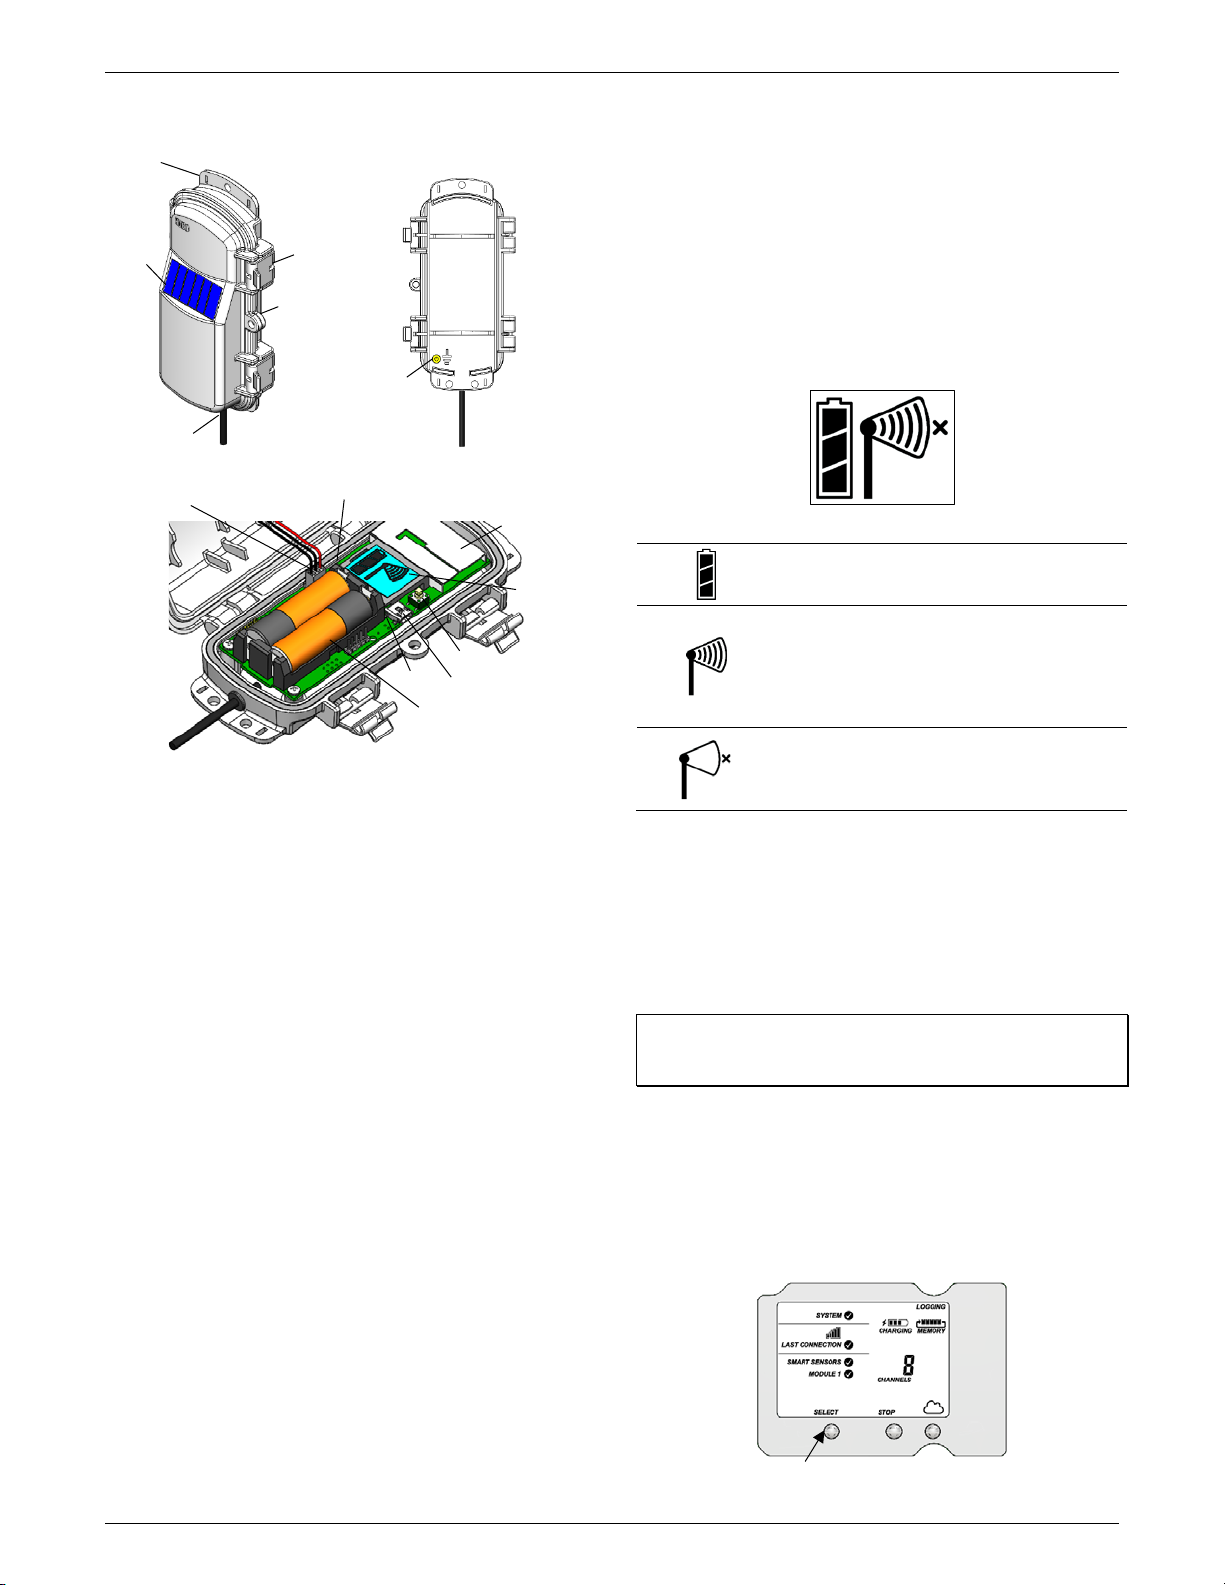
Button
Solar Panel
USB Port
Latch
Battery Holder
LCD Screen
Mounting
Press this butto n to view the module
Eyelet
Solar Panel Cable
Antenna
LED
LED
Ground Wire
Sensor Cable
Mote Components and Operation
Tab
Port
Sensor Mote Closed, Front Sensor Mote Closed, Back
Mounting Tab: Use the tabs at the top and bottom of the mote
to mount it (see Deploying and Mounting).
Solar Panel: Position the solar panel towards the sun to charge
the mote batteries (see Deploying and Mounting).
Sensor Cable: This is the cable that connects the mote to the
sensor.
Eyelet: Use this eyelet to attach a 3/16 inch padlock to the
mote for security.
Sensor Mote Opened
USB Port: Use this port to connect to the mote to a computer
via USB cable if you need to update the firmware (see Updating
Mote Firmware).
Button: Push this button for 1 second to illuminate the LCD or 3
seconds for the mote to search for an RX Wireless Sensor
Network to join (see Adding the Mote to the RX Wireless Sensor
Network).
LCD Screen: The mote is equipped with an LCD screen that
displays details about the current status. This example shows all
symbols illuminated on the LCD screen followed by definitions
of each symbol in the table.
LCD Symbol Description
The battery indicator shows the approximate
battery charge remaining.
This is a signal strength indicator. The more bars,
the stronger the signal between motes. This icon
will blink when you press the button on the mote
to search for a network to join (see Adding the
Mote to the RX Wireless Sensor Network for
details).
This indicates that the mote is not part of a
network. See Adding the Mote to the RX Wireless
Sensor Network for details on how to add a mote
Adding the Mote to the RX Wireless Sensor
Network
The mote must join an RX Wireless Sensor Network before it
can begin measuring temperature and transmitting data. This
requires accessing the RX3000 Station and the mote at the
same time so it is recommended that you complete these steps
before deploying the mote.
Latch: Use the two latches to open and close the mote door.
Ground Wire Port: Use this port to connect a ground wire (see
Deploying and Mounting).
Antenna: This is the built-in antenna for the radio
communications across the RX Wireless Sensor Network.
Solar Panel Cable: This cable connects the built-in solar panel
to the mote circuitry.
LEDs: The blue LED to the left of the LCD screen blinks at 4
seconds during normal operation. It blinks more frequently
when initially joining a network. If the mote is not currently
part of a network, the blue LED will be off. If the LED is on and
not blinking, there is a problem with the mote. Contact
Technical Support at www.onsetcomp.com/support/contact.
The yellow-green LED to the upper right of the batteries only
blinks during the process of joining a network.
Battery Holder: The location where the batteries are installed
as shown (see Battery Information).
1-800-LOGGERS 2 www.onsetcomp.com
Important: If you have not configured the RX3000 Station with
the RXW Manager, follow the instructions in the RX3000 Quick
Start before continuing.
To add a mote to the RX Wireless Sensor Network:
1. If the LCD is blank on the RX3000 station, press any button
to wake it up.
2. Press the Select button once (which shows the number of
smart sensors installed) and then press it again once if the
HOBO RXW Manager is installed in the left slot (module 1)
or twice if it is installed on the right slot (module 2).
where the RXW Manager is installe d
 Loading...