

Page 1
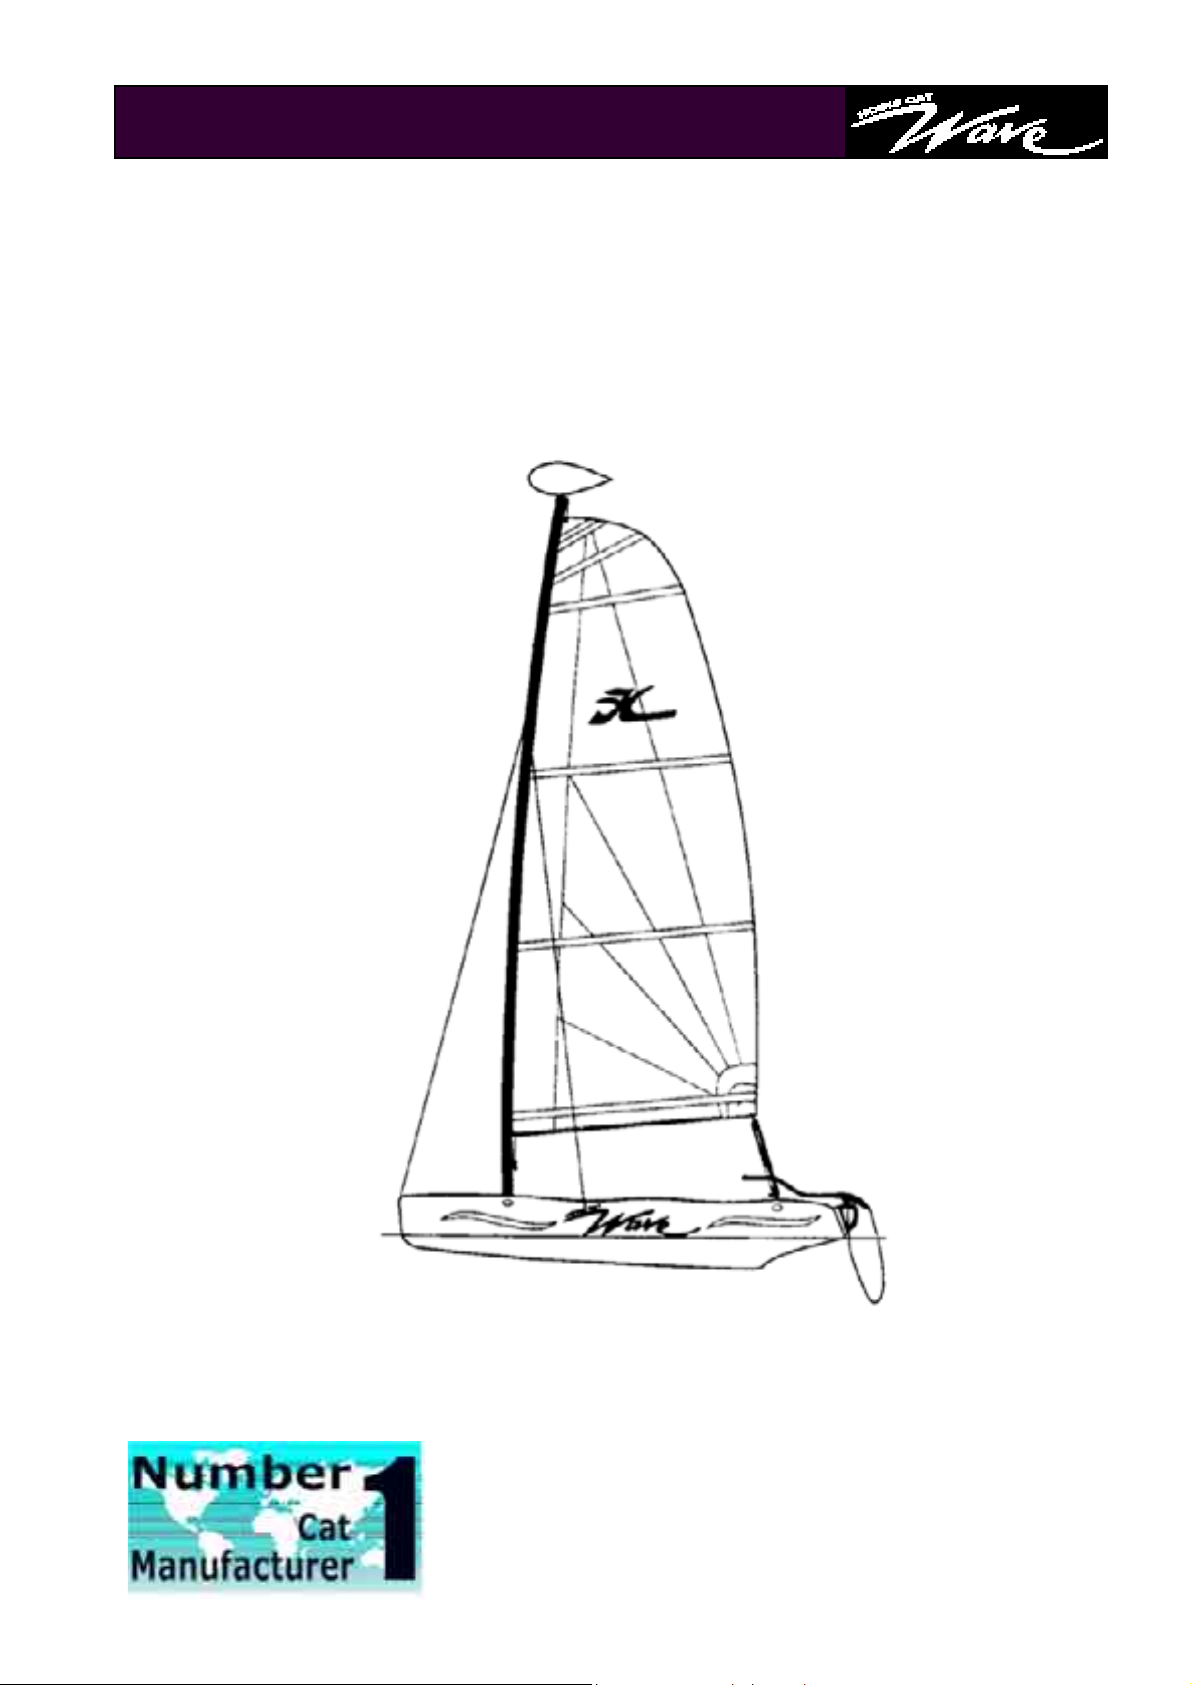
ASSEMBLY MANUAL
HOBIE CAT EUROPE
ZI Toulon Est, BP 250
83078 Toulon cedex 9, France
Tel : +33 (0)494 08 78 78 - Fax : +33 (0)494 08 13 99
Email : hobie.cat@wanadoo.fr - http://www.hobie-cat.com
• 1
Page 2
ASSEMBLY MANUAL
TABLE OF CONTENT
Hull assembly............................................3
Trampoline fit t ing......................................4
Rudder system assembly .........................5
Mast and rigging.....................................6-7
Mainsail .....................................................8
Mainsheet...................................................9
Turbo Kit ..................................................10
Righting line.............................................11
Safety tips................................................12
LIST OF PARTS
⇒ Hulls (2)
⇒ Front crossbar
⇒ Rear crossbar
⇒ Mast
⇒ Trampoline
⇒ Rear trampoline strip
⇒ Rudder assemblies (2)
⇒ Tiller crossbar
⇒ Tiller extension
⇒ Mainsail
⇒ Jib kit
⇒ Batten set (6)
⇒ Parts bag
It is advisable to assemble the Hobie Wave with
Two people.
CAUTION - DANGER
ALUMINIUM MAST
STAY CLEAR OF OVERHEAD WIRES
⇒ Ropes bag
⇒ Wire bag
• 2
Page 3
HULLS
Hull assembly
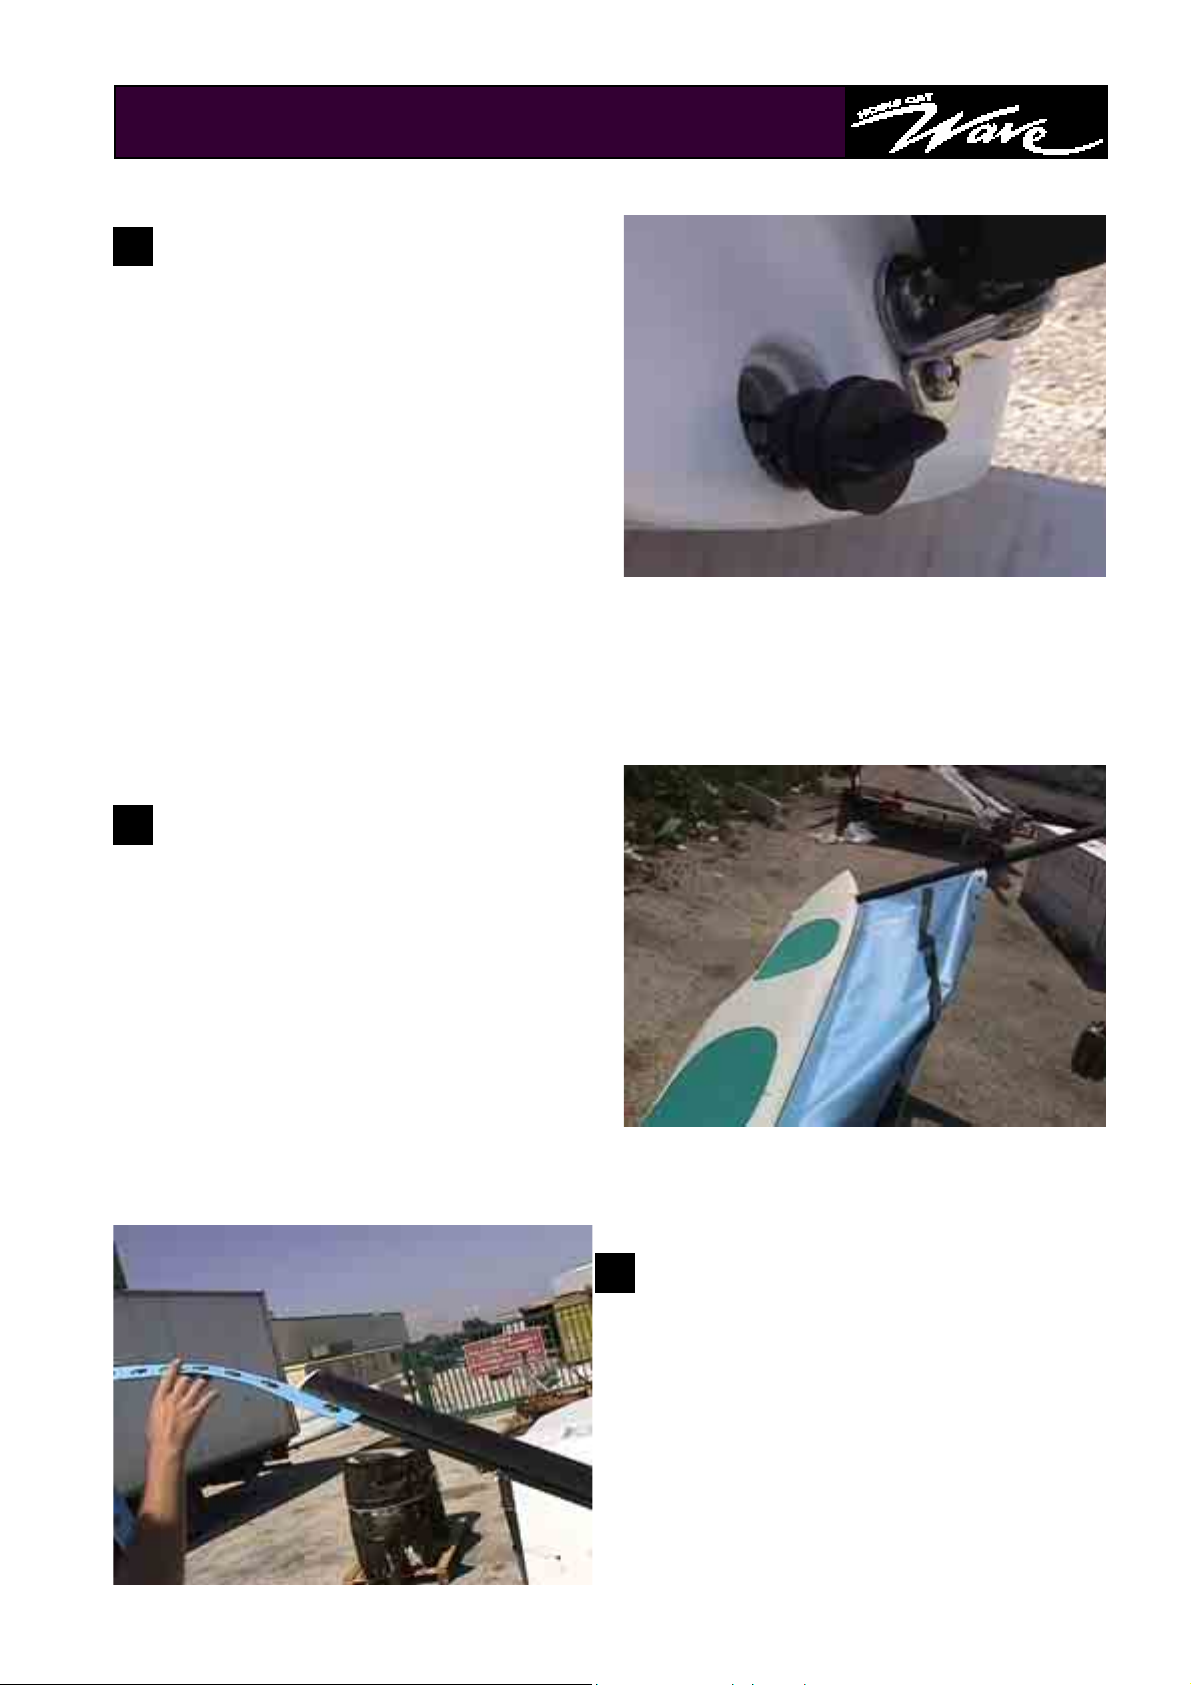
1
Lay the hulls on the ground on their sides with the bottoms to the center (graphics down) as in figure 1. A tarp
or pads may be desirable under the hull if the ground
surface is rough.
There is one plug in the rear of each hull (shown inset).
These plugs are used to drain the hulls. The plugs
should be in place before sailing. Remove the plugs after sailing to drain any water that may have leaked into
the hulls. It is best to travel and store the boat with the
plugs removed to allow for pressure changes due to
heating, cooling and altitude changes. This will prevent
warping of the hull surface.
2
Lift the front crossbar and insert the left end into the left
hull. Lift the rear crossbar and insert the left end into the
left hull. NB : The crossbars have stops built into the underside that will limit the depth the crossbars can be inserted.
Identify the right and the left trampoline halves and slide
the front of this in the track of the front crossbar.
Insert the rear trampoline stripe in the rear crossbar. Insert the right side of the front crossbar in the right hull
and the right side of the rear crossbar in the right hull.
Feed the outside edges of the trampoline halves thr ou g h
the trampoline tracks attached to the inside edge of the
deck.
3
• 3
Page 4
Trampoline fittings
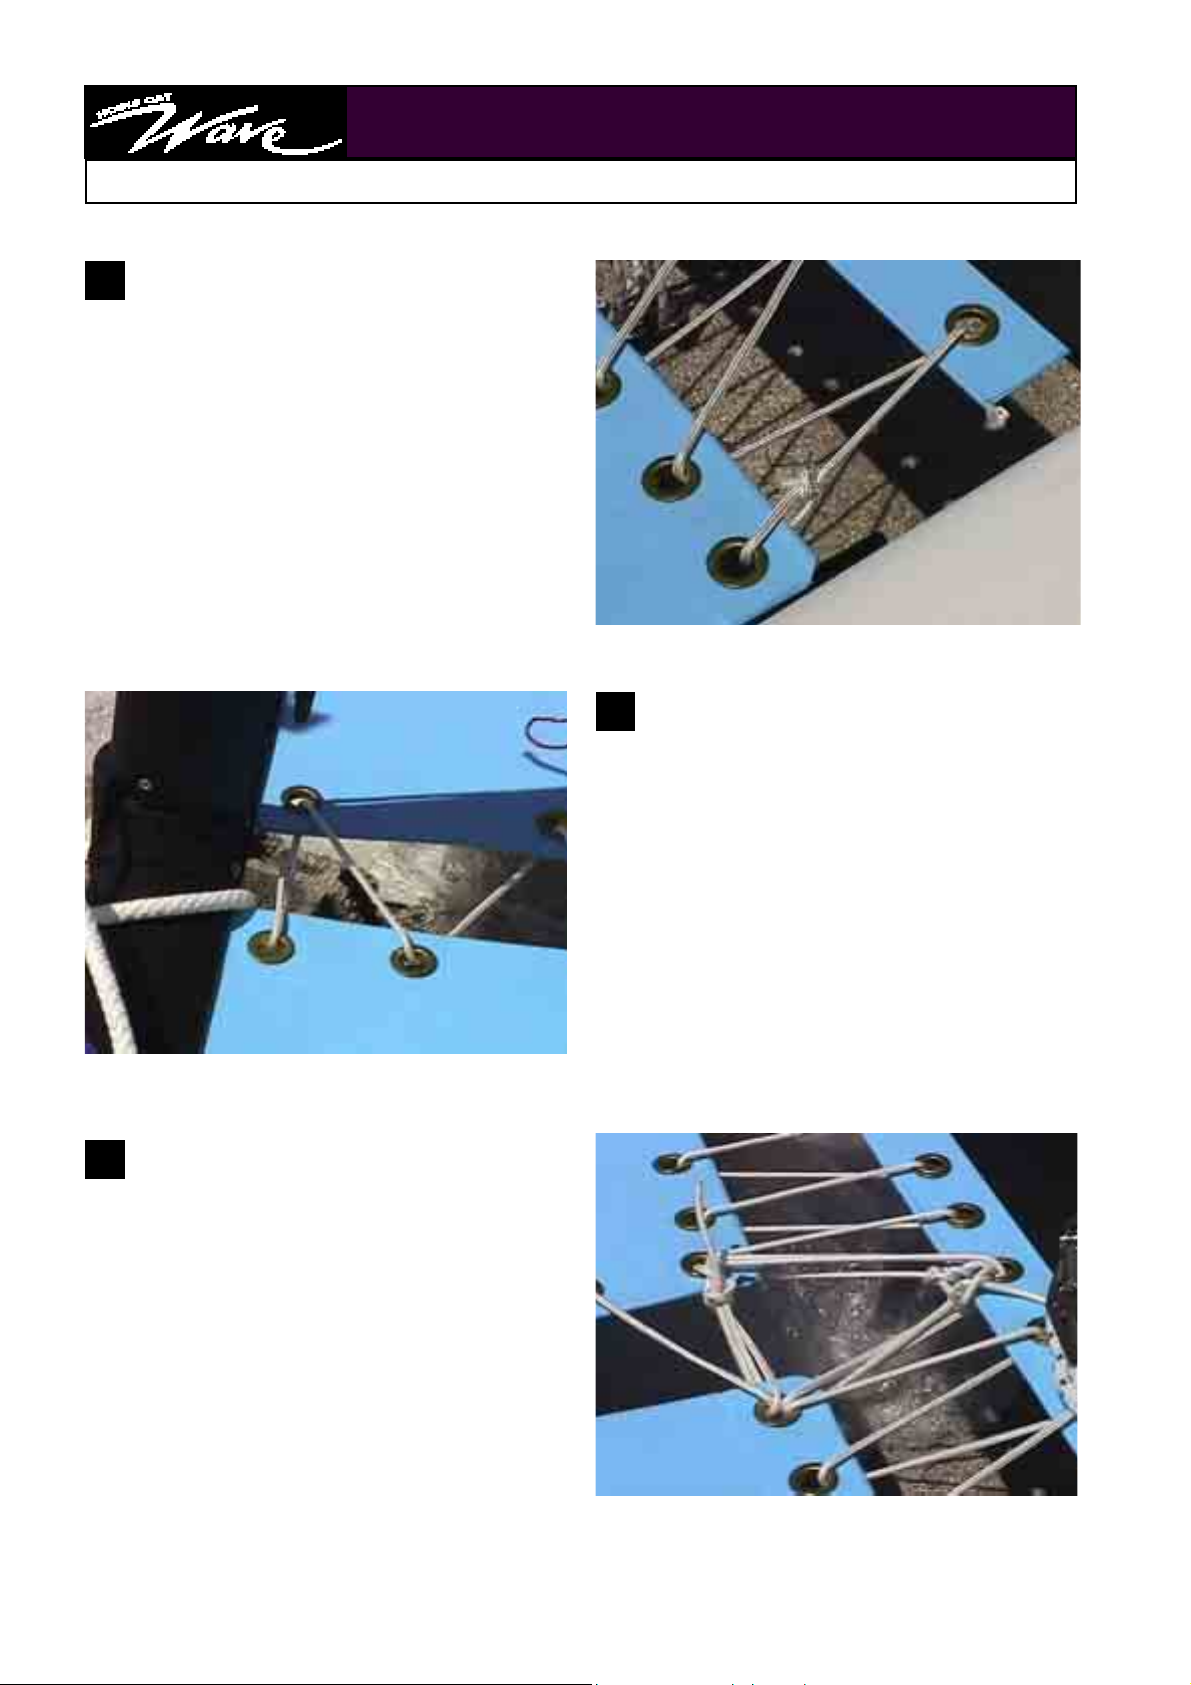
1
Proceed to lace the trampoline halves along the rear
first. Do not tighten.
Tighten the trampoline lacings and attach them as indicated on the picture.
TRAMPOLINE
3
NB : A tight trampoline gives the boat its rigidity.
2
Thread and tighten the center trampoline lacing from
front to rear.
• 4
Page 5

RUDDER
Rudder system assembly
1
Identify the right and the left rudders. Green sticker for the right, red sticker for the left. Attach these to the boat using the two aluminium rudder pins and split rings provided.
Tiller crossbar and extension
2
Locate the tiller crossbar and
identify the left and right hand
1
2
ends. NB: the tiller crossbar (1)
locates on top of the tiller/rudder
arms (2).
Locate the tiller connector kits
and install as shown on the photographs.
3
Locate the tiller extension and secure it to the tiller
crossbar using the clevis pin and ring clip provided.
• 5
Page 6

Mast and rigging
1
Remove the main and jib halyard lines from the ropes
bags. Unroll the main halyard wire that is secured at the
head of the mast. Using a bowline knot, secure the main
halyard line to the thimble at the end of the halyard wire.
Now, secure both ends at the base of the mast.
MAST
2
Remove all the wires from the wires bag and unroll them. Ensure that all
twists are removed.
Locate the 8 mm tang shackle and shackle the five wires to the mast
tang, as per photograph. Ensure that the shack le is ti gh te ne d secu re ly.
1. Shrouds
2. Pigtail, forestay, jib halyard/
(for Turbo model only)
3
With the base of the mast facing towards the front of the boat, lay
the mast on top of the boat. (place some pading under the mast
to prevent scratching).
Find the package containing the stay adjusters, twist toggles, clevis pins and split rings. Assemble by pinning the twist toggle into
the bottom of the stay adjuster.
1
1
2
• 6
Page 7

MAST
4
Next, fasten the shrouds into the stay adjusters. To begin with, fasten the
shroud about half way up the adjuster. This position can be adjusted later. The
position influences mast rake. Now fasten the twist toggles to the anchor bar
pins on each side of the boat. You can pull the cover partially over the stay adjusters at this time. The assembly of the trapeze wires can wait until after you
have raised the mast.
Raising the mast
5
Now, ensure that the foresta y wire is not twisted around any other wires and you are ready for raising the
mast.
For safety, two people should raise the mast. One person positions the hook on the mast base under the pin in
the mast step, whilst the other person supports the head of the
mast. One person stands on the trampoline supporting the mast
whilst the person supporting the top of the mast starts wa lkin g towards the boat and lifting at the same time.
When the person on the trampoline can support the weight of the
mast, the second person walks around the front of the mast and
pushes down on the mast base. This provides added security and
prevents the base from popping out of the step whilst the person on
the trampoline fully raises the mast.
6
With the person on the trampoline supporting the mast, the
other person shackle the two bridles to the stay adjuster at
the end of the forestay. Now, provided all the clevis pins
have the split rings fitted, the mast is supported by the
shrouds and forestay. For the Turbo model see page (jib
assembly)
• 7
Page 8

MAINSAIL
BEFORE RAISING THE MAINSAIL, MAKE SURE THAT THE BOAT IS POINTING INTO THE WIND. IF THE
WIND CHANGES DIRECTION, MOVE THE BOAT.
1
Unfold the mainsail and lay on a flat clean surface. Undo the set of battens and identify
which batten goes in which batten pocket. Insert the battens into the pockets. Using the
batten ties secure each batten into it’s respective pocket (as per drawing). Push the battens in reasonably hard - sufficient to remove any wrinkles from the pocket.
NOTE : it is important to relieve the tension on the battens after each day’s sailing. This
will prolong the life of the sail.
3
When the sail is all the way up, position
the stopper on the wire halyard so that it
engages in the halyard lock. Attach the
main halyard rope to one of the white
cleat at the bottom of the mast.
Then take the downhall rope and attach it
to the sail tack grommet near the mast.
Pass the line down and through the center of the downhaul cleat on the mast.
Run the line up
to the grommet and tie off.
2
Place the sail on the trampoline, the battens clips towards
the back. Undo the main halyard wire from the mast and
shackle it to the head board of the mainsail. Now, feed the
bolt rope at the head of the sail into the cut out in the sail
track on the mast.
Now, pull on the main halyard line whilst feeding the sail into
the track cut out.
• 8
Page 9

MAINSHEET
These pictures show how the mainsheet system is
assembled and shackled to the traveller car and the
clew of the mainsail.
1
2
3
• 9
Page 10

Before installing the jib on
1
the Hobie Wave, you must
first install the parallel bow
spreader (provided with the
turbo kit). Install bow spreader
tangs on each bow under existing bridle wire tang as shown.
Pin faces towards center. With
trampoline loosened, place bow
spreader in position on pins installed on bows.
2
Install jib sheet swivel jam cleat as follows : unscrew the two screws of the
trampoline track, install the swivel jam cleat plate between the hull and the
track, screw again the two screws with washer to maintain the plate. Same
operation on the opposite hull.
TURBO KIT
3
Before stepping the mast, Install jib halyard block on pig tail and place pigtail on the shroud shackle next to forestay wire. Run the halyard through the halyard block and tie off ends at lower cleat. Install halyard shackle.
Step the mast.
Clip the jib tack to the spreader pole eye strap at center of the pole. Shackle the halyard to the jib head and
hoist. Tension lightly and cleat to lower cleat on the mast.
Tie one end of the jib sheet to the jib clew. Run the sheet to (inside the shroud wire) the swivel jam through the
dead eye first and then out jaws towards center of the boat. Pass the line behind the mast to the other swivel
cleat. Run the line through jaws first then dead eye. Run line forward (inside shroud) to the jib clew and tie off.
• 10
Page 11

RIGHTING LINE
Take the righting line from the rope bag
and attach it to the front crossbar as indicated on the picture. Store the excess line
in the trampoline pocket.
• 11
Page 12

Safety tips/Sécurité
CAUTION / SAFETY TIPS
A LIRE AVANT DE PARTIR
♦ Whether on land or on the water, watch for
overhead power lines . Contact with power
lines can cause serious injury or death.
♦ DO NOT
hol and/or drugs
♦ Only sail in conditions in which you feel com-
fortable and where you feel confident tha t you
can safely sail the boat. Never go out in
conditions beyond your ability .
♦ Everyone on board should wear a life jacket
at all times .
♦ If you are in the water, remain in cont act with
the boat, even if it is capsized. A sailboat can
drift away faster than a person can swim.
♦ Never sail without a righting line.
♦ Wear appropriate clothes
dry suit in cold weather or cold water conditions.
♦ Learn the right of way rules
doubt, give way to others.
♦ When not sailing, always keep the boat
ted into the wind whether in the water or on
the beach.
sail while under the influence of alco-
. Wear a wet suit or
and when in
poin-
• 12
♦ Read the instruction manual carefully.
♦ Make sure everyone on the boat reads and
understnads these safety instructions .
♦ ALWAYS
wed in before launching your catamaran.
check that the drain plugs are scre-
 Loading...