

Page 1
H-KING
A-1 SKYRAIDER
INSTRUCTION MANUAL
Page 2
H-KING
H-KING A-1 Sky Raider
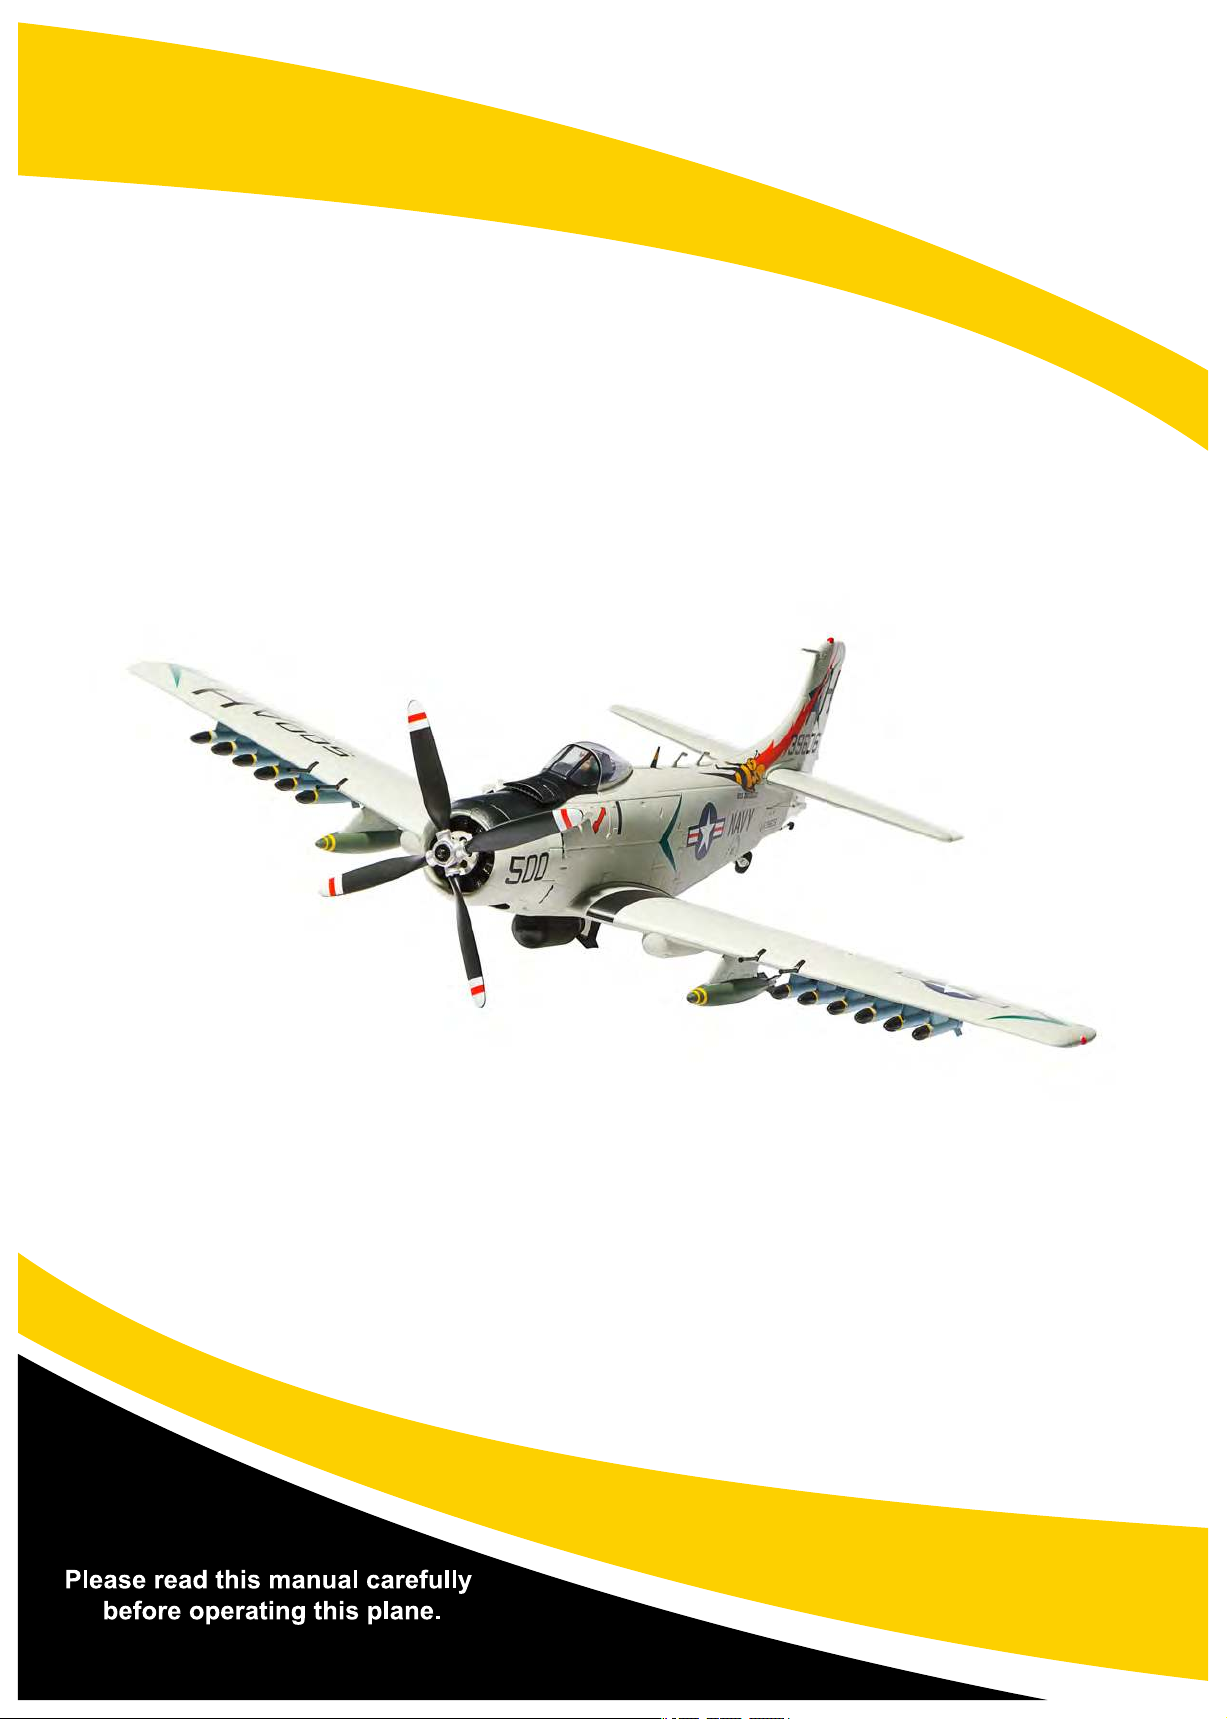
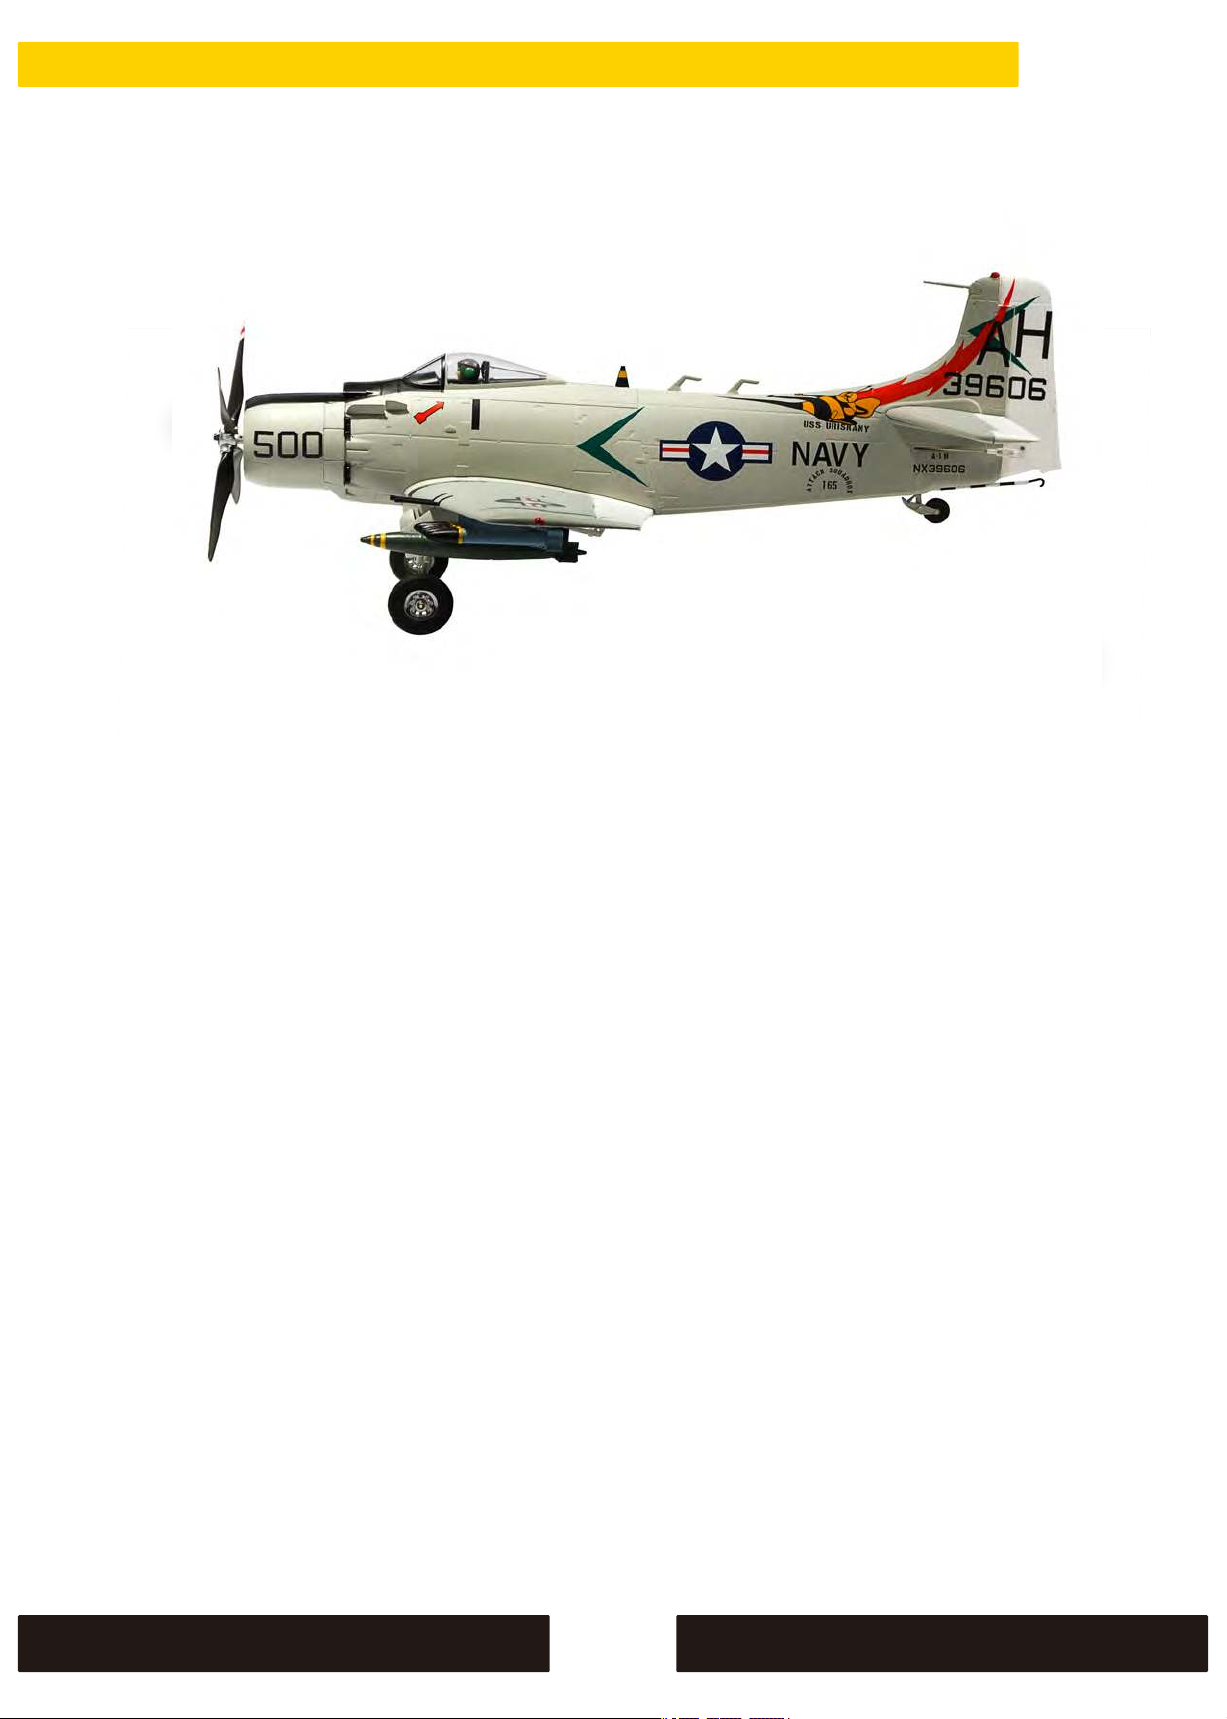
The H-King A-1 Skyraider PnF is a realistic flying model of the original plane. It is made of
strong EPO foam and is electric-powered which makes it ideal as a park flier. The 800mm
wingspan size of the plane will allow you to easily transport it in your car without removing the
wings.
The Douglas A-1 Skyraider came too late to see action in WW2, introduced in 1946, but proved
its worth as an outstanding ground attack aircraft in both the Korean and Vietnam conflicts. It
was able to deliver a formidable punch and withstand a considerable amount of battle damage
and still get home. The Skyraider had an impressive service record until being eventually
replaced by the A-10 as the US forces principal ground-attack aircraft.
Features:
• Authentic scale detail
• Outstanding flight characteristics
• With ORX flight stabilizer (Auto-detect SBUS/PPM) and it comes with 2 flight modes
(Beginner or Advanced)
• Efficient four-blade propeller
• High torque brushless motor
• Complete with a high-quality hardware package
1
Page 3
H-KING
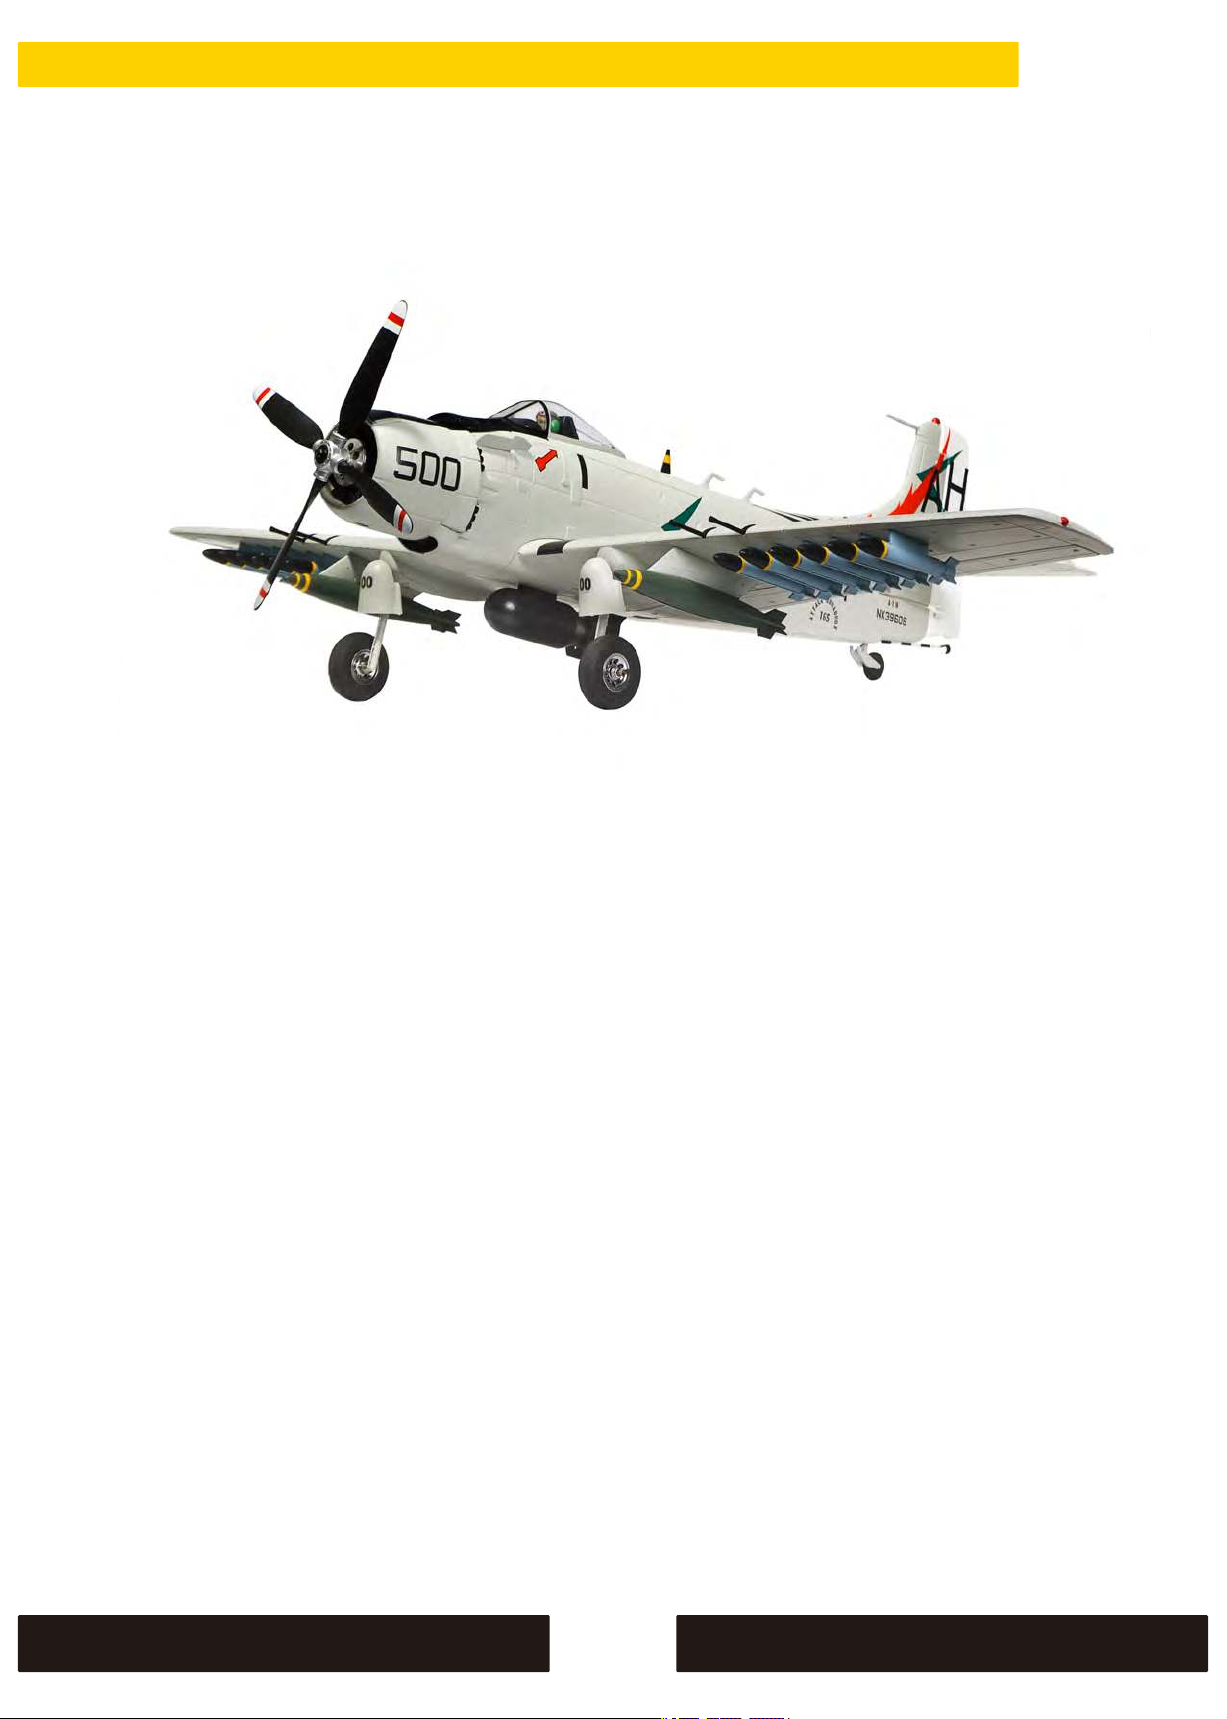
SPECIFICATIONS:
Wingspan: 800mm
Length: 630mm
Flying weight:
Motor: EMT-1200KV brushless outrunner
ESC: 20A Brushless
Gyro: Intelligent 6-axis with 2 flight modes (beginner and advanced)
Servo: 9g x 4pcs
Propeller: 8x6 four blade
455g
REQUIRES:
1 x 6CH or more transmitter and receiver
1 x 800mAh 3S 15C Lipo Battery
2
Page 4
CONTENTS OF KIT
H-KING
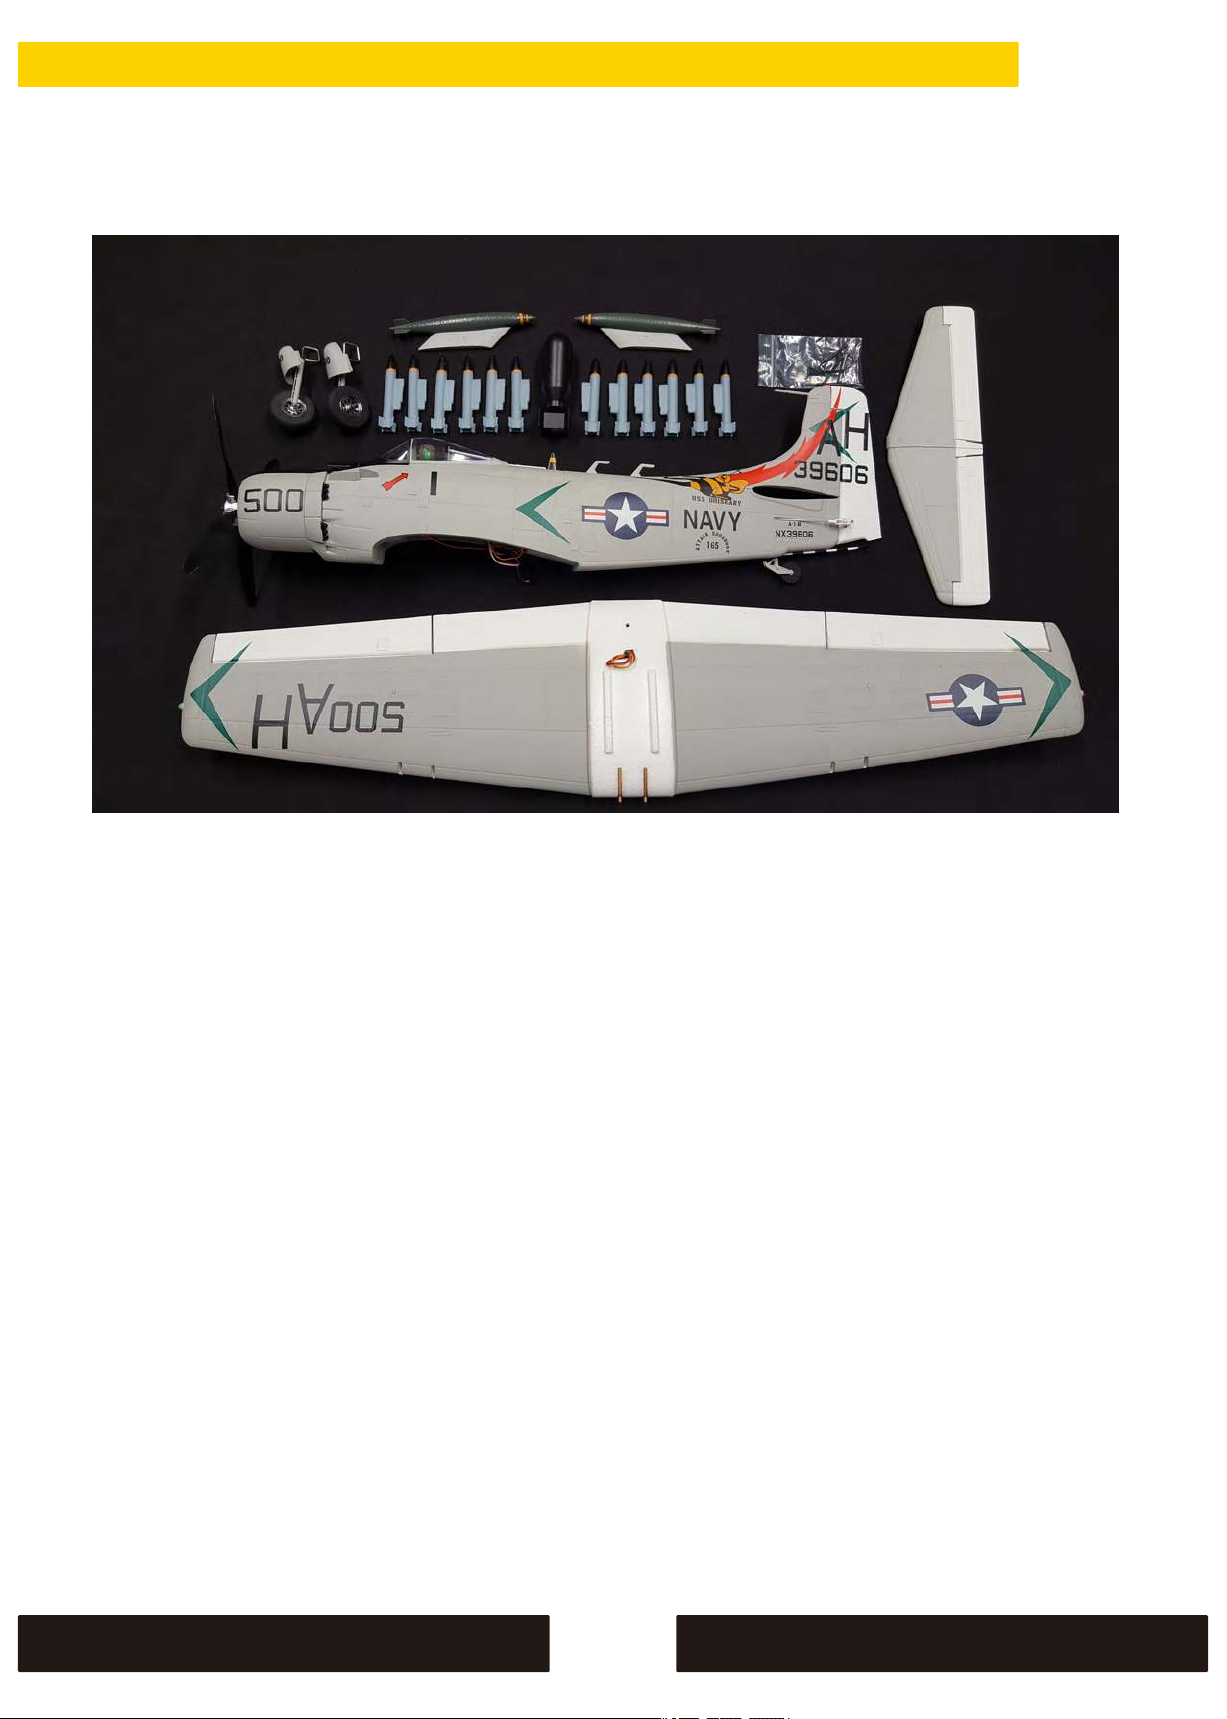
• Fuselage with pre-installed motor, propeller, ESC and servos
• Main wing with pre-installed servos
• Horizontal stabilizer
• Main landing gear
• 1 x Bomb
• 12 x
• 2 x
• Hardware/small detail pack
Guided missiles
Auxiliary oil tanks
3
Page 5

SAFETY INSTRUCTIONS
1. Please read this manual carefully and follow the instructions
before you use this product.
2. This airplane is not a toy but due to having installed the ORX
stabilization system it is suitable for pilots with low experience.
However, if you do fall into this category then we recommend you
enlist the help of an experienced R/C pilot to give you a hand with
the initial flights.
3. Not recommended for children under 14 years old.
4. Please set up this plane according to the instructions and make
sure you keep your hands and other parts of your body out of the
way of the rotating propeller at all times. Failure to do so will result
in damage to yourself and to the airplane.
5. Do not fly in thunderstorms, strong winds or wet weather.
6. Never fly R/C planes where there are overhead power lines,
automobiles, airports, railway lines or near a highway.
7. Never fly R/C planes where there are crowds of people or over
organised games. This airplane requires a very flat landing and
take-off area that is clear of tree's and other obstacles. Remember
safety is the responsibility of the pilot.
8. Do not attempt to catch the plane when you are flying it.
9. The operator will bear the full responsibility of flying and the
proper operation and usage of this model. We at Hobbyking will not
be responsible for any liability or loss due to improper use of this
model.
4
Page 6
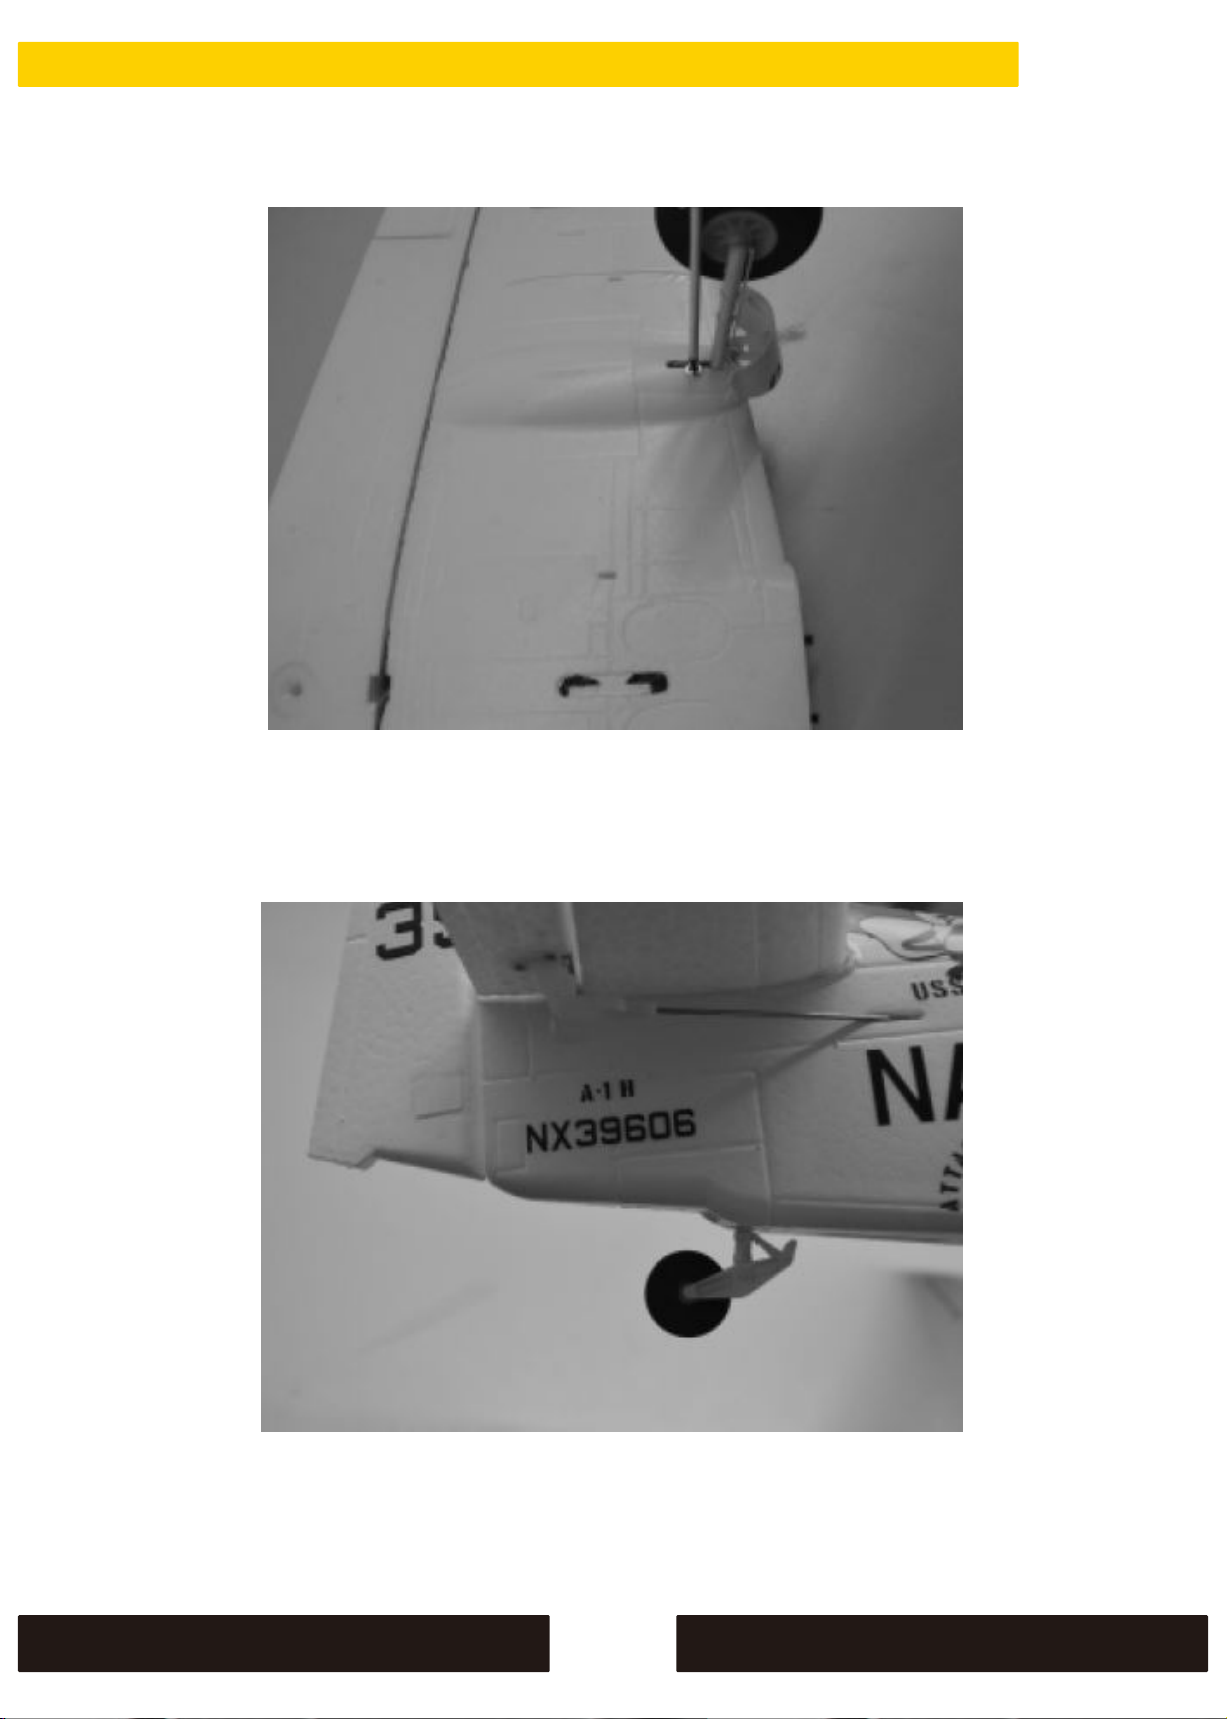
ASSEMBLY.
H-KING
1.Insert the main landing gear into the slots in the wing and secure
using the 2 x 8mm self tapping screws provided.
2. Slide the horizontal stabilizer through the slot in the rear of the
fuselage. Check that it is central then carefully glue into place
using a medium CA glue.
5
Page 7
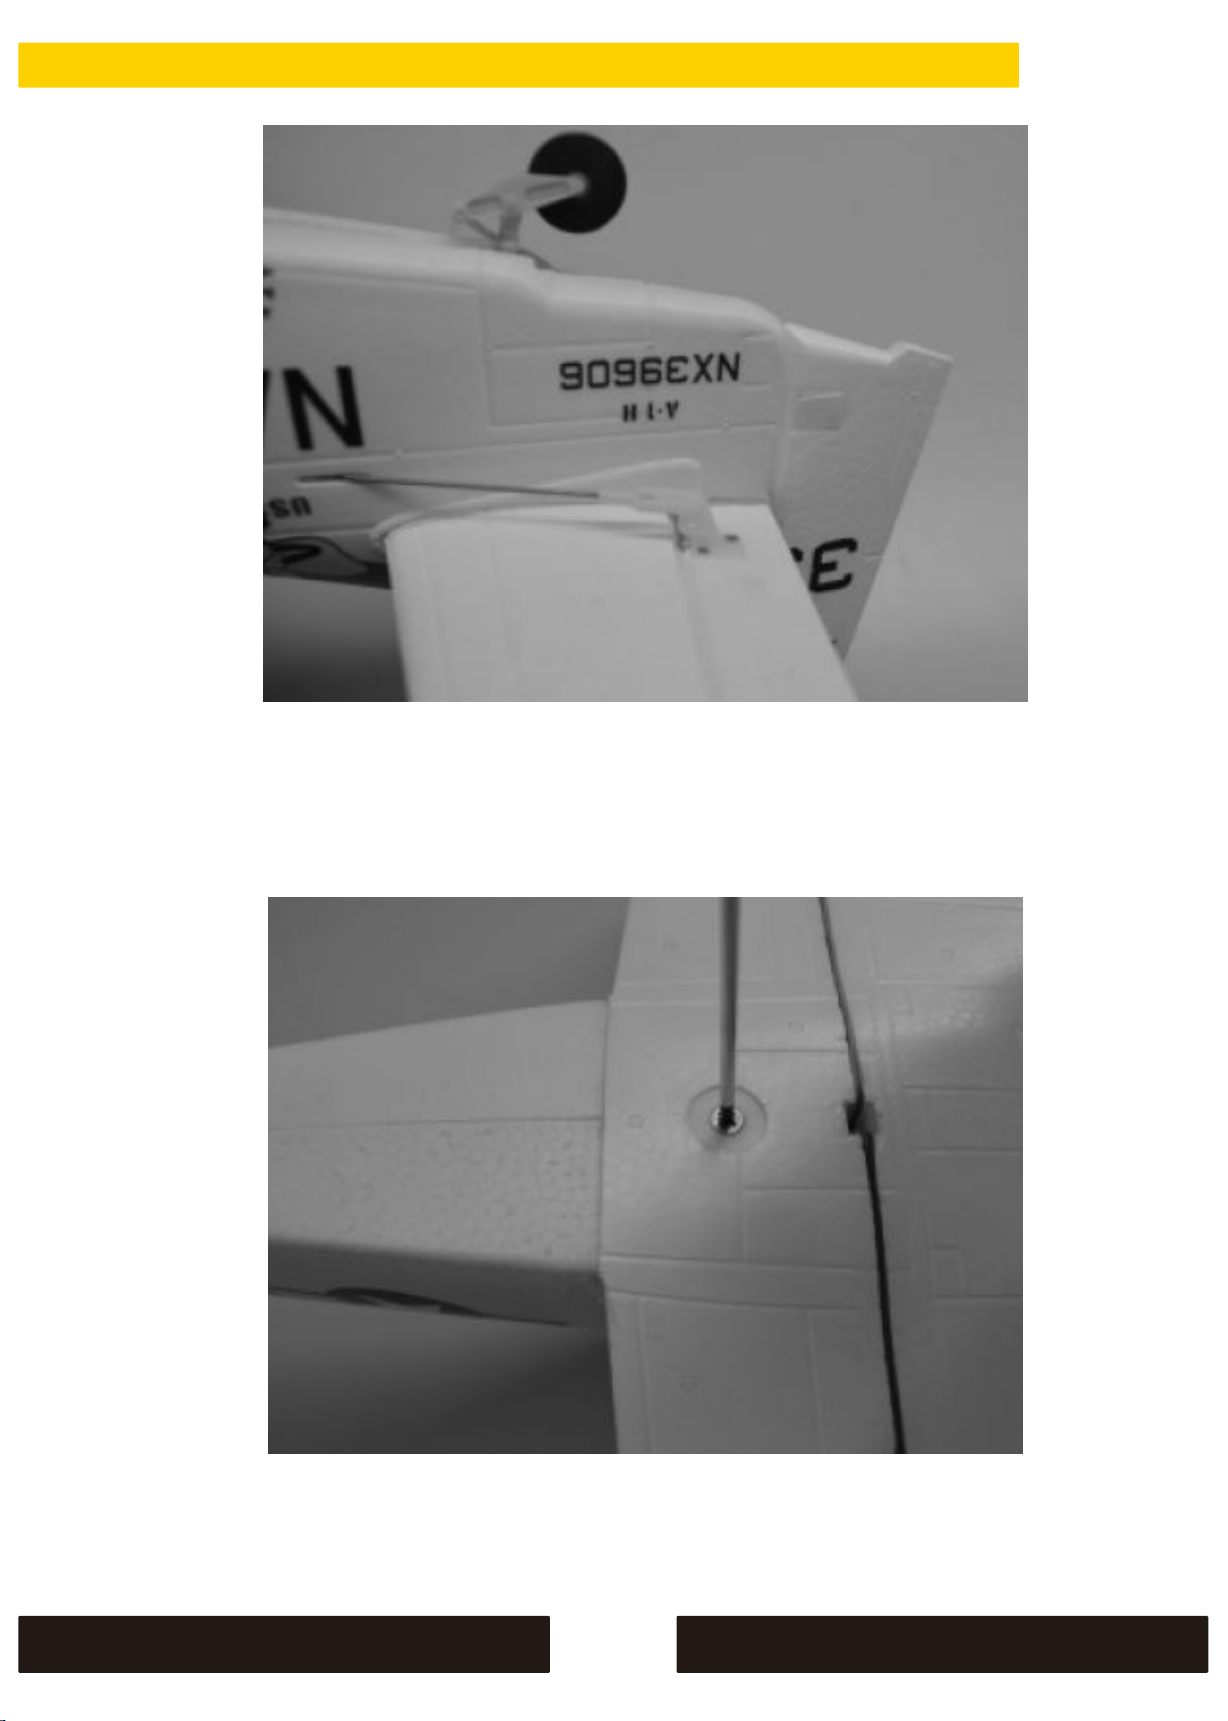
H-KING
3. Connect the elevator pushrod clevis to the outer hole in the
elevator control horn. Please ensure the safety keeper is slid into
place after connecting.
4. Connect the aileron servo leads to the Y lead in the fuselage then attach
the wing using the M4 x 45mm screw provided.
6
Page 8
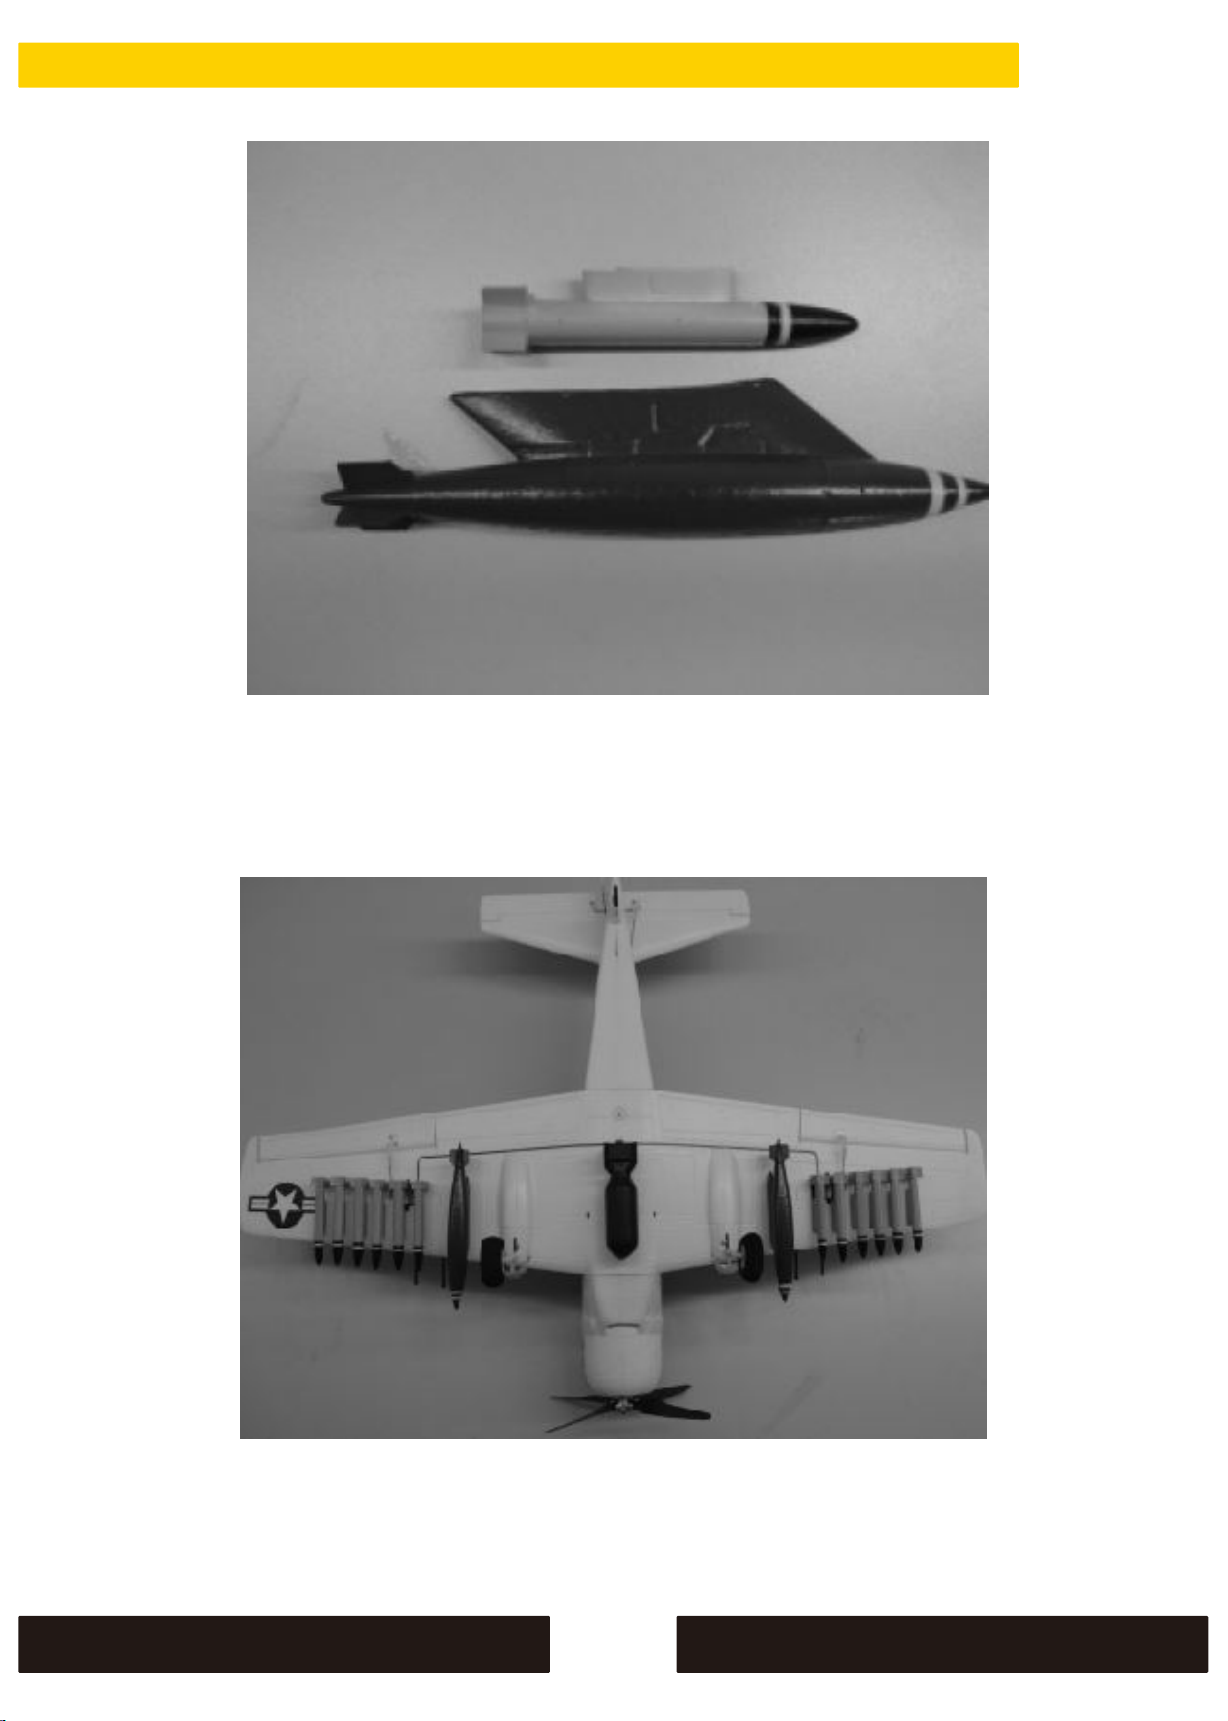
H-KING
5. Unpack the guided missiles and the auxiliary oil tanks. Please note that
the auxiliary oil tanks are handed, they are marked "L" and "R" so please
attach to the correct wing.
6. Glue the guided missiles and the auxiliary oil tanks to the wing using
a medium CA glue into the indents in the wing. At this point you can
also glue the bomb into position in the center of the wing.
7
Page 9
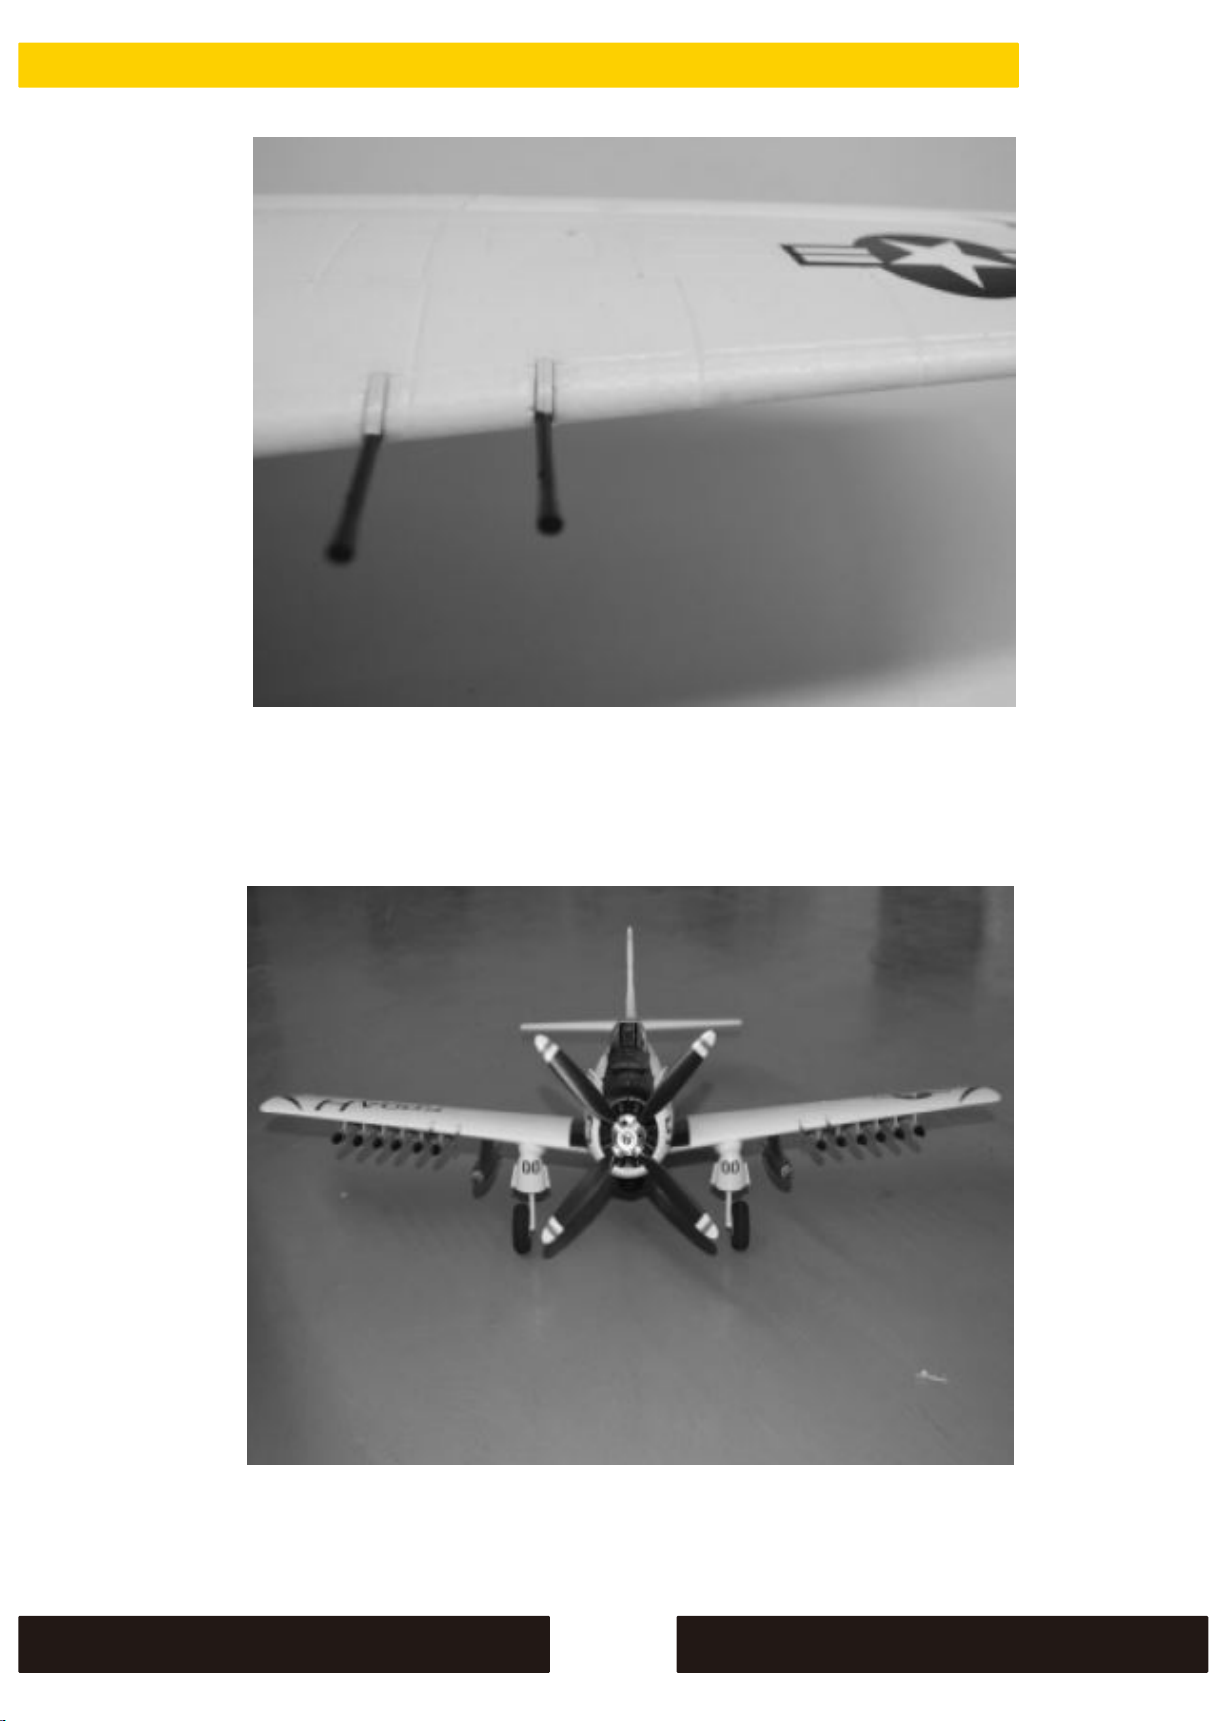
H-KING
7. Using a medium CA glue attach the 4 cannons to the slots in the
leading edge of the wings
The assembly of your A-1 Sky Raider is now complete.
8
Page 10
H-KING
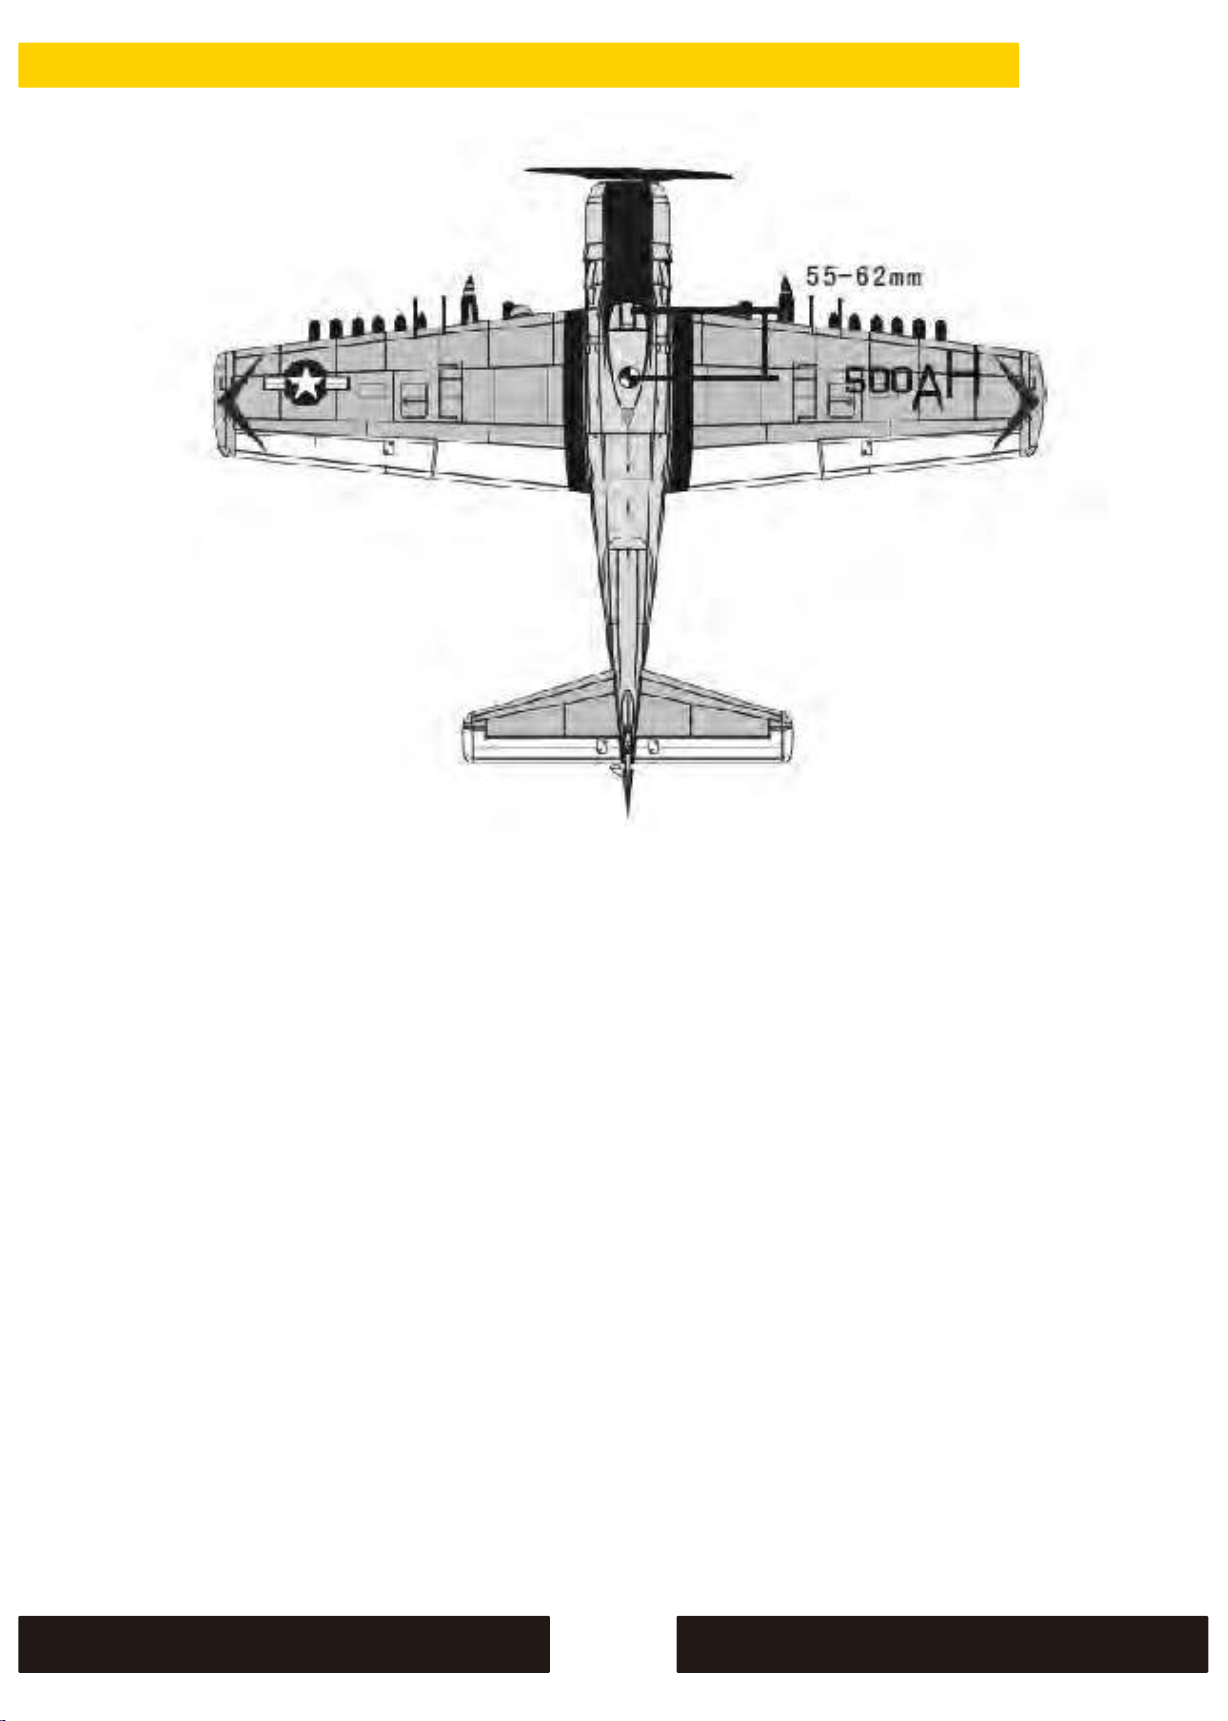
Center of Gravity: This is between 55-62mm from the wing leading edge. For initial flights
have the C of G nearer the forward mark to improve the stability in pitch. As you get used
to the model you can move it back a little to make it more aerobatic if you wish.
Suggested Control Throws:
Ailerons: 8mm each way (measured at the inboard end of aileron).
Elevator: 10mm each way (measured next to fuselage).
Rudder: 12mm each way.
ESC:
This has been pre-set at the factory and does not require any programming. Switch the
transmitter on first and close the throttle and move the trim to fully down. Connect the
flight battery in the airplane and you will get a series of beeps, once these have finished
the ESC is armed and ready to go.
ORX 6 Axis Stabilization System:
You will also notice when connecting the flight battery the control surfaces will move.
This is caused by the stabilization system going through a system set up, this is perfectly
normal. With the stabilizer unit connected to a spare 2 way switched channel on your
transmitter you can select either beginner or advanced mode.
9
Page 11

H-KING
Flying the A-1 Sky Raider.
Re-check the center of gravity, move the battery position if necessary so that it balances in a very
slight nose down attitude somewhere near the forward mark (55mm). Check that the linkages and
pushrods are secure, the propeller is secure and the wings are correctly attached.
Switch on the transmitter with the throttle closed and the throttle trim fully down then connect the
flight battery. Check that all the controls are working freely, no binding and that they are working in
the correct sense, ie, aileron stick left (left aileron goes up), elevator stick back (elevator goes up),
rudder stick left (rudder goes left). To arm the stabilization system you need to open the throttle to a
low setting for 1 or 2 seconds then close the throttle. Now pick the model up and check to see if it is in
beginners mode or advanced mode. To do this move the nose up and down with the battery hatch off
and watch the elevator servo movement. If it's in beginners mode the servo will move quite a bit, in
advanced mode the servo will move less. Set the stabilization system into beginners mode then check
that it is working correctly by doing the following test. Roll the aircraft to the right, the left aileron
should go up and the right down. Roll the aircraft to the left and the right aileron should go up and
the left down. Move the nose down and the elevator should go up, move the nose up and the
elevator should go down. Move the nose of the aircraft to the left and the rudder should move right,
move the nose right and the rudder should go left. If all works correctly then you are ready to fly.
So for which ever level of skill you are select the appropriate flight mode. Place the aircraft on your
take off area pointing into wind. It is best to use either a tarmac area or an area with very short grass,
long grass could cause it to nose over. Re-check the controls are working correctly then hold in some
up elevator, gently open up the throttle and correct any swing using the rudder, with a clockwise
rotating propeller the tendency will be to swing right so some left rudder may be needed. As the
model accelerates ease off some of the up elevator so that the tail rises and the model is running on
its main wheels slightly nose up. When full power is reached the Sky Raider will take off very
smoothly, climb out gently, do not try and climb too steeply, the whole time keep it pointing into
wind, do not allow it to turn (in beginners mode the stabilizer will help keep the model flying
straight). Climb up to a safe height then throttle back to about half or just over. When at a safe height
and upwind you can practice some gentle turns left and right, do not try and turn too steeply at first if
you are inexperienced. If things start to go wrong, close the throttle a bit more and centralise the
ailerons and elevator, the stabilizer will then fly the model for you in a steady straight line. Once you
have regained your composure gently turn the model back to overhead the take off area.
Once you have settled down and are happy doing very gently turns then it is time to think about
landing. Try and fly a nice circuit around the landing strip at about 100ft so that you end up slightly
downwind of the landing area pointing into wind. Gently close the throttle to a point where the
model is descending nicely, not too steeply and keep the wings level (the stabilizer will be helping you
with this). When the model is about 5ft from the ground close the throttle completely, at about 2ft
from the ground apply a small amount of up elevator and just hold it there and the model will
gently flare and land. If all is well and as the model slows on the ground feed in full up elevator to
keep the tailwheel on the ground. To taxy back keep full up elevator in and gently use the throttle and
the rudder to steer the model back.
We hope you enjoy flying your H-KING A-1 Sky Raider and if you haven't already tried out the others in
our range then we recommend you visit our website at www.hobbyking.com and take a look at our
ever increasing range of quality model aircraft and accessories.
10
Page 12
ACCESSORIES
H-KING
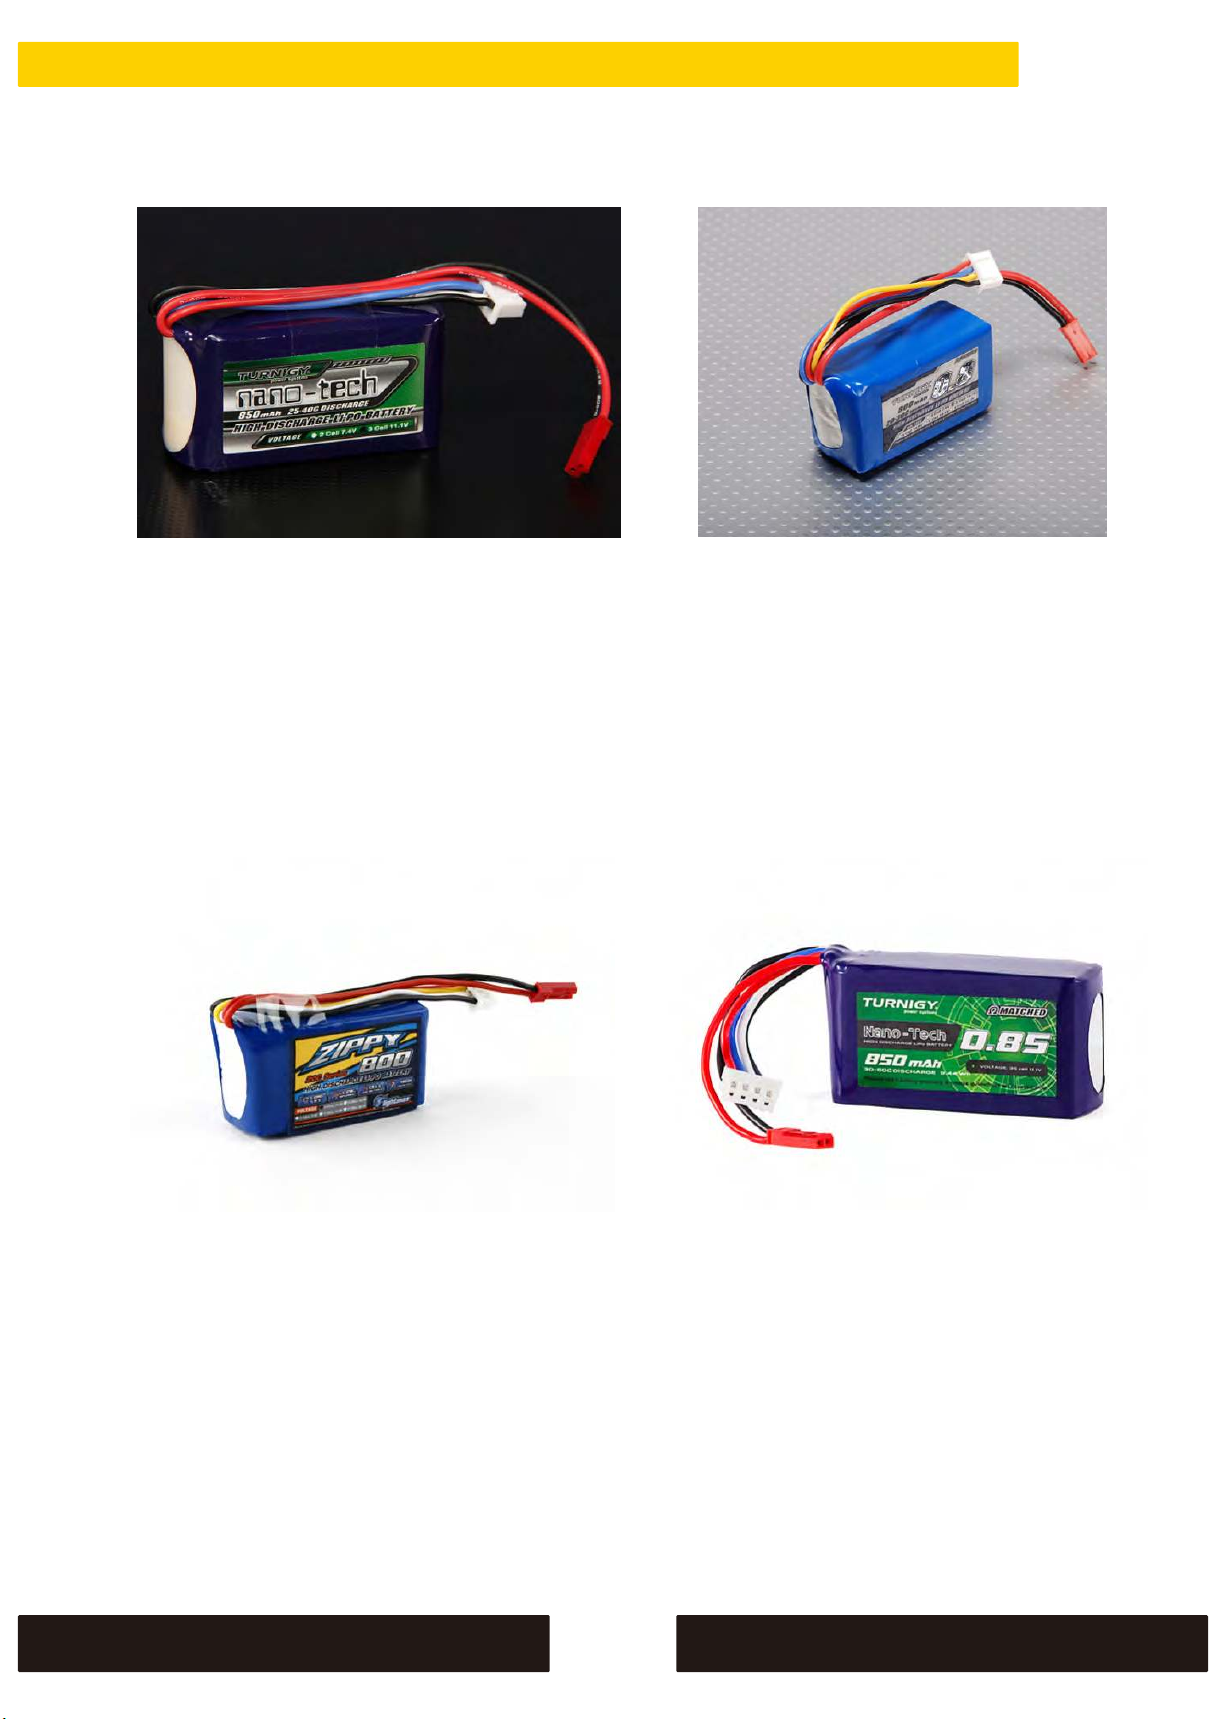
Turnigy nano-tech 850mah 3S
25~40C Lipo Pack
SKU: N850.3S.25
Turnigy 800mAh 3S
20C Lipo Pack
SKU: T800.3S.20
ZIPPY Flightmax 800mAh 3S1P
20C Lipo Pack
SKU: Z8003S20C
Turnigy Nano-Tech 850mAh 3S
30C Lipo Pack
SKU: 9210000273-0
11
Page 13

H-KING
�CEl,
 Loading...