

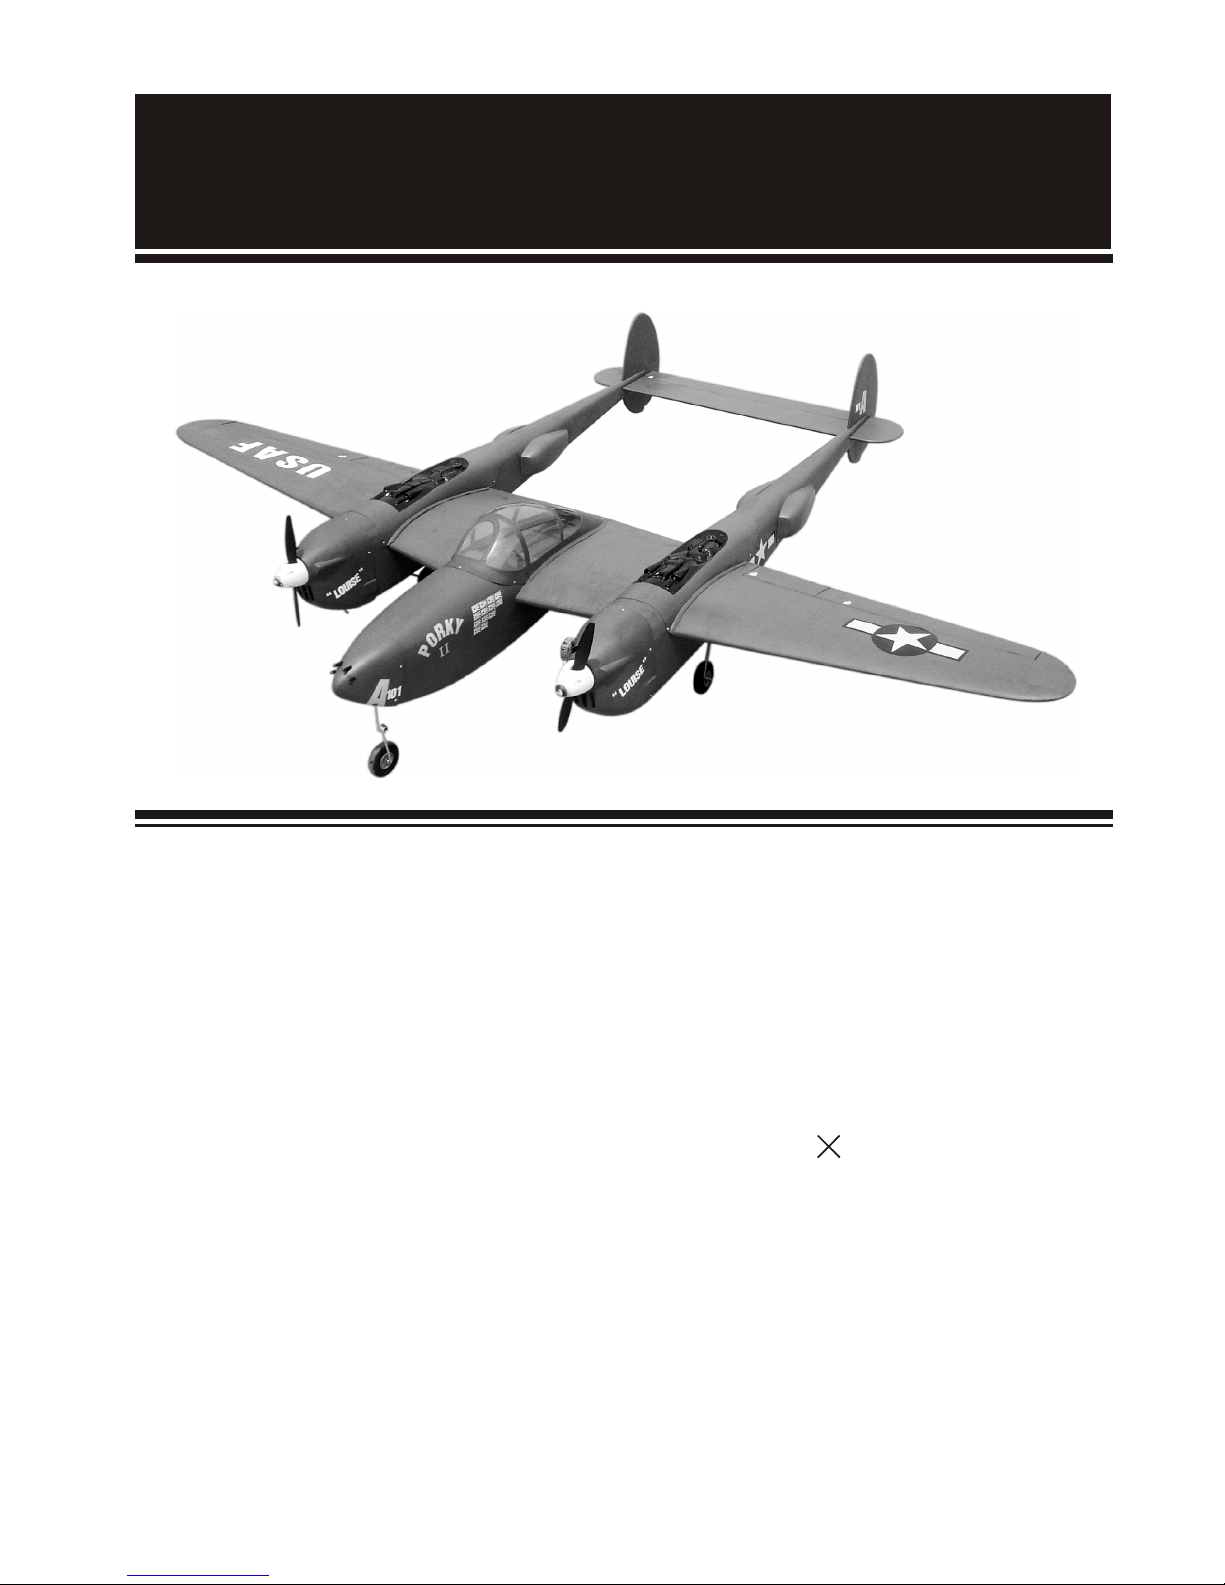
Hobby P-38 LIGHTNING Assembly Instruction Manual
Specifications
Wing Span 90in/2300mm
Wing Area 1085sq in/70sq dm
Flying Weight 12 lbs/5500g
Fuselage Length 67in/1700mm
Engine 46(2c) 2
Radio 5 channels 9servos
Warning!This model is not a toy.
It is designed for maximum performance.Please seek advice if one us not familiar
with this kind of engine powered precision model. Operating this model without
prior preparation may cause injuries .Remember, safety is the most important
thing.Always keep this instruction manual at hand for quick reference.
P-38 LIGHTNING
BEFORE YOU BEGIN ------------------------------------------------- P.2
PARTS LIST ------------------------------------------------------------- P.2
ASSEMBLY --------------------------------------------------------- P3-P10
SAFETY PRECAUTIONS -------------------------------------------- P10
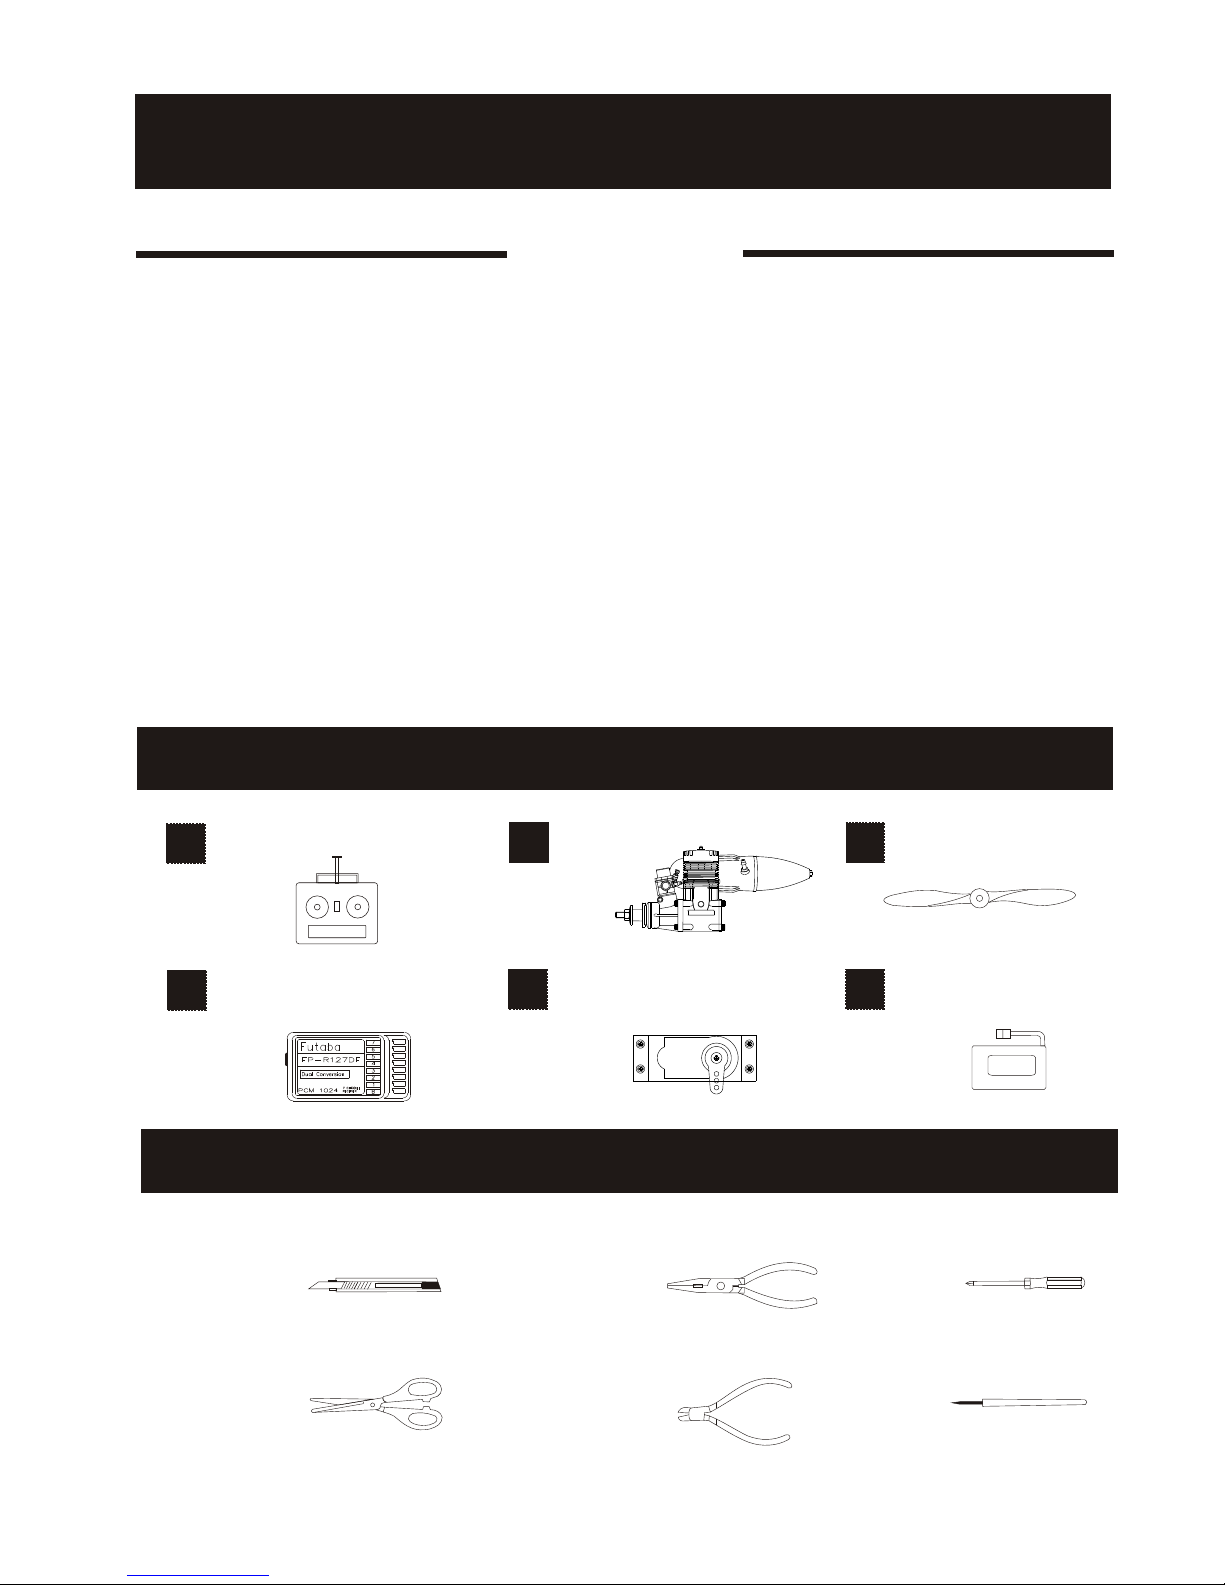
REQUIRED FOR OPERATION (Purchase separately!)
2
3
4
5
1
Helm
Propeller
4 Channel R/C Transmitter
4 Channel Mini R/C receiver
Sharp Hobby Knife
Needle Nose Pliers
Screw Driver
TOOLS REQUIRED (Purchase separately!)
6
Battery of receiver
Motor
Scissors
Wire Cutters
Awl
6V 1300mAh
P-38 Lightning
INDEX
REQUIRED FOR OPERATION --------------------------------- P.1
TOOLS REQUIRED ----------------------------------------------- P.1
1
Symbols used throughout this instruction manual, comprise:
3.
Pay close attention here
Apply P.A Glue
Apply C.A Glue
Assemble left and right
sides the same way
Drill holes with the specified
diameter (here: 2mm)
Ensure smooth non-binding
movement while assembling
Cut off shaded portion
Apply A.B Glue
Purchase separately
2mm
A
B
P. A
C.A
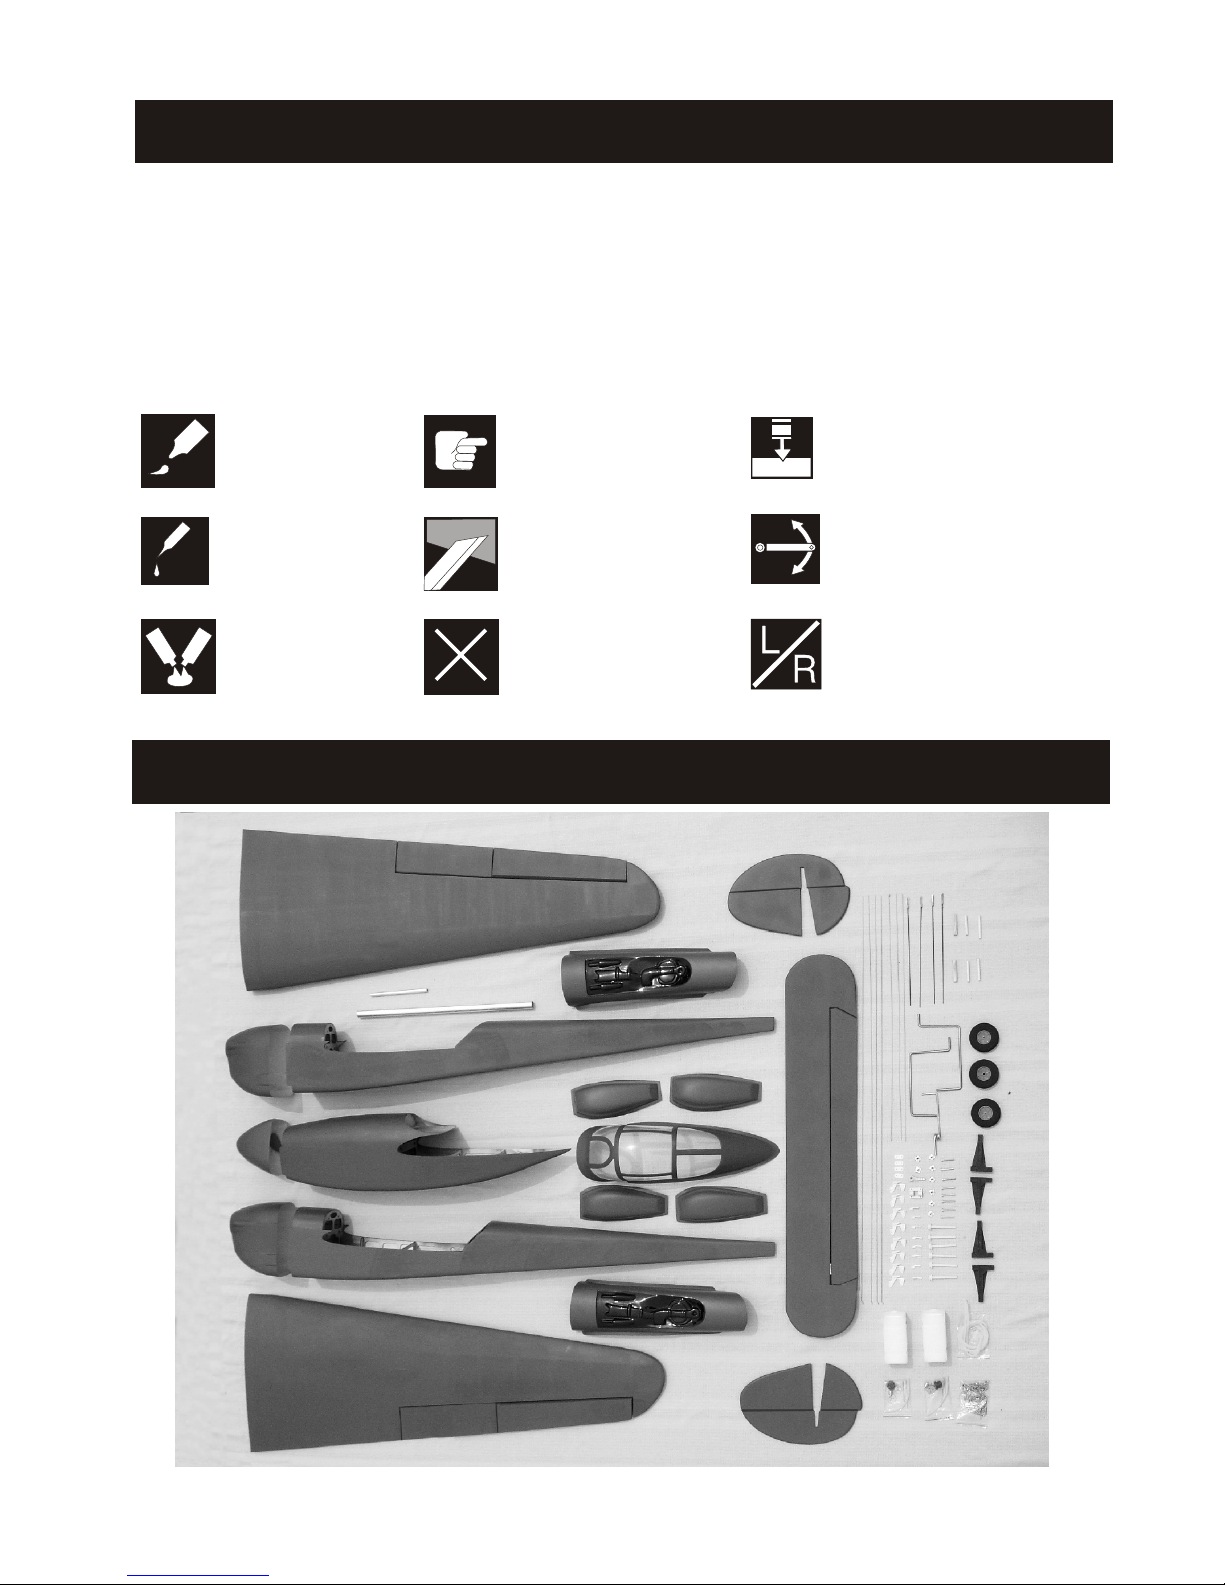
Parts List
1.Read through the manual before you begin,so you will have an overall idea of what to do.
2.Check all parts.If you find any defective or missing parts contact your local dealer.Please DRY
FIT and check for defective for all parts that will require CA or Epoxy for final assembly.Any
parts you find to be defective after the gluing process may be difficult to remove for warranty
replacement.The manufacturer will replace any defective parts,but will be difficult to extend to
the good parte that are good before gluing to defective parts during assembly.
BEFORE YOU BEGIN
2

ASSEMBLY
Aileron servo
Aileron servo
Please drill 2mm pilot holes for the model tri-horn .When
assembling the servo ,please lenth the leads ,and use the
PM 2 25mm screw assembled the tri-horn.
Aileron servo
Aileron
3
Please connect the wing with the hinges
Assemble the right servo at the
same step
Peel off the film,and assemble the tri-horn
C.A
There are three wooden shafts on the
edge of wing
 Loading...