

Page 1
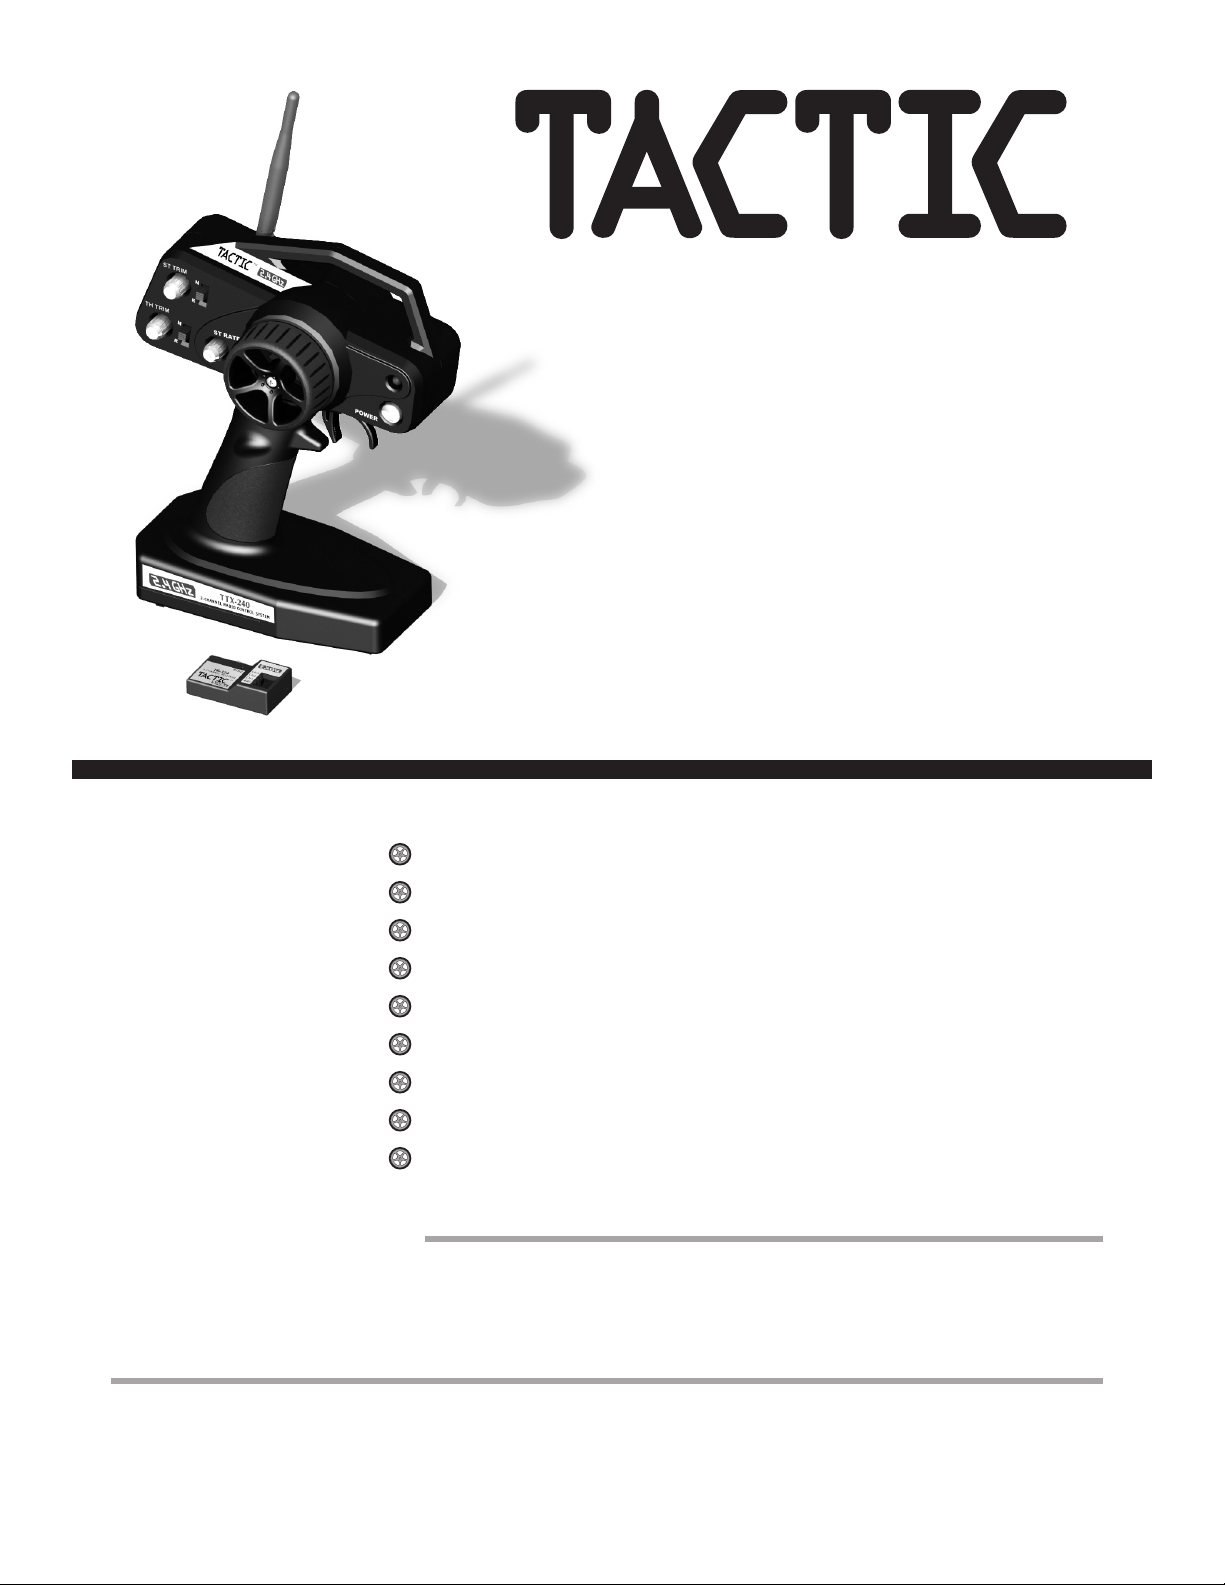
TTX240
2.4GHz Radio Control System
Operation Guide
Thank you for making the Tactic 2.4GHz system your
choice for radio control! This system uses modern
2.4GHz Spread Spectrum technology – an innovation
that allows you to use this system without worrying
about interference from other radio systems.
Features
2.4GHz Spread Spectrum Technology
Lightweight, compact receiver without antenna wire
Neutral return signal loss failsafe built in
Multiple receivers linkable to TX
Steering and throttle trims
Servo reversing
Steering rate adjustment (on some models)
3rd channel switch (on some models)
Battery indicator light (with low battery warning)
FCC Statement
This device complies with part 15 of the FCC rules. Operation is subject to the following two conditions.
(1) This device may not cause harmful interference.
(2) This device must accept any interference received, including interference that may cause undesired operation.
NOTE: THE MANUFACTURER IS NOT RESPONSIBLE FOR ANY RADIO OR TV INTERFERENCE CAUSED BY
UNAUTHORIZED MODIFICATIONS TO THIS EQUIPMENT. SUCH MODIFICATIONS COULD VOID THE USER’S
AUTHORITY TO OPERATE THE EQUIPMENT.
Entire Contents © Copyright 2008
AAAA0000
Page 2
Warranty
+
-
+
-
+
-
+
-
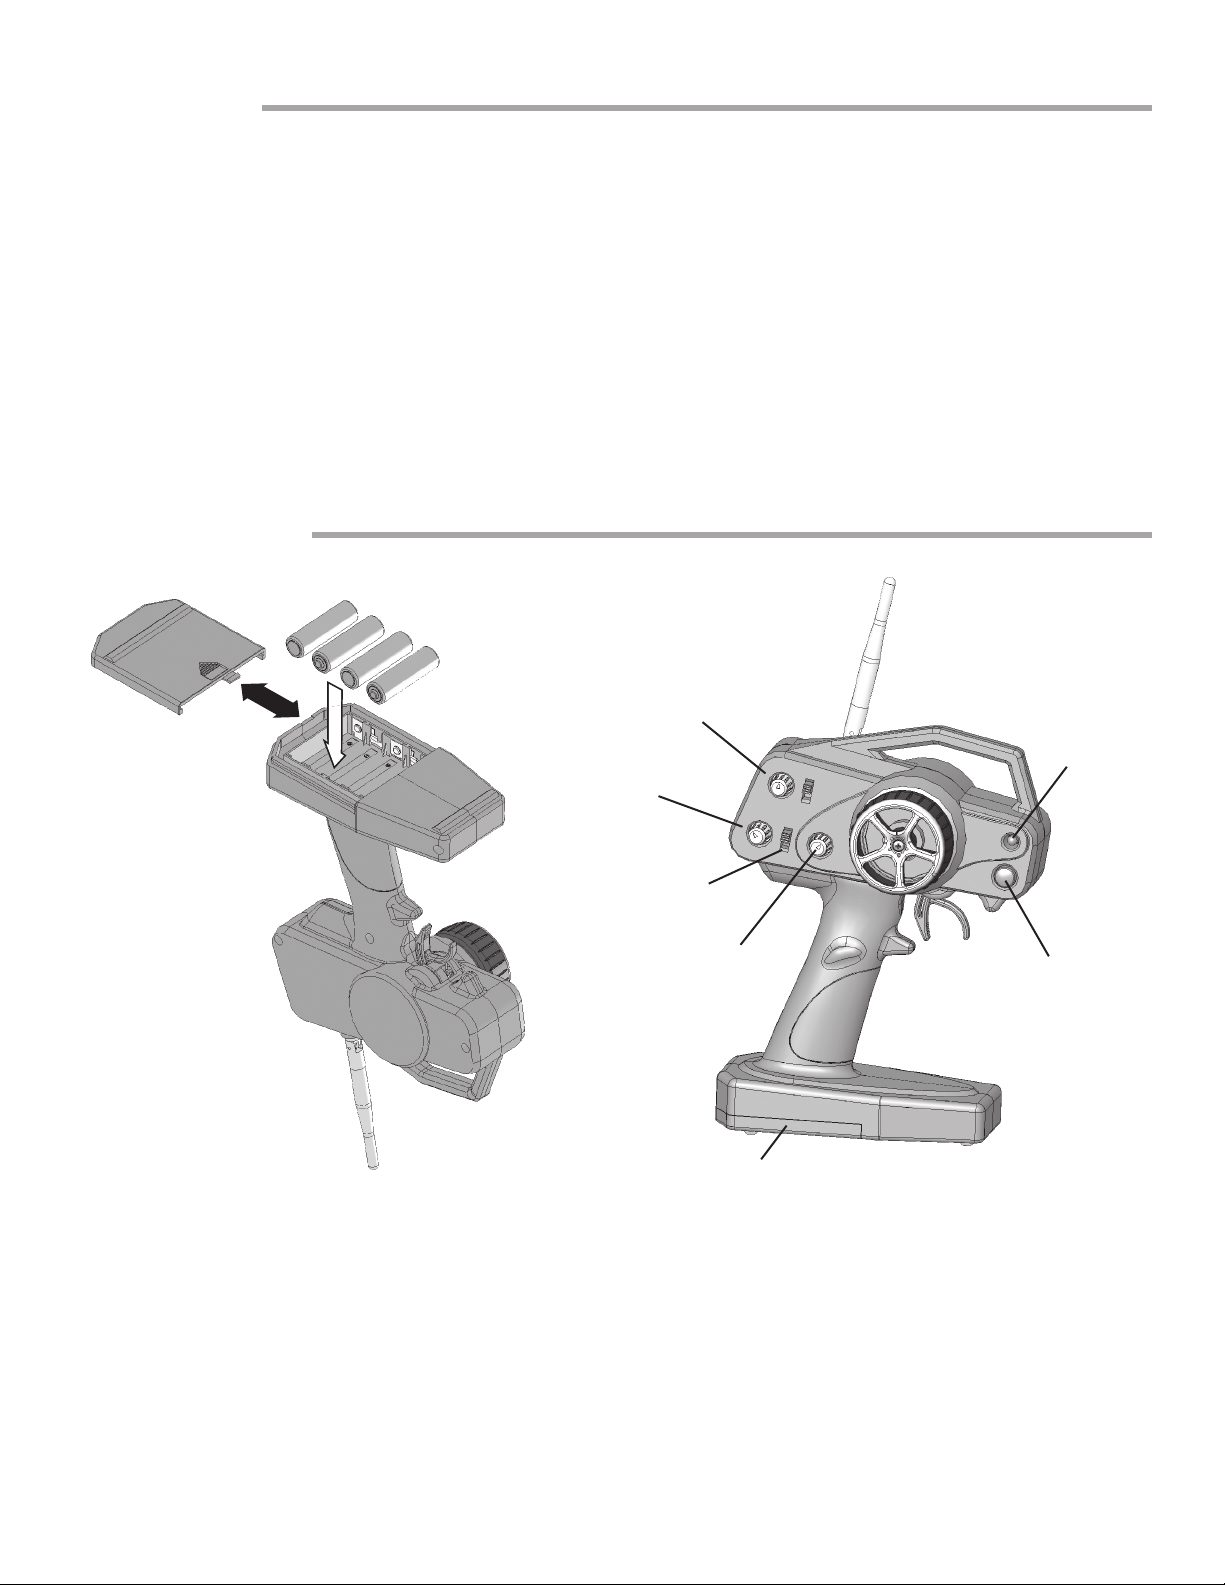
Antenna
Power
Indicator
LED
On/Off
Battery Cover
Steering Rate or
Third Channel
Servo
Reversing
Steering
Trim
Throttle
Trim
1-YEAR LIMITED WARRANTY *U.S.A. and Canada Only
Tactic warrants this product to be free from defects in materials and workmanship for a period of one (1) year from the date of
purchase. During that period, Tactic will, at its option, repair or replace without service charge any product deemed defective
due to those causes. You will be required to provide proof of purchase (invoice or receipt). This warranty does not cover
damage caused by abuse, misuse, alteration or accident. If there is damage stemming from these causes within the stated
warranty period, Tactic will, at its option, repair or replace it for a service charge not greater than 50% of its then currant retail
list price. Be sure to include your daytime telephone number in case we need to contact you about your repair. This warranty
gives you specific rights. You may have other rights, which vary from state to state.
For service on your Tactic product,
warranty or non-warranty, send it
post paid and insured to:
Transmitter
HOBBY SERVICES
Attn: Service Department
3002 N. Apollo Dr., Suite 1
Champaign, IL 61822
Phone: (217) 398-0007
9:00 am - 5:00 pm Central Time M-F
E-mail: hobbyservices@hobbico.com
Figure 1 Figure 2
The transmitter (Tx) requires 4 “AA” batteries. Do not mix old and new cells. Do not mix alkaline, standard or rechargeable
batteries. To install the batteries, slide open the battery door on the bottom of the Tx (see figure 1). Install the batteries in
the holder following the configuration molded into the case, making sure to note the proper polarities on each cell. Close the
battery door.
Turn the Tx power switch on (see figure 2). The “BATT” LED should illuminate. If not, turn off the Tx and check the configuration
of the batteries to make sure each cell is firmly in place and in the proper direction. If the red LED blinks, the batteries are low
on power and should be replaced. DO NOT OPERATE AN R/C VEHICLE WITH LOW BATTERIES AS IT COULD RESULT
IN REDUCED RANGE AND POSSIBLE LOSS OF CONTROL OF THE MODEL.
During normal operation, always keep the Tx antenna in the up position.
Page 3

Installation
(3) 3rd Channel
(2)
(1)
Throttle
Servo
Steering
Servo
(B) Battery/Switch
Steering (L & R)
Steering
Rate
Reverse or Brake
Forward Throttle
SERVOS Because there are a variety of specific applications
for servos in R/C modeling, different servos are designed for
different applications. For each servo, use a servo horn long
enough to accommodate the entire range of movement for that
particular control.
RECEIVER, SWITCH HARNESS AND RECEIVER BATTERY
Insert 4-AA alkaline batteries into the receiver battery holder in the
direction shown on the battery holder. After the servos and receiver
are mounted into your model per the model’s manual, connect the
servos and switch harness to the receiver where shown. The servo
connectors are polarized to prevent improper connection. Pay close
attention when connecting them to the receiver. If you are using
an electronic speed control (ESC), connect the ESC’s throttle lead
to channel 2 in the receiver and refer to the ESC’s instructions for
further set-up details (the battery holder and switch harness should
be omitted when using an ESC). Center the steering and throttle
trim adjustments (see figure 2) before installing servo horns.
Figure 3
Bind the Transmitter to the Receiver
1. Turn on the transmitter.
2. Turn on the receiver. If the receiver is not bound, the LED light will not be on.
3. Push and hold the bind button on the receiver until the light glows red and then off (about one second).
4. Release the bind button.
5. If the binding is successful, the LED will flash once and then remain ON.
You are ready to go!
System Check
Turn on the Tx, then the Rx. Make sure all
servos operate according to the movement
of the Tx controls.
STEERING Move the steering control left
and right. Be sure there is no binding and
that the steering controls move in the proper
direction (see figure 4). If the steering wheel
is turned to the right but the model turns left,
move the steering reversing switch to the “R”
position, and vice-versa.
Figure 4
STEERING RATE This adjustment (see figure 4), is used to fine tune the steering servo throw. The steering rate knob
allows you to increase/decrease the amount of steering travel.
THROTTLE Squeeze the throttle trigger. If the throttle servo moves in the wrong direction, move the throttle reversing
switch to the “R” position. (See the model’s instruction manual for specific set-up instructions.)
Page 4

Troubleshooting
Problem Possible Cause Solution
Range
is short
Run time
is short
Tx LED is steady
but the servos
do not funtion
Interference
or servos
glitching
One glitching servo
Interference Check frequencies in the area, check Rx installation
Low Tx or Rx battery Replace the batteries
Crash damage Send the radio to Hobby Services for repair
Rx batteries need to be replaced Replace the batteries
Rx switch in the off position Tu rn on the switch harness
Switch harness is
connected incorrectly
See the quick
reference guide
Out of range Operate closer
Servo is bad Send the servo to Hobby Services for repair
Outside interference
(Pagers, transmission towers, etc)
Check your local R/C club for confirmation
of dangerous frequencies in your area
Rx is not properly bound Follow the instructions for binding
Low Tx or Rx batteries Replace the batteries
Binding servos causing
excess battery drain
Free the binding components in pushrods
or moving surfaces, see model’s manual
 Loading...