

Hobbico Nexstar select Instruction Manual
READ THROUGH THIS INSTRUCTION MANUAL
FIRST. IT CONTAINS IMPORTANT INSTRUCTIONS
AND WARNINGS CONCERNING THE ASSEMBLY
AND USE OF THIS MODEL.
HCAZ3079 for HCAC17** V1.1Entire Contents © Copyright 2004
Champaign, Illinois
(217) 398-8970
E-mail: airsupport@hobbico.com
INSTRUCTION MANUAL
READY-TO-FLY RADIO CONTROLLED MODEL AIRPLANE
Wingspan: 68-3/4 in [1745mm]
Length: 56 in [1420mm]
Wing Area: 722 sq in [46.6 dm2]
RTF Weight:6.5lb [2950g]
Wing Loading: 21 oz/ft2[63 g/dm2]
Engine: .46 cu in [7.5 cc]
Hobbico®guarantees this kit to be free from defects in both
material and workmanship at the date of purchase.This warranty
does not cover any component parts damaged by use or
modification. In no case shall Hobbico’s liability exceed the
original cost of the purchased kit. Further, Hobbico reserves
the right to change or modify this warranty without notice.
In that Hobbico has no control over the final assembly or material
used for final assembly, no liability shall be assumed nor accepted
for any damage resulting from the use by the user of the final
user-assembled product. By the act of using the user-assembled
product, the user accepts all resulting liability.
If the buyer is not prepared to accept the liability associated
with the use of this product, the buyer is advised to return
this kit immediately in new and unused condition to the place
of purchase.
To make a warranty claim, send
the defective part or item to
Hobby Services at this address.
Include a letter stating your name, return shipping address, as
much contact information as possible (daytime telephone number,
fax number , e-mail address), a detailed description of the problem
and a photocopy of the purchase receipt. Upon receipt of the
package the problem will be evaluated as quickly as possible.
WARRANTY
Hobby Services
3002 N. Apollo Dr. Suite 1
Champaign IL 61822
USA
Introduction . . . . . . . . . . . . . . . . . . . . . . . . . . . . . . . . . 2
An Introduction to the NexSTAR Select Features. . . . 3
O.S.MAX .46 FXi Engine . . . . . . . . . . . . . . . . . . . . . . 3
Extender\Limiter . . . . . . . . . . . . . . . . . . . . . . . . . . . . . 3
IsoSmooth Engine Mount . . . . . . . . . . . . . . . . . . . . . . 4
Three-Line Fuel System . . . . . . . . . . . . . . . . . . . . . . . 4
CenterCore Wing Rib . . . . . . . . . . . . . . . . . . . . . . . . . 4
SpinControl Airfoil Extensions. . . . . . . . . . . . . . . . . . . 4
SpeedBrakes Training Flaps . . . . . . . . . . . . . . . . . . . . 5
PivotFlex Wing Mounting System . . . . . . . . . . . . . . . . 5
EasyAlign Tail Mounting System . . . . . . . . . . . . . . . . . 5
SnapGear Landing Gear. . . . . . . . . . . . . . . . . . . . . . . 5
Active Flight Stabilization (AFS) Module . . . . . . . . . . . 6
RealFlight NexSTAR Edition . . . . . . . . . . . . . . . . . . . . 6
Kit Inspection . . . . . . . . . . . . . . . . . . . . . . . . . . . . . . . . 6
Field Equipment . . . . . . . . . . . . . . . . . . . . . . . . . . . . . 6
Assembly . . . . . . . . . . . . . . . . . . . . . . . . . . . . . . . . . . . 7
Charge the Batteries. . . . . . . . . . . . . . . . . . . . . . . . . . 7
Assemble the Wing. . . . . . . . . . . . . . . . . . . . . . . . . . . 7
Install the Landing Gear . . . . . . . . . . . . . . . . . . . . . . . 8
Install the Tail Surfaces. . . . . . . . . . . . . . . . . . . . . . . . 9
Setup . . . . . . . . . . . . . . . . . . . . . . . . . . . . . . . . . . . . . 11
Charge the Batteries. . . . . . . . . . . . . . . . . . . . . . . . . 11
Center the Control Surfaces . . . . . . . . . . . . . . . . . . . 11
Check Control Surface Direction. . . . . . . . . . . . . . . . 13
Check The Control Throws . . . . . . . . . . . . . . . . . . . . 14
Adjust the Throttle . . . . . . . . . . . . . . . . . . . . . . . . . . 14
Identify Your Model . . . . . . . . . . . . . . . . . . . . . . . . . . 15
Balance the Model . . . . . . . . . . . . . . . . . . . . . . . . . . 15
Setting Up the Active Flight Stabilization Module . . . . 16
Indoor Test . . . . . . . . . . . . . . . . . . . . . . . . . . . . . 17
Outdoor Test . . . . . . . . . . . . . . . . . . . . . . . . . . . . 18
Final Preparations . . . . . . . . . . . . . . . . . . . . . . . . . . . 19
Gather your Tools . . . . . . . . . . . . . . . . . . . . . . . . . . . 19
Spare Parts . . . . . . . . . . . . . . . . . . . . . . . . . . . . . . . 19
At-The-Shop Checklist . . . . . . . . . . . . . . . . . . . . . . . 20
Flight Preparations . . . . . . . . . . . . . . . . . . . . . . . . . . 20
Check the Frequency . . . . . . . . . . . . . . . . . . . . . . . . 20
Check the Controls. . . . . . . . . . . . . . . . . . . . . . . . . . 20
Range Check the Radio . . . . . . . . . . . . . . . . . . . . . . 20
Fueling Your NexSTAR Select . . . . . . . . . . . . . . . . . . 20
Starting your O.S.MAX .46 FXI. . . . . . . . . . . . . . . . . 21
Adjusting the High-Speed Needle . . . . . . . . . . . . . . . 21
Flying . . . . . . . . . . . . . . . . . . . . . . . . . . . . . . . . . . . . . 22
Taxiing . . . . . . . . . . . . . . . . . . . . . . . . . . . . . . . . . . . 22
Take Off . . . . . . . . . . . . . . . . . . . . . . . . . . . . . . . . . . 22
Flight . . . . . . . . . . . . . . . . . . . . . . . . . . . . . . . . . . . . 23
Landing . . . . . . . . . . . . . . . . . . . . . . . . . . . . . . . . . . 23
Maintenance Tips. . . . . . . . . . . . . . . . . . . . . . . . . . . . 23
Clean Up . . . . . . . . . . . . . . . . . . . . . . . . . . . . . . . . . 23
Change the Propeller . . . . . . . . . . . . . . . . . . . . . . . . 24
After You Master the Hobbico NexSTAR Select . . . . 24
SpeedBrakes Training Flaps . . . . . . . . . . . . . . . . . . . 24
SpinControl Airfoil Extensions. . . . . . . . . . . . . . . . . . 24
Dual Aileron Servos . . . . . . . . . . . . . . . . . . . . . . . . . 24
Dual Aileron Servos & Flaps. . . . . . . . . . . . . . . . . . . 26
Ordering Replacement Parts. . . . . . . . . . . . . . . . . . . 27
NexSTAR Success Guarantee . . . . . . . . . . . . . . . . . . 27
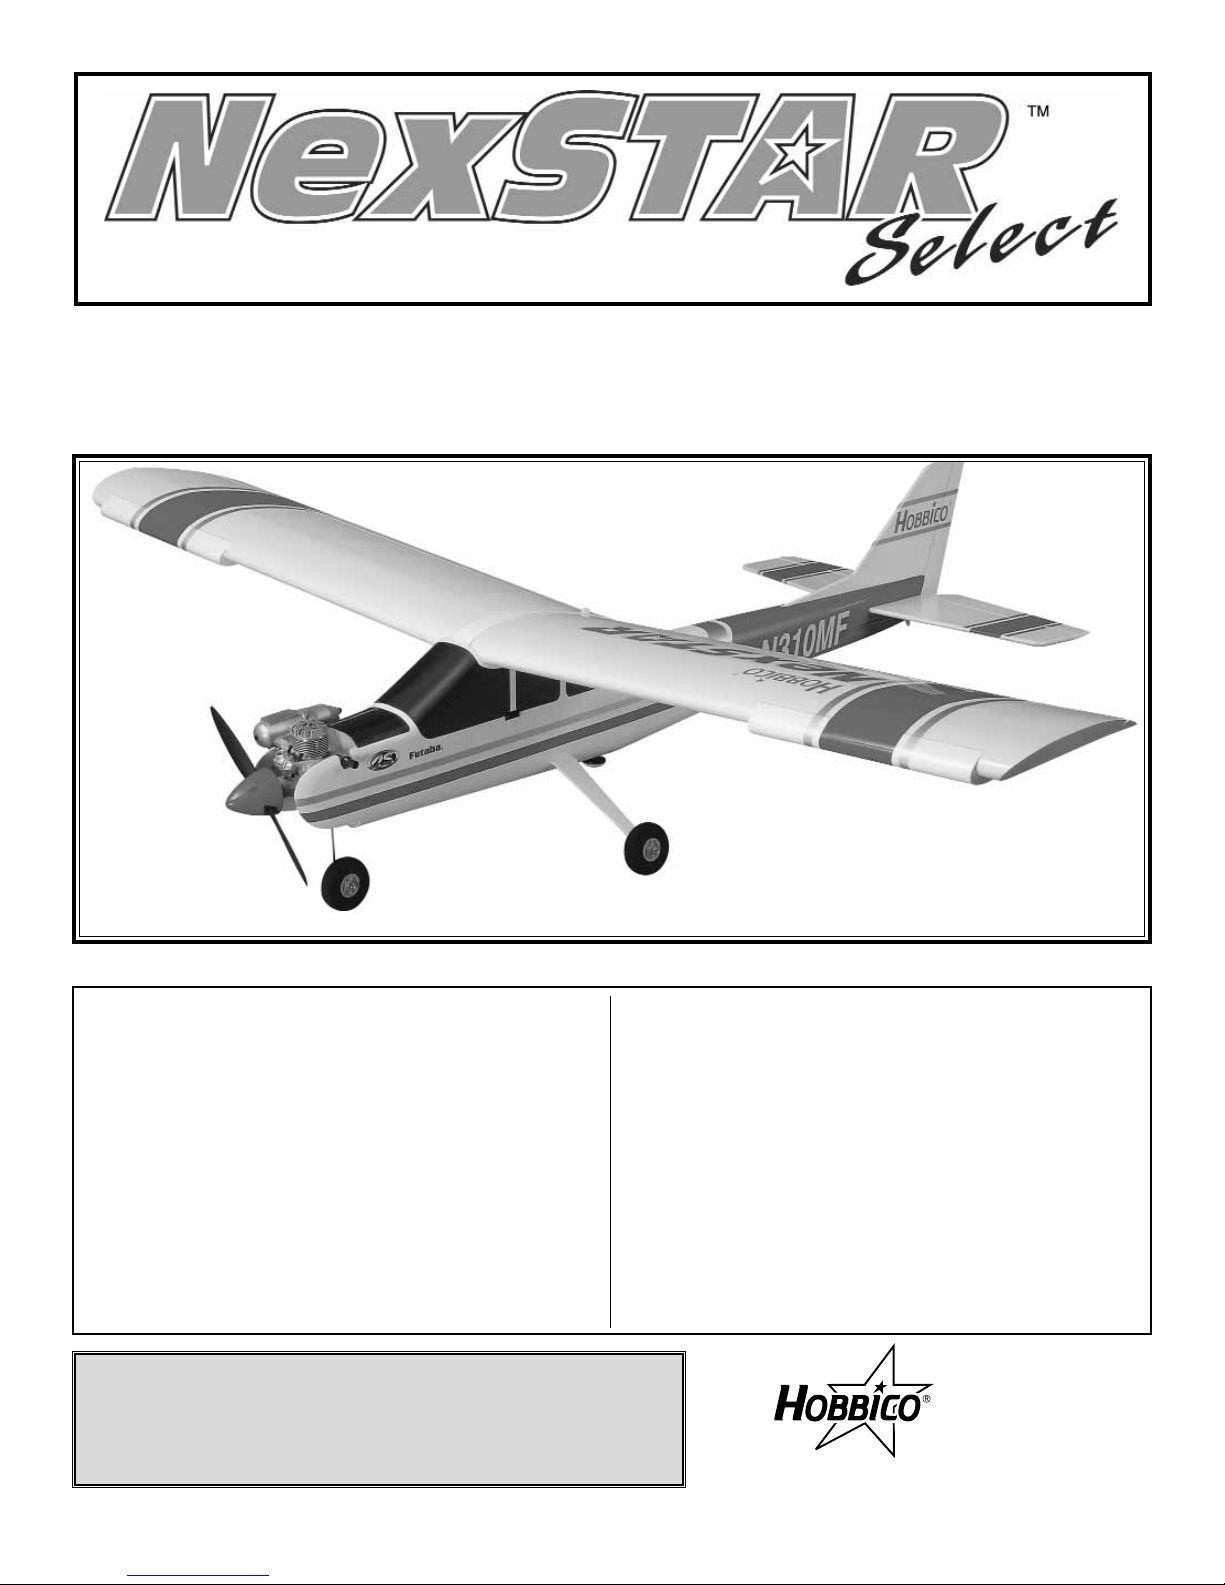
Congratulations and thank you for purchasing the Hobbico
NexSTAR Select, the next generation in Radio Control
Trainers. You've made the right decision by purchasing a
“real” model airplane with a .46-size engine, a 4-channel
radio, the AFS System, and the latest in aerodynamic and
assembly technologies. Once assembled and set up, there
will be no fiddling with a temperamental engine or constant
troubleshooting to figure out how to get the model to fly.
Under the guidance of an experienced flight instructor, all
you'll have to do is concentrate on learning to fly.And after
you've mastered the NexSTAR Select, the engine and radio
may be transferred to your next model!
There are two parts to this manual. The first par t, a seven
page Assembly section, guides you through a few simple
steps to put the model together. The second part, Setup,
takes you through initial adjustments and flight preparation.
Do not overlook any of the important setup procedures and
follow the instructions all the way to the end. Anything
skipped in the shop will have to be done at the field anyw ay.
For the latest technical updates or manual corrections to the
Hobbico NexSTAR Select visit the Hobbico web site at
www.hobbico.com. Open the "Airplanes" link, then chose
the NexSTAR Select.If there is new technical information or
changes to this model a "tech notice" box will appear in the
upper left corner of the page.
IMPORTANT
Once mastered, piloting a model aircraft can be one of
the most rewarding hobbies around. However, it cannot
be stated strongly enough that, if you do not already
know how to fly an R/C airplane, you will probably not be
able to fly this model by yourself. It may appear to be
easy, but over-controlling and disorientation quickly
overcome inexperienced fliers, swiftly ending their first
flight. The best thing you can do to insure success is to
find a flight instructor who will inspect your model for
airworthiness and provide flying lessons along with
practice on your RealFlight NexSTAR Edition simulator.
If you haven't yet done so, contact the local hobby shop
and ask them to introduce you to an instructor or an R/C
club representative. If there is no club or experienced
R/C pilot nearby, it would be worth even a long drive to
find one—if only for just a few flight lessons (then you'll
have an idea of what to expect).
INTRODUCTION
TABLE OF CONTENTS
2
We urge you to join the AMA (Academy of Model
Aeronautics) and a local R/C club. The AMA is the
governing body of model aviation and membership is
required to fly at AMA clubs. Though joining the AMA
provides many benefits, one of the primary reasons to join
is liability protection. Coverage is not limited to flying at
contests or on the club field.It e ven applies to flying at pub lic
demonstrations and air shows. Failure to comply with the
Safety Code (excerpts printed in the back of the manual)
may endanger insurance coverage. Additionally, training
programs and instructors are available at AMA club sites to
help you get started the right way. There are over 2,500
AMA chartered clubs across the countr y. Contact the AMA
at the address or toll-free phone number below:
Academy of Model Aeronautics
5151 East Memorial Drive
Muncie, IN 47302-9252
Tele.(800) 435-9262
Fax (765) 741-0057
Or via the Internet at: http://www.modelaircraft.org
IMPORTANT!!!
Two of the most important things you can do to preserve the
radio controlled aircraft hobby are to avoid flying near fullscale aircraft and avoid flying near or o v er g roups of people .
1. Your NexSTAR Select should not be considered a toy , b ut
rather a sophisticated, working model that functions very
much like a full-size airplane. Because of its performance
capabilities, the NexSTAR Select, if not assembled and
operated correctly, could possibly cause injury to yourself or
spectators and damage to property.
2. You must assemble the model according to the
instructions. Do not alter or modify the model, as doing so
may result in an unsafe or unflyable model. In a few cases
the instructions may differ slightly from drawings or
sketches. In those instances the written instructions should
be considered as correct.
3.You must check the operation of the model before every
flight to insure that all equipment is operating and that the
model has remained structurally sound. Be sure to check
clevises or other connectors often and replace them if they
show any signs of wear or fatigue.
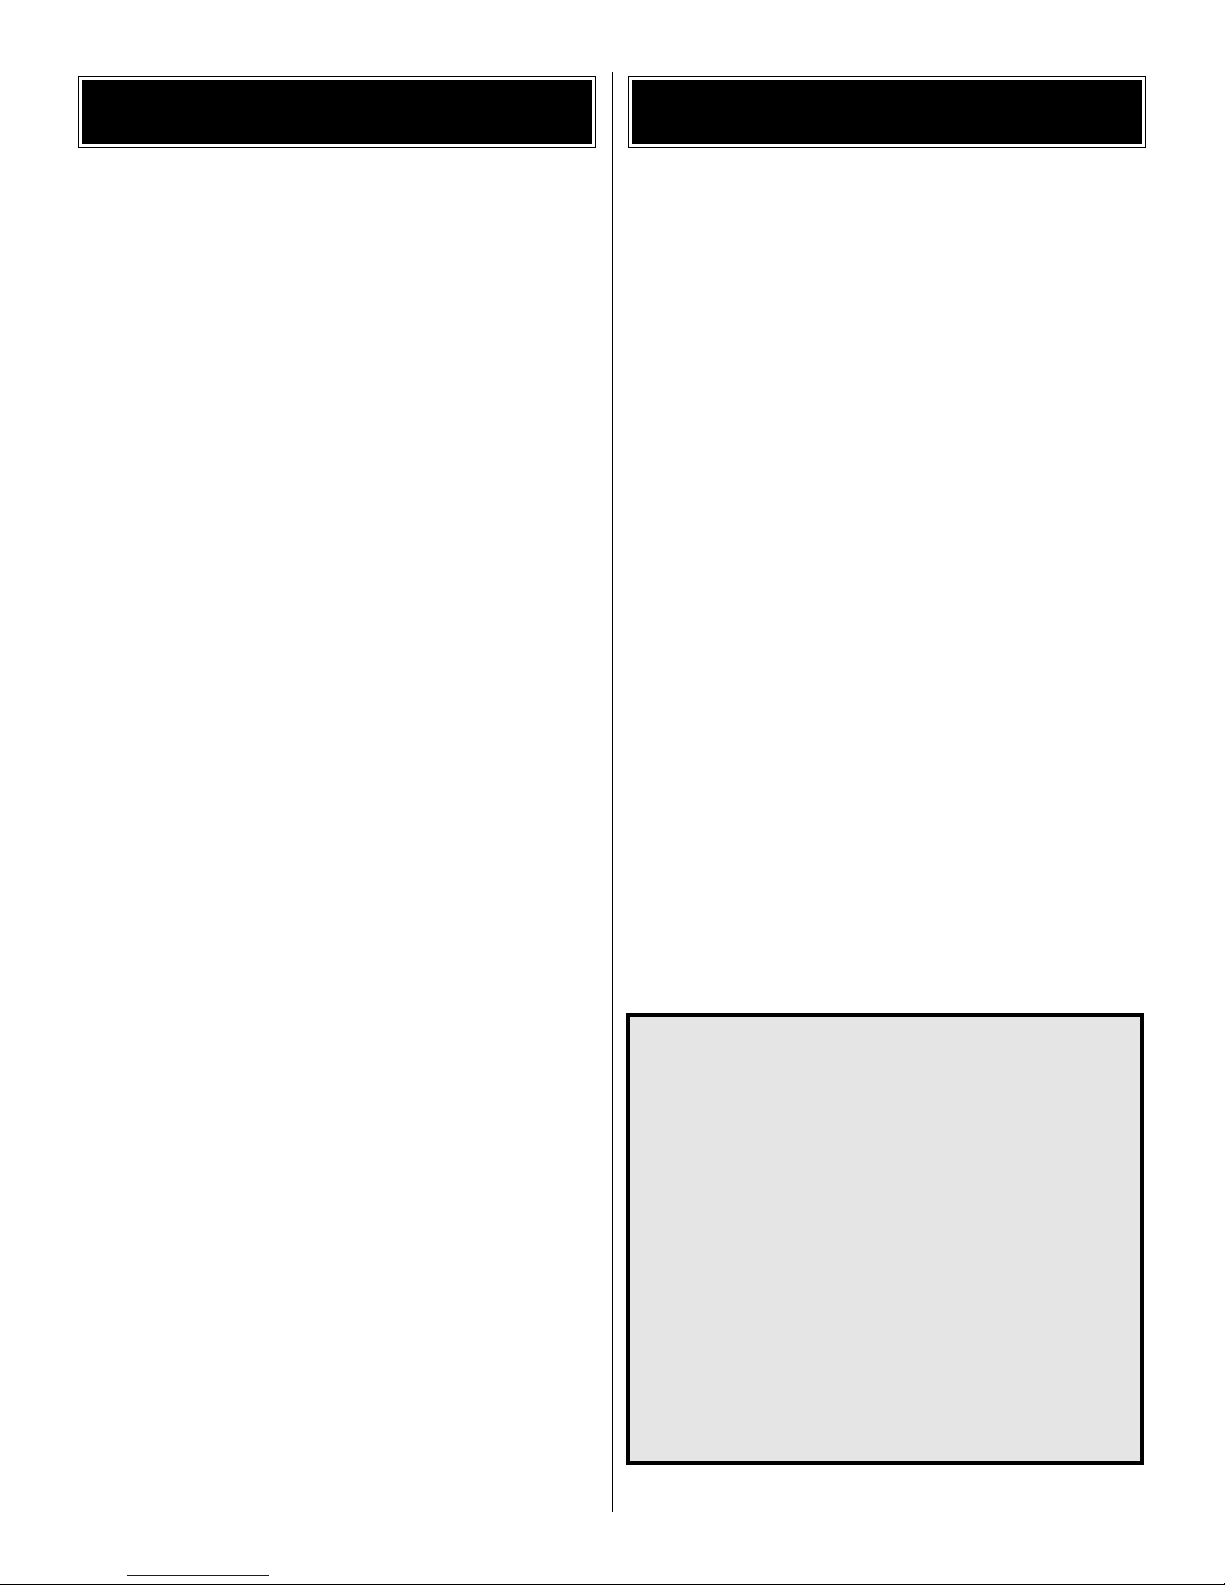
This is a new engine developed specifically for high
performance trainers and sport models such as the NexSTAR
Select. It is a .46 cu in [7.5cc] engine with two sets of ball
bearings offering the same performance as the well known OS
.46 FX.This new engine has been optimized to be easy to start
while offering great peak RPM performance. Once you have
earned your wings, you can install this engine on your .40 size
aerobatic airplane for wild aerobatics.
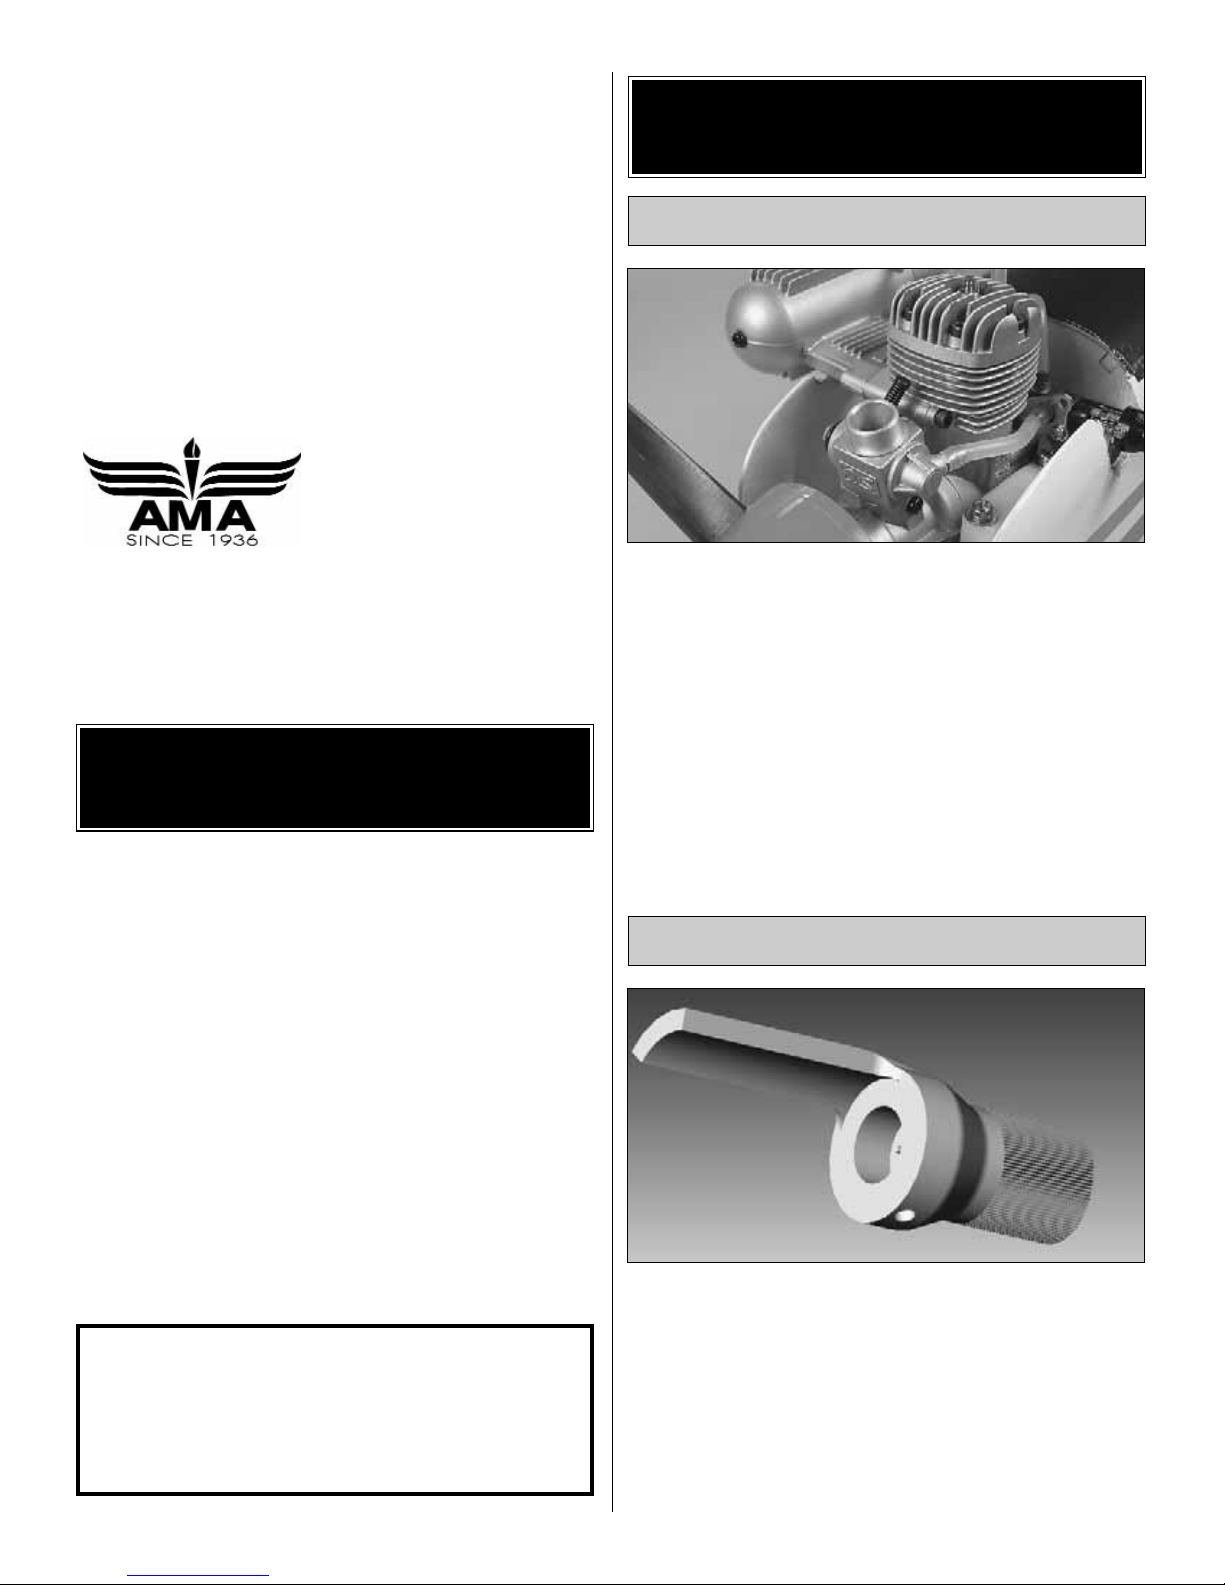
The NexSTAR Select is equipped with a high speed needle
valve extender/limiter to make engine adjustments safer
and easier.The extender/limiter has been set at the factory
to limit the movement of the high speed needle so that it
cannot be adjusted out of the optimum range.This way the
engine will always work at its peak performance without the
worry of engine damage. The extender/limiter will allow the
needle to be set from the leanest desired setting for safe
operation (fully clockwise) to the richest desired setting for
break in (fully counterclockwise).
Extender/Limiter
OS®MAX .46 FXi™Engine
AN INTRODUCTION TO THE
NEXSTAR SELECT FEATURES
NOTE:We, as the kit manuf acturer , provide y ou with a top quality
kit and great instructions, but ultimately the quality of your
finished model depends on how you build it;therefore, we cannot
in any way guarantee the performance of your completed model,
and no representations are expressed or implied as to the
performance or safety of your completed model.
PRO TECT YOUR MODEL,Y OURSELF
& OTHERS...FOLLOW THESE
IMPORTANT SAFETY PRECAUTIONS
3
4
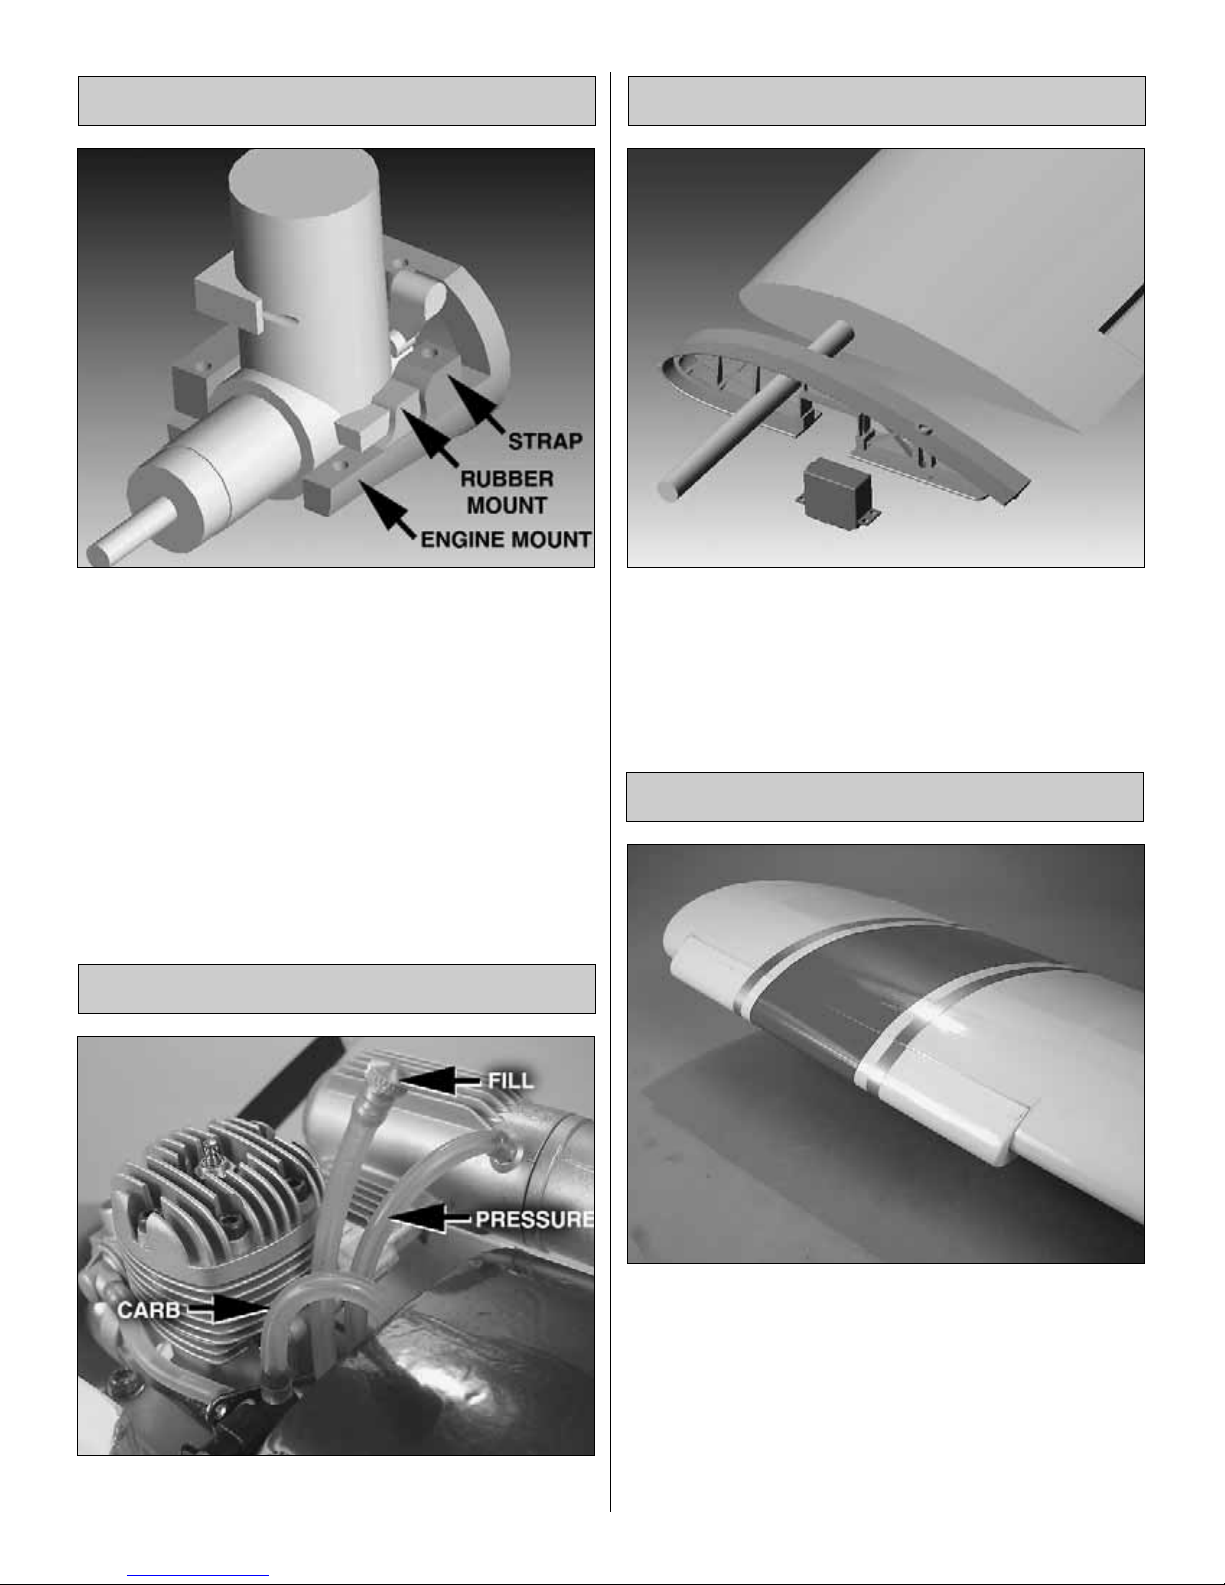
This new mount may look like other aluminum engine
mounts, but make no mistake, it is unique. The engine
mounting lugs are installed in rubber boots that absorb
engine vibration to protect your airframe and radio
components, increasing their life span. The IsoSmooth
engine mount works so well that you should check your
propeller for nicks or cracks, because with this mount, you
won't feel a thing.
The Hobbico NexSTAR Select uses a three-line fuel line
system to simplify fueling and de-fueling.
The CenterCore wing rib is a nylon part that comes
preinstalled onto one of the wing halves.It performs several
functions: it aligns the two wing halves; it is a mount for the
aileron servo;the incorporated wing dowel holds the wing in
place; and it holds and aligns the wing bolt to the PivotFle x
™
Wing Mounting System. Joining the wing halves and wing
installation on the fuselage has never been easier.
These are the extensions that are installed at the leading
edge near the tips of the wings. These extensions were
developed by NASA (National Aeronautics and Space
Administration) to help light airplanes prevent stalls and
spins during landing approaches. That is exactly what they
do for your NexSTAR Select. They slow down the airplane,
increase its stall resistance and prevent it from spinning, all
desired characteristics of a trainer airplane. The wing
extensions can be removed after becoming proficient with
the NexSTAR Select for faster , more aerobatic perf ormance.
SpinControl™Airfoil Extensions
CenterCore™Wing Rib
Three-Line Fuel System
IsoSmooth™Engine Mount
The SpeedBrakes Training Flaps were designed to allow your
NexSTAR Select to fly slower, reduce top speed and shorten
the landing approach. Thanks to these flaps, your NexSTAR
Select will bleed off speed quickly when the throttle is
reduced so that long landing approaches are not necessary.
Additionally, the top speed is considerably reduced to make
the airplane easier to handle. These SpeedBrakes can also
be removed after acquiring some experience with the
airplane for faster, more aerobatic performance.
The wings of most trainers are mounted with rubber bands.
This allows for some flexibility in case of a hard landing.
Rubber bands work well, but they are just plain ugly and a
mess. The PivotFlex Wing Mounting System combines the
looks of a bolt-on system with the flexibility of rubber bands.
The new system allows the wing to move under sudden
loads (such as a wing tip hitting the ground) and will release
the wing from the airplane under extreme loads such as a
crash—all that while looking great.
The EasyAlign Tail Mounting System aligns the stabilizer
with the fuselage and fin while tightening the tail bolts.The
tail bolts slide into blocks in the fuselage under the
stabilizer. As the tail bolts are tightened, both the fin and
stab are aligned and secured while strengthening the aft
area of the fuselage.No tools are necessary for installation.
To speed and simplify assembly, the Hobbico NexSTAR
Select comes equipped with the SnapGear Landing Gear.
This new gear offers effortless and tool less main landing
gear installation. It takes only a few seconds to install the
landing gear and it can also be removed from the fuselage
in seconds.
SnapGear™Landing Gear
EasyAlign™Tail Mounting System
PivotFlex™Wing Mounting System
SpeedBrakes™Training Flaps
5
The Active Flight Stabilization module has been designed to
help you earn your wings.This module scans for differences
in light around the model to know the airplane's flight
attitude.When you release the sticks, it returns the model to
straight-and-level. Let's say that you are making an aileron
turn. The AFS will prevent the airplane from losing or
gaining altitude.If y ou lose sight of the airplane's attitude for
a second, release your sticks and your airplane will go back
to flying straight and level in about one second.When flying
in wind, the AFS will make your plane fly rock solid, even
when close to the ground.This is a great learning tool, and
as you learn, you can decrease its sensitivity until you do
not need it any more. Please see “Setting up the Automatic
Flight Stabilization module” section of this manual before
using it.
On top of the previously mentioned items, there is still one
last treat in your Hobbico NexSTAR Select package: A
RealFlight NexSTAR Edition CD-ROM. RealFlight is the
best RC airplane simulator in the market, and it is a great
learning tool. Once installed in your computer, RealFlight
will allow you to use your own NexSTAR Select radio
transmitter to fly your NexSTAR Select on your computer.
Simulators are a great learning tool because they allow you
to learn about airplane orientation, flying speed, stalling
performance, take off and landing, and the whole spectrum
of flight without any risk. The physics of RealFlight are so
close to reality that you will feel like you are flying the real
model. The RealFlight NexSTAR Edition also lets you
practice with your transmitter and all the controls on it.Learn
to fly with RealFlight, practice new maneuvers and once y ou
feel confident, get out there and enjoy your Hobbico
NexSTAR Select.
Before starting to build, inspect the parts in this kit to make
sure they are all included and all undamaged. If any par ts
are defective or damaged, or if you need assistance with
assembly, contact Product Suppor t.
Product Support
Phone: (217) 398-8970
Fax:(217) 398-7721
E-mail: airsupport@hobbico.com
Aside from the major components of the kit you should find
a small plastic bag with the hardware needed to assemble
your airplane.The contents of the bag should be:
❏ 1 1/4-20x2" [51mm] Nylon Wing Bolt
❏ 2 Nylon Fin Bolts
❏ 6 #4 x 1/4" [6mm] Screws
❏ 2 #4 x 3/4" [19mm] Screws
Other small parts include:
❏ 1 9/32" x 14-1/4" Wing Joiner Rod
❏ 2 Landing Gear Legs
❏ 2 ABS SpeedBrakes
When ready to fly, you'll need some additional equipment to
fuel the plane and start the engine. The most important
items include an electric starter, 12 volt battery, or chicken
stick, fuel pump (electric or hand-crank), fueling lines and
fittings and a 1.5 volt glow plug igniter.Your flight instructor
will probably let you share his equipment for a while, but
eventually you'll need your own. Visit your local hobby
dealer or see the Hobbico catalog for a full selection,
descriptions and pricing.
Field Equipment
KIT INSPECTION
RealFlight®NexStar Edition
Active Flight Stabilization™(AFS) Module
6

The NexSTAR Select comes with a receiver battery in the
airplane and a transmitter battery. Both of them can be
charged at the same time or independently with the Futaba
®
charger included.
❏ 1. For safety reasons, the model is shipped with the
battery pack in the model (the receiver battery)
disconnected. In the fuselage, connect the plug from the
battery pack, labeled “Battery 1”, to the plug from the on/off
switch, labeled “Battery 2.”
❏ 2. When shipped, the batteries are not fully charged.
They must be fully charged before use. If you plan to
assemble the plane now, the batteries may be charged
later. If you plan to assemble the plane later, charge the
batteries following the instructions in the instruction manual
supplied for the radio control system.
Note: When charging the receiver battery, connect the
charger to the plug labeled “Charge” inside the fuselage.
Note: Charging time of fully depleted receiver and
transmitter batteries is about 15 hours. Both batteries
should be charged overnight before every flying day. A fully
charged set of batteries should allow you to make three full
flights before needing to recharge the batteries again.In an y
case, you should always check battery voltage before flying
and never fly with a receiver voltage less that 5 V.
For this section you will need:
Please note that all images show the bottom of the wing.
❏1.Install the wing rod into the right wing Center Core wing rib.
The wire you see coming out of the servo is the servo lead.This
servo lead will not be used until the “Radio Setup” section.
❏2.Carefully slide the left wing all the w a y onto the rod and
into the Center Core wing rib.The wing needs to be pushed
in all the way until it stops.
1 Left Wing
1 Right Wing
1 Steel Wing Rod
2 #4 x 20mm Screws
6 #4 x 8mm Screws
2 SpeedBrakes Training
Flaps
1 Phillips Screwdriver
Assemble the Wing
Charge the Batteries
ASSEMBLY
7
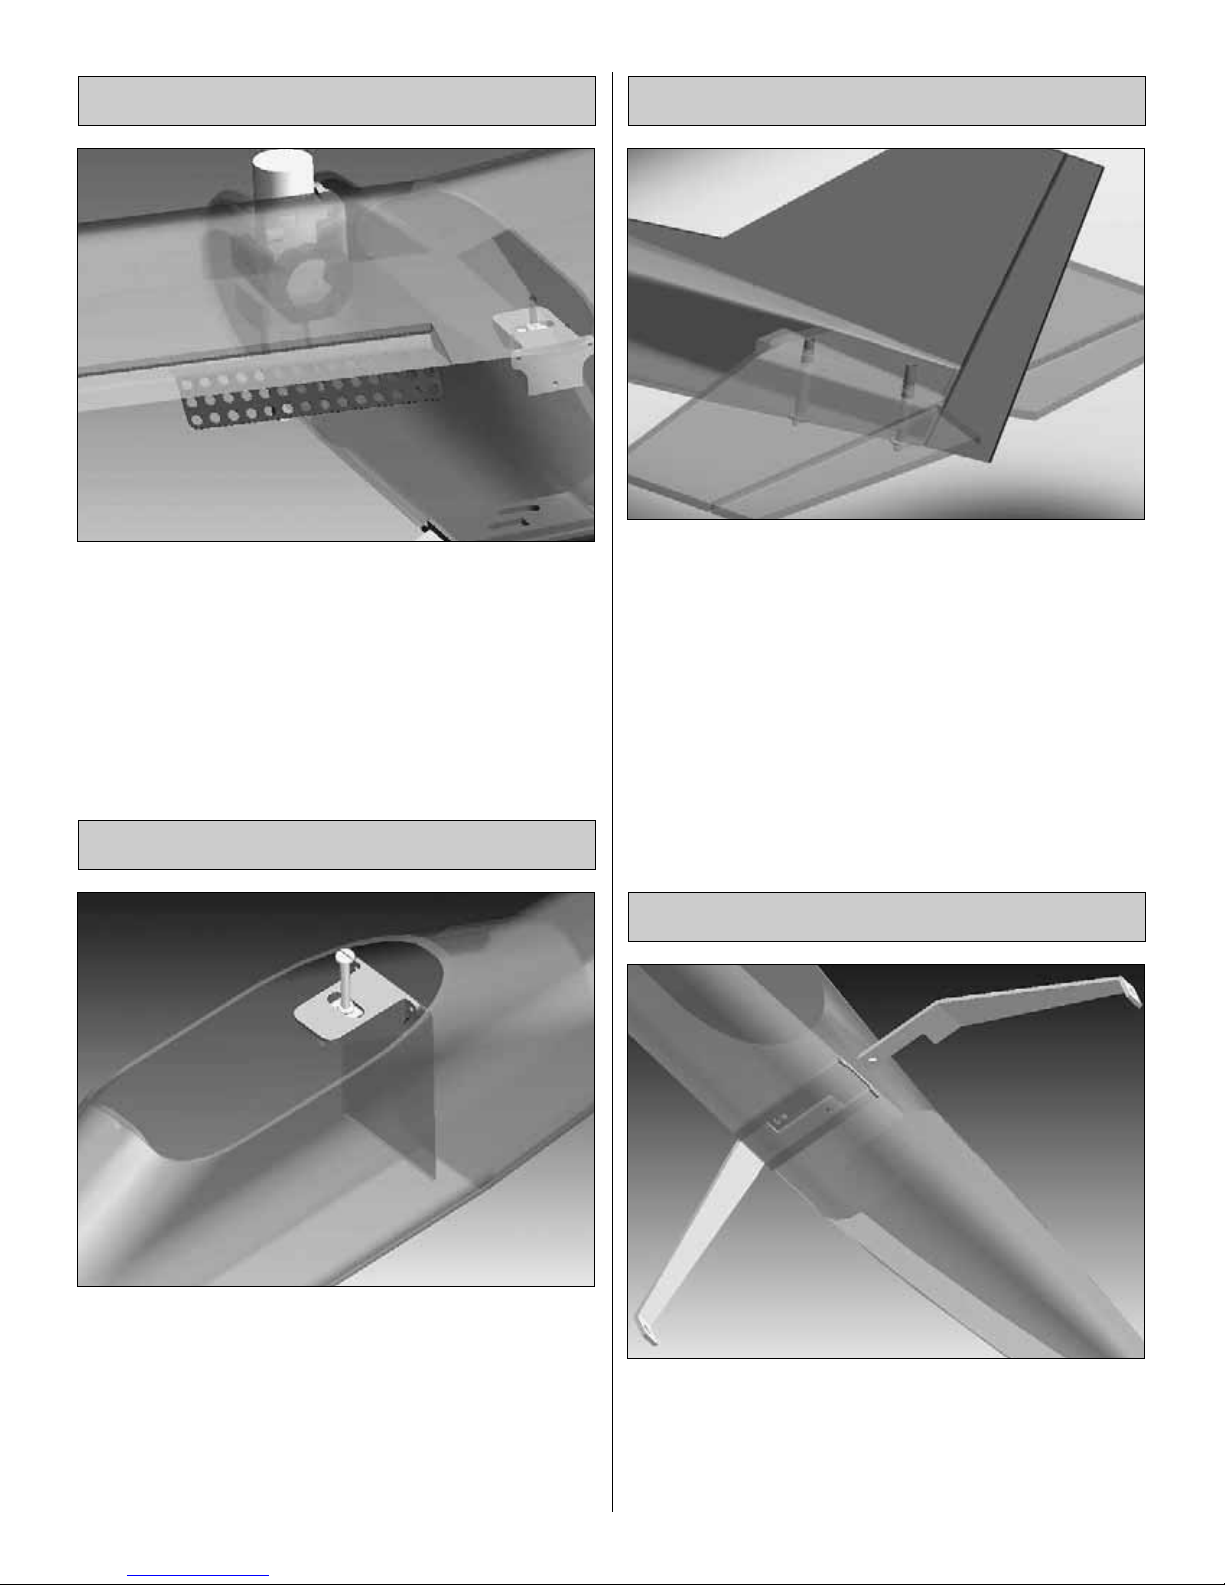
❏3. Use two #4 x 3/4" [19mm] screws to hold the two wing
halves together.
❏ 4. Remove the tape that holds the aileron pushrods
together and install the clevis of the left aileron pushrod on
the left aileron horn. Slip the clevis retainer onto the clevis.
❏ 5. Locate one of the SpeedBrakes Training flaps. There
are three small holes drilled into the trailing edge of the wing
near the center.Install the flap to the wing using three #4 x
1/4" [6mm] screws. The inner end of the flap should align
with the end of the aileron.
❏ 6. Install the other flap onto the other wing using three
more #4 x 1/4" [6mm] screws.
The wing is now complete.
For this section you will need:
❏1.Slide one of the main landing gear legs into the landing
gear slot as shown above. Push it in until you hear a “click”
or until it does not slide in any more.Note:The two landing
gear legs are identical, so it does not matter which one you
install on the left side or right side of the airplane.
1 Fuselage 2 Landing Gear Legs
Install the Landing Gear
8

❏ 2. Install the other landing gear leg on the other side of
the fuselage the same way. Once they are both installed,
apply a light force to pull them out.You should not be able
to pull them out. If they do pull out, then push them back in
again until they are secured properly. Note:The legs may fit
a little loose inside the pocket.This is normal as long as you
are not able to pull the landing gear legs out.
Landing gear installation is complete.
Note: Should you ever need to remove the landing gear
from the fuselage, insert a screwdriver into the hole under
the fuselage farther from the leg you want to remove. Apply
light pressure to the tab inside the hole and pull the landing
gear leg out. Once the tab is moved, the screwdriver must
be removed to allow the leg to come all the way out. Do the
same with the other landing gear leg.
Note: If your landing gear does not insert easily in the
fuselage or it does not lock in, clean up any glue or paint
blobs that may be on the gear or in the mounting
mechanism. Insert the gear again and make sure it does
lock in.
Note: If your landing gear legs spread after a hard landing,
remove the legs from the airplane and bend them back to
the correct position with a vise. Do not try to straighten the
legs while installed in the airplane as that may damage the
Snap Gear Landing Gear mechanism.
For this section you will need:
❏ 1. Insert the horizontal stabilizer into the stab slot as
shown above. Insert the two nylon fin tail bolts half-way into
the bottom fuselage and into the stab to hold it in place.
Place the fin over the sketch found on the last page of the
manual and make sure the fin rods are bent at the same
angle as the ones shown on the sketch.This step is cr itical
to make the fin installation easier.
1 Fuselage
1 Horizontal Stabilizer
(or stab)
1 Vertical Stabilizer
(or fin)
2 Nylon Tail Bolts.
Install the Tail Surfaces
9
 Loading...