

Page 1
- 1 -
Instruction manual
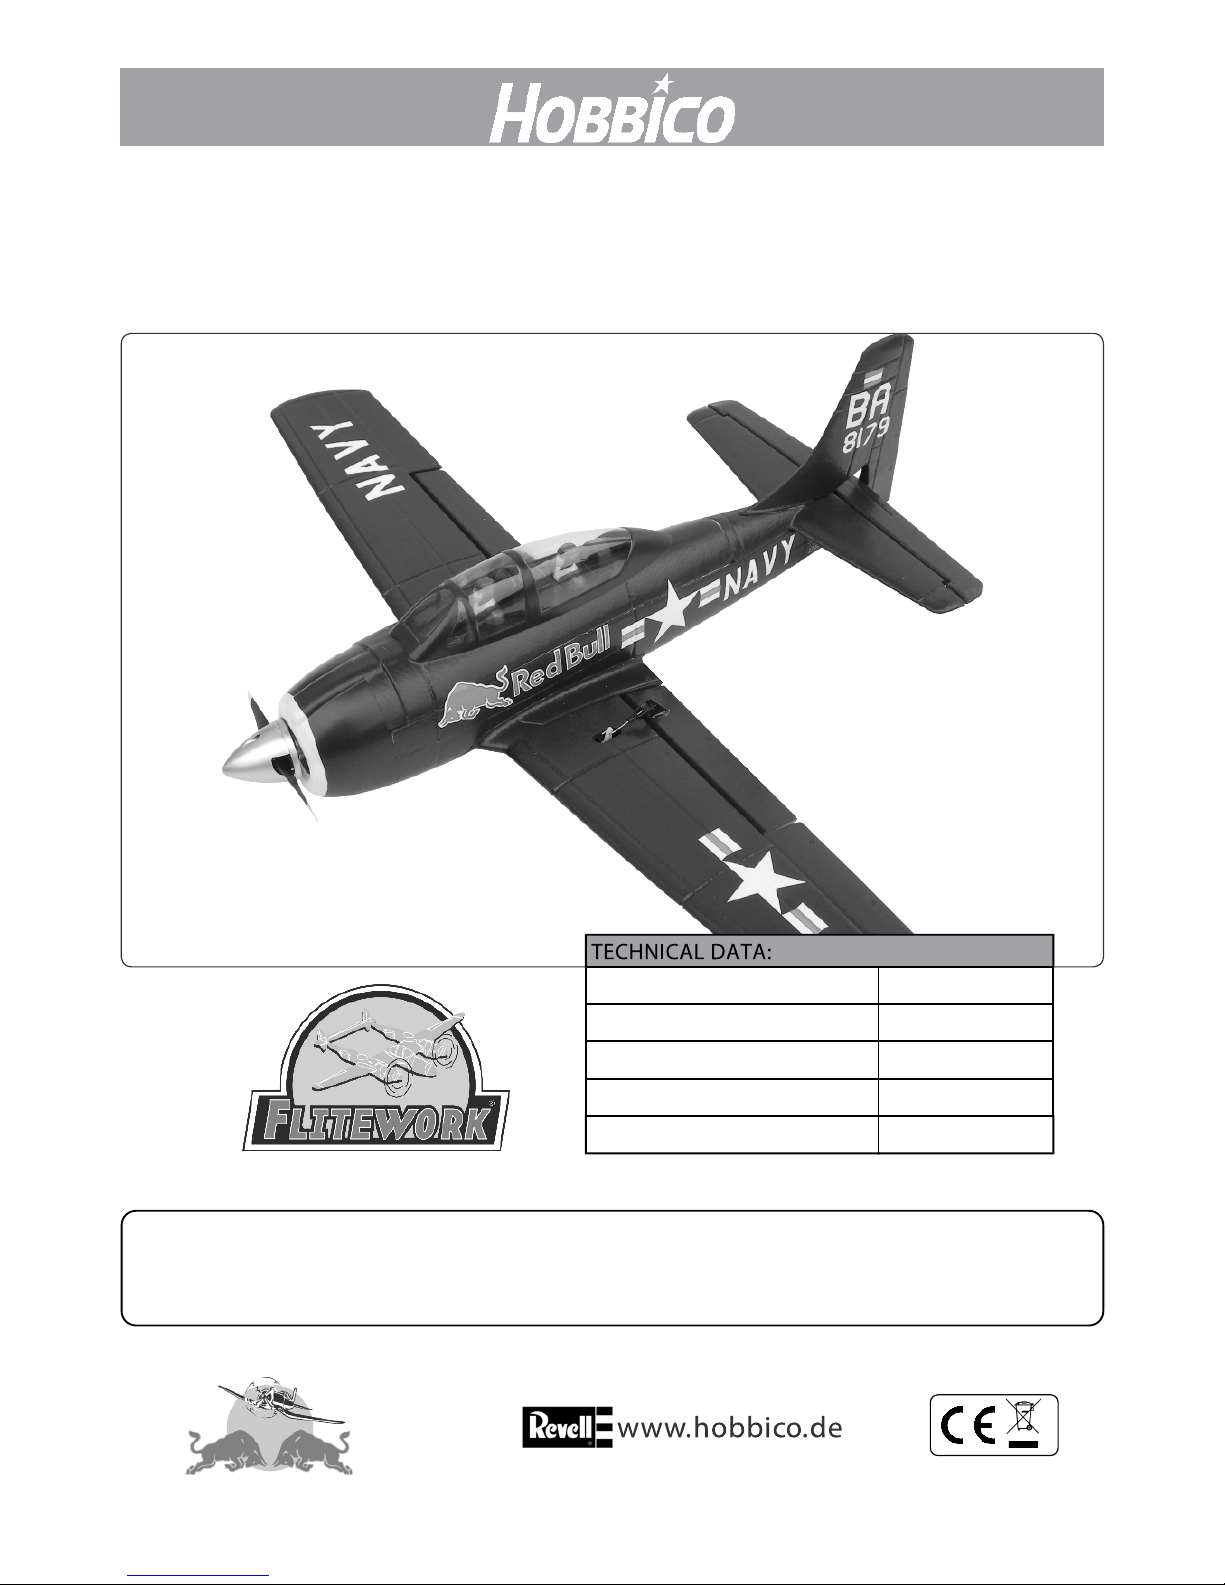
FLITEWORK T28-Mini / FLWA4130
Version 1.00
Wingspan 650 mm
Length 570 mm
Take off weight 330 g
Radio channels A, E, M
Battery 3s 850 mAh
Fully licensed through the Red Bull GmbH - Austria
Please read the instruction manual carefully and take notice of the safety guidelines.
If the model is given to a third party, always include this instruction manual to the model.
The Flitework Gmbh assumes no liability in case of misprints. Technical amendments reserved.
Distributed by
www.flyingbulls.at
Page 2
- 2 -
Technical data........................................................1
Introduction............................................................2
General information...............................................2
Environment protection infos.................................2
Safety precautions.................................................3
Recommended accessories...................................3
Additional items required.......................................3
Kit check................................................................3
Content of delivery.................................................4
Installation of rudder and elevator..........................4
Assembling tail unit and fuselage..........................5
Elevator linkage.....................................................5
Installing the receiver.............................................6
Set the control throws............................................6
Adjusting center of gravity......................................6
Spare parts............................................................6
Scale spinner.........................................................6
Check list...............................................................6
Check list...............................................................7
Hobbico service line...............................................7
Flitework contact....................................................8
Introduction
The T-28 Trojan has relieved the AT-6 as a training aircraft and was used by US Navy as prestage for the F-86 Sabre.
The version of the Flying Bulls is a T-28B of the model year 1954. The Flitework T28 mini convinces with stable flight
characteristics and superior speed range. This model has reinforced carbon wing stringers to get it very stable during
speed flight up to 110 mph.
Attention please!
Remote controlled model planes are not a toy! For assembling, flying and servicing such models, you need a high
grade of technical comprehension and liability. Careless assembling and operation may cause personal and material
damage.
Because the Flitework GmbH has no influence on assembly, RC installation, operation and servicing of the flight
device, any liability is rejected under explicit advice to these dangers.
● Read this manual and its safety precautions carefully!
Keep this manual and if you give the model to a third
party, put this manual to the model.
● Take care, that you are familiar with your transmitter
and all electronic components, used in your plane.
● Take care of all safety instructions of tools, which are
you using to assemble this model.
● Only take glues, which are recommended for the
specific materials and which are approved for model
business.
● Before assembling please check all parts of this kit. If
some parts are missing or have a mistake, please call.
● The symbols on the package show you, that the
model and its accessories should not be put to waste.
All electric and electronic parts should be deposed to
places of waste management.
● Batteries and accumulators must be removed
from the devices and
should be deposed to the
correct waste management organisation. Take
information from your
home town government.
Page 3
- 3 -
1. Your T-28 Mini should not be considered a toy, but
rather a sophisticated, working model that functions
very much like a full-size airplane. Because of its
performance capabilities, the T-28, if not assembled
and operated correctly, could possibly cause injury to
yourself or spectators and damage to property.
2.You must assemble the model according to the instructions. Do not alter or modify the model, as doing so
may result in a unsafe or unflyable model. In a few
cases the instructions may differ slightly from the
photos. In those instances the written instructions
should be considered as correct.
3. You must take time to build straight, true and strong.
4. You must use an R/C radio system that is in first-class
condition and a correctly sized engine and components (fuel tank, wheels, etc.) throughout the building
process.
5. You must correctly install all R/C and other components so that the model operates correctly on the
ground and in the air.
6. You must check the operation of the model before
every flight to insure that all equipment is operating
and that the model has remained structurally sound.
Be sure to check clevises or other connectors often
and replace them if they show any signs of wear or
fatigue.
7. If you are not already an experienced R/C pilot, you
should fly the model only with the help of a competent,
experienced R/C pilot.
8. While this kit has been flight tested to exceed normal
use, if the plane will be used for extremly hight stress
flying, such as racing, or if an engine larger than one
in the recommended range is used, the modeler is
responsible for taking steps to reinforce the hight
stress points and/or substituting hardware more suitable for the increased stress.
Flitework quality
We, as the kit manufacturer, provide you with a top quality kit and instructions, but ultimately the
quality and flyability of your finished model depends on how you build it; therefore, we cannot in
any way guarantee the performance of your completed model and no representations are
expressed or implied as to the performance or safety of your completed model.
1 x Lipo battery 3s 850 mAh 25C
Order No.: GPMP0826
1 x Receiver min. 3 Channels
· Hobby knife
· Philips screw driver
· Set of small wrenches
· 5 Min. epoxy glue
· Prop balancing device
Before starting to build, use the Kit Contents list to take an inventory of this kit to make sure it is complete and inspect
the parts to make sure they are of acceptable quality. If any parts are missing or are not of acceptable quality, or if you
need assistance with assembly, contact Hobbico Product Support.
Service center Revell GmbH
Henschelstr. 20-30, 32257 Bünde, Germany
Tel: +49 52239 65144
Email: service@hobbico.de
Page 4

- 4 -
1x Fuselage with main wing, mounted motor, prop, spinner, ESC and servos.
1x Fuselage upper part with canopy and pilot figures.
1x Rudder
1x Elevator with preinstalled flap lever.
1x Elevator linkage
1x Scale spinner
1x Multilingual instruction manual
Page 5

- 5 -
Remove the color from the glueing areas by sanding the
parts carefully. For hidden areas you can use a glass
pencil, which you can get from the stationery store.
If you put the parts together with 5 min. epoxy glue, take
care for a correct alignment. Fix the parts with pins until
the glue is setted.
Attention!!
Never take CA glue for EPO, because this glue causes
damages to this material. Always take epoxy glue.
If you use to much of epoxy glue, the glue is oozing out
between the parts. You can remove this glue, using a
cotton stick.
Before you glue the tail unit to the body, it is very important, to hook in the elevator linkage. Use the third hole, away
from the flap.
Afterward you can glue the complete unit to the fuselage, looking for correct aligment. Take care, that the lower part of
the rudder meets the fuselage at the center. Put also epoxy glue there. Fix the unit with pins until glue has hardened.
Adjust the elevator linkage so, that elevator flap and servo
lever are in neutral position as shown in the picture. The
position of the clevis should be the third hole from oter
side of the servo lever.
Take care, that the prong of the clevis snaps correct to the
opposite side.
Additional you can fix the clevis with a small shrinking
tube, provided in this kit.
Page 6

- 6 -
Elevator Ailerons
+/- 5mm +/- 7mm
In the following picture you can see a possible placement
of the compnents like receiver and battery. To have no
problem with the CG, you should place the receiver as
backmost as possible.
For connecting the ailerons you can use the included
V-cable.
If you like experimenting with flaps or you like aileron
differentiation, it would be better to connect each aileron
servo to a separate channel.
5cm
The CG is located 5cm behind the joint of fuselage and
main wing. Especially small models require a correct CG
to have good flight performance.
FLWA4131 Motor cowl T28-Mini
FLWA4132 Fuselage upper part with canopy
FLWA4133 Speed spinner
FLWA4134 Brushless motor T28-Mini
FLWA4135 ESC T28-Mini
FLWA4136 Servo T28-Mini
FLWA4137 Prop adapter incl. screws T28-Mini
HCAQ9008 Tuning propeller APC 5 x 5 E
If you prefer more scale look, you can replace the speed
spinner with the provided scale spinner.
During the last few moments of preparation
your mind may be elsewhere anticipating the
excitement of the first flight. Because of this,
you may be more likely to overlook certain
checks and procedures that should be performed before the model is flown. To help
avoid this, a checklist is rovided to make
sure these important areas are no overlooked. Many are covered in the instruction
manual, so where appropriate, refer to the
manual for complete instructions. Be sure to
check the items off as they are completed
(that's why it's called a check list!).
Page 7

- 7 -
● 1. Check the C.G. according to the measurements provided in the manual.
● 2. Be certain the battery and receiver are
securely mounted in the fuse. Simply stuffing
them into place with foam rubber is not sufficient.
● 3. Look for a correct position of your receiver
antenna or antennas. The antenna should
not be ´close to other wires inside the fuselage.
● 4. Balance your model laterally as explained
in the instructions.
● 5. Use threadlocking compound to secure
critical fasteners such as the set screws that
hold the wheel axles to the struts, screws
that hold the carburetor arm (if applicable),
screw-lock pushrod connectors, etc.
● 6. Add a drop of oil to the axles so the
wheels will turn freely.
● 7. Make sure all hinges are securely glued in
place.
● 8. Reinforce holes for wood screws with thin
CA where appropriate (servo mounting
screws, cowl mounting screws, etc.).
● 9. Confirm that all controls operate in the
correct direction and the throws are set up
according to the manual.
● 10. Make sure there are silicone retainers on
all the clevises and that all servo arms are
secured to the servos with the screws included with your radio.
● 11. Secure connections between servo wires
and Y connectors or servo extensions and
the connection between your battery pack
and the on/off switch with vinyl tape, heat
shrink tubing or special clips suitable for that
purpose.
● 12. Make sure any servo extension cords you
may have used do not interfere with other
systems (servo arms, pushrods, etc.).
● 14. Secure the pressure tap (if used) to the
muffler with high temp RTV silicone, thread
locking compound or J.B.Weld.
● 15. Make sure the fuel lines are connected
and are not kinked.
● 16. Balance your propeller (and spare propellers).
● 17. Tighten the propeller nut and spinner.
● 18. Place your name, address, AMA number
and telephone number on or inside your model.
● 19. Cycle your receiver battery pack (if necessary) and make sure it is fully charged.
● 20. If you wish to photograph your model, do
so before your first flight.
● 21. Range check your radio when you get to
the flying field.
Service department Revell GmbH
Henschelstr. 20-30, 32257 Bünde, Germany
Tel: +49 52239 65144
Email: service@hobbico.de
Page 8

- 8 -
Remember to think.
Have a ball!
But always stay in control and fly in
a safe manner.
GOOD LUCK AND
GREAT FLYING!
Flitework GmbH
Geymannstr. 27, 4713 Gallspach, Austria
Tel: +43 664 3231 059
Email: office@flitework.at
 Loading...