

H&L Igloo Verandah Installation Manual
H&L Igloo Verandah Installation Manual
Dear Customer!
We congratulate you on your purchase of the H&L Igloo Verandah. We wish you that it will
contribute to your satisfaction with healthy calf rearing.
The following installation instructions are meant to make installing the H&L Igloo Verandah
easier for you. Please note also the installation manual for the H&L Igloo, in particular the
safety messages contained in it. Some of the details shown by the photographs in this manual
may not correspond to the H&L Igloo Verandah as it is currently shipped. The reason is that
your H&L Igloo Verandah is supplied in the most up-to-date version, including all technical
improvements.
The installation will require 3 persons and the following tools:
-
Driller with 11mm bit for wood and 6.5 / 8.5 / 10.5mm bits for metal
-
Tape measure
-
Grease gun
-
Wireless driller-screwdriver with 8 / 10 / 11mm nuts
-
Step ladder (2 units)
-
Chalk line
-
2 to 3 screw-clamps
-
Spanners :
2 size 10, 2 size 13, 2 size 17, 2 size 22
-
Multi-grip pliers
-
Bow saw/backsaw
-
Hammer
Installation Instructions
Please refer to the component overview drawing!
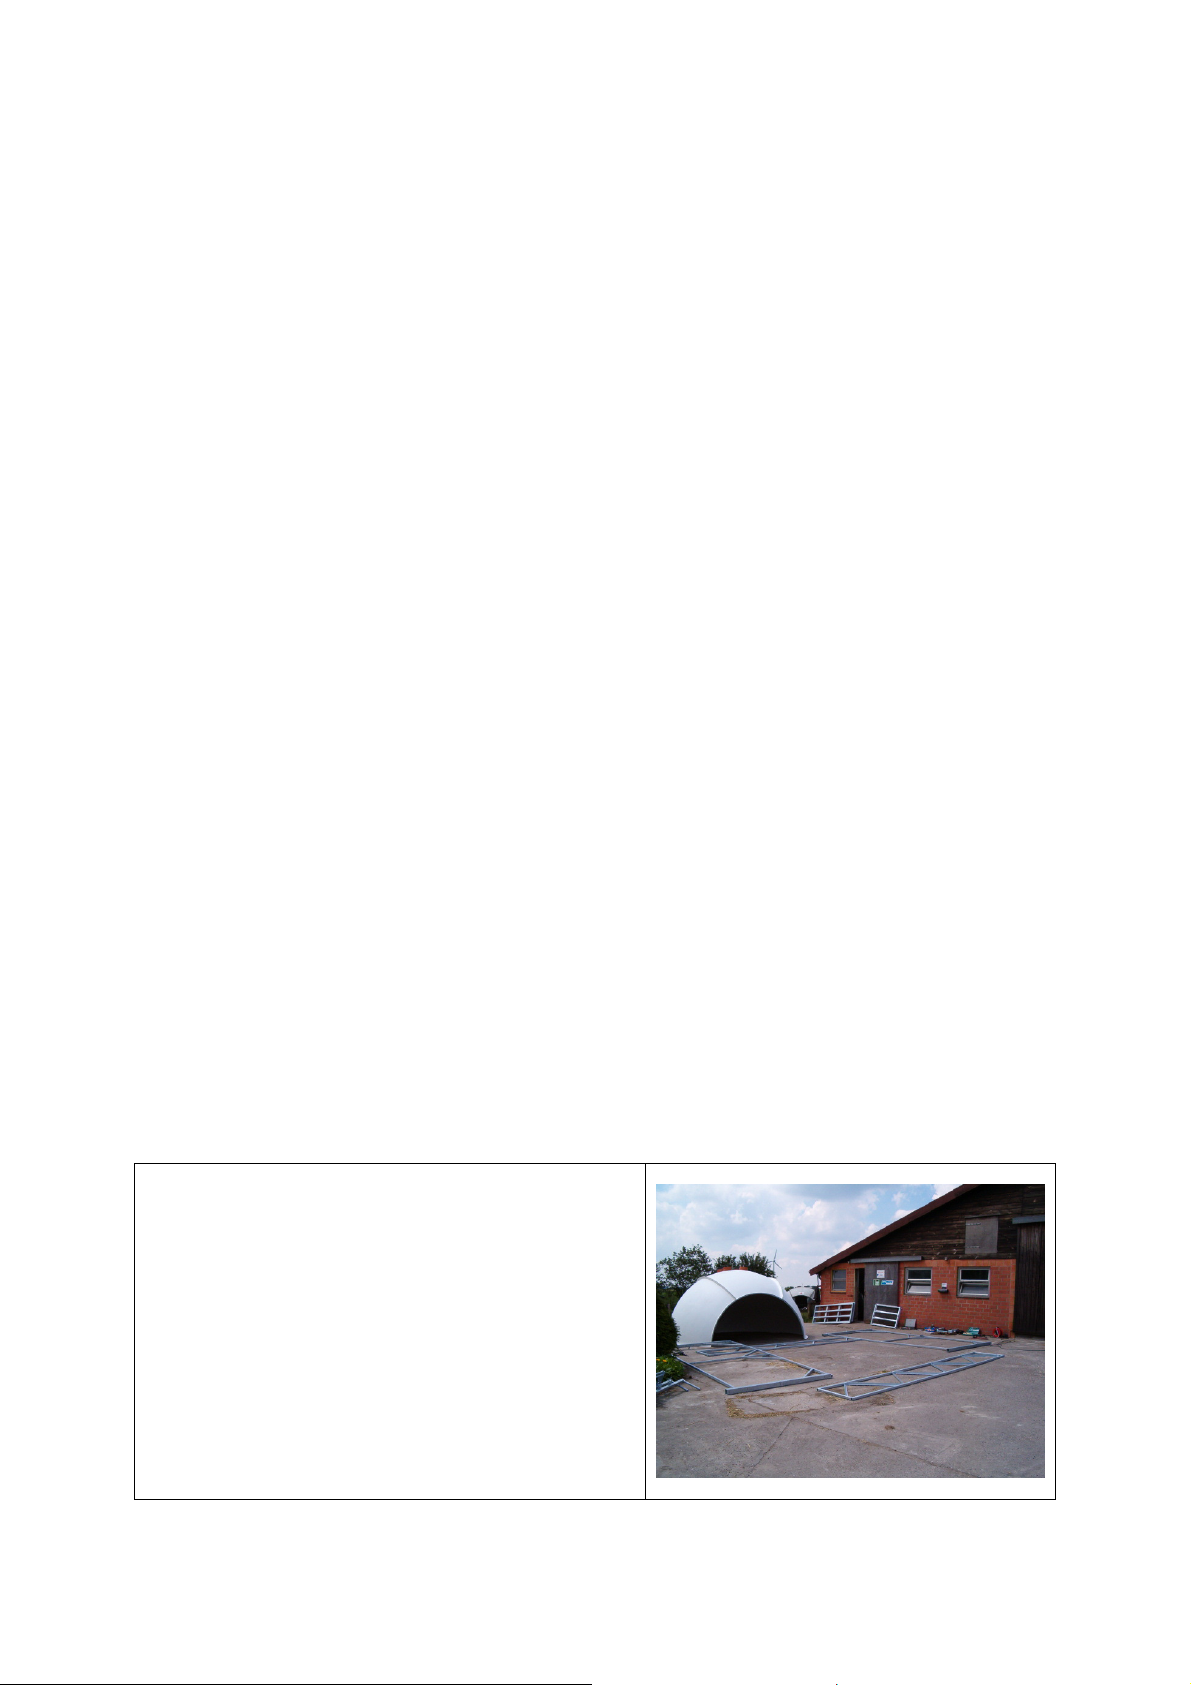
Start by mounting the basic frame.
1. For the installation of the H&L Igloo
Verandah, select a place that is as level as
possible.
Position the lateral (IV1110) and the
front/rear segments (IV1210) at this
location according to a 5 x 5 metres set-up.
Note:
• taller side of the lateral segments toward the
igloo
• fastening brackets of the rear gates
(IV1310) pointing toward the igloo
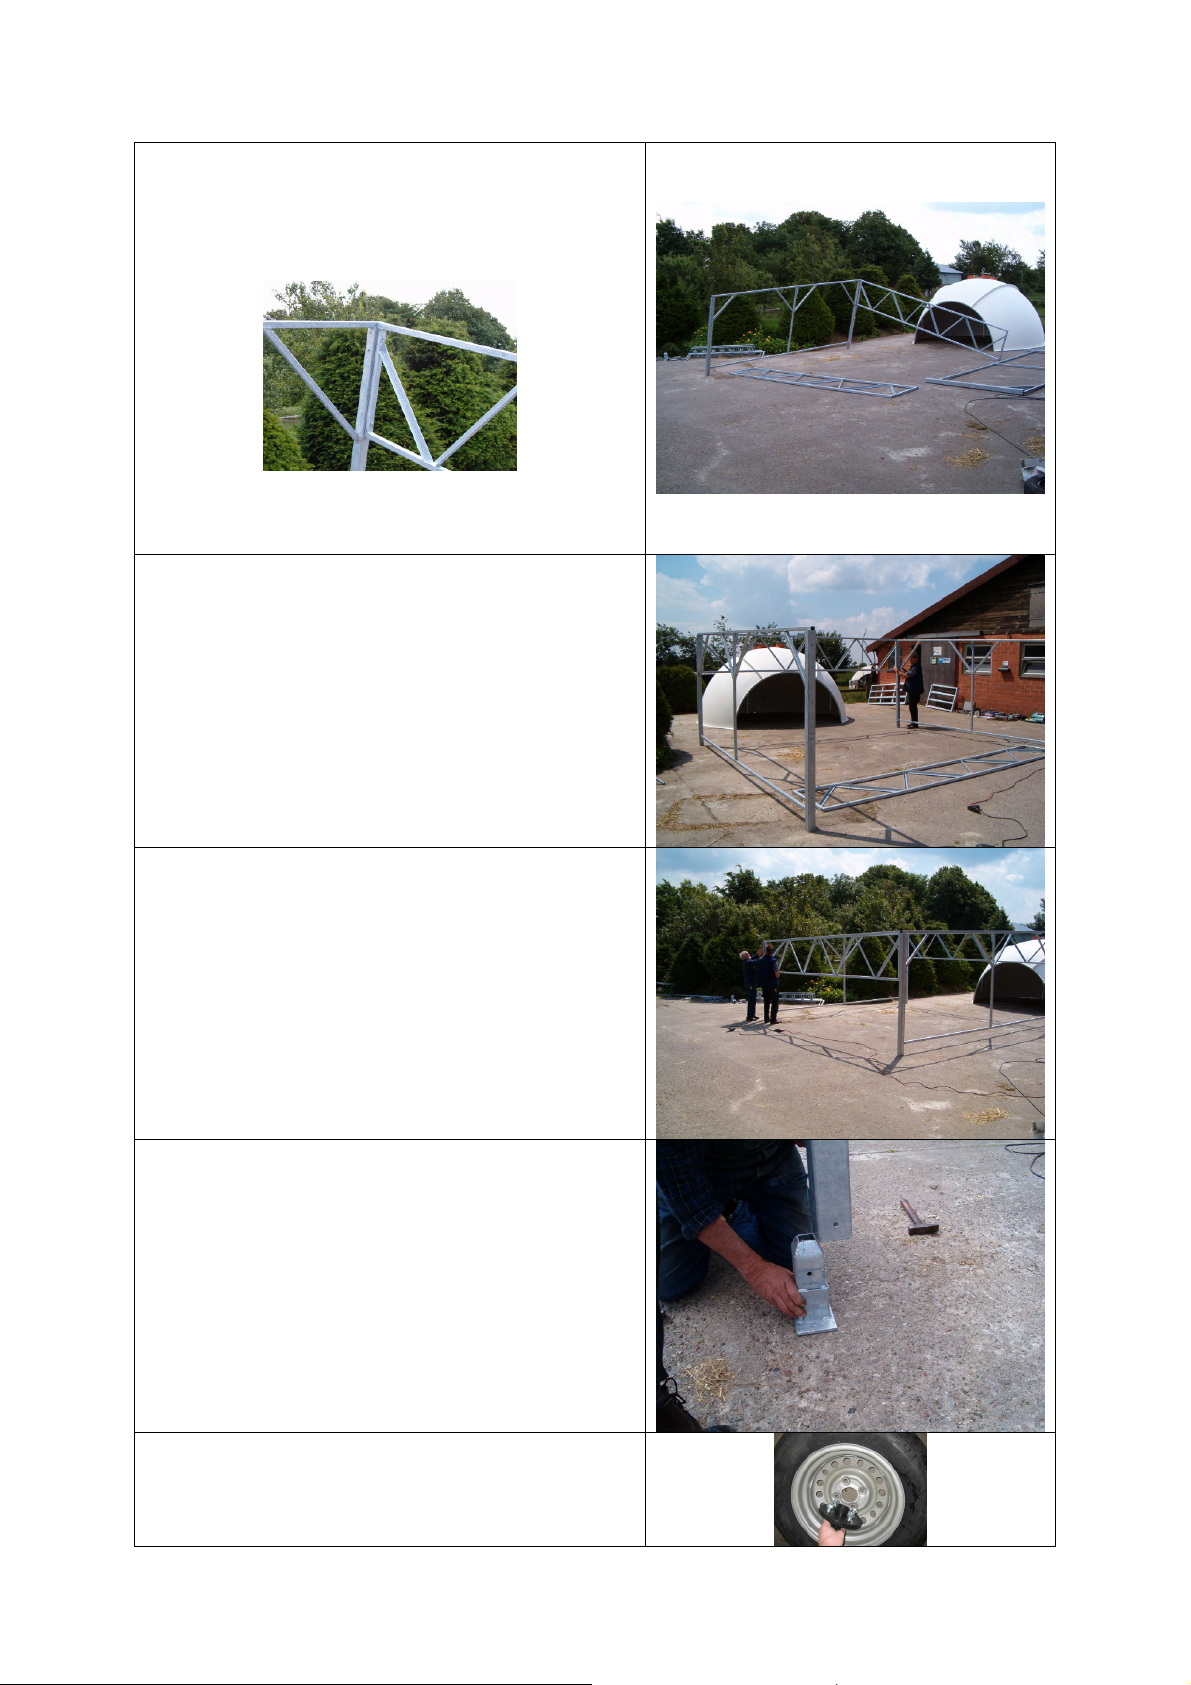
2. Connect a lateral segment (IV1110) to a
front/rear segment (IV1210) (10 x 140mm
with square washers on both sides).
Do not tighten the nuts completely at this point!
3. Connect the other lateral segment (IV1110)
to the front/rear segment that was just
mounted (IV1210).
4. Install the other front/rear segment
(IV1210) between the two mounted lateral
segments (IV1110) (10 x 140mm with
square washers on both sides).
5. Push the support legs (IV1820) into those
square pipe support posts of the lateral
segments (IV1110) where no tyres will be
installed.
Secure the support legs (IV1820) with bolts
(10 x 100mm).
6. Bolt the tire admission with the rim of the
tire
 Loading...