

Page 1
Manual 2.2
ACTOR_BDA_2.2 01.07.2004 16:46 Uhr Seite 1 (Schwarz Bogen)
Page 2
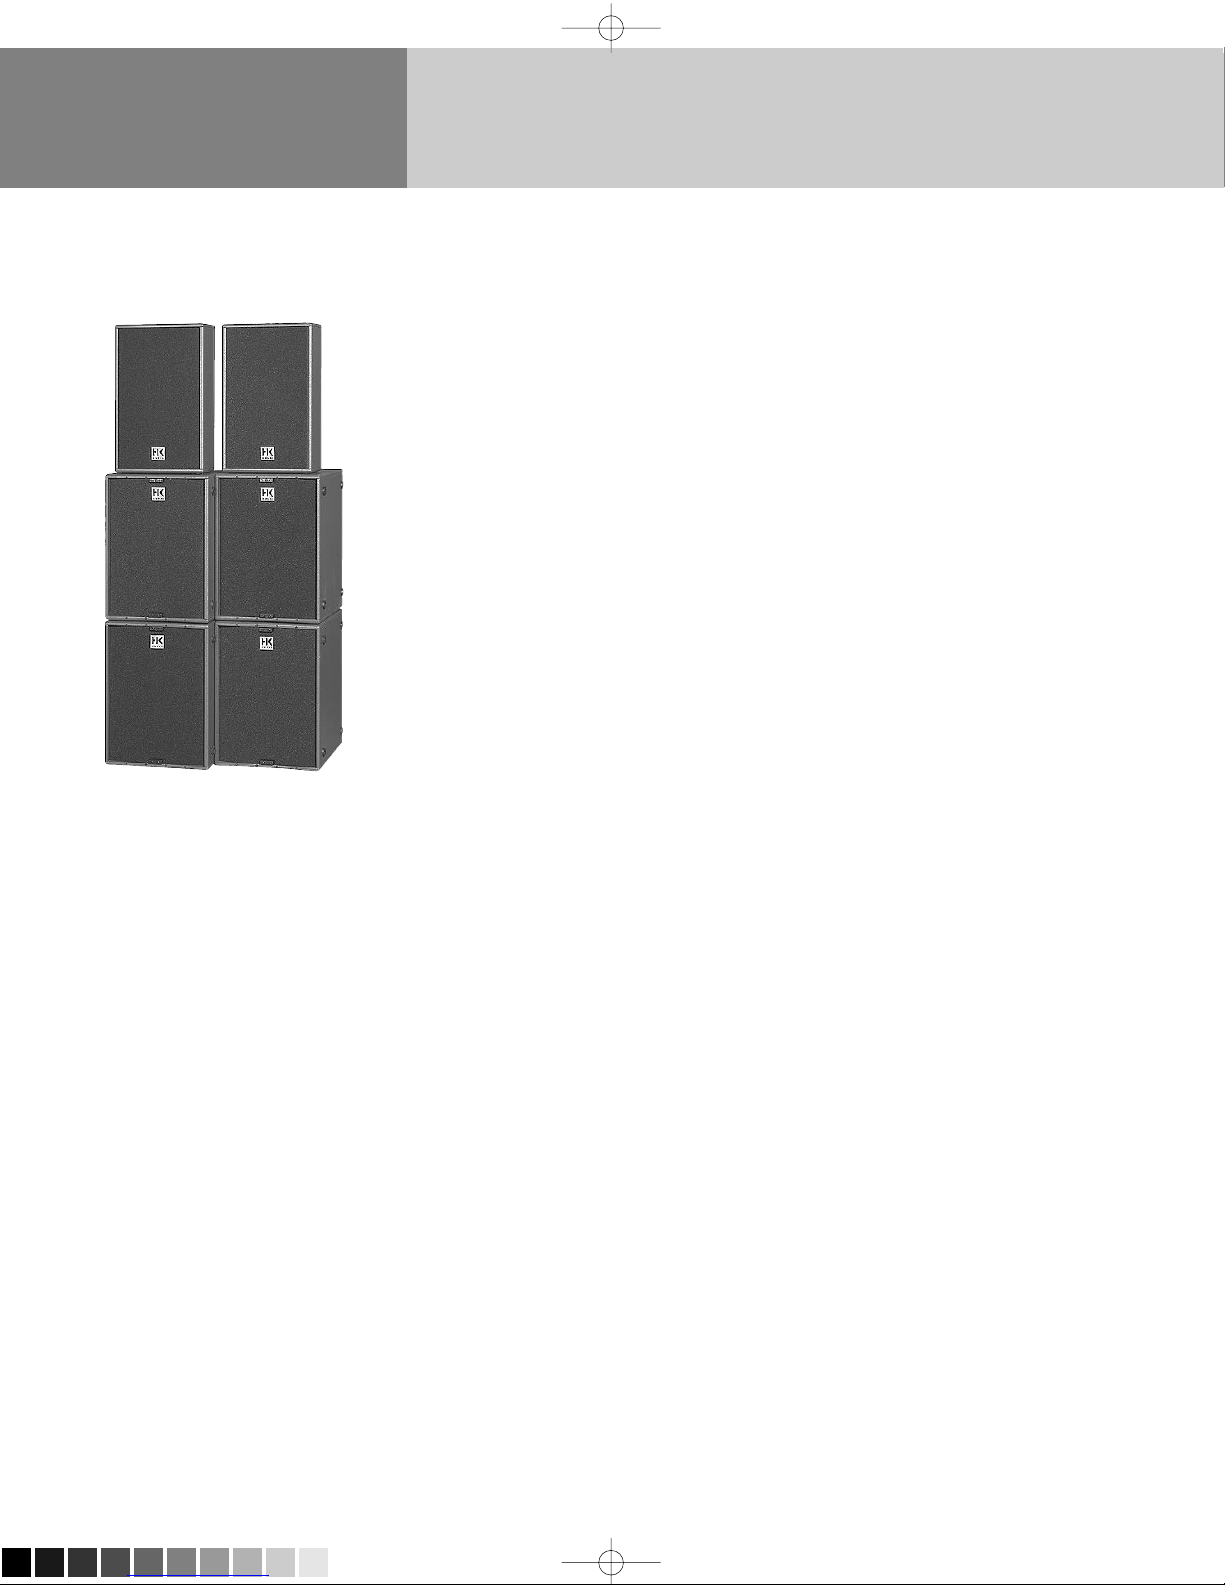
Table of ContentsWelcome to the
HK AUDIO family!
ACTOR Manual 2.2
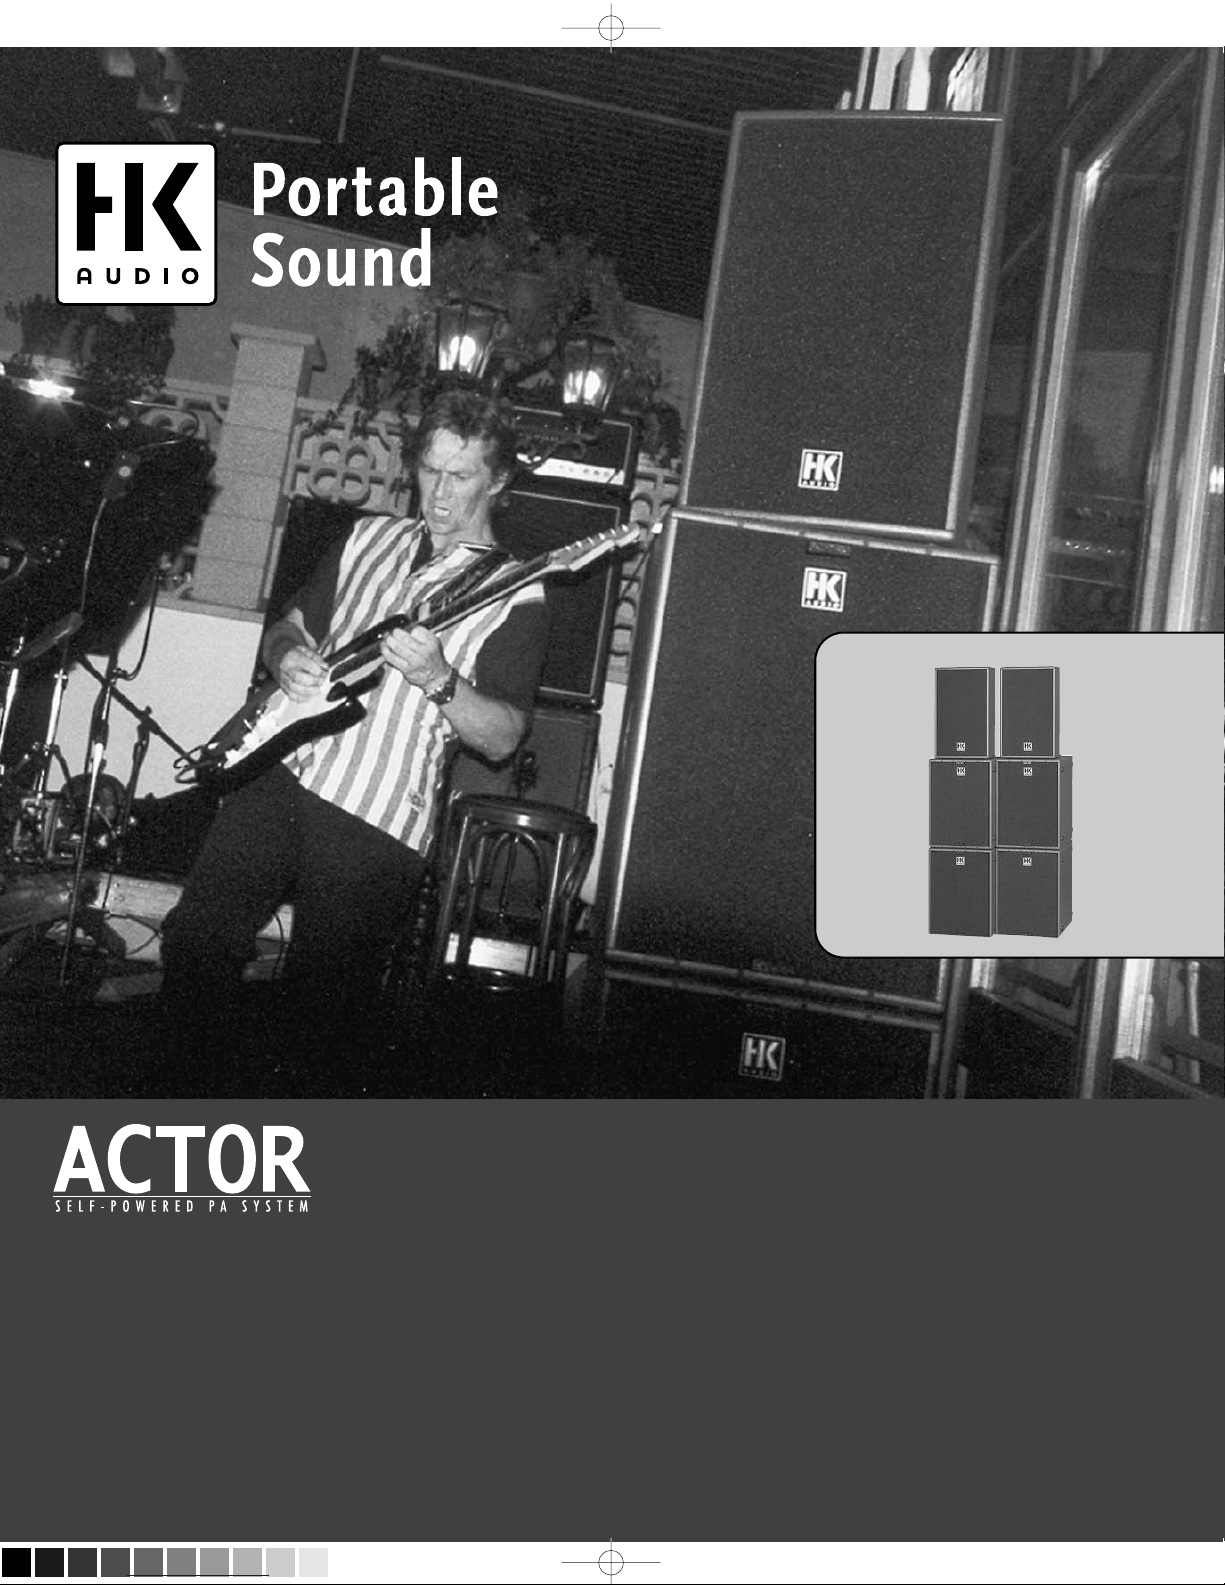
By choosing ACTOR, you have opted for a two-way
active PA system that weds leading-edge technology
to utmost ease of use. The ACTOR is a professional
tool designed specifically to satisfy the needs of even
the most demanding sound reinforcement
applications. The system comprises two components, the AT 112 A top for mid/high-range
frequencies and the AT 115 SUB A subwoofer for
bottom end frequencies.
The basic version of an ACTOR sound reinforcement
system consists of four AT 115 Sub A subwoofers and
two AT 112 A tops
All of the electronics required to operate any given
cabinet are integrated right into it. The power amp,
crossover, controller electronics, limiter and the
Dynaclip circuitry - a special design that delivers
massive bottom-end punch - share the same
housing with the loudspeakers to form a selfcontained unit. Since this arrangement makes long
patch cords and passive components unnecessary,
and the electronics features circuitry precision-tuned
to the speakers, ACTOR delivers enhanced performance, excellent audio quality, fantastic pulse
response, and great overload protection. With all the
requisite components on board, every cabinet is an
self-contained sound reinforcement unit that is easy
to set up and connect - simply plug in the signal and
mains cords and you’re ready to roll without any
further sound checking and tweaking.
1 ACTOR System Components . . . . . . . . . . . . . . . .6
2 Set Up . . . . . . . . . . . . . . . . . . . . . . . . . . . . . . . . .6
3 Control features AT 112 A/AT 115 Sub A . . . . . . . .6
4 Cable Connections . . . . . . . . . . . . . . . . . . . . . . . .7
5 Powering the System Up . . . . . . . . . . . . . . . . . . . .7
6 Adjusting Settings . . . . . . . . . . . . . . . . . . . . . . . .8
7 Tips and Tricks . . . . . . . . . . . . . . . . . . . . . . . . . . .8
8 Technical Data . . . . . . . . . . . . . . . . . . . . . . . . . . .9
ACTOR_BDA_2.2 01.07.2004 16:46 Uhr Seite 4 (Schwarz Bogen)
Page 3
5
English
Opto Limiter
Fresh, Friendly Mid/High Frequencies
Since mid and high frequencies are a breed apart
from low frequencies, they are best handled with a
different type of signal processing. To this end, we
use a technology originally developed for high-end
recording, an opto-limiter. With its soft-knee attack,
this type of limiting is not at all harsh, but very
smooth, musical, and inconspicuous.
The original signal is barely modified, leaving
inherent dynamics and natural sounds intact.
• Signal quality is maximized by keeping the
distortion to a minimum
• Soft-knee attack yields smooth, sweet, and
inconspicuous limiting
• Non-invasive processing results in an unadulterated signal with natural sounding dynamics
DynaClip™ Limiter
Big, Brawny Low End, Peak Power Amp Performance
HK AUDIO DynaClip™ technology offers a dynamic
limiting function designed specifically for enhancing
low-bass performance. The DynaClip™ Limiter
compensates for the subwoofer’s slower initial
transient response, audibly improving pulse
behavior. This makes the most of low-frequency
energy, increasing effective output power.
• Greater low-end punch through more efficient use
of energy
• Improved impulse response achieved by compensating for the transient response of the speaker
diaphragm
• Fine-tuned for peak performance from the bass
power amp
OFR™
Optimized Frequency Response Technology
HK AUDIO’s unique OFR™ technology deliver
commanding yet well-balanced sound at every level.
It corrects for non-linear frequency response in the
speaker components at the same time as it compensates for the way human hearing works at varying
levels.
• Fine-tuned to each system
• Rectifies non-linear frequency response
• Adapts the system to different volumes
• Powerful, balanced sound in every situation
Subsonic Filter
Preventing Low Frequency Interference
The integrated subsonic filter eliminates accidental
and unintentional signals such footfalls, wind, or the
sound of a hand accidentally brushing a microphone.
It cuts these frequencies drastically, freeing energy to
render bass impulses better. Goodbye squashed
dynamics and artificial sound, hello authenticity and
natural sounding low/mid frequencies.
• Increases power and volume in the useful
frequency range
• Protects power amps and speakers from harmful
ultra-low frequencies
Easy Setup and Handling
Less Pre-Gig Stress for a Better Show
All HK AUDIO Active Systems were designed as
cohesive units consisting of perfectly matched
components. Painstaking effort was invested in
developing systems that are easily transported and
swiftly set up. Operation couldn’t be easier; endless
tweaking is a thing of the past.
• A true system design: All components were
perfectly matched for performance as a unit.
• Fast set-up and effortless handling saves time and
spells less pre-performance stress.
ACTOR_BDA_2.2 01.07.2004 16:46 Uhr Seite 5 (Schwarz Bogen)
Page 4

ACTOR Manual 2.2
1 ACTOR System Components
The ACTOR AT 112 A Mid/High-range Unit
Used on its own, the ACTOR AT 112 A mid/highrange unit is a full-fledged sound reinforcement
module. Normally placed directly atop the bass bins,
this cab is often called a top. This top can be
operated in full-range mode where it reproduces the
entire frequency range including the low frequencies
for smaller gigs and rehearsals. When several tops
are placed side by side on larger stages, the
trapezoid-shaped housing assures a proper
projection angle.
The ACTOR AT 115 Sub A Bass Unit
The ACTOR AT 115 Sub A bass unit - also a called
subwoofer - not only provides the foundation for the
ACTOR sound, it is also equipped with casters that
make it easy to transport the tops, which can simply
be strapped onto the bass bins. In addition, the
housing features a mounting collar designed to take
a mounting pole if you wish to position the tops at a
higher level.
2 Set Up
If you’re planning to operate the system in its
standard configuration, place one subwoofer vertically and the other subwoofer on top of the first.
This set-up provides a stable base for the top and
assures good directivity (see Ex. 1). If you’re placing
the ACTOR system on a fairly high stage, the bass
bins can also be laid down horizontally on the stage you may even place one bass cabinet on the ground
in front of the stage (Ex. 2a and 2b). Incidentally,
placing the subwoofer directly on the ground delivers
an extra 3 dB. In smaller venues, you can set up a
system with just one subwoofer and a top. In this
case, you should place the subwoofer horizontally,
i.e. lying rather than standing, and use an (optionally
available) mounting pole to position the top at the
proper height (Ex. 3). Both subwoofers and tops are
equipped with mounting collars, making it easy, if
desired, to operate the top as a stand-alone system
when mounted on a speaker stand (Ex. 4).
When you’re using two ACTOR systems for larger
venues (e.g. tents or larger halls that hold audiences
of 800 to 1,000) the trapezoid-shaped housing of
the tops automatically assures a wider angle of
projection when these are set up as depicted in Ex. 5.
3 Control features AT 112 A/
AT 115 Sub A
1 Lowcut. The Satellite/Full-range switch lets you set
the system to the right operating mode when you are
running it either with or without the ACTOR AT 115
Sub A subwoofer. When you’re operating a system
with AT115 Sub As, the switch should be set to
”Satellite” to activate a low-cut filter that kicks in at
110 Hertz to filter low frequencies out. When you do
not have AT115A subwoofers connected, you want the
entire signal including the bass frequencies to pass
through to the top, in which case you would set the
switch to "Full-range".
2 Ground. Ground-lift switch that separates the
signal ground from the chassis ground in order to
eliminate hum. Press this button to sever the ground
circuit.
3 Input. Electronically balanced XLR socket designed
to accept the output signal from the mixing console
(Line).
4 Trough. Parallel output used to route the Line
signal out, e.g. to other systems, individual
components, monitor power amps, etc.
5 Gain. This knob serves to match the power amp to
the input signal level; use it to prevent distortion
when the incoming signal level is too high.
6 Circuit Breaker. This automatic circuit breaker
serves the same purpose as the standard fuses that
you may be familiar with.
If it trips, once you have identified the problem you
can reset the circuit breaker by simply pressing it.
Caution: Always switch the system off before you
reset the circuit breaker (take a look at the mains
power switch and make sure it is set to Off)!
Figure 1 : Set Up
ACTOR_BDA_2.2 01.07.2004 16:46 Uhr Seite 6 (Schwarz Bogen)
Page 5

7 Mains Socket. Use this socket to connect the
ACTOR cabinet to an AC power supply via the
included power cord.
8 Power Button. On/off button for the speaker
cabinet. The light on the button glows red to indicate
that the cabinet is powered up.
9 Mains Cord Cleat.
4 Cable Connections
With the benefit of the ACTOR system’s integrated
design, it takes but a few minutes to connect cables.
Before you get started, make sure that the mains
switch is set to the Off position.
Connect the cords that carry the signal coming from
your mixer (from an output such as master left/right,
line out, or similar circuit) to the balanced Input
socket of any component. It doesn’t matter which
component - a subwoofer or top - you connect first.
Using a standard XLR microphone cord, patch the
signal from this first component’s Through output
jack to the next component’s Input. Connect all
subsequent components in the same manner.
With this versatile arrangement, you can vary the
number of the components freely without having to
cope with problems related to compatibility, frequency separation and impedance. This means that
you can effortlessly tailor the ACTOR system to
satisfy whatever requirements the given venue may
present.
Connect the power cable only after you have made
absolutely sure that the local mains voltage matches
the voltage specified on the device. If you connect
the system to the wrong mains voltage, you can
destroy the electronic components of the ACTOR
system.
The metal bracket located below the mains socket is
there to prevent the power cord from being pulled
out accidentally. Feed the power cable through this
mains cord cleat to assure the cable is relieved of
undue tension. (see Figure 4). Make a habit of laying
out cords so that they don’t trip people up.
English
7
5 Powering the System Up
Turn the Gain knob on all cabinets all the way down
by rotating them counterclockwise (to the far left).
Make sure that all components of the system are
connected properly and that all other connected
components are switched on before you power the
ACTOR system up. Not only should the mixer be
switched on first, but also all signal sources
connected to it, for example keyboards, instrument
amps, effects, and so forth.
In other words, be sure that the ACTOR cabinets are
always the last components that you switch on!
When you are shutting the system down, reverse the
procedure: Always switch the ACTOR speaker
cabinets off first! This will prevent loud pops and
switching noises in the line from damaging the
speakers.
If you choose to operate the top without
subwoofers, please check that you set the
Low Cut switch to "Full-range" so that the
system reproduces the entire frequency
range including the bass frequencies.
When you are operating the system in the
standard set-up with the ACTOR AT 115
Sub A bass unit, this component amplifies the low-end frequencies, so be sure
to set the Low Cut switch to "Satellite."
Then turn the Gain knobs on all cabinets all the way
up by rotating them clockwise (to the far right).
INPUT
THROUGH
GROUND
ON
LIFT
LIFT
SATELLITE
FULLRANGE
SATELLITE
FULLRANGE
Figure 2: Examples for cable connections
Figure 3
AT 112 A AT 115 Sub A
ACTOR_BDA_2.2 01.07.2004 16:46 Uhr Seite 7 (Schwarz Bogen)
Page 6

ACTOR Manual 2.2
6 Adjusting Settings
If you encounter distortion or overdriven signals,
check the signal sources and, if possible, turn down
the output signal at those source devices. If the level of the signal routed to the ACTOR system cannot
be reduced in this way, use the Gain knobs to adjust
the level to the power amps (see Tips and Tricks).
If you encounter low-frequency hum, activate the
Ground Lift switches of the individual components.
If this fails to take care of the problem, inspect the
cables for damage and all of the signals that you
have routed into the mixer to localize the problem
(see Tips and Tricks).
7 Tips and Tricks
1. Do not expose electronic circuitry to moisture!
When you set the system up outdoors, be sure to
protect it against rain. Keep soft drinks, beer or any
other liquids well away from the cabinets to protect
their electronic components. Liquids can kill
electronics.
2. To assure proper ventilation, make sure that
cabinets are placed a sufficient distance away from
walls and aren’t covered by curtains and the like.
This is crucial to prevent the power amps from
overheating.
3. ACTOR provides optimum sound, so you should
provide it with optimum input signals! Hum is generally caused by defective cables, the wrong type of
cords or unbalanced signals routed into the mixing
console. Check all signal and mains cables, use DI
boxes to balance unbalanced signals, and do
everything you can to keep on-stage noise to a
minimum.
4. Prevent distortion! Not only is it unpleasant to
the ears of your audience, it can also cause costly
damage to your equipment. Ensure that all components connected directly and indirectly to the
ACTOR system have sufficient power ratings and
will never generate distortion because they‘re being
operated at their respective limits. Provide a strong
and clean signal to the system that doesn’t have to
be cleaned up by backing off the Gain knob.
5. Avoid ground loops! In spite of a balanced signal
circuit, redundant ground circuits in a single audio
system may generate annoying hum. For example,
you may encounter a ground loop when the mixer is
grounded via a mains cord which isn’t connected to
the same mains circuit as the ACTOR system. To
prevent this problem, always be sure to connect the
cabinets (or more accurately, their power amps) and
the mixing console to the same electrical circuit to
ensure the same phase! If your equipment hums
despite this precaution, the Ground Lift switch can
be of help. CAUTION: Never use electrician’s tape
or anything similar to cover the ground contact of
the plug-this endangers lives!
ACTOR_BDA_2.2 01.07.2004 16:46 Uhr Seite 8 (Schwarz Bogen)
Page 7

9
English
8 Technical Data
AT 112 A:
Inputs / Outputs: Line In L/ R: XLR female ( 1 = ground; 2 = +; 3 = - )
Input: electronically balanced & floating
Input impedance: 47 kΩ
Sensitivity: 0 dB
Peak input level: +24 dB
Parallel Out L/ R: XLR male ( 1 = ground; 2 = +; 3 = - )
Speakers: 1x 12" B&C Speaker, 1x 1" BMS driver, 60° x 40° horn
Power output: 400 watts (active)
Sound pressure level 1W/1m: 106 dB (half-space)
Max. sound pressure level / 1m: 129 dB @ 10% THD (half-space)
Directivity: Horizontal: ± 30° ; 2kHz - 20 kHz
Vertical: ± 20° ; 3kHz - 20 kHz
Frequency response: 100 Hz - 20 kHz; ± 3 dB
Crossover frequencies: 12"/1": 1.3 kHz, 12 dB/octave
Low-cut: (Sat/Full-range switch), 100 Hz, 24 dB/octave
Weight: 29 kg / 63.8 lbs.
Dimensions (WxHxD: 40 x 65 x 42 cm - 15 3/4" x 25 5/8" x 16 1/2"
AT 115 SUB A:
Inputs / Outputs: Line In L/ R: XLR female ( 1 = ground; 2 = +; 3 = - )
Input: electronically balanced & floating
Input impedance: 47 kΩ
Sensitivity: 0 dB
Peak input level: +24 dB
Parallel Out L/ R: XLR male ( 1 = ground; 2 = +; 3 = - )
Speaker: 1x 15" HK AUDIO custom
Power output: 400 watts (active)
Sound pressure level 1W/1m: ^ 104 dB (half-space)
Max. sound pressure level / 1m: 126 dB @ 10% THD (half-space)
Frequency response: 40 Hz - 130 Hz
Crossover: 130 Hz, 24 dB/octave
Weight: 35 kg / 77 lbs.
Dimensions (WxHxD): 48 x 65 x 64 cm - 18 7/8" x 25 5/8" x 25 1/8" incl. wheels
General electrical data:
Protection class 1 (protectively grounded/earthed)
Mains voltage 230V: Power fuse T 2A (AT 112 A and AT 115 Sub A)
Mains voltage 117V: Power fuse T 4A or SB 4A (AT 112 A &. AT 115 Sub A)
Mains voltage 100V: Power fuse T 4A (AT 112 A and AT 115 Sub A)
Max. current consumption: 2.7A @230 volts
Max. power consumption: 630 VA
Mains voltage range: +/- 10%
Ambient temperature range: -10°C to + 60°C
Internal fuses: 4x T 4A’s
Covers are available separately for the ACTOR system’s
subwoofer and top unit.
ACTOR_BDA_2.2 01.07.2004 16:46 Uhr Seite 9 (Schwarz Bogen)
 Loading...