

Installation guide
1
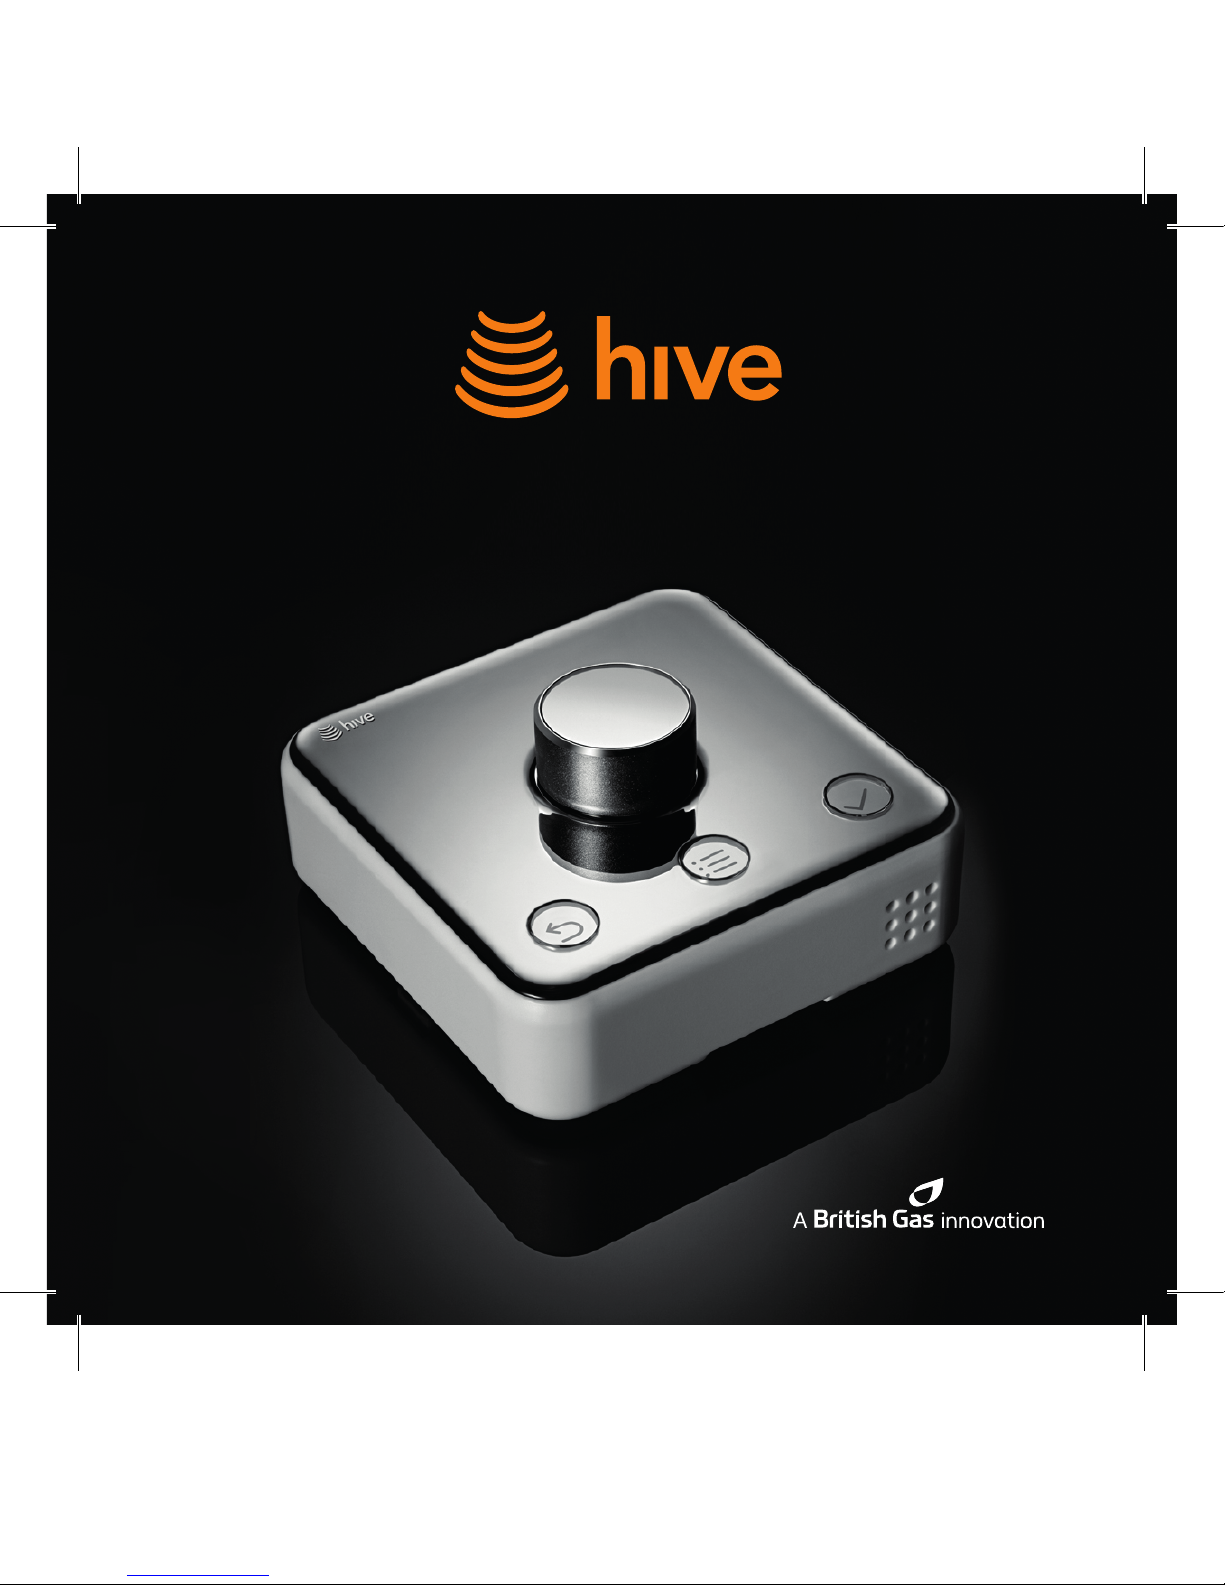
Welcome to your next generation
Hive thermostat
It’s time to enjoy clever heating and hot water control
with your new Hive thermostat.
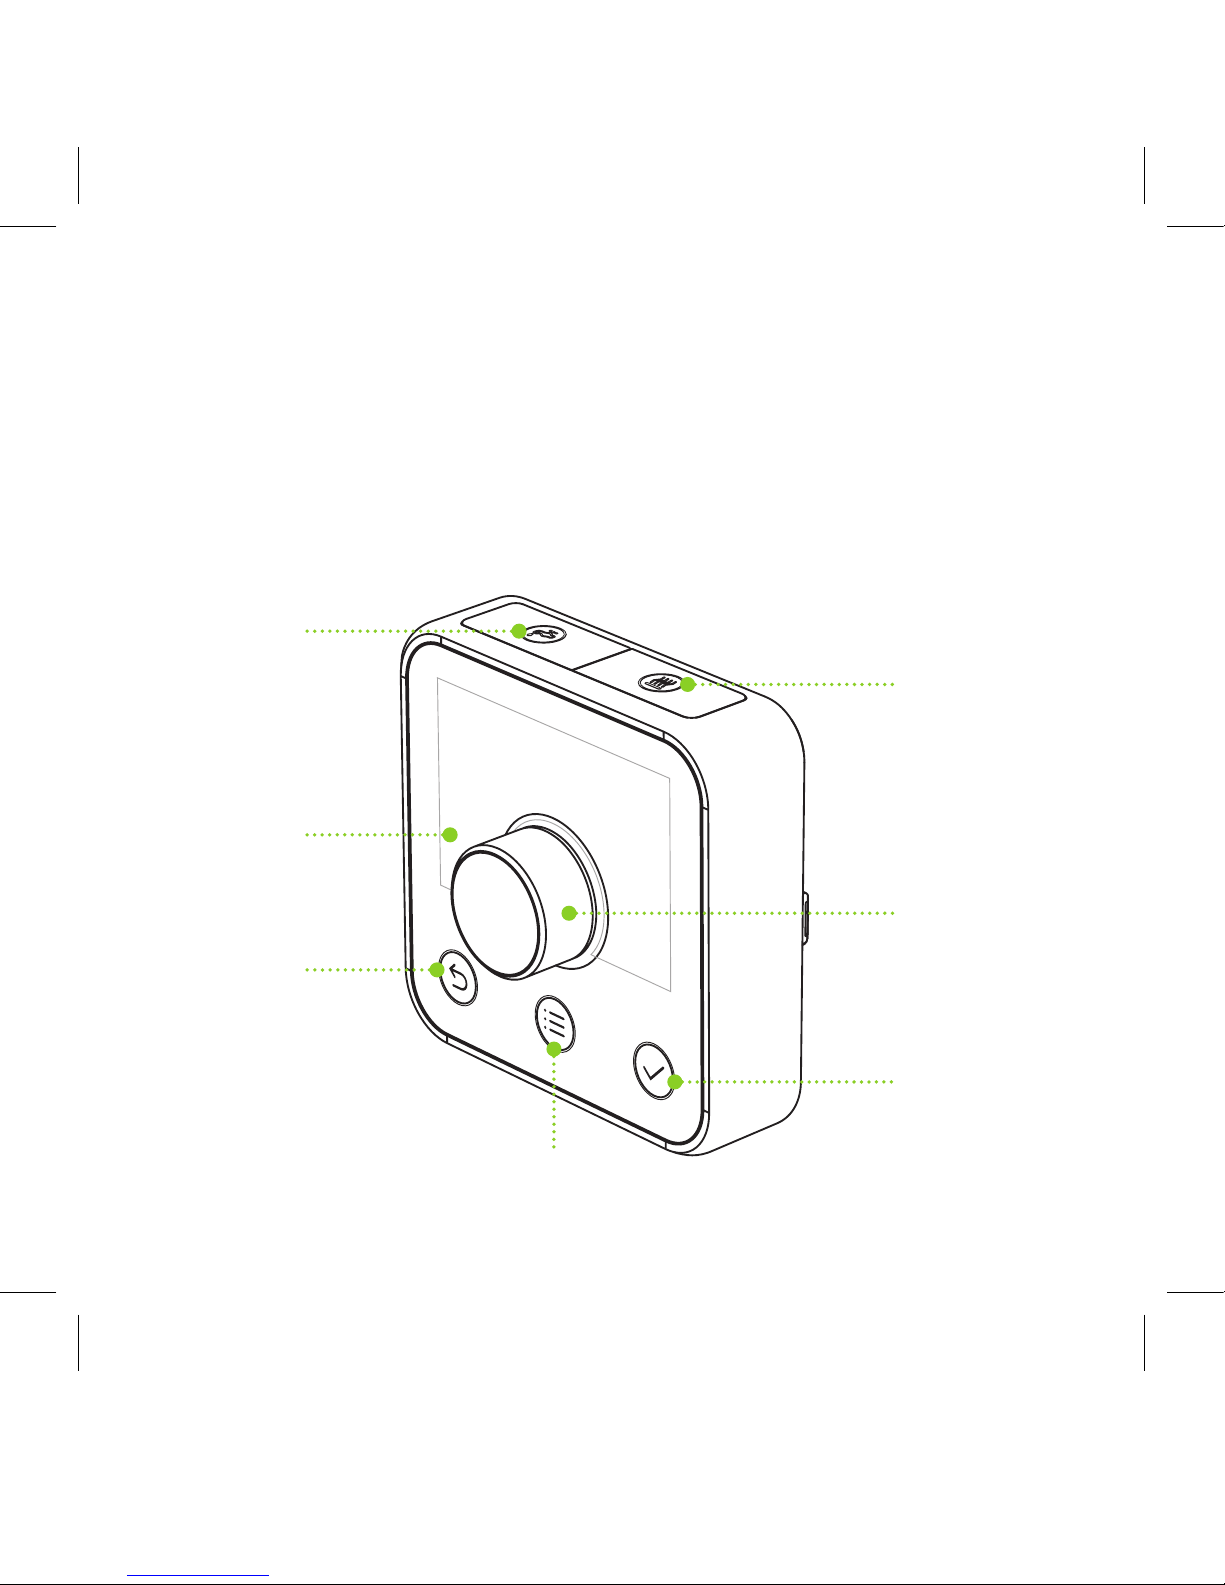
Hot Water
Boost
Screen
Back
Menu
Confirm
Dial
Heating
Boost
Contents
Getting started Page 3
Installing your new Hive thermostat Page 5
Fitting your new Hive thermostat to the wall Page 7
Help Page 9
2

Contents
Getting started Page 3
Installing your new Hive thermostat Page 5
Fitting your new Hive thermostat to the wall Page 7
Help Page 9
2

Remember:
• This install guide should only be used if you're replacing your existing
Hive thermostat with the new Hive Active Heating™ 2 thermostat.
Only qualified engineers should install any other kit required.
• When fitting your thermostat to the wall please take care
to avoid any cables or pipes.
• Whenever you are fixing or removing anything from your wall we
recommend that you make sure the mains electrical supply to the
central heating system is isolated and secured in the o position.
• When upgrading your thermostat you will need to set up your
heating and hot water schedules again. The thermostat has
on-screen instructions or you can check the Hive user guide
which you’ll find in the box or on hivehome.com/help
• We recommend you install your new thermostat between the
hours of 8am – 9pm so we can be on hand if you need us.
4
Getting Started
You will need:
• To install the latest version of the Hive app by visiting the
Google Play Store or iTunes App store and searching for Hive.
Alternatively, you can use the online dashboard by logging in at
hivehome.com
• Make sure your phone, tablet or laptop has at least 50% battery
and you'll need Wi-Fi connection for around 20 minutes to
complete the upgrade.
• Four AA batteries – you’ll find these included in the box with your
new Hive thermostat.
• Size 6 (3.5mm) or size 8 (4mm) screws and a screwdriver if you
choose to fit your thermostat to the wall.
3

Remember:
• This install guide should only be used if you're replacing your existing
Hive thermostat with the new Hive Active Heating™ 2 thermostat.
Only qualified engineers should install any other kit required.
• When fitting your thermostat to the wall please take care
to avoid any cables or pipes.
• Whenever you are fixing or removing anything from your wall we
recommend that you make sure the mains electrical supply to the
central heating system is isolated and secured in the o position.
• When upgrading your thermostat you will need to set up your
heating and hot water schedules again. The thermostat has
on-screen instructions or you can check the Hive user guide
which you’ll find in the box or on hivehome.com/help
• We recommend you install your new thermostat between the
hours of 8am – 9pm so we can be on hand if you need us.
4

6
When prompted on screen to remove the batteries from your old
thermostat you'll need to squeeze the buttons on both sides and
slide it o the backplate. You can now remove the batteries.
Once your upgrade is complete you’ll be able to start using the app
or online dashboard again to control your heating and hot water
(if you have a hot water tank).
3
4
Installing your new Hive thermostat
Please follow these steps:
Select Install device from the menu on the Hive app or from the settings
menu on the online dashboard. Follow the on screen instructions.
When prompted on screen insert the batteries into your new thermostat:
Insert the four AA batteries into
your new Hive thermostat by
pressing the tab on the bottom
and lifting o the backplate.
Your new thermostat will
display ‘SEARCHING’.
5
1
2

6
When prompted on screen to remove the batteries from your old
thermostat you'll need to squeeze the buttons on both sides and
slide it o the backplate. You can now remove the batteries.
Once your upgrade is complete you’ll be able to start using the app
or online dashboard again to control your heating and hot water
(if you have a hot water tank).
3
4

If you choose to fit the
backplate directly to the wall:
Use two screws to fit the backplate
to the wall.
8
Hot tip: For the most accurate temperature readings remember to
fit your thermostat approximately 1.5m from the floor and away
from radiators or direct sunlight.
If you choose to fit the decorative plate:
You'll need to use two screws
to fit it to the wall.
1
Fit the backplate to the decorative
plate by using the screws provided
in the box.
2
Fitting your new thermostat to the wall
First of all you'll need to remove the backplate that
is currently on your wall.
To do this:
Remove the screws currently holding it in place with a screw driver.
If there are any wires visible once you have removed the backplate
these will be covered up once you fit your new thermostat to the wall.
Your new thermostat can be fitted directly to the wall using the backplate.
Or if you’d prefer to use the decorative plate this will need to be fitted first.
Please be careful to avoid any cables and pipes that may be buried in the wall.
7
Hot tip: Your thermostat and hub will need to talk to each other.
To make sure they are within the right range we recommend
that you place your new thermostat where your old one was.
1
2

If you choose to fit the
backplate directly to the wall:
Use two screws to fit the backplate
to the wall.
8
Hot tip: For the most accurate temperature readings remember to
fit your thermostat approximately 1.5m from the floor and away
from radiators or direct sunlight.
If you choose to fit the decorative plate:
You'll need to use two screws
to fit it to the wall.
1
Fit the backplate to the decorative
plate by using the screws provided
in the box.
2

10
Can we help?
You can view our handy how-to-use videos along with hints and tips at
hivehome.com/help or email us at help@hivehome.com
Our Hive team is on hand to help 8am-9pm Monday-Sunday.
To avoid environmental and health problems due to hazardous
substances in electrical and electronic goods, appliances marked
with a crossed out wheeled bin should not be placed into
your household rubbish bin. Instead, when they are unable
to be re-used, they should be recycled. Your local authority
will be able to advise you on the location of the nearest
recycling centre that is authorised to accept this type of
waste. Please recycle responsibly.
What to do if your thermostat
doesn’t connect
You can still control your heating and hot water manually without
the thermostat by using the buttons on your receiver.
9
Find your receiver which may
be next to your boiler or near your central
heating controls. The status light on the
top right will either be red or amber.
1
Press the central heating button on the
bottom right hand side of your receiver
to turn your heating on. If you have a hot
water button you can press this too.
2
Your heating and hot water is continuously
on when the light is green. To turn the
heating or hot water o press each button
again and the light will turn o.
Please go to hivehome.com/help
for further instructions.
3

10
Can we help?
You can view our handy how-to-use videos along with hints and tips at
hivehome.com/help or email us at help@hivehome.com
Our Hive team is on hand to help 8am-9pm Monday-Sunday.
To avoid environmental and health problems due to hazardous
substances in electrical and electronic goods, appliances marked
with a crossed out wheeled bin should not be placed into
your household rubbish bin. Instead, when they are unable
to be re-used, they should be recycled. Your local authority
will be able to advise you on the location of the nearest
recycling centre that is authorised to accept this type of
waste. Please recycle responsibly.

This thermostat is a Class I temperature control and contributes 1% to seasonal space
heating energy efficiency
Hive and the Hive logo are trademarks of GB Gas Holdings Ltd. Registered in England and Wales No.
03186121. British Gas is the trading name of British Gas Trading Limited, a Centrica company. Registered
in England and Wales No. 3078711. The registered office of GB Gas Holdings Limited and British Gas
Trading Limited is: Millstream, Maidenhead Road, Berkshire, SL4 5GD.
HIVE_WIRELESSSELFINSTG_07.15
 Loading...