

HiTi Digital 640DL-Amphi Quick Start Manual

Quick Sta rt
Contents in Carton
Setting Your Printer
Installing Ribbon Cartridge
Installing Paper/Card
System Requirement
Installing Driver
Customer Service Claim
Contact Information
About PhotoDesiree
Installing Software
User Interface
Printing a Photo
About CardDesiree
Installing Software
User Interface
Design Your Template
Print Your ID Card
Quick Start
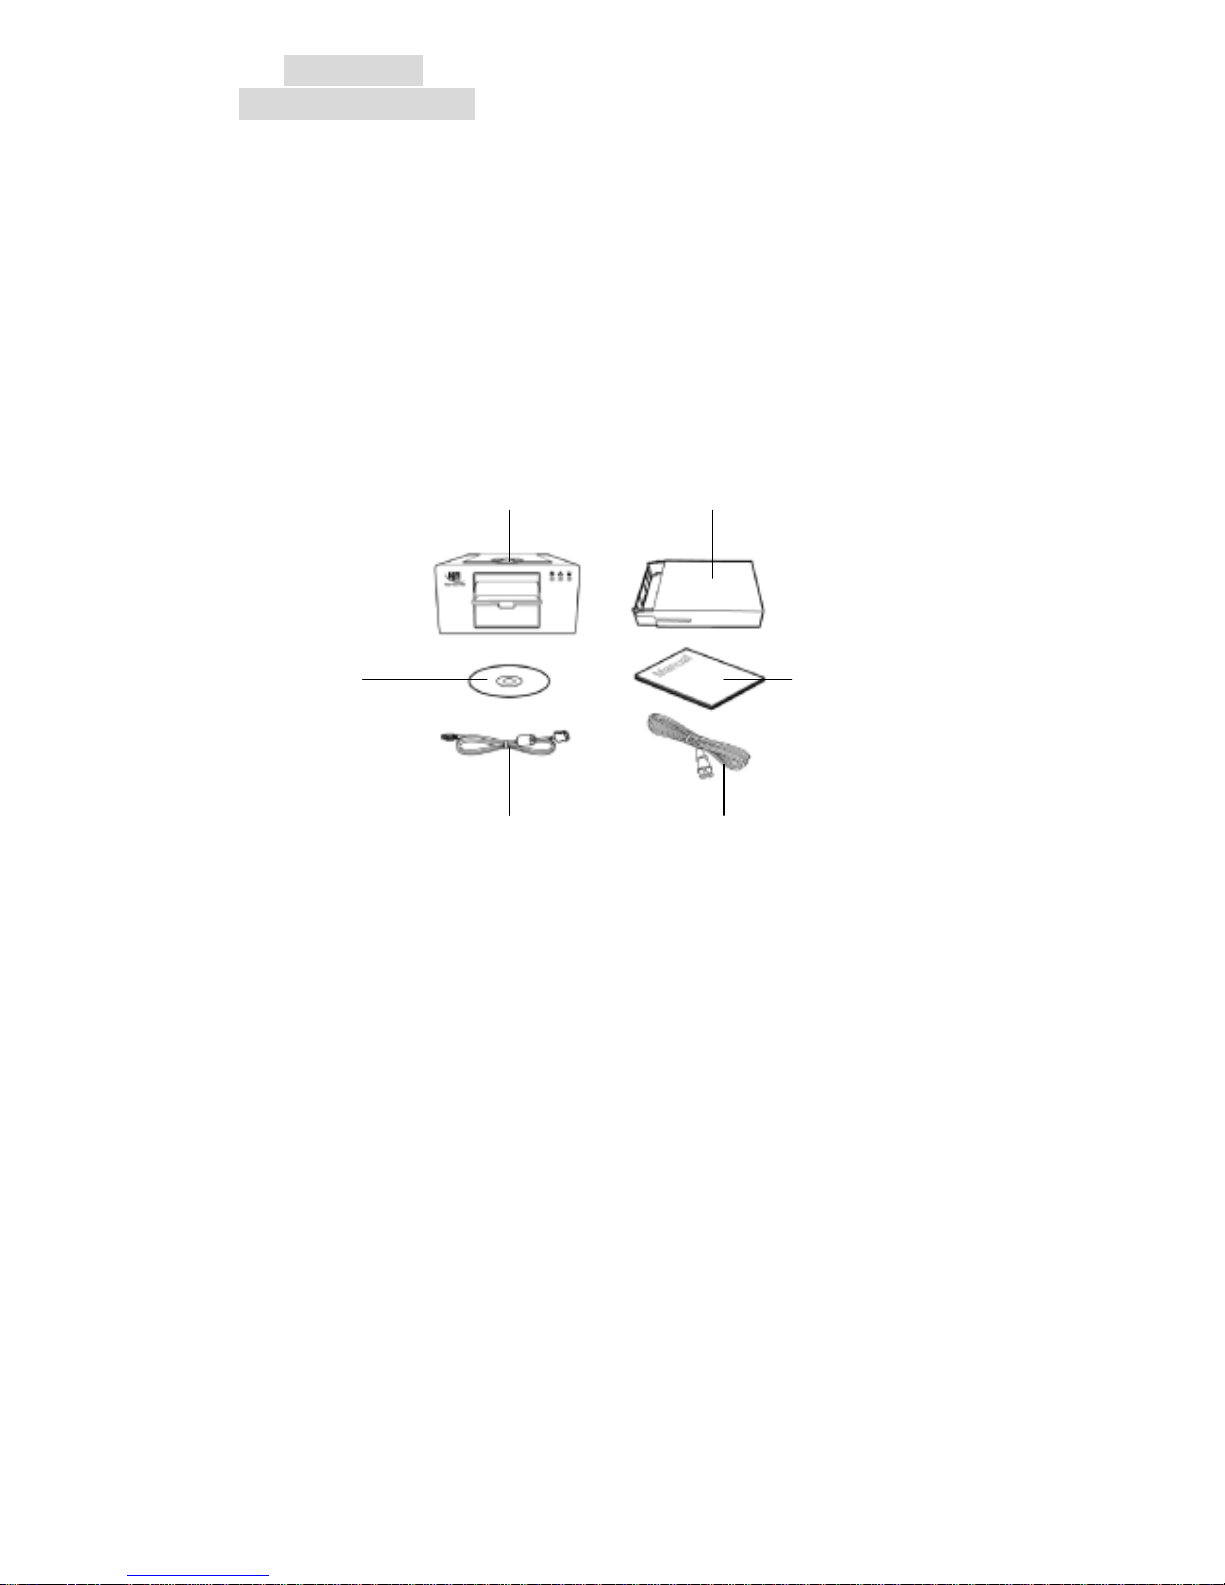
Contents in Carton
Before you begin to install your printer, check if you have the following
items.
HiTi Photo Prin ter 640DL-Amphi x 1
Plastic Card Cassette x 1
Power Cord x 1
USB Cable x 1
CD (Windows Driver, PhotoDesiree, CardDesiree) x 1
Printer/Software User Manual x 1
Trial Clean Kit (2 sheets clean paper) x 1
Warrantee Card x 1
HiTi Photo Printer 640DL-Amphi Plastic Card Cassette
Power CordUSB Cable
CD
Printer/Software
User Manual
Quick Start
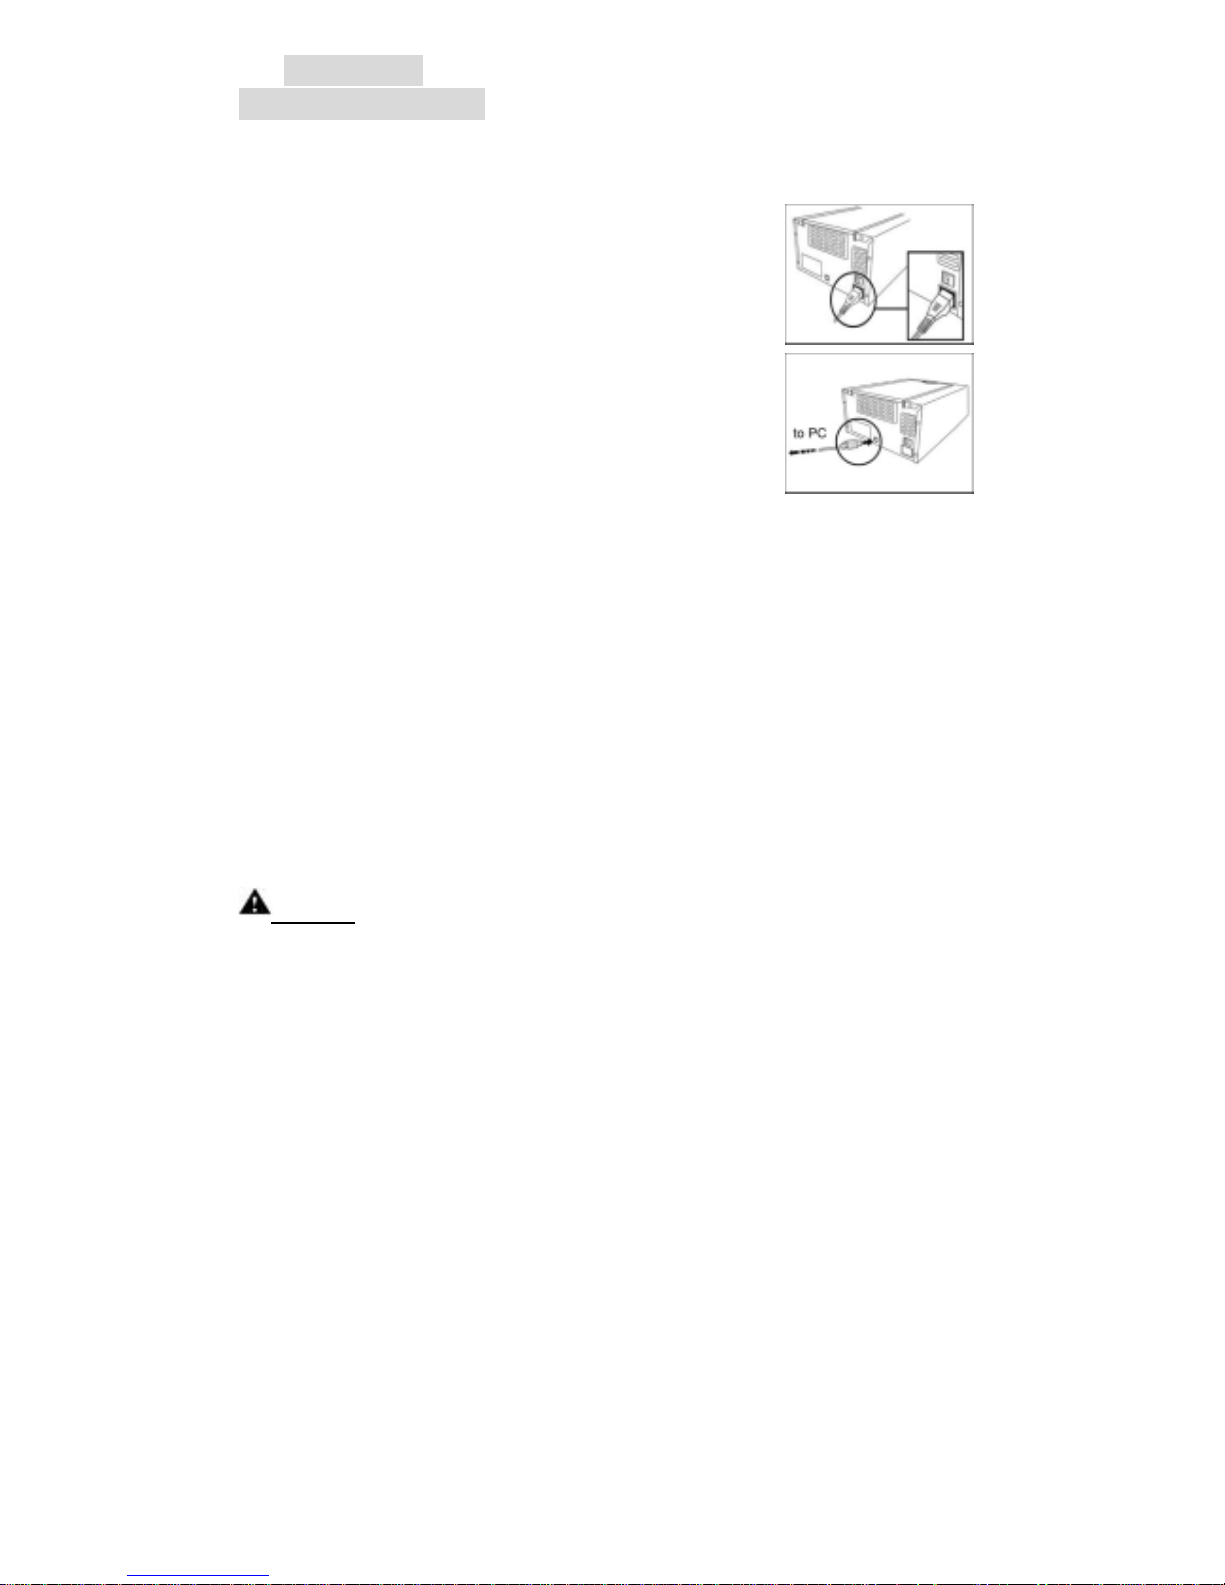
Setting Your Printer
You may setup your HiTi 640DL-Amphi printer by following steps.
1. Connect the power cord to the power connection.
2. Connect the printer to your computer using the
USB cord.
3. Insert the ribbon cartridge into the printer, please see P.XX for more
information.
4. Place paper or plastic card into the paper cassette, please see P.XX for
more information.
5. Turn the printer pow er sw itch on. The gree n led lig ht blinks and b ecomes
stable after 5 seconds. Before you turn on the power switch, make sure
the printer driver sof tware is installed in your personal computer, please
see P.XX for more information about driver installation.
6. The New Hardware Found message box appears on the screen of your
computer. Windows starts to i nstal l the pri nter dr iv er softwar e by co py ing
files to your computer.
Notice!!
Always turning power switch off before connecting or disconnecting power
cord to AC source.
Quick Start
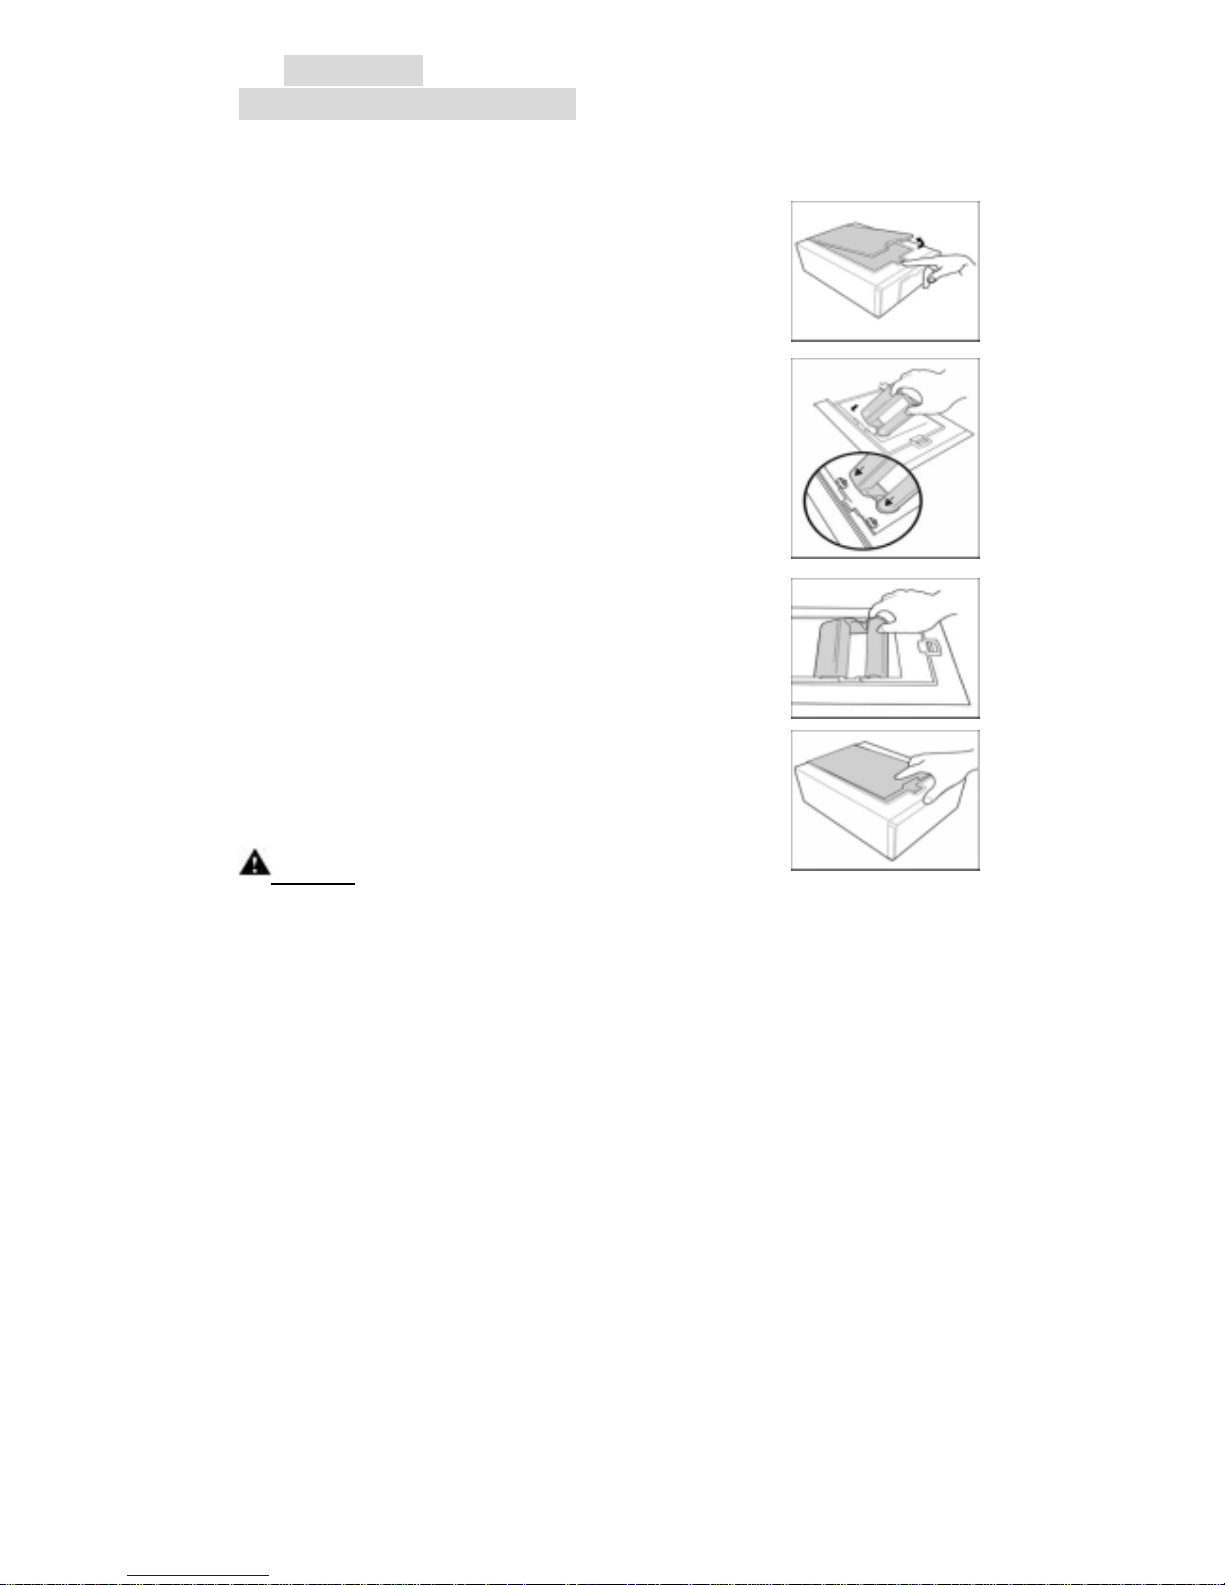
Installing Ribbon Cartridge
You may install ribbon cartridge by following process.
1. Move the slider to open the top cover of the printer.
2. Hold the ribbon cartridge as the figure illustrated.
Be sure to point the arrow sign towards the
left-hand side of the printer.
3. Insert the cartridge all the way into the printer until
it is completely installed.
4. Close the top cover.
Notice!!
1. Make sure the purple parts on ribbon cartridge and printer are touched,
then you may close ribbon door.
2. Check LED is green after door closed, i f LED is or ange, try to close door
again.
Quick Start
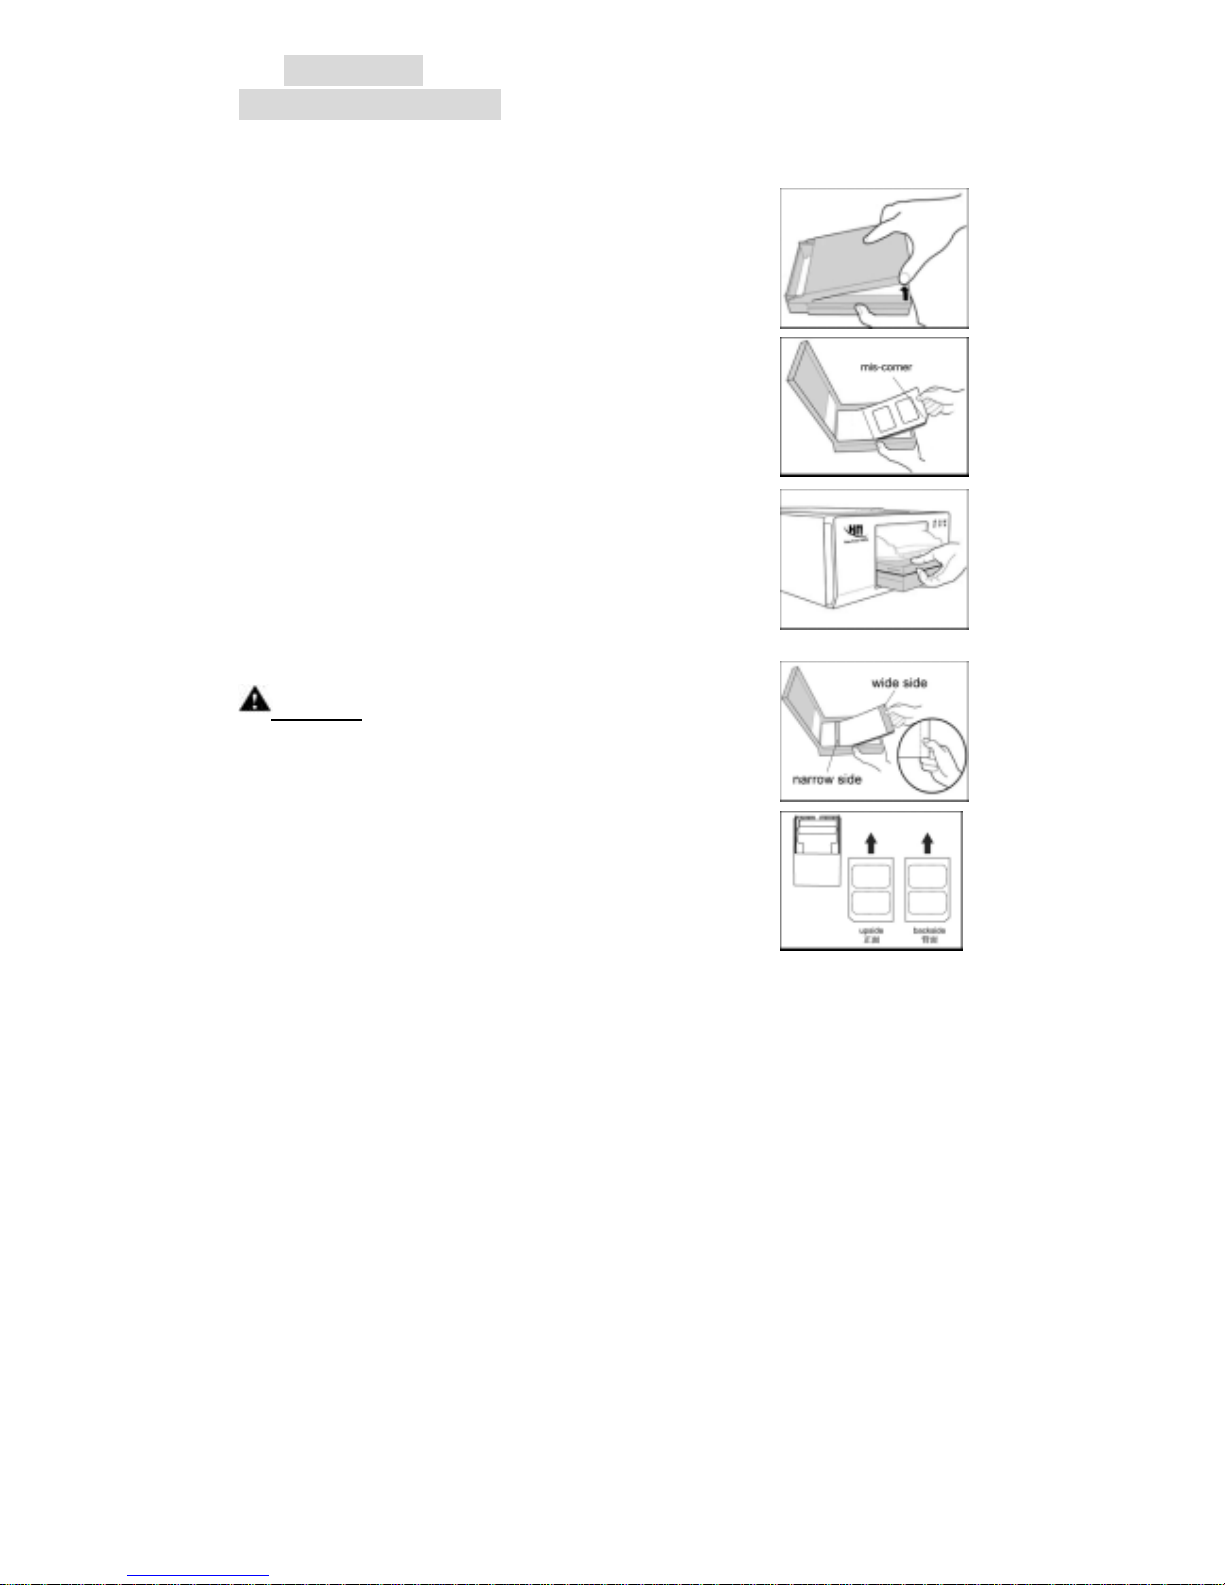
Installing Paper/Card
You may install photo paper or plastic card by following process.
1. Open the cover of the paper cassette.
2. Place a stock card into the paper cassette, make
sure the mis-corner is close to left-bottom side,
please refer to illustration.
3. Insert the paper cassette back into the printer.
Notice !!
1. Maximum paper capacity of 640DL-Amphi is 100
sheets, and maximum plastic card capacity is 25
sheets.
2.Please make sure the wider blank part of photo
paper is close to cassette exit, please see
instruction on paper package for more information.
3.Before thin plastic card printing, please make
“HiTi” logo up when printing front side of card, and
“iTiH” logo up when printing backside of card.

Quick Start
System Requirement
Please check your PC conf ormed with following items.
Pentium or compatible PC
Operate only on Windows 98/ME/2000/XP
128MB RAM or greater
Available USB port
100MB or greater free hard disk space
CD-ROM Drive
Notice!!
1. Microsoft, MS, MS-DOS and Windows are registered trademarks of
Microsoft Corporations.
2. Pentium is a U.S. registered trademark of Intel Corporation.
3. Brands and product names are trademarks or registered trademarks of
their respective companies.
Quick Start
Installing Driver
You may install 640DL-Amphi driver into your PC by following steps.
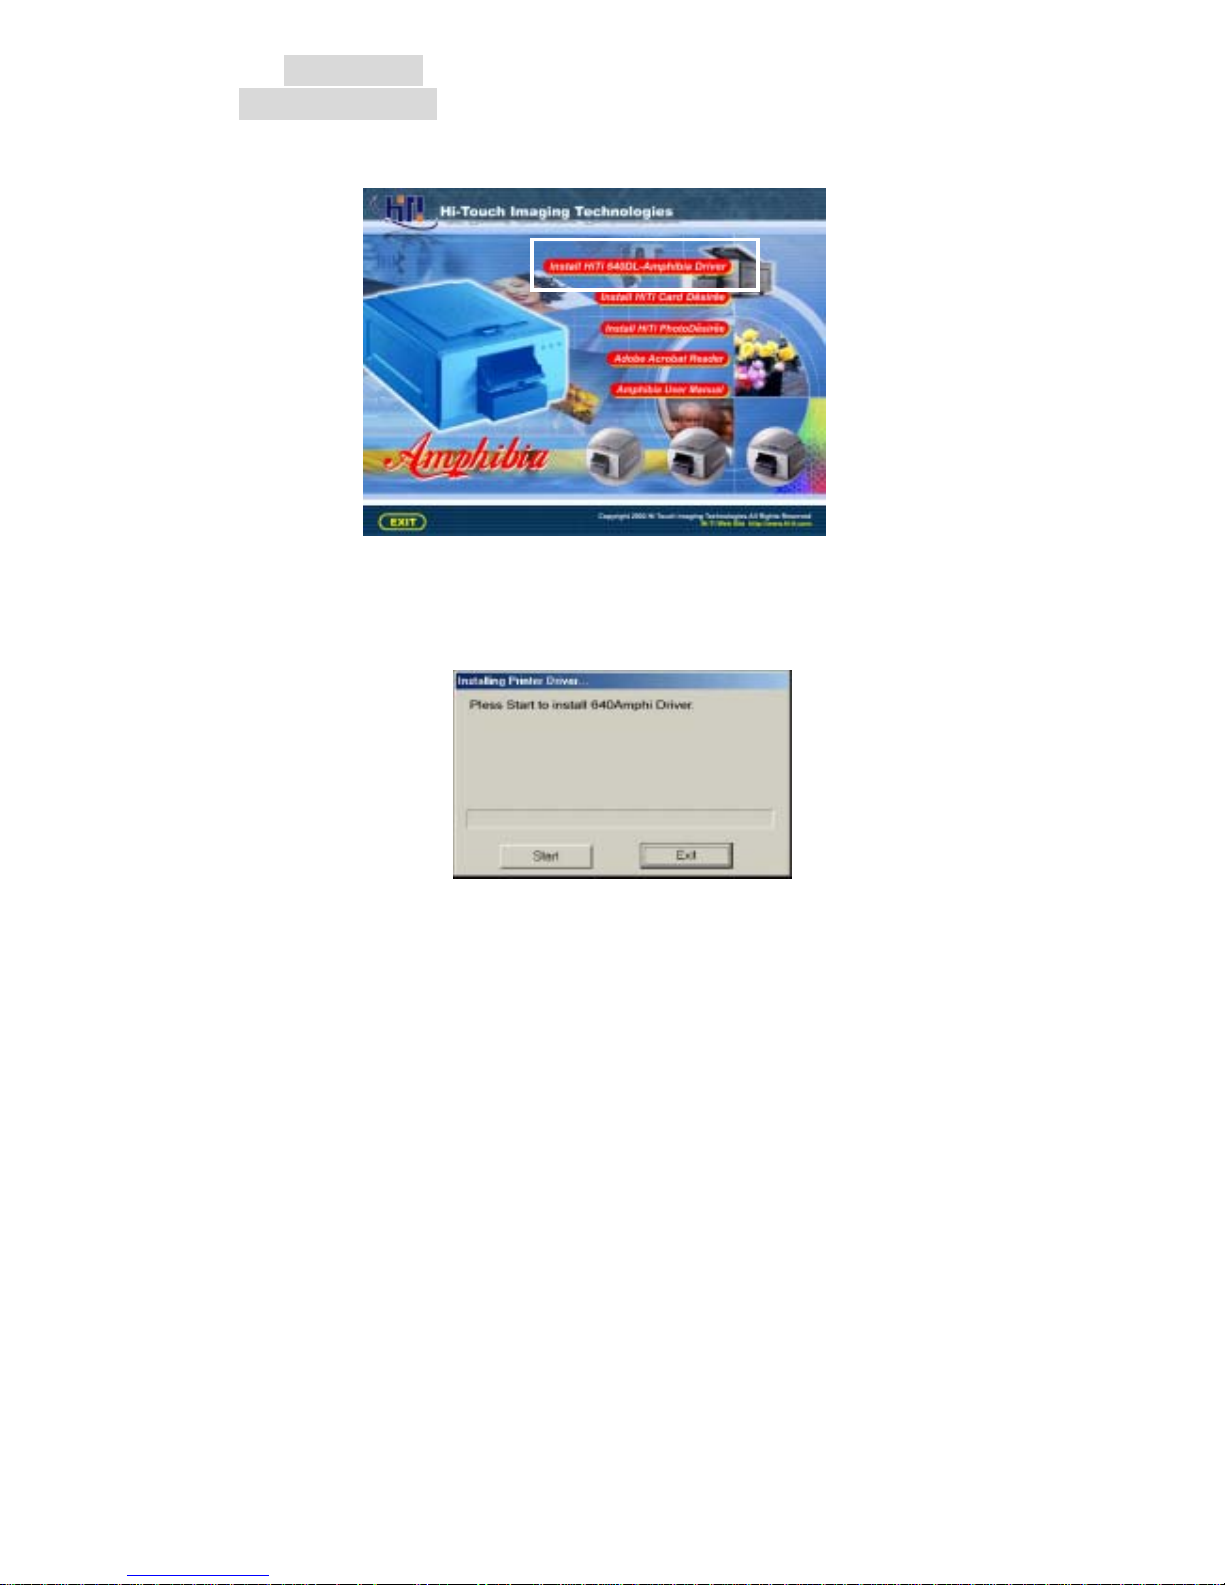
1. Insert “Driver CD” i nto CD - R OM drive, if disk doesn’t auto start, execute
file “autorun.exe” in the disk.
2. Select “Install HiTi 640DL-Amphi Driver” and install.
3. Press button “Start” for installation.
4. Connect printer to PC through USB cable and power it on.
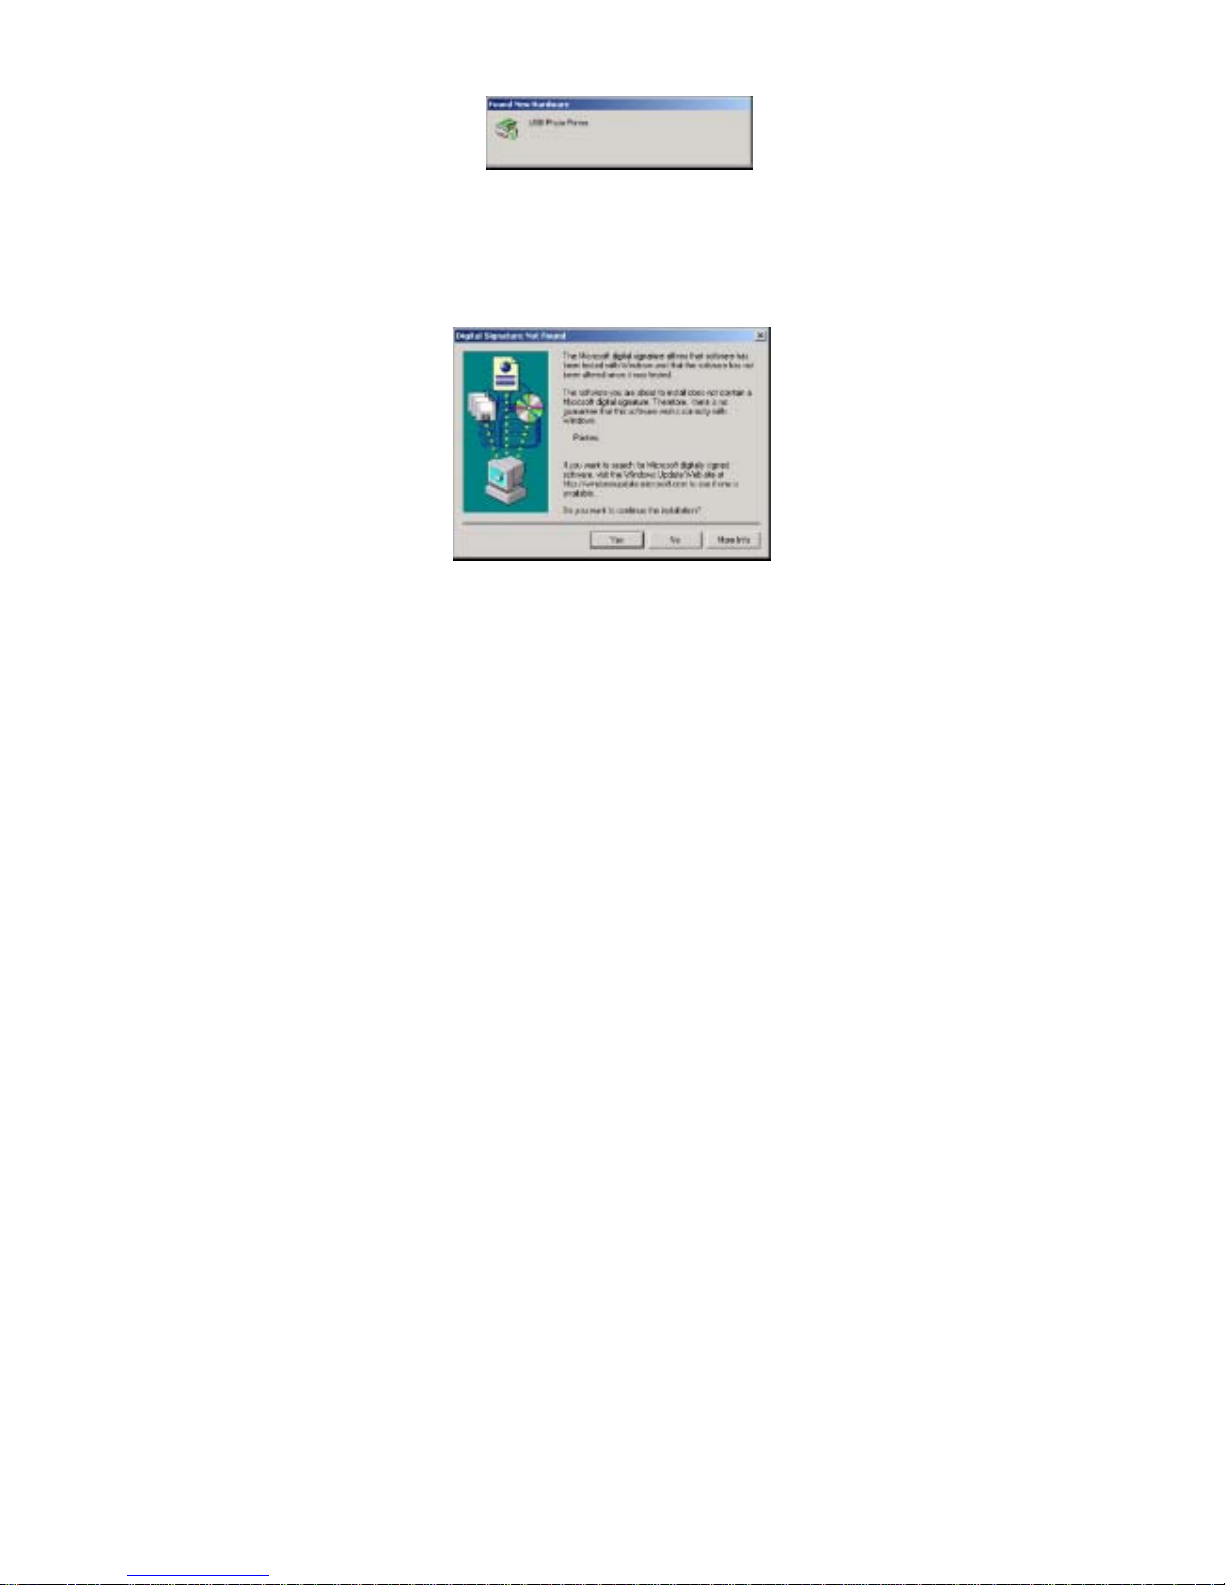
5. In system Windows 2000 or Windows XP, if there’s message dialog
shows “Digital Signature Not Found ” or “Driver Incompatibility”, please
press “Yes” to continue installing driver.
 Loading...