

Page 1
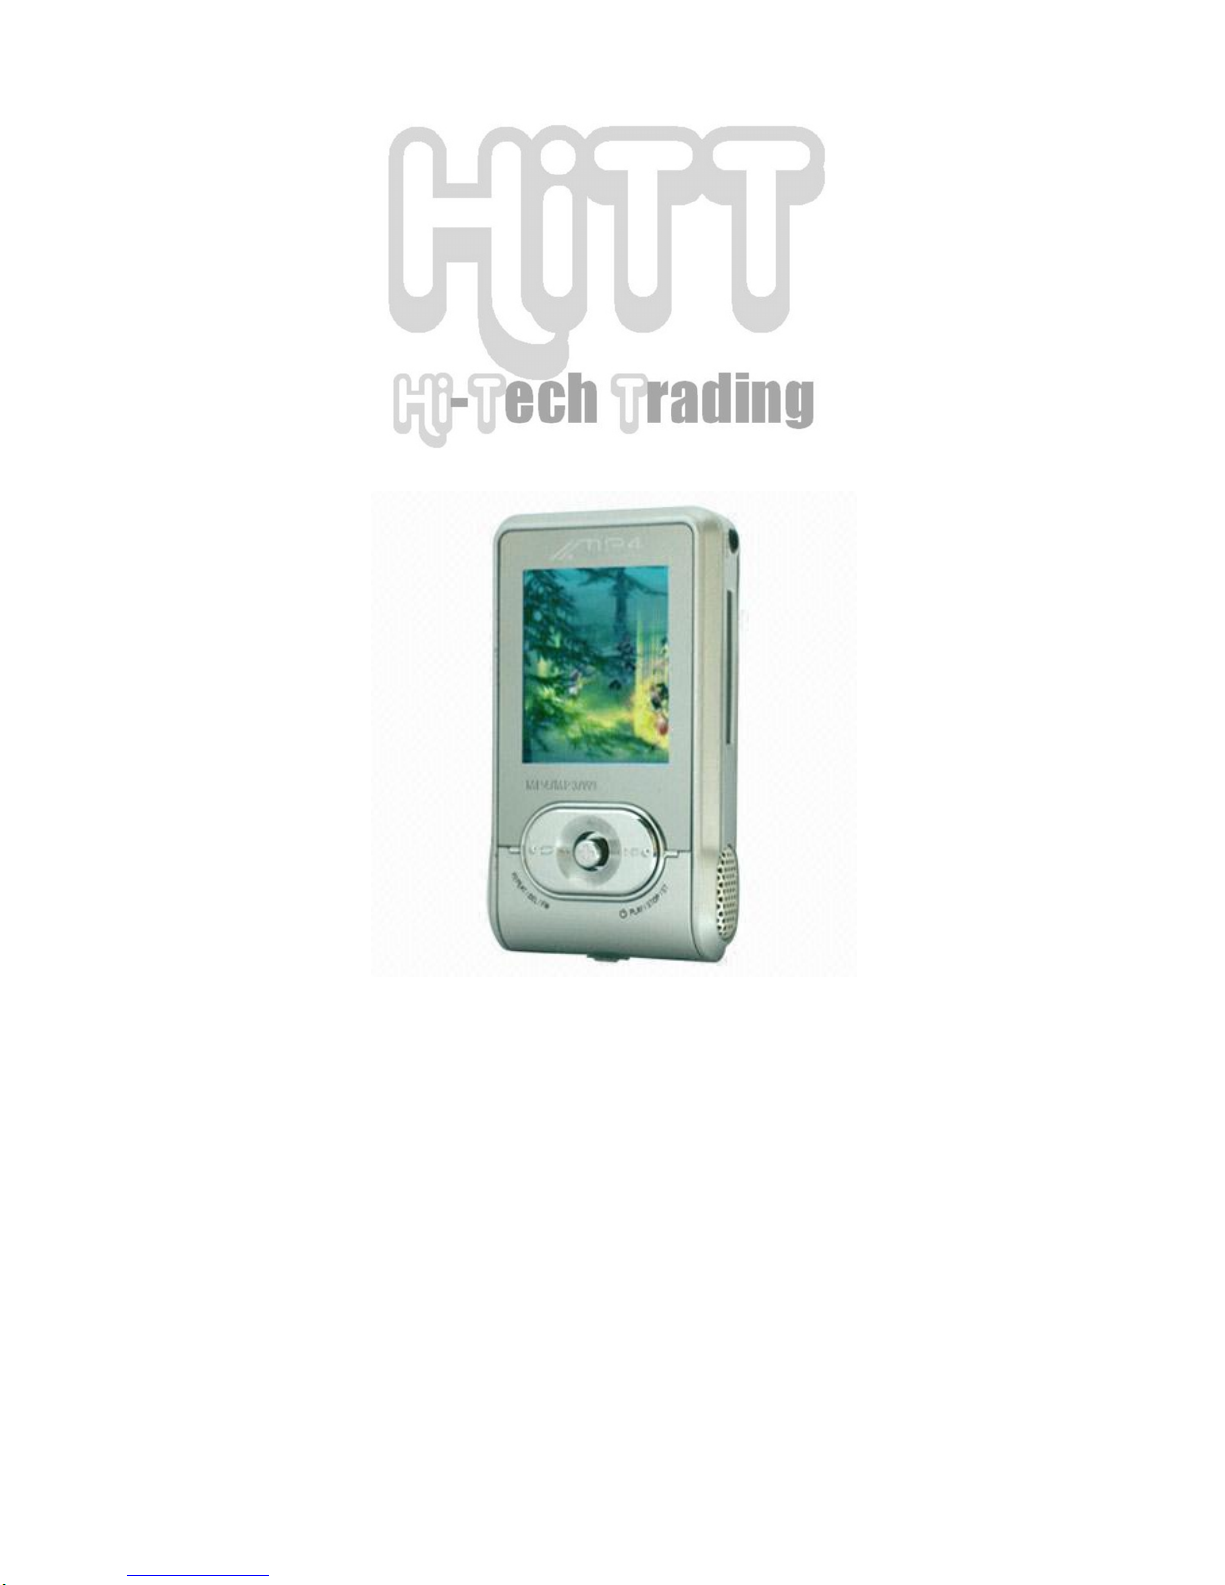
MP4 PLAYER
QUICK REFERENCE GUIDE
HE-MP121B
© 2006 – Present; Hi-Tech Trading (USA); Inc.
All Rights Reserved
Page 2

HE-MP121B
INTRODUCTION OF BUTTONS
1
IMPORTANT NOTE: To switch between Internal-Memory and SD-
Card (up to 512MB) press and hold Menu-button. Top of the screen will
display MEDIA (for Internal Memory) or MEDIA-CARD (for SD Card)
Page 3

HE-MP121B
2
MENU OPTIONS
1. Select Media
1. All Media
2. Voice File
3. Return
2. Record Set
1. WAV
Record
2. ASF
Record
3. Return
3. My Pictures
4. FM radio
6. Disk Manage
1. Delete File
2. Memory
Info
3. Format
4. Firmware
Ver
5. Return
7. Screen Set
1. Power No.
1
2. Power No.
2
10. Equalizer
1. Normal
2. Dbb
3. Pop
4. Disco
5. Classic
6. Jazz
7. Return
11. Repeat Set
1. Normal
2. Repeat
One
5. Language
1. English
•
10. Install
Font
11. Return
3. Normal
4. Logo
5. Screen
6. Screen
Rate
7. Return
8. My eBooks
9. Dictionary
3. Repeat All
4. Intro
5. Return
NOTE: Hold down
Menu button to exit
from any of these
menu options with
out RETURN option
Page 4

HE-MP121B
3
CHARGING BATTERY
1. Using your PC or Laptop’s USB port
• Connect bigger-connector of USB Cable to your computer or
laptop’s available USB port
• Connect other end of USB Cable to USB port of MP4 Player
• MP4 display will show battery status after 30 seconds
2. Using AC Charger
• Remove back cover of MP4 Player
• Remove Rechargeable-Battery
• Plug AC Charger into and electric-outlet – Red Power light will
turn-on
• Insert Rechargeable Battery so that + & - terminals of battery
line-up with + & - connectors on AC-Charger
• Flashing Green light will indicate that battery is getting charged
• Solid Green LEDs indicate charging status – Five solid-green
LEDs indicate that battery is fully charged
• Once battery is fully charged, remove it from the AC-charger
• Insert battery back in MP4 Player, making sure that metal
terminals on battery align with metal connectors on MP4 Player
• Slide back-cover back on MP4 Player
IMPORTANT NOTE:
• Before using MP4 Player for the first time, make sure to
fully charge the battery using AC Charger
Page 5

HE-MP121B
4
DOWNLOADING SONGS, VIDEOS, PICTURES
AND OTHER FILES TO MP4 PLAYER
NOTE: Windows 98SE users will have to install USB
driver on their computer before they can connect
MP4 player to it to copy files. If your computer has
Windows 2000, ME or XP, you don’t need to install
USB driver.
1. Connect MP4 player to you computer using USB
cable.
2. Your computer will recognize MP4 player’s flash
memory as Removeable Drive.
3. You can access Removeable Drive from “My
Computer”
4. You can now copy MP3, MVS, BMP and other files
from your computer’s hard-drive to DVR folder of
your MP4 Player by either dragging and dropping
or copying and pasting.
NOTE:
Make sure you copy MP3, MVS and BMP files in
DVR folder, otherwise MP4 Player will not play
these files.
Page 6

HE-MP121B
5
INSTALLING & USING MVS CONVERSION TOOL
1. Download updated MVS-Conversion tool from our
website (Note: Don’t install software from CD)
2. After software installation is completed, run MVS
Multimedia Convert Program, when prompted to enter
Serial Number enter one of the following:
A82F0-64ABD-10321-32AA8 OR 20C1A-6373A-7D066-24A71
3. To convert supported video files to MVS format, follow
these steps:
I. Click on “Add File” Icon:
II. Select the file(s) you want to convert to MPV format
NOTE: WMV, ASF, DAT, MPG, MPEG, AVI files without Digital
Rights Management (DRM) can be converted
III. Click on Browse Button (on the right-hand side)
IV. Select the Folder where you want to save the converted
file
V. Use “Set” Button to set Audio (BitRate) and Video
(FrameRate) quality of MPV file. Higher numbers mean
better video and audio quality & larger MPV file size
VI. Click on “Convert” Button (The conversion process could
take long time depending on the size and number of
file(s) you are converting)
VII. Once conversion is done, copy the converted file (with
MPV extension) from the folder you selected in Step-IV to
the MP4 player(as shown on previous page)
Page 7

HE-MP121B
6
VIEWING PICTURES
1. Only pictures in Bitmap (BMP) format can be
viewed on this player.
2. Pictures with 128 X 128 resolution will fit on the
display. Pictures with higher resolution will require
scrolling up-down and left-right using menu
button.
ENTERING ID3 TAGS & CREATING LYRICS FILES
1. Install software from ID3 Folder of CD that came
with MP4 Player.
2. Launch MP3 ID3 Editor
3. Click “OPEN” button to pick MP3 file
4. Enter, Song Title, Artist, Album, Year, etc.
5. Click “SAVE” button to save the information you
just entered
6. You can create Lyrics file by clicking on “LYRICS”
button
NOTE:
Without ID3 Tag information MP4 Player will
only display file name. ID3 Tag information can be
assigned only to MP3 Files
Page 8

For product warranty, support and registration
please visit us online at www.hitttusa.com
or call Customer Support Center at
1-877-HOT-HITT (468-4488)
HE-MP121B
© 2006 – Present; Hi-Tech Trading (USA); Inc.
All Rights Reserved
 Loading...