

Page 1
Operation Manual
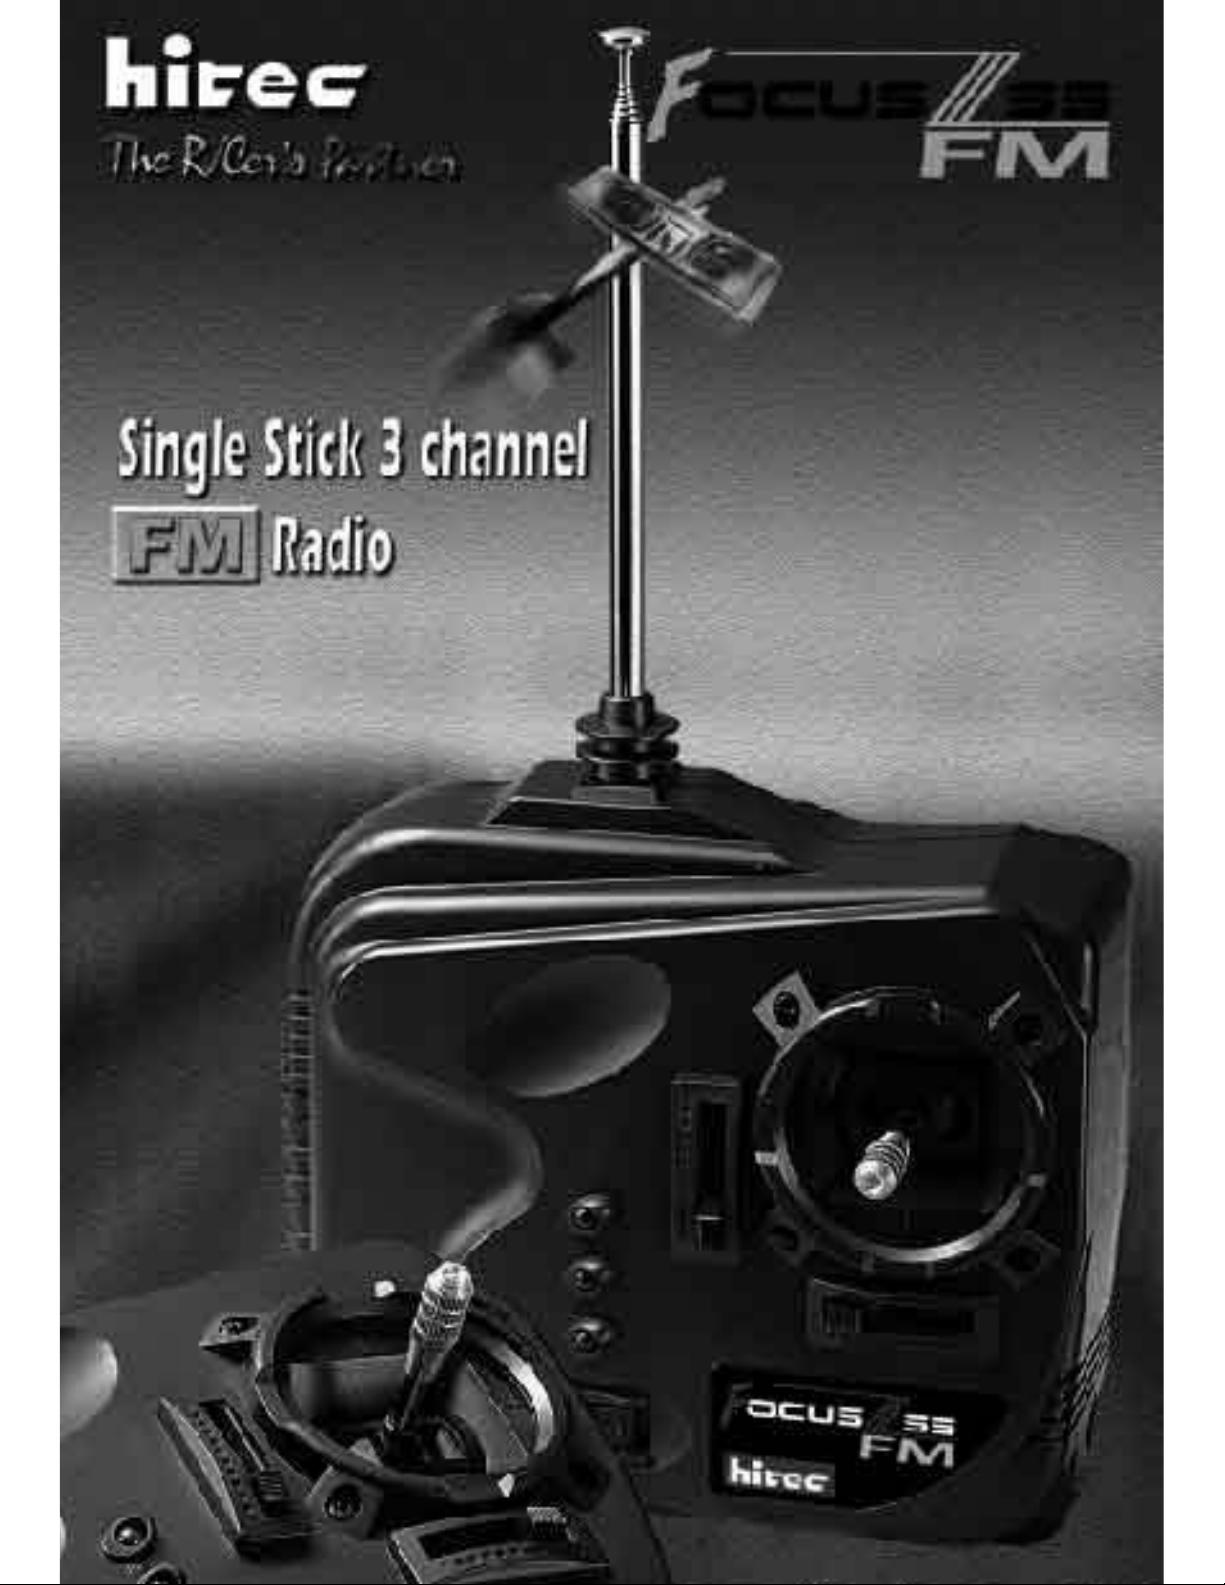
Single Stick 3 Channel FM Proportional Transmitter
Dual Axis Precision Gimbal
3 LED Battery Status Indicator
Servo Reversing for Channels 1 and 2
NiCad Battery Charging Jack
V-tail or Elevon Mixing Function
Proportional 3rd channel slide switch
Hitec Co., Ltd.
Page 2

Table of Contents
I. Introduction
II. Features and Specifications
III. System Layout
IV. Setting and Operation
1. Transmitter
a. Loading Batteries
b. Reading the LED Battery Indicators
c. Recharging NiCad Batteries
d. Transmitter Antenna
e. Changing Crystals
2. Installation of Receiver and Servos
3. Transmitter, Receiver and Servo Settings
a. Checking Operation of the Servo
b. Elevator and Rudder Servo Trim Settings
- Trim Setting before Flight
- Trim Setting during Flight
1
Page 3

I. Introduction
The Focus 3 Single Stick FM radio is specifically made for simple 3 channel Electric,
1/2A and Sailplane applications. It was ergonomically designed to allow the user to
hold onto the transmitter with one hand, while launching the aircraft with the other.
The Focus 3 SS FM will prepare you to use radios with more advanced features as
your skill level and desire for greater challenges evolve.
II. Features and Specifications
1. Transmitter
- Single stick 3 channel FM proportional system
- Dual axis precision gimbal
- 3 L.E.D battery status indicators
- Charging jack for optional NiCads
- Servo reversing for channels 1 and 2
- Current drain: 180mA
- V-tail or Elevon mixing function
- Proportional 3rd channel slide switch
2. Receiver
- Standard version(HFS-04MI+)
Narrow Band 5 channel (with optional "Y" harness) FM receiver
- Feather version(Feather receiver)
Narrow Band 4 channel (with optional "Y" harness) FM receiver
- Single Conversion
3. Servo
- High impact resin gear
- High reliability SMT circuit
2
Page 4

III. System Layout
ANTENNA
LED BATTERY
INDICATORS
BATTERY COVER
HIGH
NORM
LOW
POWER
ON
POWER SWITCH
ELEVATOR TRIM
CONTROL STICK
AILERON TRIM
CH1.REV
CH2.REV
MIX. ON
CH 3
NORM
NORM
OFF
CRYSTAL & HOLDER
IV. Setting and Operation
1. Transmitter
a. Loading Batteries
You may use either Alkaline "AA" size batteries or optional NiCad batteries. (NiCads
recommended)
- Push the bottom battery cover in the direction of the arrow then lift up the cover
- Load 8 AA batteries (Be sure the polarity is correct)
- Reinstall battery case with installed AA batteries with connections to the top left
- NiCads should be charged before use
3
Page 5

b. Reading the LED Battery Indicators
Full Power: Green Normal: Amber W arning: Flashing Red
With new alkaline or freshly charged NiCads, the Green light should be lit. With
use, the Green light will turn to Amber. If the Red begins to flash, operation should
be stopped and the batteries should be recharged or replaced immediately.
c. Recharging NiCad Batteries
The Focus 3 SS FM is equipped with an external charging jack so there is no need
to remove the battery pack from the transmitter. The Hitec CG-22A or 25A are made
to charge these type of batteries overnight or for approximately 12~15 hours.
Please refer to the following diagram; check to see that the charge lights are lit after
the connection is complete. It is advisable to cycle your NiCad batteries at least once
every 5 or 6 charges. This can be done by simply turning your transmitter on with the
antenna connected and extended to let it run completely dead (Warning!!! Always
extend your antenna so as not to overload the circuitry when radio is on.), then follow
the charging method and repeat this 3 times, this will remove the memory that the
battery has stored up if you just simply charge a half dead pack.
4
Page 6

CG-22A
#54403 MICRO S/W HARNESS
#54402 AAA size RX Battery box
d. Transmitter Antenna
#57401 RX Nicad (Not included)
Always make sure your antenna is attached and fully extended before use otherwise
your operating range will be greatly reduced and could result in damage to your aircraft
and or injuries to yourself and others.
ON
e. Changing Crystals
Changing crystal to avoid conflicts with other aircraft is possible where permitted. (You
must check your local rules before doing so. For example in the US the FCC prohibits
the changing of transmitter crystals on 72 and 27MHz). If you are allowed to change
crystals, both the transmitter and receiver crystals must be changed together. You must
change within the same band; i.e. 72MHz to 72MHz, 27MHz to 27MHz, different
bands can not be intermixed, if your radio is on 72MHz then 27MHz crystals cannot
be used. Use only Hitec crystals when changing frequencies.
5
Page 7

2. Installation of Receiver and Servos
After connecting the receiver and servos as below illustration, turn on the power to
the transmitter first then turn the receiver on. (Always turn the transmitter ON first
and OFF last.) This will prevent the receiver from picking up stray signals and
going out of control. Now, move the controls to see if the servos are moving properly.
If not, check your wiring or crystals if the servos do not move at all.
STANDARD VERSION
(not available in USA)
FEATHER VERSION
#54403 MICRO S/W HARNESS
#54402 AAA size RX Battery box
Electric Glider only(Not included)
7.2V -8.4V Nicad
Electric Glider only(Not included)
#54403 MICRO S/W HARNESS
6
7.2V -8.4V Nicad
#54402 AAA size RX Battery box
Page 8

3. Transmitter, Receiver and Servo Settings
Now we come to the critical part as proper installation of these components are
essential.
a. Checking Operation of the Servo
- After installation of the servo and receiver into your model is complete, turn the
power "ON" the transmitter (fully extend the antenna) now turn on the receiver.
(Note: Do not connect the linkage to the servos until the servo test procedure
is completed as unexpected movement may damage the servos or the model)
- Check to see if all servos are working properly. If not, check the connections
and/or make sure the main battery pack is charged.
- If the servos check out fine, connect the linkage to the servo horns now. Check
to see that the servos are moving in the correct direction. If not, change the
servo direction with the reversing switches located on the back of the radio. The
3rd channel of the Focus 3 SS FM is not reversible.
- If everything checks out then turn the receiver "OFF" first, then the transmitter.
The Focus 3 SS FM offers an internal electronic mix for channels 1 and 2 to
deliver an Elevon or V-tail mix for those aircraft requiring those specific functions.
(Always remembers to never have the receiver "ON" without the transmitter being
"ON". This means when turning your model "ON" always turn the transmitter "ON"
first and "OFF" last)
(Note: Please make sure to fold the transmitter antenna after use so as not to get
damaged or poke someone in the eyes)
7
Page 9

Warning!!! : Do not shorten the length of the receiver antenna by cutting off
any excess wire. This will severely affect the operating range and could result
in injury to yourself and others..
b. Elevator and Rudder Servo Trim Settings
- Trim Setting before Flight
The servo trim enables minor adjustment of the servo neutral position so that the
plane will fly straight when the stick is in the center position. Before adjusting the
servo trim, please make sure that when both the stick and the servo trim is in its
center position, (1) the servo arm is perpendicular to the push rods, and (2) the
elevator and rudder of the plane is flush with the tail wing.
8
Page 10

- Trim Setting during Flight
You may perform some minor trim adjustment during flight if the plane nose up or
down (Elevator Trim) or sideways (Rudder Trim) when the stick is in the center
position. However please keep in mind that trim adjustment is only for minor
adjustment and major adjustment should still be done through push rod (linkage)
adjustment at the model.
(Note: There is no trim adjustment on the 3rd channel of the Focus 3 SS FM)
-When your plane does this - Move trim like below
For U.S.A.
This device complies with part 15 of the FCC rules. Operation is subject to the
following two conditions: (1) this device may not cause harmful interference,
and (2) this device must accept any interference that may cause undesired operation.
Transmitter frequencies can only be changed by an authorized Hitec RCD Inc.
service center. Changing frequencies by the consumer will void the warranty
and is a violation of FCC regulations.
9
 Loading...