

Page 1
KH1000D
DAB /FM Radio
DAB / FM - DIGITAL RECEIVER
SCAN DAB / FM
NEXTPREV.
SELECTDISPLAYMENUSHIFT
Some Do's And Don'ts On The Safe Use Of Equipment
This equipment has been designed and manufactured to meet international
safety standards but, like any electrical equipment, care must be taken if
you are to obtain the best results and safety is to be assured.
DO read the operating instructions before you attempt to use the equipment.
DO ensure that all electrical connections (including the mains plug,
extension leads and inter-connections between the pieces of equipment)
are properly made and in accordance with the manufacturer's instructions.
Switch off and withdraw the mains plug before making or changing
connections.
DO consult your dealer if you are ever in doubt about the installation,
operation or safety of your equipment.
DON'T remove any fixed cover as this may expose dangerous voltages.
DON'T obstruct the ventilation openings of the equipment with items such
as newspapers, tablecloths, curtains, etc.
Overheating will cause damage and shorten the life of the equipment.
DON'T allow electrical equipment to be exposed to dripping or splashing,
or objects filled with liquids, such as vases, to be placed on the equipment.
DON'T place hot objects or naked flame sources such as lighted candles
or nightlights on, or close to equipment. High temperatures can melt
plastic and lead to fires.
DON'T use equipment such as personal stereos or radios so that you are
distracted from the requirements of traffic safety.
DON'T listen to headphones at high volume, as such use can permanently
damage your hearing.
DON'T leave equipment switched on when it is unattended unless it is
specifically stated that it is designed for unattended operation. Switch off
using the switch on the equipment and make sure that your family knows
how to do this. Special arrangements may need to be made for infirm or
handicapped people.
DON'T continue to operate the equipment if you are in any doubt about
it working normally, or if it is damaged in any way switch off, withdraw
the mains plug and consult your dealer.
User's Guide
Page 2
GETTING STARTED
DAB
Press the Power Button to turn on the unit.
•
Press DAB / FM button to select DAB or FM
•
Adjust the Volume by pressing Volume Up / Down
•
FM
Press PREV. or NEXT to select frequency
•
Press once to move every 0.05 MHz
•
Press and hold it for 2 seconds and then release the button, it will
•
seek and stop at next broadcast station
Press and hold it, it will keep moving until the button is released
•
Reception:
If noise is heard when listening to FM, please pull out the FM
*
Antenna and rotate it to a different direction to have a better
reception.
• Select DAB mode by pressing the DAB /FM button.
• Press the SCAN button.
• The radio will commence the station search process.
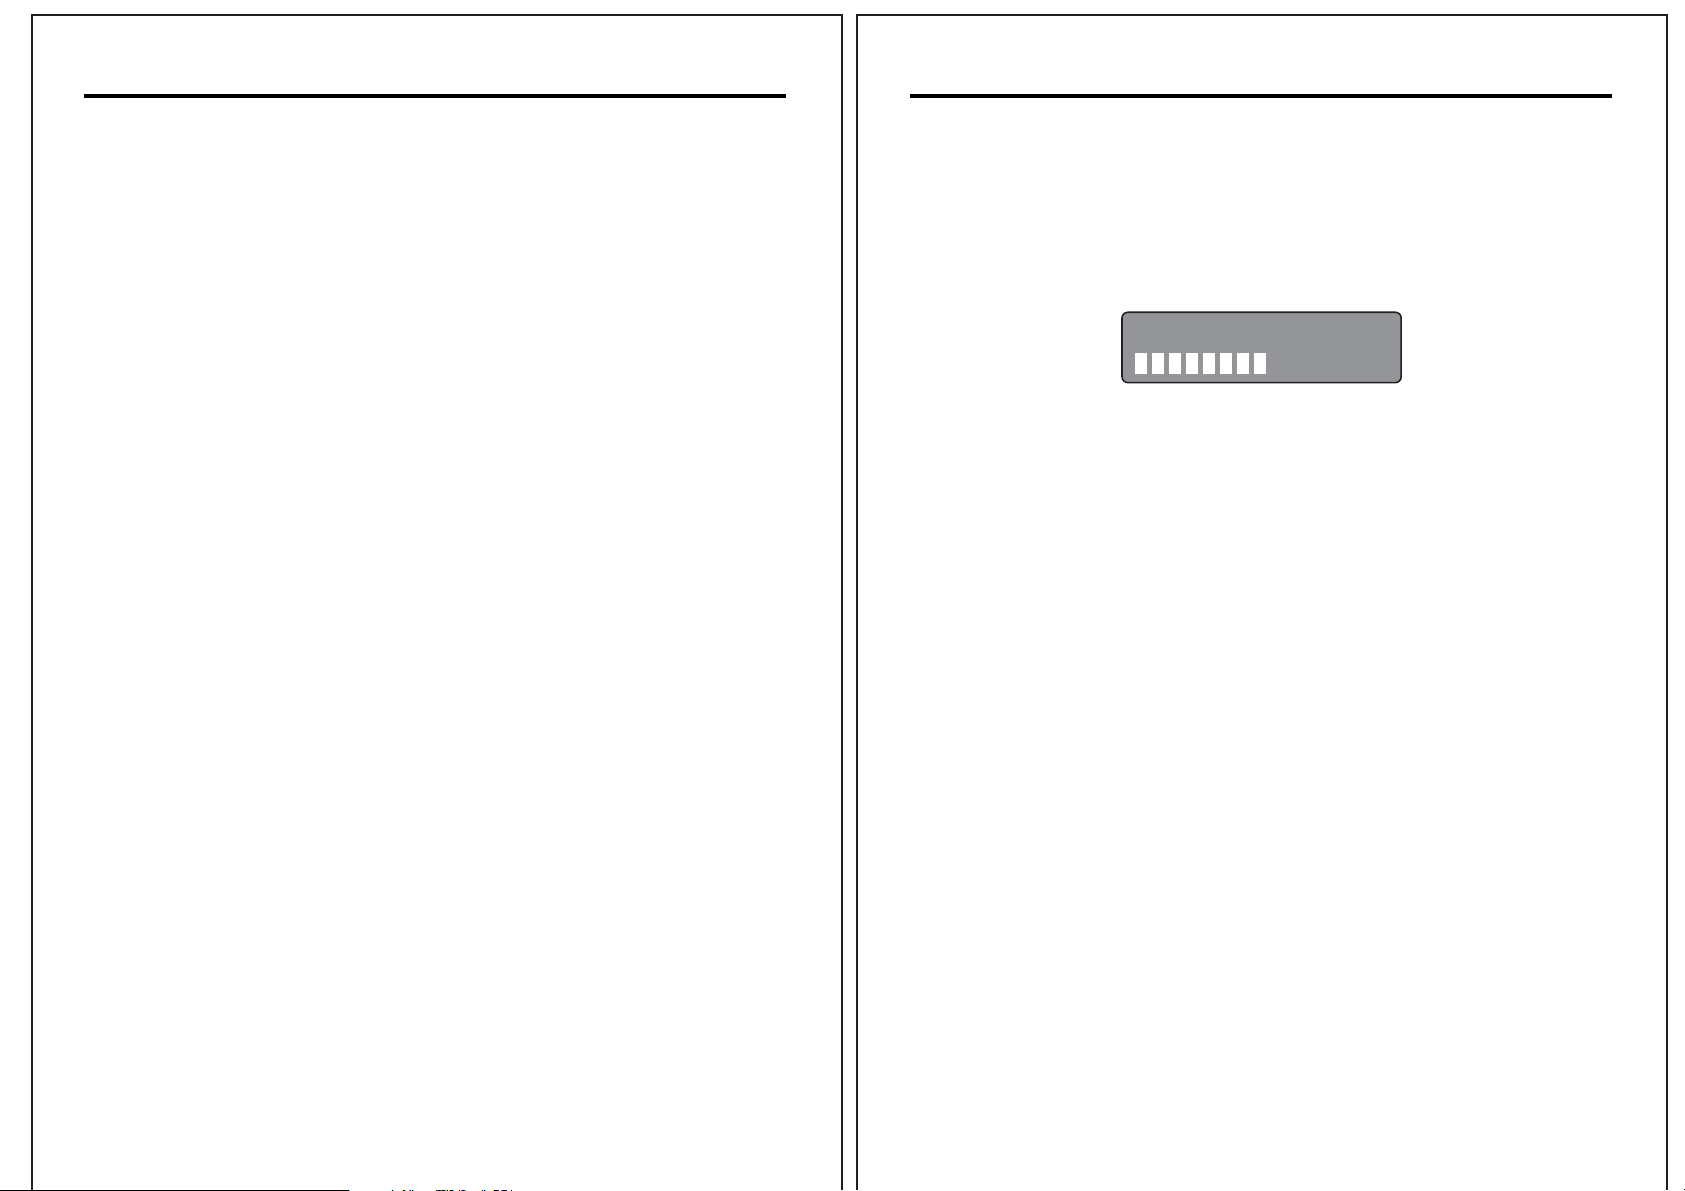
During the search process the display indicates the progress and
station found, for example:
Scanning... 17
The symbols on the second line of the display are a bar graph that
indicates the progress of the scan. The number on the first line indicates
the number of stations found and will increase as the scan progresses.
It is possible to manually search for stations.
If these are no stations found check that adequate DAB coverage
exists in your area.
Once the search has completed the DAB radio will tune to the first
station in the list. Stations are listed in numerical then alphabetical
order.
The station list is retained in memory so the next time you switch the
tuner on, the station search does not take place.
You can, however, choose the station search if you wish to find any new
DAB stations or if the radio has been re-located. Simply press the SCAN
button.
Page 3

USING THE DAB RADIO
Using the MENU Control
Changing DAB stations
Press either the PREV or NEXT buttons to scroll through the available
stations. The stations will appear on the second line of the display.
When the station you require is displayed press the SELECT button.
The radio will now tune to that station.
Memory/Pre-set radio station:
Input Memory:
• Select the desired station
• Press and Hold the preset Key (no. 1/6, 2/7, 3/8, 4/9 or 5/10) for
3 seconds, the station will be stored into that preset key no.
• Hold the Shift button and press no. key to switch to 6-10.
(The unit can store up to 10 pre-set station for FM)
Listen to Memory station:
-
Press preset Key (no. 1/6, 2/7, 3/8, 4/9 or 5/10) once to recall that
stored station.
The MENU button enables you to configure some of the system options
of the DAB radio. These options are arranged in a menu structure as
shown below.
BBC Radio 5 Live
DLS Scrolling...
Press
MENU
BBC Radio 5 Live
Station order
Press
NEXT
BBC Radio 5 Live
Manual tune
Press
NEXT
Press
SELECT
PREV/NEXT
then
SELECT
Press
SELECT
Fav station
Fav station
Alphanumeric
Active station
Prune Station
11B 218.64MHz
PREV/NEXT then SELECT
BBC Radio 5 Live
DRC value
Press
NEXT
BBC Radio 5 Live
Language
Press
NEXT
BBC Radio 5 Live
Sw version
Press
NEXT
Press
SELECT
PREV/NEXT
then
SELECT
Press
SELECT
Press
SELECT
DRC 1
DRC 0
1
DRC
DRC 1
English
English
v 1.6
Sw version
2
Page 4

Changing the DAB Station Information
It is possible to change the information that is displayed on the second
line of the display when listening to a DAB station. There are seven
types of information available as listed below with examples to the right.
To change the information displayed press the DISPLAY button.
Pressing the MENU button will enter the menu structure. The options
are described in the following paragraphs.
Station Order
This function enables you to define how the stations are arranged when
scrolling the stations list.
Dynamic Label Segment (DLS):
•
This is scrolling text information
Press
DISPLAY
supplied by the DAB station. It may
comprise information on music titles or
details of the programme and is provided
by the broadcaster.
Program Type (PTY):
•
This is a description of the type of
programme provided by the DAB station
and is provided by the broadcaster.
Multiplex Name:
•
This will show the multiplex that is
broadcasting the programme you are
listening to.
Time and Date:
•
This displays the time and date and is
provided by the broadcaster so will be
accurate.
Channel and Frequency:
•
This displays the channel number and
the transmission frequency.
Signal Information:
•
This shows thw digital bit rate and the
BBC Radio 5 Live
DLS Scrolling...
Press
DISPLAY
BBC Radio 5 Live
News
Press
DISPLAY
BBC Radio 5 Live
BBC National DAB
Press
DISPLAY
BBC Radio 5 Live
10:32 07-08-2003
Press
DISPLAY
BBC Radio 5 Live
12B 225.64MHz
Press
DISPLAY
BBC Radio 5 Live
80kbps Mono
Press
DISPLAY
BBC Radio 5 Live
Signal error 7
Press
DISPLAY
signal mode.
Signal Error Rate:
•
If the transmission signal contains errors the system can apply a
correction. The amount of signal correction can be displayed as a
numerical value between 0 and 99. As a guide any value up to 50 is
a acceptable. For values above this try adjusting the position of the
antenna.
To select an option press the MENU button. 'Station order' will be
displayed.
Press the SELECT button and use the PREV / NEXT buttons to display
the desired option. There are five options available as described below.
Favourite Station (Fav station)
•
The DAB tuner monitors the stations that you listen to and will build a
list of the ten most listened to stations. When this option is selected
the station list is re-ordered so that these stations appear at the top
of the list. When you scroll through the list you will see that your
favourite stations will have a heart shaped symbols.
Alphanumeric
•
This is the default setting. The stations are arranged in numerical
then alphabetical order.
Active Stations
•
This option will re-order the list with those stations that can be
received in your area at the top of the list and those that cannot at
the bottom of the list.
Prune Stations
•
This option will remove from the list any stations that have no
service in your area.
Press the SELECT button.
Page 5

MANUAL TUNE
Press the MENU button. 'Station order' will be displayed.
It is possible to manually tune to a specific channel/frequency and
add this to the station list.
This function can be used to assist the positioning the antenna to obtain
the optimum reception for a specific channel/frequency.
Press the MENU button. 'Station order' will be displayed.
Press the NEXT button to display 'Manual tune'.
Press the SELECT button.
Use the PREV/NEXT buttons to select the channel/frequency.
Press the SELECT button. A rectangle will be displayed on first line of
the display. The position of this rectangle indicates the signal strength,
i.e. the further towards the right the greater the signal strength.
7A 188.92MHz
Adjust the position of the antenna to obtain the optimum signal strength.
Press one of the PREV/NEXT buttons until 'DRC value' is displayed.
Press the SELECT button. The current DRC level will be displayed on
line 1.
Press the PREV/NEXT buttons to select between the three values on
line 2 of the display.
When the required value is displayed press the SELECT button.
Language
There is only one option presented-English.
Software Version
This is provided as a reference when servicing is required.
Press the MENU button. 'Station order' will be displayed.
Press one of the PREV/NEXT buttons until 'Sw version' is displayed.
The version number will appear in line 1.
Press the SELECT button to return to normal service.
Dynamic Range Control (DRC)
DRC adds or removes a degree of compression to compensate for the
differences in the dynamic range between radio stations. For example, a
station broadcasting popular music may have a high level of
compression applied since the emphasis is on a constant high listening
level, whereas a station broadcasting classical music will have little or
no compression as the listener requires all of the highs and lows in the
music to define the detail.
There are three levels of compression:
• DRC0 No compression applied.
• DRC1 Maximum compression applied (this is the default).
• DRC1/2 Medium compression applied.
Page 6

TROUBLESHOOTING
The display shows 'NO SERVICES AVAILABLE'
• Make sure that DAB coverage exists in your area.
• Try adjusting the position of the antenna.
Poor reception
• As with any radio service there will be areas of week signal that may
cause poor reception. Follow the instructions for Manual Tuning and
adjust the antenna while monitoring the signal strength until the
optimum signal is obtained. If reception is still poor try relocating the
radio to another part of the room.
I cannot access secondary services
• At the time of publishing this manual not many secondary services
are available in the UK. This will increase as more DAB stations start
broadcasting. If a secondary service station is available, the
secondary indicator '>>' will be displayed next to the station name.
The display has gone blank or says 'SERVICE OFF AIR'
• This may occur if a broadcaster changes the label of a service or
removes a label whilst you are listening to the station. The radio will
try to re-tune to the station. Alternatively perform a SCAN.
On the rear of the unit there are connections for 3
optional audio outputs:
1) Headphones for personal listening.
2) Left (L) and right (R) audio line out for connection to external
amplifier equipment.
3) Optical output connection to extenal amplifier equipment.
SPECIFICATIONS:
Power Requirements: ~230V/50Hz
DAB Frequency Range (BandIII): 174 - 240 MHz
Usable Sensitivity: 92 dBm
FM Frequency Range: 87.5 - 108MHz
Power Consumption: 15W
Rated Output Power: 1W x 2
Dimensions: 265(W) x 128(H) x 120(D)mm
Speaker: 4 Ohm
I cannot hear the station I have selected
• The station you are listening to is displayed on line 1. Line 2 shows
the selected option, but you have to press the SELECT button to
tune to the selected station.
Note: This product is exclusively available through Dixons Stores Group. In the
unlikely event of a problem with your product please return to the store where
your purchase was made.
Partmaster
Direct
Partmaster Direct can provide accessories, spares, batteries and
replacement parts with Next
Day Delivery available upon request.
Please call:
0870 600 1338
(UK customers only)
Calls charged at National Rate
...or visit our website at www.partmaster.co.uk
 Loading...