

Page 1
M / S (HEL)
CUSTOMER’S ACCEPTANCE
(Backlight Inverters for cold cathode
fluorescent lamp)
DATE: 24.MAR.2004
Design Department
Ome Manufacturing Operation
Hitachi Lighting,Ltd
16-2,shinmachi 6-chome,Ome-Shi
Tokyo 198-8611,JAPAN
TEL.0428-31-1211
FAX.0428-31-1224
SPECIFICATIONS
T Y P E : I N V C 6 6 7
CONTENTS
No ITEM Page
1 Cover 1
2 Record of Revision 2
3 1.Scope
2.General Specification
4 3.Erectorical Characteristics
4.Reliability
5 5.Structures 6
6 6.Structures and Dimensions 7
7 7.Precautions in Design 8-9
4-6
3
Accepted by Proposed by
1
Page 2
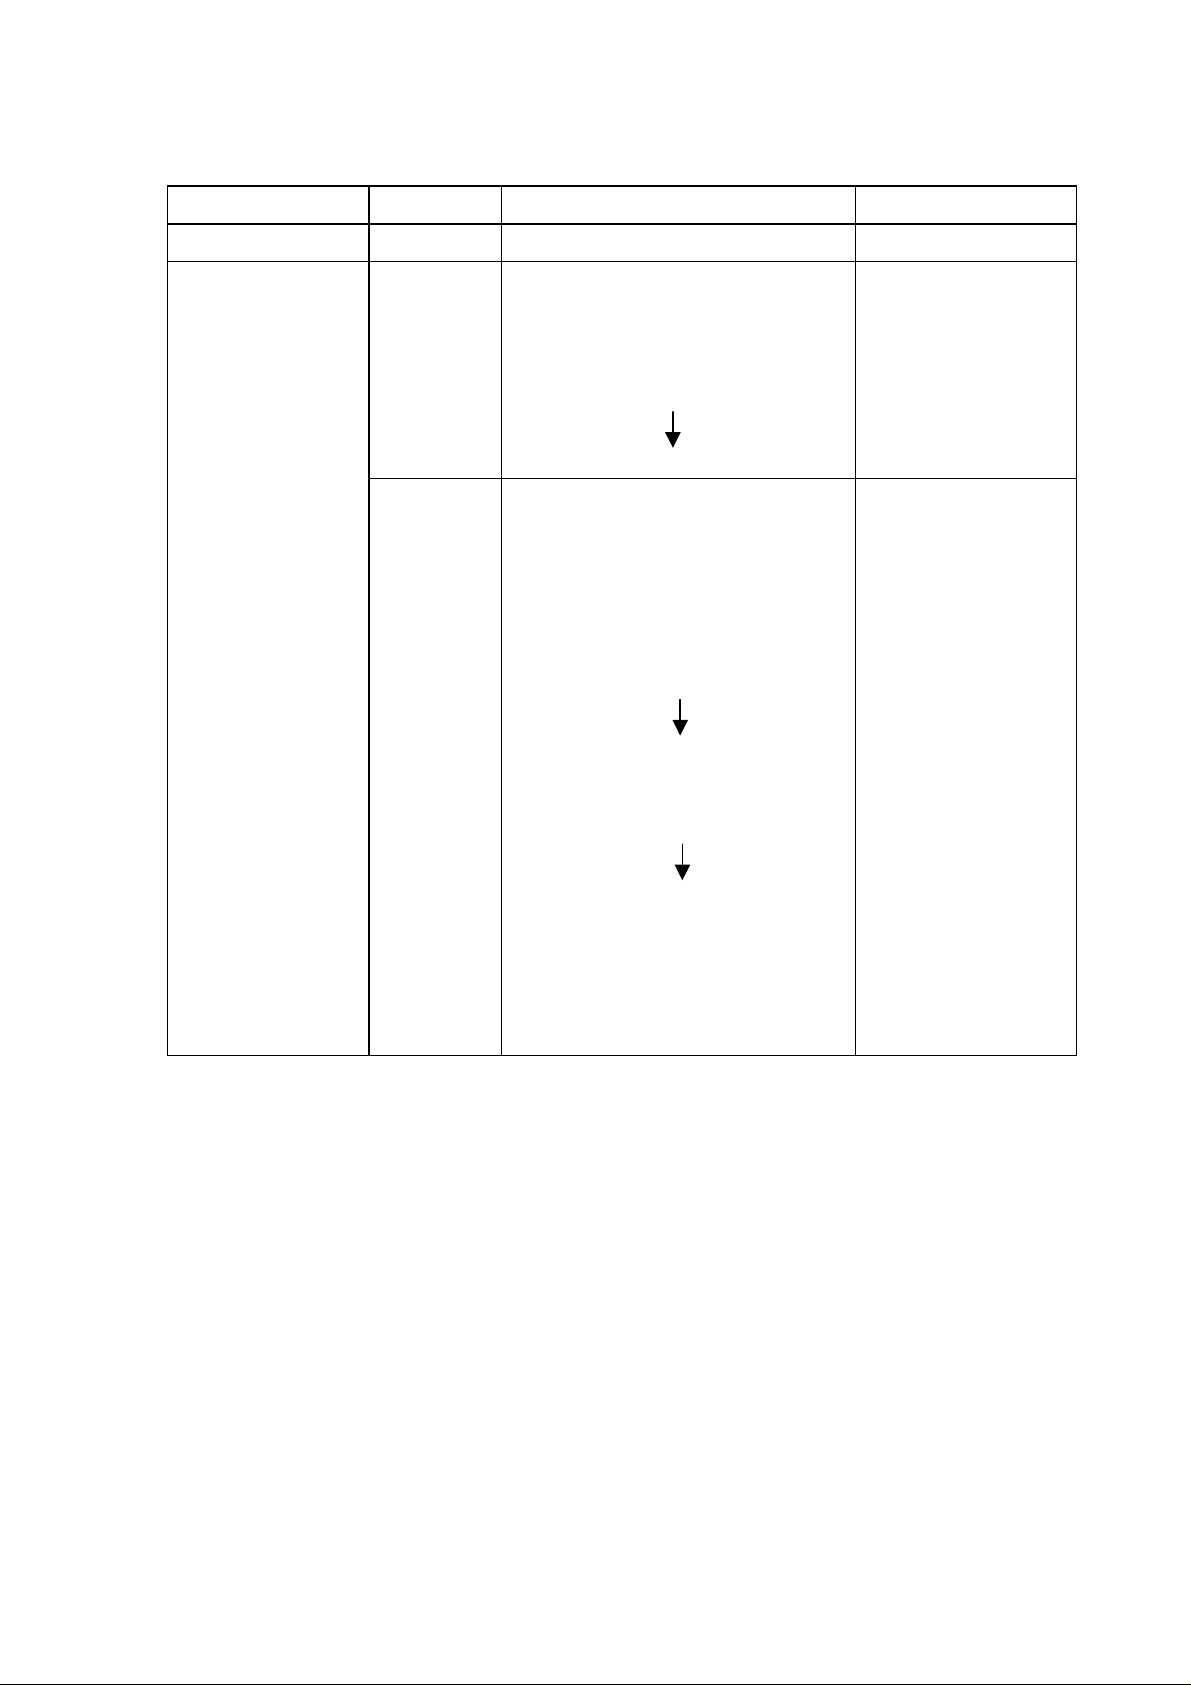
RECORD OF REVISION
DATE PAGE SUMMARY Date Code & Rev.
6.JAN.2004 NEW
4 page
3.2.1 Input current
CHANGED:
Min - Typ - Max
540mA-590mA-640mA
430mA-480mA-530mA
7 page 6.Structure and Dimensions
ADDITION:
Measurement of Output
Connector position. (2.0MAX)
CHANGED:
1. 90+/-0.5mm
90.5+/-0.5mm
2. 2-Dia. 2.8+0.1/-0
24.MAR.2004
2-Dia. 2.8+/-0.3
2
Page 3
1. Scope
1.1 This specification shall apply to inverter INVC667 to operate a cold
cathode fluorescent lamp in the liquid-crystal module(LCM).
1.2 This inverter INVC667 is designed and adjusted for SX14Q001
LCD-module. (Hitachi’s type name)
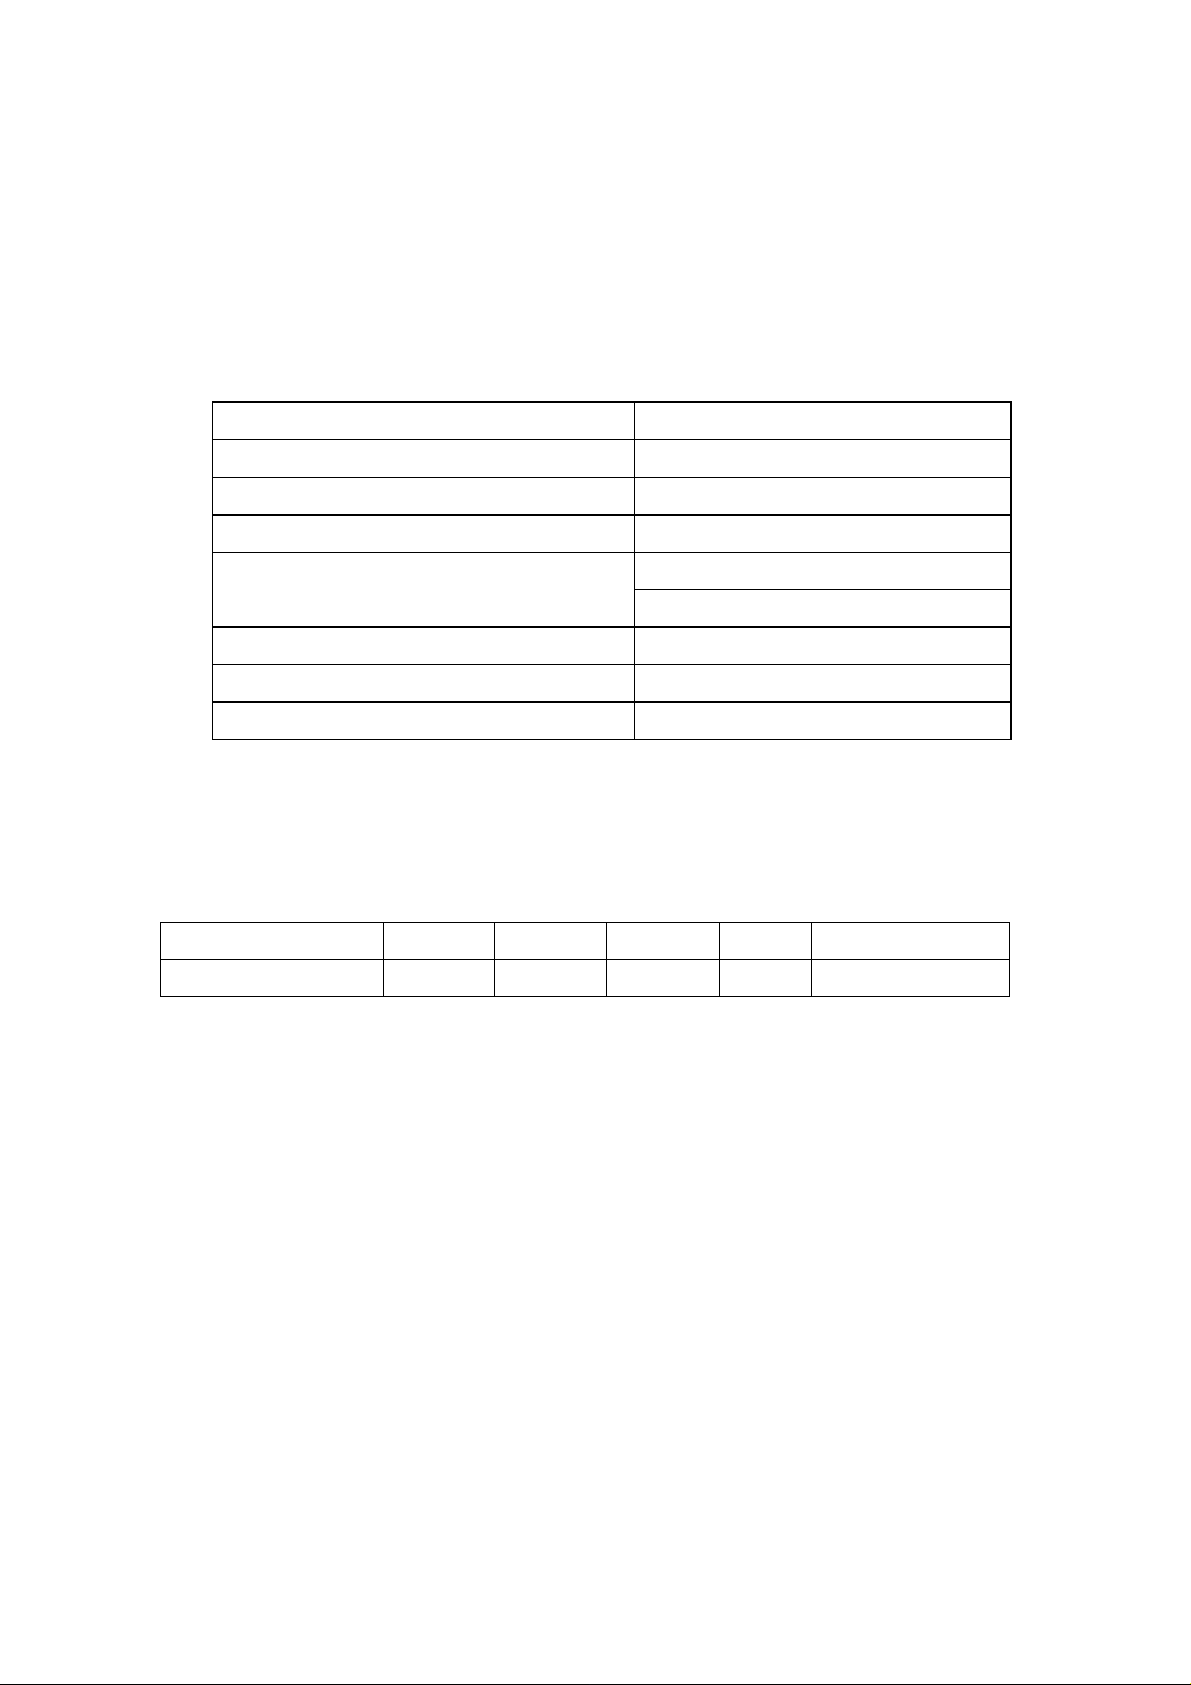
2. General Specifications
General specifications and condition for use are shown below.
Item Specification
Cooling condition Free air flow
Efficiency 75 % min
Weight 20g MAX
Operating 0~50deg Ambient temperature
(direct ambient air of Inverter board)
Stock -20~70deg
Humidity 90 % RH.max.
Corrosive gasses Not acceptable
Audible sound level 35dB max. at 30cm
3. Electrical Characteristics
3.1.Maximum ratings
Items Min. Typ. Max. unit Remarks
Input voltage --- --- 7.0 V
3
Page 4

3.2.Operationg Characteristics
3.2.1 SX14Q001 LCD module AT=25deg
Item Min Typ Max Unit Remarks
Input voltage 4.5 5.0 5.5 V
Input current 430 480 530 mA at 5.0V
Output current
4.5 5.5 6.5 mA at 5.0V
Main frequency 45 55
65 kHz at 5.0V
4
Page 5

(1) All characteristics are measured by our certain test equipment. The measurement of
A
A
condition should be stable lighting (more than 30 minutes after startup :at 25+/-1deg
and no breath of wind) (The measurement of input rush current is exception.)
(2) The electrical characteristics are measured as we show on measurement diagram fig.1.
Vcc=5V.
(3) As we show on measurement diagram fig.1, the test equipment shall be V1:DC Volt
meter (Class0.5) A1:DC Current meter(Class0.5) A2:AC Current meter
type2016(Y.E.W) or FLUKE45(FLUKE) Vcc:DMS35-2.3(Metronix).
(4) The line length of between the lamp and 2pin of CN2(high voltage side)is less than
150mm. The line length of between the lamp and 1pin of CN2(low voltage side)is less
than 400mm.
Vcc
3.4. Wiring Diagram
ON/OFF
GND
1
INVERTER
3 1
V1
2 4
Hi
Lo
Fig.1 Wiring
1 ON/OFF 1
CFL
INVERTER
INVC667
2 GND
L
C
2
M
Hi
DC 5V IN
3 Vcc 4
Lo
Fig.2 Wiring Diagram
5
Page 6

4.Reliability
Item Test condition
Low temp.oper. 0deg, 5.0V, 100%output, 500Hrs
High temp.oper. 50deg, 5.0V, 100%output, 500Hrs
Low temp.stock. -20deg, 500Hrs
High temp.stock. 70deg, 500Hrs
High temp. and high humidity 50deg, 95% 5.0V, 100%output, 500Hrs
Cyclic temp.oper. 0deg – 25deg –50deg 1Hrs each
5.0V, 100%output, 50cycles
Thermal shock -20deg – 70deg, 0.5Hrs each 100cycles
Vibration 3G, 30~200Hz, 0.5Hrs,xyz-axis
Impact test 50G,xyz-axis
5.Structure
5.1 Dimensions
Reference to drawing P.7
5.2 Interface specification
Input connector CN1: PHR-3(JST)
PIN No. Symbol Comement
1 CFL ON/OFF OFF at Open
2 GND ---
3 Vcc Vcc 5.0Vtyp
Output connector CN2:IL-G-4S(JAE)
PIN No. Symbol
1 CFL High V
2,3 N.C.
4 CFL Low V
ON at Low
6
Page 7

6.Structure and Dimensions
Fig.3 Dimensional Outline
1.Manufacturer’s Name : ”HITACHI” silk print
2.Manufacture’No : “667”
3.Date code : ex ”06A4”
7
Page 8

7.Precautions in Design
7.1 Please turn off the power supply of the inverter before the out put
connector (CN2) be put in or put off. Because voltage of the output
connector is very high.
7.2 The high-voltage wiring of lamps may affect the characteristics of this
product even in the presence of a slight stray capacity of 1 to few pF. So,
please check whatever the below points have fully considered.
(1) Please use UL1330 equivalents as inverter output leads and keep
length within 150mm
(2) Please keep the length of wiring as short as possible and at the same
time avoid binding high-voltage and low-voltage leads together and
fitting high-voltage leads near the shield.
(3) Consider the electric potential of the parts adjacent to a wire because
it greatly affects the electric characteristics and startup
characteristics.
7.3 In the case of put in and put off the connector(CN1), please switch off
power supply of the inverter. If power supply is operating it will possible
that the inverter break down.
7.4 Please pay attention in using the inverter. Because the transformer in the
inverter is weak to impact.
7.5 If it was exposed to thermal shock(out of order), come to have a crack
itself.
7.6 Please do not give it any changes, such as reworking it, applying and
hardening with adhesives, molding with resin, fixing with tape.
7.7 Please make a tight connection output and input connector.(If inverter’s
connecter contact was imperfection, the components of inverter have high
temperature and break down.)
8
Page 9

7.8 Pay attention as printed circuit board is bent, and not adding excessive
pressure when printed circuit board is built in. (Deterioration and the
damage of component are caused, and movements of inverter are out of
order.)
9
 Loading...