

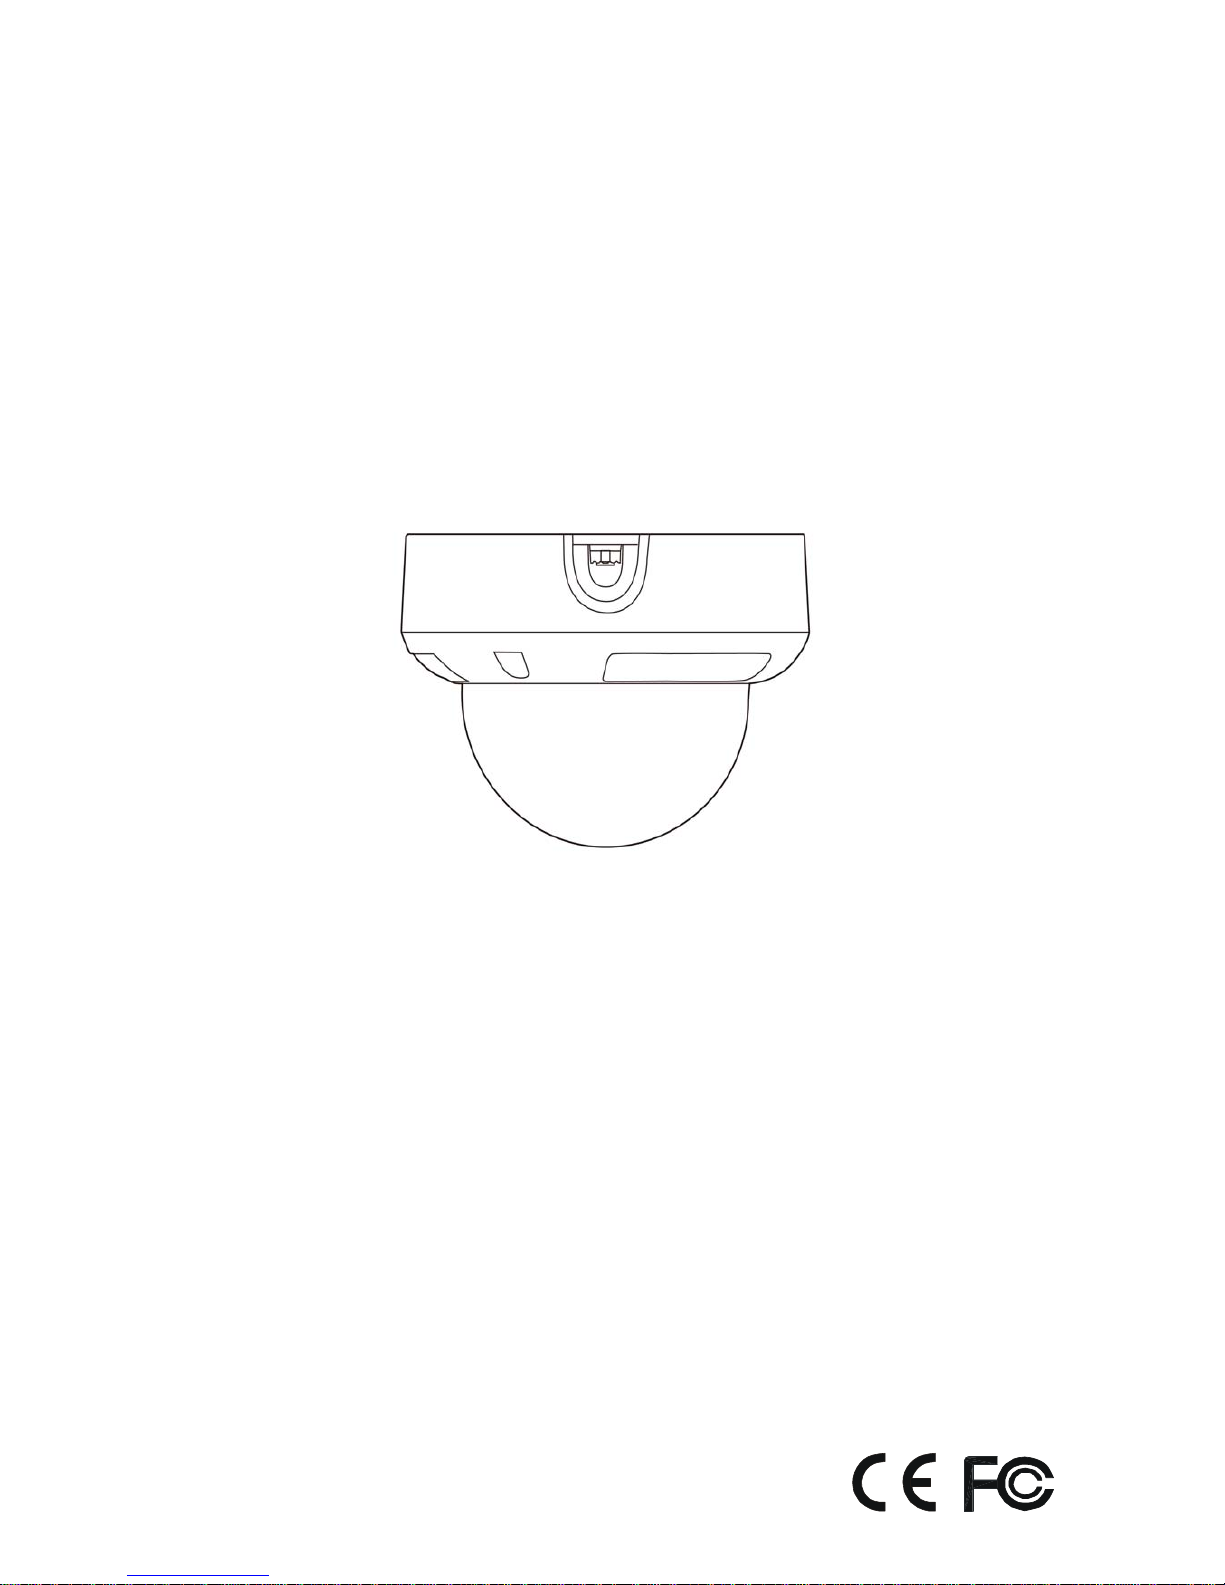
WDR Dome Camera
User’s Guide
Thank you for purchasing our product.
Please read this User’s Manual before
using the product. Change without Notice

2
Feature
Specification
Model CD3213 CD3214
Pick up device 1/3" interline transfer CCD
Total Pixels NTSC:811(H)x508(V)/PAL:795(H)x596(V)
Effective Pixels NTSC:768(H)x494(V)/PAL:752(H)x582(V)
Resolution 600TVL
Lens mechanism 3 Axis
Synchronizing
System
2:1 Internal
Scanning System NTSC: 525 Lines / 60 Fields ; PAL: 625 Lines / 50 Fields
S/N Ratio 52dB
Electronic Shutter
Auto:1/60 (1/50) ~1/100,000 sec / Flk
Min. Illumination 0.07Lux / F1.6 (IR OFF) 0Lux / F1.6(IR ON)
Video Output 1.0Vp-p / 75 ohm composite
White Balance ON
BLC ON
Gain Control ON
OSD Yes
Day & Night ON
1. 600 TVL High Resol ution Camera.
2. 3 Axis Camera Mechanism Adjustment Design.
3. 2.8~10mm Varifocal Lens with High Clarity.
4. 21 IR LEDs for an Effective 15M Viewing Distan ce.(CD3214)
5. Electronic True Day-and-Night Color/Mono Switching.
6. Low Power Consumption Prolongs Product Liability.
7. Solid and Compact Aluminum Die-Casting for Vandal Proof.
8. Support both Side and Top Cable Wiring Method.
9. Class IP-66 Rated Weatherproof Function.
10.RoHS and WEEE Compliance.

3
Sense-up On / Off (Selectable limit ~ 256X)
Lens Type Vari-Focal : 2.8~10mm
IR distance N/A 15M(21pcs IR LEDs)
Power Source DC12V/AC24V ± 10% / 500mA DC12V/AC24V ± 10% / 1A
Power
Consumption
1.6W 5.16W
Current 130mA 430mA
Operating
Temperature
-10℃ ~ 50℃ (14℉ ~ 122 ℉)
Storage
Temperature
-20℃~ 70℃ (-4℉ ~ 158℉)
Dimension 99.6(H)x140(Diameter)mm
Weight N.W.:/G.W : 0.63kg / 0.73kg
Weatherproof IP66
4
OSD menu
LENS menu:
LENS
DC
BRIGHTNESS: 0 ~100
RETURN
5
EXPOSURE menu :User can adjust electronic shutter speed, auto gain control, sensitivity-up level,
back light compensation (BLC) &Highlight Suppression (HSBLC) adjust and Digital WDR.
EXPOSURE
SHUTTER
BRIGHT
A
GC
FLK, 1/60 ~1/100000, X2~256
OFF, LOW, MIDDLE, HIGH
SENS-UP
BLC
D-WDR
RETURN
A
UTO, X2 ~ X256
HSBLC
BLC
LEVEL:
LEFT/ RIGHT:
WIDTH:
TOP/BOTTOM:
HEIGHT:
GAIN: LOW, MIDDLE, HIGH
LEFT/ RIGHT:
WIDTH:
TOP/BOTTOM:
HEIGHT:
INDOOR
OUTDOOR
6
WHITE BAL menu:User can adjust white balance effect, the function like as Auto Tracking White
balance (ATW), Auto White Balance adjust (AWB), Indoor or outdoor environment.
DAY NIGHT menu:User can adjust camera auto change threshold with day and night level to
change Color or Black/White mode and force assign Color or Black/White type. (Not for
MiniDome03)
WHITE BAL
ATWAWBA
WCÆSET
MANUAL
INDOOR
OUTDOO
R
BLUE 0~100
RED0~100
RETURN
DAY NIGHT
A
UTO
COLOR
B/W
DELAY 0 ~ 63
S –
LEVEL: 0 ~ 100
E –LEVEL: 0 ~ 100
BURST: ON/OFF
RETURN
RETURN
EXT

7
3DNR menu: User can adjust 3-Digital Noise Reduction level to improve night environment effect.
Not for MiniDome01/03/04/05
SPECIAL menu: User can setup Camera title, Digital effect ( Freeze, Mirror, V-FLIP, Rotate),
Gamma ratio, Negative image effect, Motion area adjust, Privacy mask area adjust and language
function. See next page
3DNR
ON
OFF
LEVEL: 0 ~ 100
RETURN

8
SPECIAL
CAM TITLE
D –EFFECT
MOTION
PRIVACY
SYNC
LANGUAGE
RETURN
ON/OFF
FREEZE
MIRROR
D –ZOOM x1.0 ~ x32
GAMMA 0.05 ~ 1
NEG. IMAGE
A
REA SELECT: AERA: 1 ~ 4
A
REA DISPLAY: ON/OFF
LEFT / RIGHT: 0 ~ 100
WIDTH: 0 ~ 100
TOP / BOTTOM: 0 ~ 100
HEIGHT: 0 ~ 100
SENSITIVITY: 0 ~ 40
MOTION VIEW: ON/OFF
A
REA SELECT: AREA: 1 ~ 8
A
REA DISPLAY : ON / OFF
LEFT / RIGHT: 0 ~ 100
WIDTH: 0 ~ 100
TOP / BOTTOM: 0 ~ 100
HEIGHT: 0 ~ 100
COLOR: 0 ~15
INT
ENGLISH / JAPANESE / CHINESE

9
ADJUST menu:User can adjust camera sharpness and color parameter.
RESET menu:User can reset all camera setting back to factory default.
1. EXIT menu:Exit OSD menu.
OSD keypad illustration:
1. This bottom on the main board is to control up of the OSD function.
2. This bottom on the main board is to control left of the OSD function.
3. This bottom on the main board is to control enter of the OSD function.
4. This bottom on the main board is to control right of the OSD function.
5. This bottom on the main board is to control down of the OSD function.
Dimension
Please use suitable adapter DC12V ± 10 %,500mA. Otherwise, this product will be damaged.
ADJUST
SHARPNESS: 0 ~ 31
BLUE: 0 ~ 100
RED: 0 ~ 100
RETURN
RESET
FACTORY RESET
RETURN
BEFORE ATTEMPTING TO HOOK UP AND OPERATE,
PLEASE READ THIS MANUAL.
CAUTIONS
(1) To reduce the risk of electric shock, do not remove cover(or
back). No user serviceable parts inside. Refer servicing to
qualified service personnel.
(2) Never point the camera toward the sun and do not expose
the lens directly to sun or strong light as this may damage
the pick-up device.
(3) Handle this camera with care. Avoid any shock or impact to
the camera as it contains sensitive parts which can be
damaged by improper handling.
(4) Requires a proper operating environment this camera is
designed for indoor use. This allowable temperature range
for operation of this camera is be tween 14 to 122 and ℉℉
the allowable humidity is 85% maximum. If the camera is to
be placed in an extremely dusty location, a special housing
may be necessary to protect the camera and lens.
85-CD3213-A002G-A
 Loading...