

Page 1
Advanced Features
VUDU HD Movies
Brief introduction
VUDU i s an on-deman d service t hat offers high defi nition movi es on Web.
For en joying more m ovies, pl ease regist er and log in
to you r account.
Operation instructions
You can access th e VUDU HD Movie s by the foll owing
meth ods:
1. Pre ss the [HICAS T@] butto n to display ne twork
main m enu.
2. Pre ss [◄/►] butt on to selec t the VUDU HD Mov ies
Press Ent er t o launch VU DU M ovies.
icon a nd press [ENT ER] to ente r it, or press [V UDU]
butt on to enter dir ectly.
3. Sel ect the Sign Up i con on the VU DU HD Movies
inte rface, and pr ess [ENTE R] to enter.
4. Ent er your email a ddress to s tart your VUD U
expe rience. ( R
Addr ess”
5.
Pres s [▲/▼/◄/►] butto n to move the c ursor to
sele ct service it ems in the VU DU HD Movies
home p age, and pres s [ENTER] b utton to conf irm.
6. In th e process of wa tching a mo vie, press [E NTER]
butt on to display /exit the t ool bar, press [ ◄/►]
butt on to select th e functio n icon, and pre ss
[ENT ER] button to c onfirm.
7. Press [RETURN] button to return the upper menu, or
press [EXIT] button to close the menu.
efer t o “How to Input t he Email
)
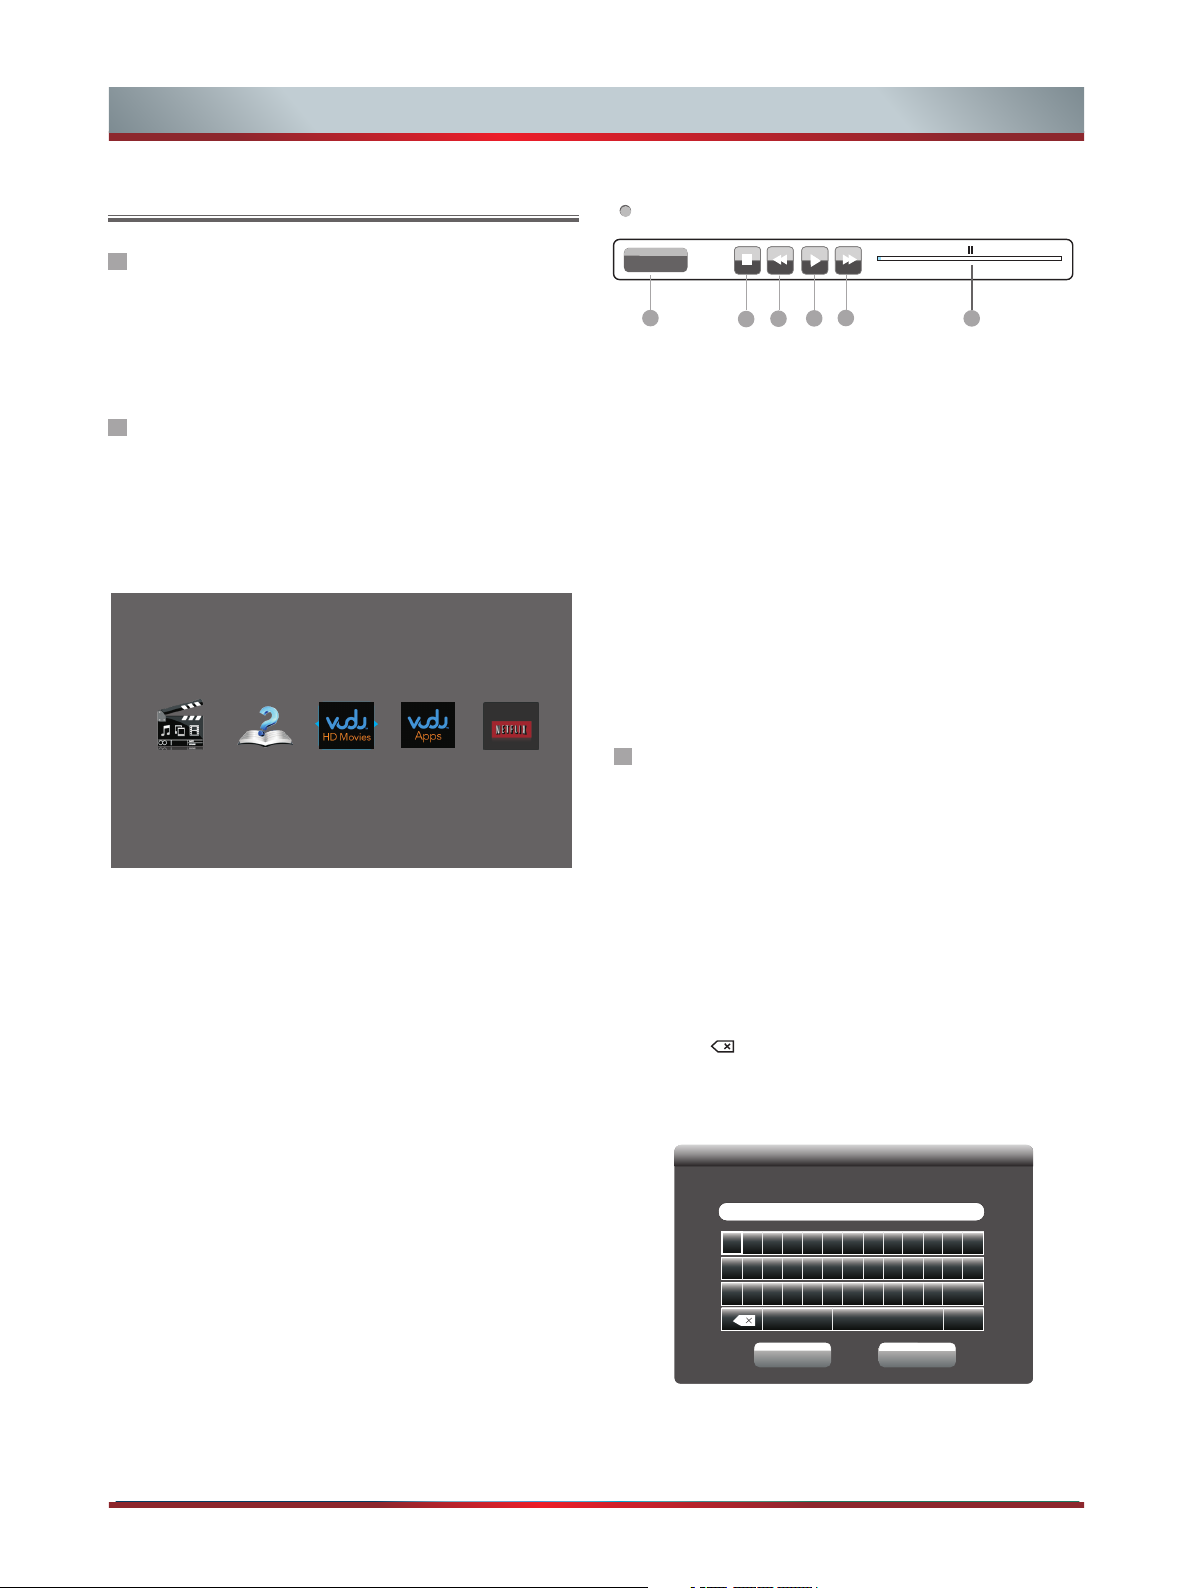
Tool Bar
Chap ters
1 2
3
4
0:00 :57
5 6
1:29 :19
1. Cha pters
Then p ress [ENTER ] button to e nter and pres s
[◄/► ] button to sel ect the cha pter.
3. Fas t backward
Then p ress [ENTER ] button to s elect the bac kward
spee d. You can pres s [◄ ◄] button t o achieve the
func tion.
4. Pla y/Pause
You can press [►I I] button to pl ay/paus e
dire ctly
when t here is no cont rol bar on th e screen.
5. Fas t forward
Then p ress [ENTER ] button to s elect the for ward
spee d. You can pres s [► ►] button t o achieve the
func tion.
6. Pro gress bar
The pr ogress bar wh en playin g.
How to Input the Email Address
1. Press [▲/▼/◄/►] button to move the cursor to the
address bar and press [ENTER] button to confirm.
2. Press [ENTER] button to display the keyboard.
There are some shortcuts on the bottom of the keyboard
so that you can input part of the address often used
directly.
Other keys are used as the keyboard of your computer.
3. Press [▲/▼/◄/►] button to move the cursor to the
characters you want to select and then press [ENTER]
button to confirm.
If you want to delete one character, move the cursor to
Back key and press [ENTER] button to confirm.
4. Move the cursor to Done key and press [ENTER] button
to confirm if you have completed the address input.
Then the new address will appear on the address bar.
Enter your emai l address
Enter your email address to begin enjoy ing VU DU!
Enter email address
a b c d e f
n o p q r s
0 1 2 3 4 5
Symbols
g h I j k l m
t u v w x y z
@
6 7 8 9
Space
.com
Shift
23
c
e
d
Cancel
f
Done
Shor tcuts
Page 2
Advanced Features
Website instructions
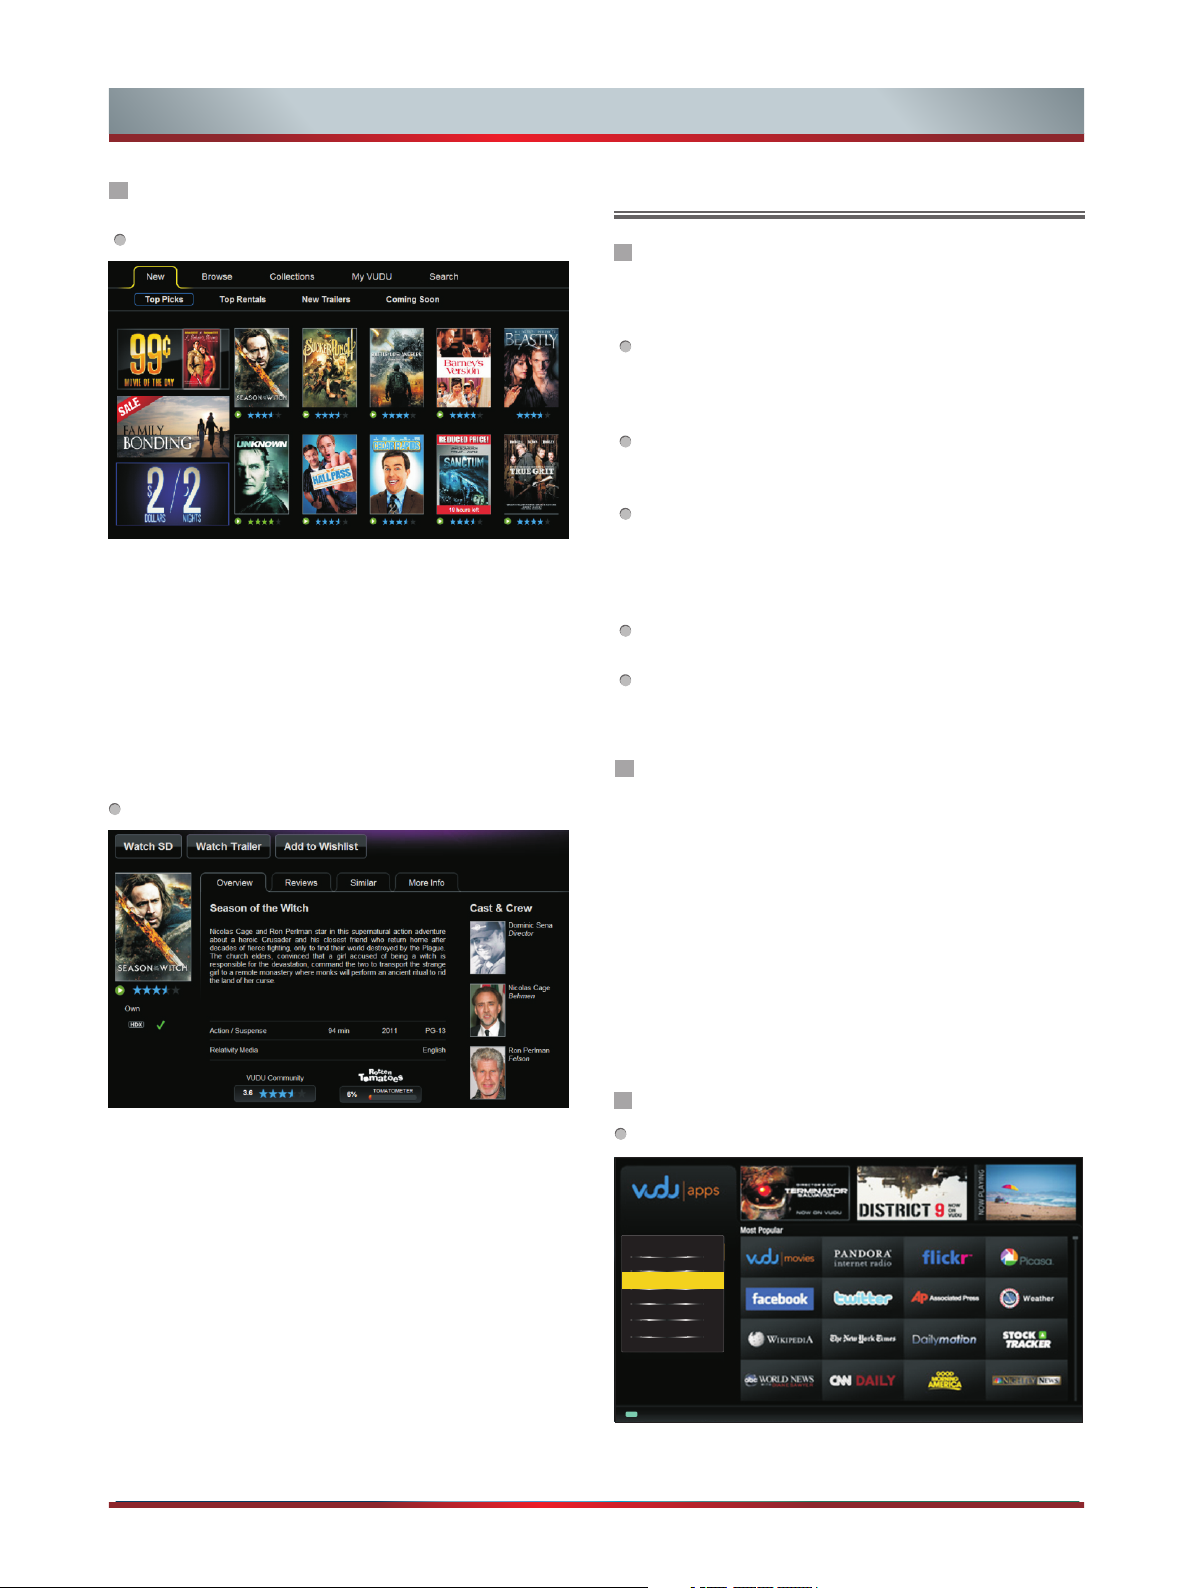
VUDU H D Movies home p age
New: T he latest mov ies
Top Picks: Mo stly pick ed up movies
Top Rentals : Mostly re nted movies
New Tra ilers: Late st traile rs
Comi ng Soon: The movi es can be picke d soon
Brow se: Browse al l the movie s in VUDU
Coll ections: Br owse the cl assified mo vies
My VUD U: The movies u ser bough t or rented
Sear ch: Search mo vies in VUD U
VUDU H D Movies subp age
VUDU Apps
Brief introduction
VuD u Apps - The applica tions pla tform for con nected
TVs
VuDu Apps provi des custome rs with acc ess to a
wide r ange of Inter net servi ces and appli cations
incl uding strea ming vide o, music on dem and, phot o
brow sing, socia l network ing and more.
VUDU Ap ps supports t he develo pment of
resp onsive apps d esigned s pecifical ly for use on
home H D televisio ns.
VUDU Ap ps uses a uniqu e, cloud- based
arch itecture op timized f or consumer e lectron ics
devi ces, includ ing deliv ering the lat est appli cations
to con sumers with out the nee d for softwar e
down loads or freq uent firm ware update s.
Devi ces featuri ng VUDU Apps * will begin sh ipping
to con sumers sinc e the first q uarter of thi s year.
VUDU Ap ps** allo ws you to see app u pdates whil e
watc hing live tel evision .
Operation instructions
You can access th e VUDU Apps by the f ollowin g
meth ods:
1. Pre ss the [HICAS T@] butto n to display ne twork
main m enu.
2. Pre ss [◄/►] butt on to selec t the VUDU Apps icon
and pr ess [ENTER] t o enter it.
3. Pre ss [◄/►/▲/▼] butt on to selec t the widget yo u
want t o access, and p ress [ENT ER] to enter it .
4. You can p ress [RETUR N] to retur n the upper men u
or pre ss [EXIT] but ton to clos e the Widgets d isplay.
Rent /Own: To rent or bu y current m ovie
Wat ch Trailer : To watch t railer of t he current mo vie
2 Minu te Preview: To prev iew current m ovie for 2
minu tes
Add to Wis hlist: Add c urrent movi e to your wishl ist
Rate /share: To rate c urrent mo vie or share it t o your
frie nds in Facebo ok or Twiter
Over view: The overv iew of curren t movie
Cast &Crew: The cast a nd crew of curr ent movie s and
find t heir relate d movies
Revi ews: The revi ews of curr ent movie
Simi lar: The simila r types of movi es
More I nfo: The deta il inform ation of curr ent movie
Website instructions
VUDU Apps home p age
MY FAVOR ITES
MOST P OPULA R
NEWE ST
BROW SE BY GEN RE
SHOW T ICKER
INFO & S ETTIN GS
Acti on Menu
24
15
Page 3
Advanced Features
My fav orites: The use r's favorit e Apps
Most p opular: The mos t popular Apps i n VUdU
Newe st: Th e newest App s in VUdU
Brow se by genre: Br owse Apps by g enre
Show Ticke r: Show the Ap ps at the botto m of screen
whil e watching TV
Info &settings : VUDU Apps sy stem inform ation
Netflix
Brief introduction
This f unction all ows you to en joy Netflix t hrough th e
Inte rnet. Netfl ix is an onli ne DVD and Blu- ray Disc
rent al service, o ff ering renta l-by mail a nd streamin g
inst antly to Netf lix membe rs.
NOTE
For mo re informat ion on Netf lix visit
http ://www.net flix.co m/help or log in to your Ne tflix
acco unt and click " Help" at th e top of the page .
The pl aying fluen cy and pict ure quality d epend on
the ne twork speed a nd origin al bit rate.
Illu strations a re exampl es and may differ f rom the
actu al Netflix sc reens. The disp lay and ope rations
may ch ange as a resul t of a softwa re update. Us e
Netf lix without c onfigur ing a proxy ser ver. Part or
all of N etflix may no t be availa ble when conn ecting
to the I nternet via a p roxy serv er.
5. In th e process of wa tching a mo vie, press
oper ational but tons to con trol the movi e.
6 Press [RETURN] button to return the upper menu, or
press [EXIT] button to close the menu.
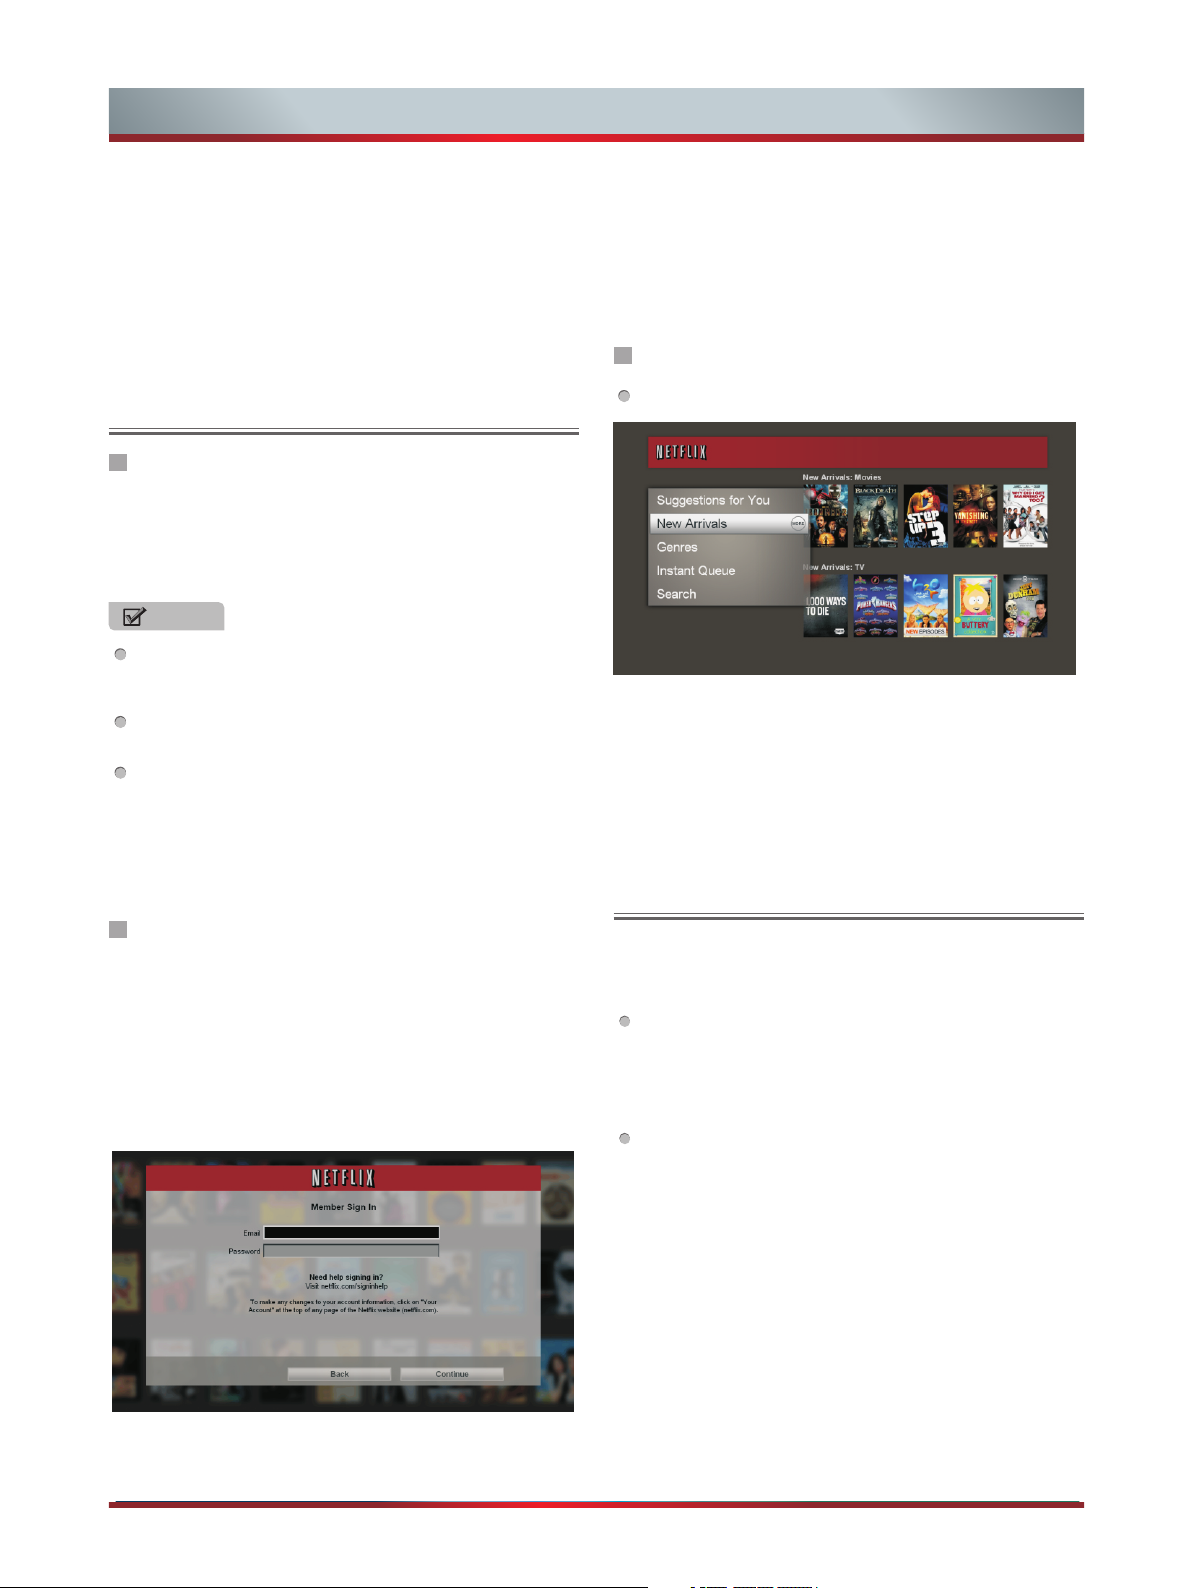
Website instructions
VUDU H D Movies home p age
Sugg estions for y ou: The movies su ggested f or you
by Net flix
New Arrivals : The ne w movies in N etflix
Genr es: Browse mo vies in differe nt genres
Inst ant Queue: Mo vie wishl ist
Sear ch: Search mo vies in Net flix
Others
Operation instructions
1. Pre ss the [HICAS T@] butto n to display ne twork
main m enu.
2. Pre ss [◄/►] butt on to selec t the Netflix i con and
pres s [ENTER] to en ter it, or pr ess [NETFLI X]
butt on to enter Net flix webs ite directl y.
3. Input Email and Password in following window to
sign in. ( R )
4.
Pres s [▲/▼/◄/►] butto n to move the c ursor to
sele ct service it ems in the Ne tflix home pa ge, and
[ENT ER] button to c onfirm.
efer to “How to Input the Email Address”
If you e ncounter an y other iss ues during ac tivatio n,
refe r to the follow ing onlin e resources :
VUDU c ustomer car e: When you n eed to talk liv e
with s omeone, con tact VUDU c ustomer car e at 1888- 554-8838. To lear n more about VU DU, visit t he
freq uently Asked q uestion s at
www.v udu.com/s upport.
Netf lix custome r service : US: (866) 716 -0414
Cana da: (866) 348 -2353
25
Page 4

Advanced Features
View the shared files on TV
1. Press [INPUT] button to select the DMP and press
[ENTER] button to enter DMP mode.
2. The DMP menu appears on the screen as follow.
Then you can view the shared folders.
You can see more operation of DMP in the next chapter.
DMP C:\
All
Vid eo
Music
Pictu re
Book
Sel ectOKEnt er
Ret urn F1 F2 F3
Exit
Ret urn
Med ia Type Pag e Up/Do wn
Digital Media Play
Plea se note that Hi sense wil l not assume an y
resp onsibilit y for any los t data and cann ot guaran tee
perf ect compati bility wi th all mass sto rage devi ces. Be
sure t o insert the US B disk or mob ile hard disk w ith
stan dard USB2.0 p ort.
Pres s [INPUT] but ton to disp lay the INPUT m enu,
pres s [▲/▼] button to hig hlight th e DMP source,
then p ress [ENTER ] button to c onfirm. (If y ou want
to exi t DMP, you c an press EX IT but ton or pres s
INPU T butt on to switc h to other sour ces).
Pres s Red button to s witch the m edia type.
Pres s Yellow/Bl ue to turn to the p revious/n ext
page .
1. Pre ss [▲/▼/◄/►] butt on to selec t the folder/ file you
want t o open and then p ress OK to en ter/play th e
fold er/file.
2. Pre ss Exit to retu rn to the pre vious direc tory.
Inf ormat ion
01/ 01
Tool Bar
1
►
►
►►
I◄III◄
►►
00: 00:36 /00:2 0:01
2 3 4 5 6 7 8 9 10 11
1. The progr ess bar whe n playing.
2. Pla y/Pause.
You can press [►I I] button dir ectly to pl ay/pause
when t here is no cont rol bar on th e screen.
3. Pla y the previou s video.
You can press [ ] butt on directly t o achieve t he
func tion when no co ntrol bar d isplay on the s creen.
4. Pla y the next vide o.
You can press [ ] butt on to achieve t he functi on
when n o control bar d isplay on t he screen.
5. Fas t backward.
Then p ress [ENTER ] button to s elect the bac kward
spee d. You can pres s [◄ ◄] button t o achieve the
func tion.
6. Fas t forward.
Then p ress [ENTER ] button to s elect the for ward
spee d. You can pres s [► ►] button t o achieve the
func tion.
7. Sel ect time to pla y
1) Pre ss [◄/►] butt on to selec t the positio n you
want t o set.
2) Pre ss 0~9 to set the t ime and pre ss [▲/▼/◄/►]
butt on to adjust it .
3) Pre ss [ENTER] bu tton to con firm and the vi deo
will t o play at the tim e you have se t.
8. Pla y list
1) Pre ss [Yello w/Blue] but ton to page a nd press [▲
/▼] butt on to select th e video.
2) Pre ss [ENTER] bu tton to con firm. And pres s
[EXI T] button to ex it the menu .
9. Opt ions
1) Pre ss [▲/▼] button to se lect the op tions in the
menu .
2) Pre ss [◄/►] butt on to selec t the setting s.
3) Pre ss [ENTER] bu tton to con firm.
■
Enjoy Video Files
1. Pre ss [Red] butt on to switc h to All or Video .
2. Pre ss [▲/▼/◄/►] to sel ect the vid eo you want to
view.
3. Pre ss [ENTER] bu tton to pla y the video.
4. Pre ss [■/Exit] but ton to exit t he video and re turn to
the pr evious dire ctory.
5. Pre ss Info butto n to displa y/exit the vi deo contr ol
bar.
6. Pre ss [◄/►] butt on to selec t the functio n icon and
then p ress [ENTER ] to confir m.
Optio n Se t
Exit
Once
User
NO
I/I
Exi t
Repea t
Pictu re Mode
Subti tle Sel ec tio n
AUDIO I
Sel ectOKEnt er
10. Pr ogram info
It all ows you to view t he progra m informati on.
11. Stop play back
26
Page 5

Advanced Features
NOTE
You can press Zoo m button to cha nge the asp ect
Norm al , Full Scree n , Origina l Size
rati o( ) while
play ing the video .
Playable format list
Files Format
Photo
Music
Video
Playable format
JPG
Mp3
MPEG1(.dat), MPEG2(.mpg/.ts),
XVID (.avi), H.264(.mov/.ts/.mkv)
Enjoy Music Files
1. Pre ss [Red] butt on to switc h to All or M usic.
2. Pre ss [▲/▼/◄/►] butt on to selec t the music you
want t o view.
DMP C:
Browse the Pictures
1. Pre ss [Red] butt on to switc h to All or P icture.
2. Pre ss [▲/▼/◄/►] butt on to selec t the picture y ou
want t o view.
3. Pre ss [ENTER] to b rowse the p icture.
4. Pre ss [■/EXIT] but ton to exit t he picture an d return
to the p revious dir ectory.
DMP C:
All
Vid eo
Music
Pictu re
Book
Tool Bar
Ret urn F 1 F 2 F3
a1. jpg a 2.jpg a 3.jpg a4.jp g
Sel ectOKEnt er
I◄
I◄
Exit
Ret urn Med ia Typ e Pag e Up/Do wn
■
II
Inf ormat ion
a3. jpg
640 :480
01/ 04
All
Vid eo
Music
Pictu re
Book
Sel ectOKEnt er
Ret urn F 1 F2 F 3
a1. mp3 a2 .mp3 a3. mp3 a4.mp 3
Exit
Ret urn Med ia Typ e Pag e Up/Do wn
Inf ormat ion
a3. mp3
00: 04:13
01/ 01
3. Pre ss [ENTER] to p lay the mus ic.
4.Al l the music is li sted on the l eft. Press [▲/▼] bu tton
to sel ect the music a nd press [► ] button to mar k it.
You can press [Yellow/Bl ue] button to t urn to the
prev ious /next pa ge.
-Pre ss [Green] bu tton to sel ect the Mode:
Mark /All/Sing le.
Curre nt P layin g: a 3.mp3
a1. mp3
►
a2. mp3
a3. mp3
a4. mp3
►
Mod e: None
Sta tus: Pl ay
00: 00:24 /00:0 4:13
Titl e: a3
Art ist:
Alb um:
Gen re: Oth er
Year:
Dur ation :00:0 4:13
Nex t:
1 2 3 4 7 8 9 105 6
When b rowsing the p ictures
Pres s [ENTER] but ton to disp lay/exit th e picture
cont rol bar, and pre ss [◄/►] bu tton to selec t the
func tion icon and t hen press [ ENTER] butt on to
conf irm.
1. Bro wse the previ ous pictu re. You can press [ ]
butt on directly t o achieve t he function w hen no
cont rol bar displ ays on the sc reen.
2. Bro wse the next pi cture. You ca n press [ ] butto n
dire ctly to achie ve the func tion when no co ntrol bar
disp lays on the scr een.
3. Allo ws the pictur e to rotate 9 0 degrees clo ckwise.
4. Allo ws the pictur e to rotate 9 0 degrees
anti clockwise .
5. Pla y/pause. You ca n press [EN TER] button d irectly
when n o control bar o n the scree n.
6. Sto p browsing th e picture . You can press [■] but ton
dire ctly when no co ntrol bar o n the screen.
7. Zoo m in the pictur e.
8. Zoo m out the pictu re.
01/ 01
Sel ect
►II
Mar kMod e Pag e Up/ Dow n
Pla y/Pau se
Exit
5. Pre ss Exit to exit t he music pl ayback inte rface.
Ret urn
27
Page 6

Advanced Features
9. Opt ion Set. Pres s [▲/▼] button to s elect the opt ions
and pr ess [◄/►] but ton to set th em.
Spee d - Allows you to br owse the pi cture at
differen t speed.
Effect - Allo ws you to set h ow the pictur e appears
on the s creen.
Back ground Musi c - Allows you t o enjoy the mus ic
when b rowsing the p ictures i f it is set On.
Opt io n Set
Speed
Eff ect
Backg rou nd Mu si c
Enter
10.P icture info . Allows you t o view the pict ure
info rmation.
Browse the Text Files
Fas t
None
On
1. Pre ss [Red] butt on to switc h to All or B ook.
2. Pre ss [▲/▼/◄/►] butt on to selec t the text you wa nt
to vie w.
DMP C:
All
Vid eo
Music
Pictu re
Book
Sel ectOKEnt er
Ret urn F1 F2 F 3
a1. txt a2 .txt a3. txt a4. txt
Exit
Ret urn M edi a Type Pag e Up/ Dow n
Inf ormat ion
a3. txt
01/ 01
3. Pre ss [ENTER] bu tton to con firm.
4. Pre ss [■/Exit] but ton to exit i t and return to t he
prev ious direct ory.
28
Page 7

Other Information
Trouble Shooting
When s omething ap pears wro ng with your TV ref er to below cha rt. If the pr oposed reme dy's do not wor k , then
unpl ug the AC cord fro m wall, wai t at least 60 sec onds, plu g AC back in and the n turn on the TV. If th e problem
stil l cannot be sol ved, plea se contact th e help line p rovided on th e warrant y card or a profe ssional tec hnician .
SYMPTOMS POSSIBLE SOLUTIONS
Check if the power cord is in the AC outlet and if it has electricity.
No sound or picture.
Check if you have pressed [POWER] button on the TV or [POWER] button on the
remote control.
Check to see if LED light is either red or blue. If illuminated, power to TV is OK.
I have connected an external
source to my TV and I get no
picture and/or sound.
When I turn on my television, there
is a few second delay before the
picture appears. Is this normal?
Picture is normal, but no sound.
Sound but no picture or black and
white picture.
Sound and picture distorted or
appear wavy.
Sound and picture is blurry or cuts
out momentarily.
Horizontal/vertical stripe on picture
or picture is shaking.
The plastic cabinet makes a
clicking type of sound." "
Check for the correct output connection on the external source and for the correct
input connection on the TV.
Make sure you have made the correct selection for the input mode for the incoming
signal.
Yes, t hi s is n or ma l. That is the TV searching for previous setting information and
initializing the TV.
Check the volume settings.
Check if Mute mode is set “on”.
If black and white picture first unplug TV from AC outlet and replug after 60 seconds.
Check Color Setting if picture is black and white.
An electrical appliance may be affecting TV s et . Tur n off any appliances, if
interference goes away, move appliance farther away from TV.
Insert the power plug of the TV set into another power outlet.
If using an external antenna, check the direction, position and connection of the
antenna.
Adjust the direction of your antenna or reset or fine tune the channel.
Check if there is interfering source nearby, such as appliance or electric tool.
"Click" sound can be caused when the room temperature changes. This change causes the
television cabinet to inflate or contract, which makes the sound. This is normal and TV is OK.
Black square appears in the center
of my television screen?
On some channels getting another
language or sometimes no sound at
all.
The Closed Caption function is set in the text mode. To remove it, access Closed
Caption from the menu screen and change the Mode setting from te xt to either CC 1
" "
or off .
That would indicate that the MTS mode on your unit is set to S AP mode. We su gg es t
setting the MTS mode to either Ste re o or Mo no . For further instruction, ple as e se e
" " " ”
Audio Adjust or MTS/SAP in y ou r us er m an ua l.
SAP is Second Audio Program. It's a second audio channel that is usually used for a
second language or descriptive audio for the visually impaired.
MTS stands for Multichannel Television Sound, a standard that allows the encoding
of 3 channels of audio within a standard NTSC (analog) video signal to a television. A
television that is able to receive MTS Stereo allows you to watch television with
stereo sound.
" " " "
" "
" " " "
" "
29
Page 8

Other Information
Trouble Shooting
SYMPTOMS POSS IBLE SOLUTIONS
Check the cable connection for an incoming signal. Make sure the signal is coming
Not getting all of my cable channels
on the television or I'm only getting
13 channels.
V
[CH / V] don't work when I set the
Channel to Cable? They work with
the Air setting?
Remote control does not work.
OK. Best way to confirm signal is to use another TV and/or contact your cable
company.
Reprogram your channels. Press [MENU] button on your TV remote control, change
Input Source setting to “Cable”, then use “Auto Channels Search” to reprogram your
channels.
After switching to Cable, please auto program the channels. The TV wi ll “ re me mb er ” al l
the channels then the TV will allow you to surf the channels with buttons.
Confirm that TV still has power and is operational.
Change the batteries in the remote control.
Check if the batteries are correctly installed.
Clean the front of the remote control (LED window).
If using a universal remote, be sure to select the TV mode on the remote.
If the remote still does not work:
-remove and reinstall the batteries correctly to reset the remote or install new batteries.
-press TV and then Power to turn on the TV. With a universal remote if you have reset
or changed the batteries you will need to reprogram the remote for the other units.
Check if there is obstruction between the remote control and the TV.
TIP: If you have a digital camera/camera phone, you can aim the front of the remote at
camera lenses (at this time, the camera should set on camera mode, not play mode).
Observe the camera screen while pressing a button on the remote control; you should
see flashing light on the screen. If there is no light observed, the remote control is not
working. You need to repair or replace the remote control.
V
[CH / V]
Network connection fail.
Connect VUDU/netflix fail.
Log out VUDU/Netflix or change log
in account.
DLNA does not work.
Check network physical connection, make sure connection is correct.
Enter "menu","Settings","Network","Configuration" , make sure configuration is
correct according to your network service provider.
Enter "menu", "Settings", "Network", "Configuration", "Connection Test" item to make
sure that network connection test is successful.
Check network connection is correct, both physically and configuration.
Enter "menu", "Settings", "Network", "Configuration", "Connection Test" item to make
sure that network connection test is successful.
For VUDU: Enter "menu", "Settings", "Network", "Configuration", "Applications",
"VUDU", "Deactivation" item to reset VUDU account.
For Netflix: Enter "menu", "Settings", "Network", "Configuration", "Applications",
"Netflix", "Deactivation" item to reset Netflix account.
For VUDU:
1. Press [EXIT] button on remote to exit VUDU.
2. Enter "menu", "Settings", "Network", "Configuration", "Applications", "VUDU",
"Deactivation" item to reset VUDU account.
For Netflix:
1. Press [EXIT] button on remote to exit VUDU.
2. Enter "menu", "Settings", "Network", "Configuration", "Applications", "Netflix",
"Deactivation" item to reset Netflix account.
Check network connection is correct, both physically and configuration.
Make sure DLNA server (PC or Mac) has shared media content and allow TV to
access shared media.
Enter "menu", "Settings", "Network", "Applications", turn on "DLNA".
Enter DMP source to find shard contents. Th e me th od i s th at s el ec t "D MP " so ur ce b y
using [INPUT] button on remote or press [HICAST@] button and then select "MultiMedia" Icon.
30
Page 9

Other Information
General
NOTE
Features, appearance and specifications are subject to change without notice.
Mode l Name
Withou t stand
Dime nsion
With sta nd
Weight
LCD Pa nel Minimum
size ( diagonal)
Scre en resoluti on
Audi o power
Powe r consumpti on
Powe r supply
Receiving systems
Environmental conditions
Withou t stand
With sta nd
Anal og
Digi tal
F40K 26EW
Widt h: ( )
Heig ht: ( )
Dept h: ( )
Widt h: ( )
Heig ht: ( )
Dept h: ( )
32.2 l bs 14.6 kg
37.5 l bs 17.0 kg
40 inc hes
1920 1080×
7 W+7 W
75 W
120V ~ 60 Hz
NTSC
ATSC, 8-VSB , Clear-Q AM
Temper ature: 41 ~ 95 (5°C~ 35 °C), Humi dity: 20%-8 0% RH°F °F
Atmo spheric pre ssure: 86 kPa-106kP a
37.3 i nches 948 mm
23.2 i nches 589 mm
1.5 in ches 39 mm
37.3 i nches 948 mm
25.8 i nches 655 mm
9.9 in ches 251 mm
( )
( )
Component Input
VGA Input
HDMI
480I , 480P, 720P/6 0Hz
1080 I/60Hz, 108 0P/60Hz
VGA( 640×480/6 0Hz), SVG A(800×600 /60Hz)
XGA (10 24×768/60 Hz)
RGB/ 60Hz (640×4 80, 800×6 00, 1024×76 8)
YUV/ 60Hz (480I, 4 80P, 720P, 108 0I, 1080P )
31
Page 10

 Loading...