

Hisense LHD32D50TUK User Manual
ES-A152201
1152141
A B
Important Safety Instructions Important Safety Instructions
Please read the following safeguards for your TV and retain for future reference.
Always follow all warnings and instructions marked on the television.
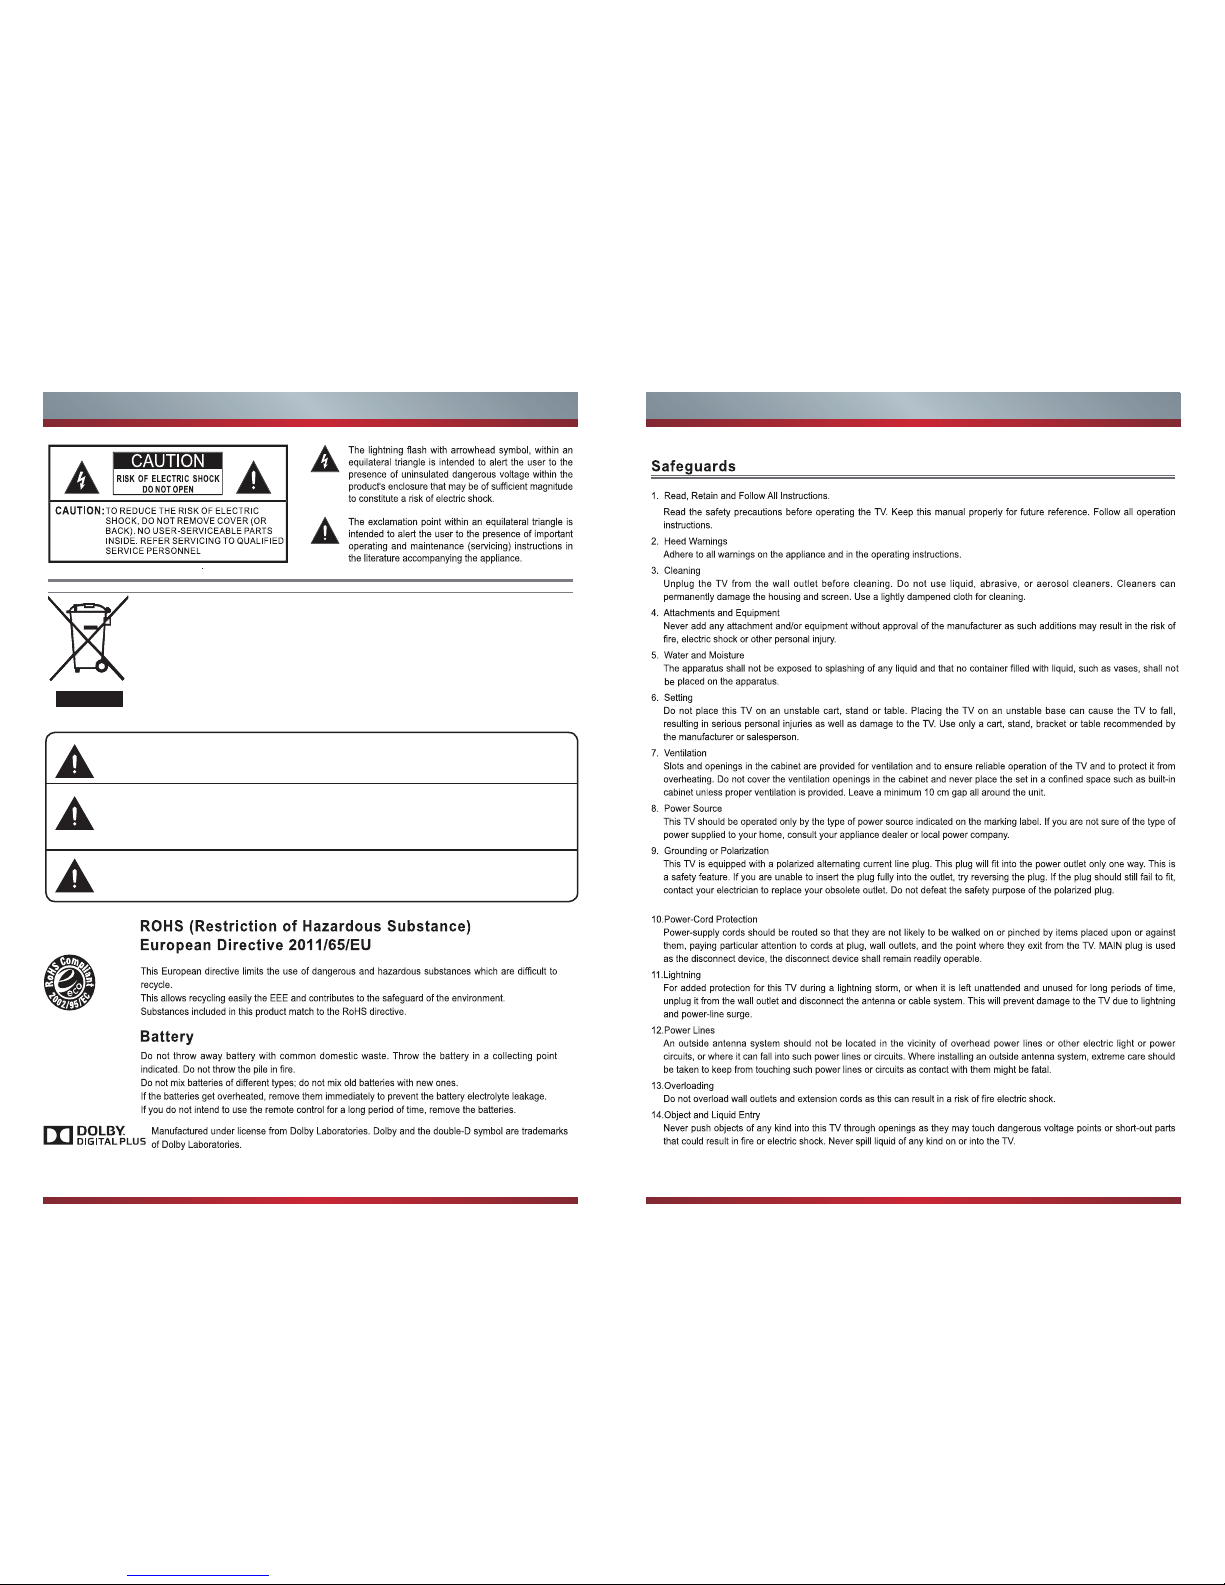
The meaning of the symbol on the product, its accessory or packaging indicates that this product
shall not be treated as household waste.Please, dispose of this equipment at your applicable
collection point for the recycling of electrical & electronic equipments waste. In the European Union
and Other European countries which there are separate collection systems for used electrical and
electronic product. By ensuring the correct disposal of this product, you will help prevent potentially
hazardous to the environment and to human health, which could otherwise be caused by
unsuitable waste handling of this product. The recycling of materials will help conserve natural
resources. Please do not therefore dispose of your old electrical and electronic equipment with
your household waste. For more detailed information about recycling of this product, please
contact your local city office, your household waste disposal service or the shop where you
purchased the product.
Main plug is used as the disconnect device, the disconnect device shall
remain ready for operating.
Incorrect replacement of the battery may lead to the risk, including the
replacement of another similar or the same type. Do not expose batteries to
heat such as sun or fire or something like that.
The device should not be exposed to dripping and spraying and it can not
be placed under objects filled with liquids.

C D
Important Safety Instructions Important Safety Instructions
To prevent the spread of fire, keep candles or other open flames away from this product at all times.
Gett ing Started
Making Connections .............................................................................
Shortcuts Instructions ..........................................................................
Frist Time Installation ..........................................................................
Basic Features
Other Information
DTV
Channel Menu.......................................................................................
Picture Menu ........................................................................................
Sound Menu .........................................................................................
Option Menu .........................................................................................
Lock Menu ............................................................................................
EPG Menu ............................................................................................
VGA
Picture Menu ........................................................................................
MEDIA
Media Operation ...................................................................................
Movie Menu ..........................................................................................
Music Menu ..........................................................................................
Photo Menu ..........................................................................................
File Menu ..............................................................................................
Trouble Shooting .................................................................................
2
7
8
10
14
17
18
20
23
25
27
27
29
30
31
32
1
Contents
2
Getting Started
NOTES
Check the jacks for position and type before making any connections. Loose
connections can result in image or color problems. Make sure that all connections
are tight and secure.
Not all A/V devices have the ability to connect to a TV, please refer to the user
manual of your A/V device for compatibility and connections procedure.
Always unplug the power cord when connecting external equipment.
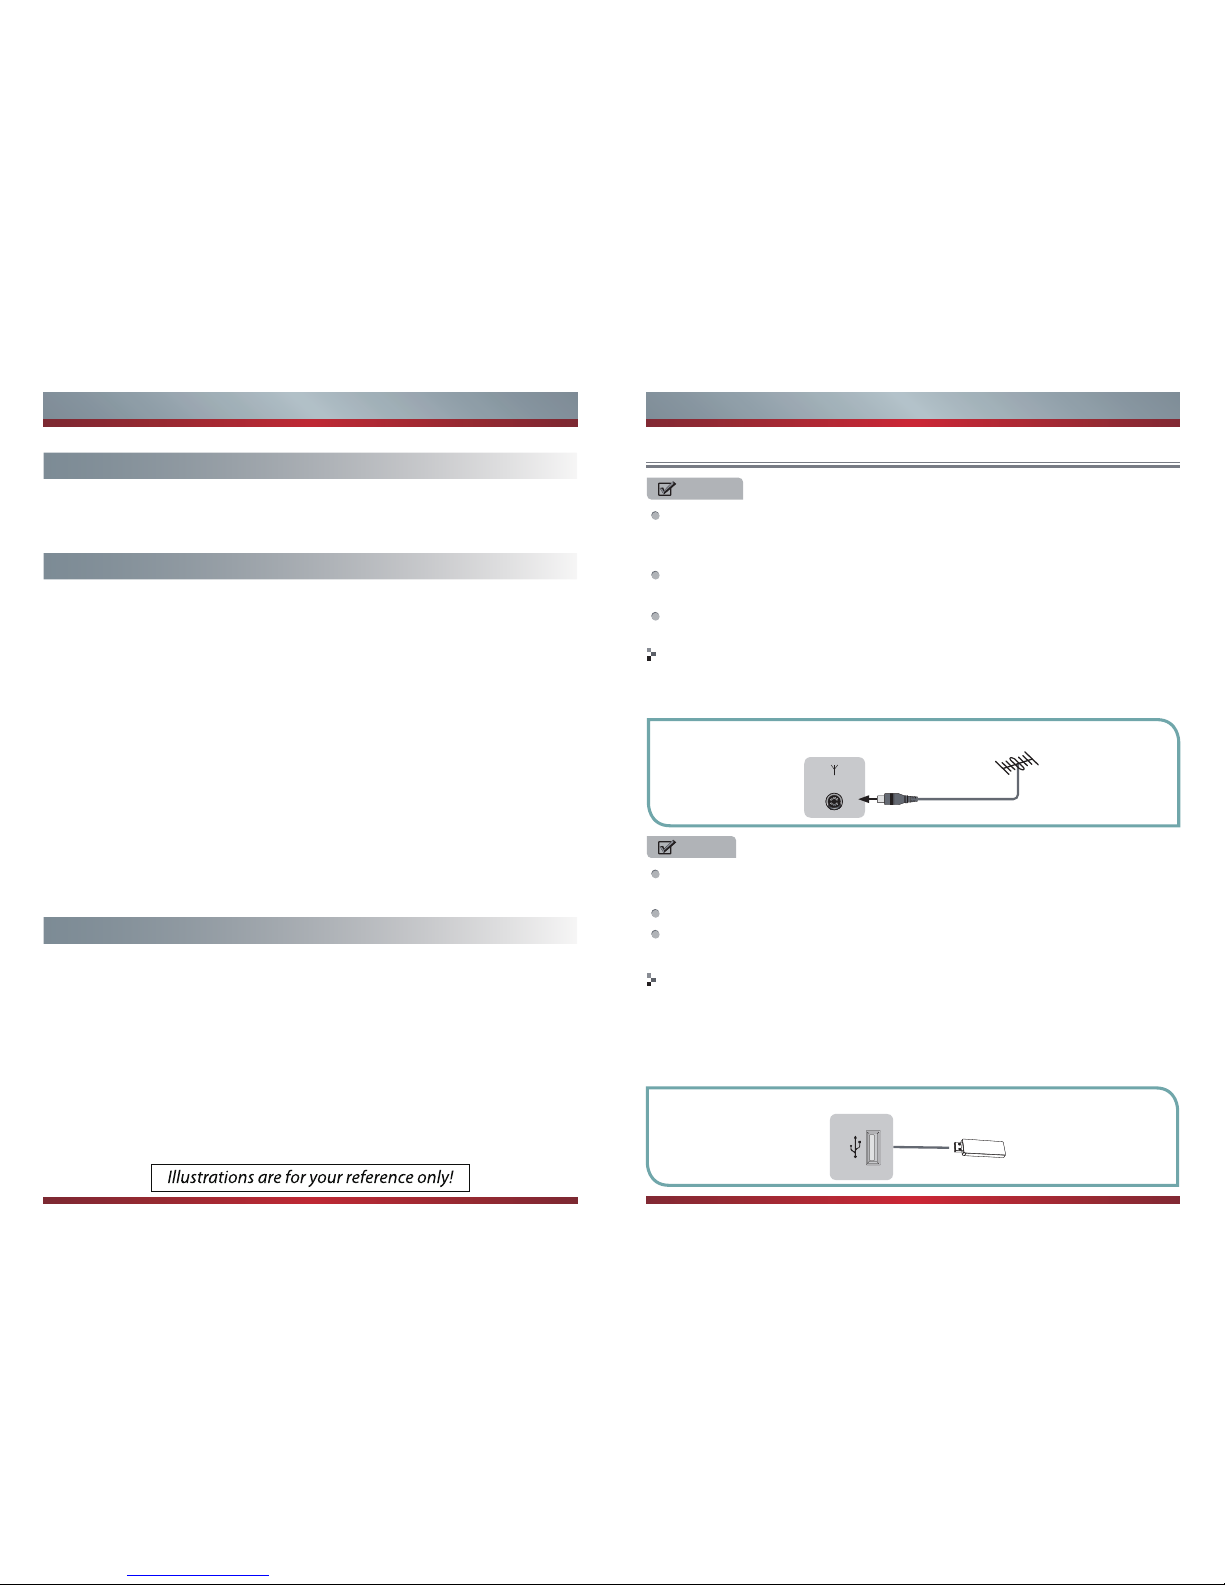
Connect to broadcast antenna or the cable TV
1. To have an optimal picture quality, it is strongly recommended to have an external
antenna or a cable TV.
NOTES
It is recommended that coaxial cable (75Ω ) be used to eliminate the interference
caused by the mismatched impedance.
The antenna cable should not be bound together with the power cord.
When using the cable TV, please insert the plug of the coaxial cable (75 Ω) directly
into the antenna outlet.
TV JACK
Connect to devices with USB interface
1. This unit has standard USB interface and can be connected to the standard USB1.1
and USB2.0 disks.
2. You can either use the USB connection cord or directly insert the USB into the USB
port at the side of the TV.
TV JACK
USB
Making Co nnections
ANT CABLE IN
4
Getting Started
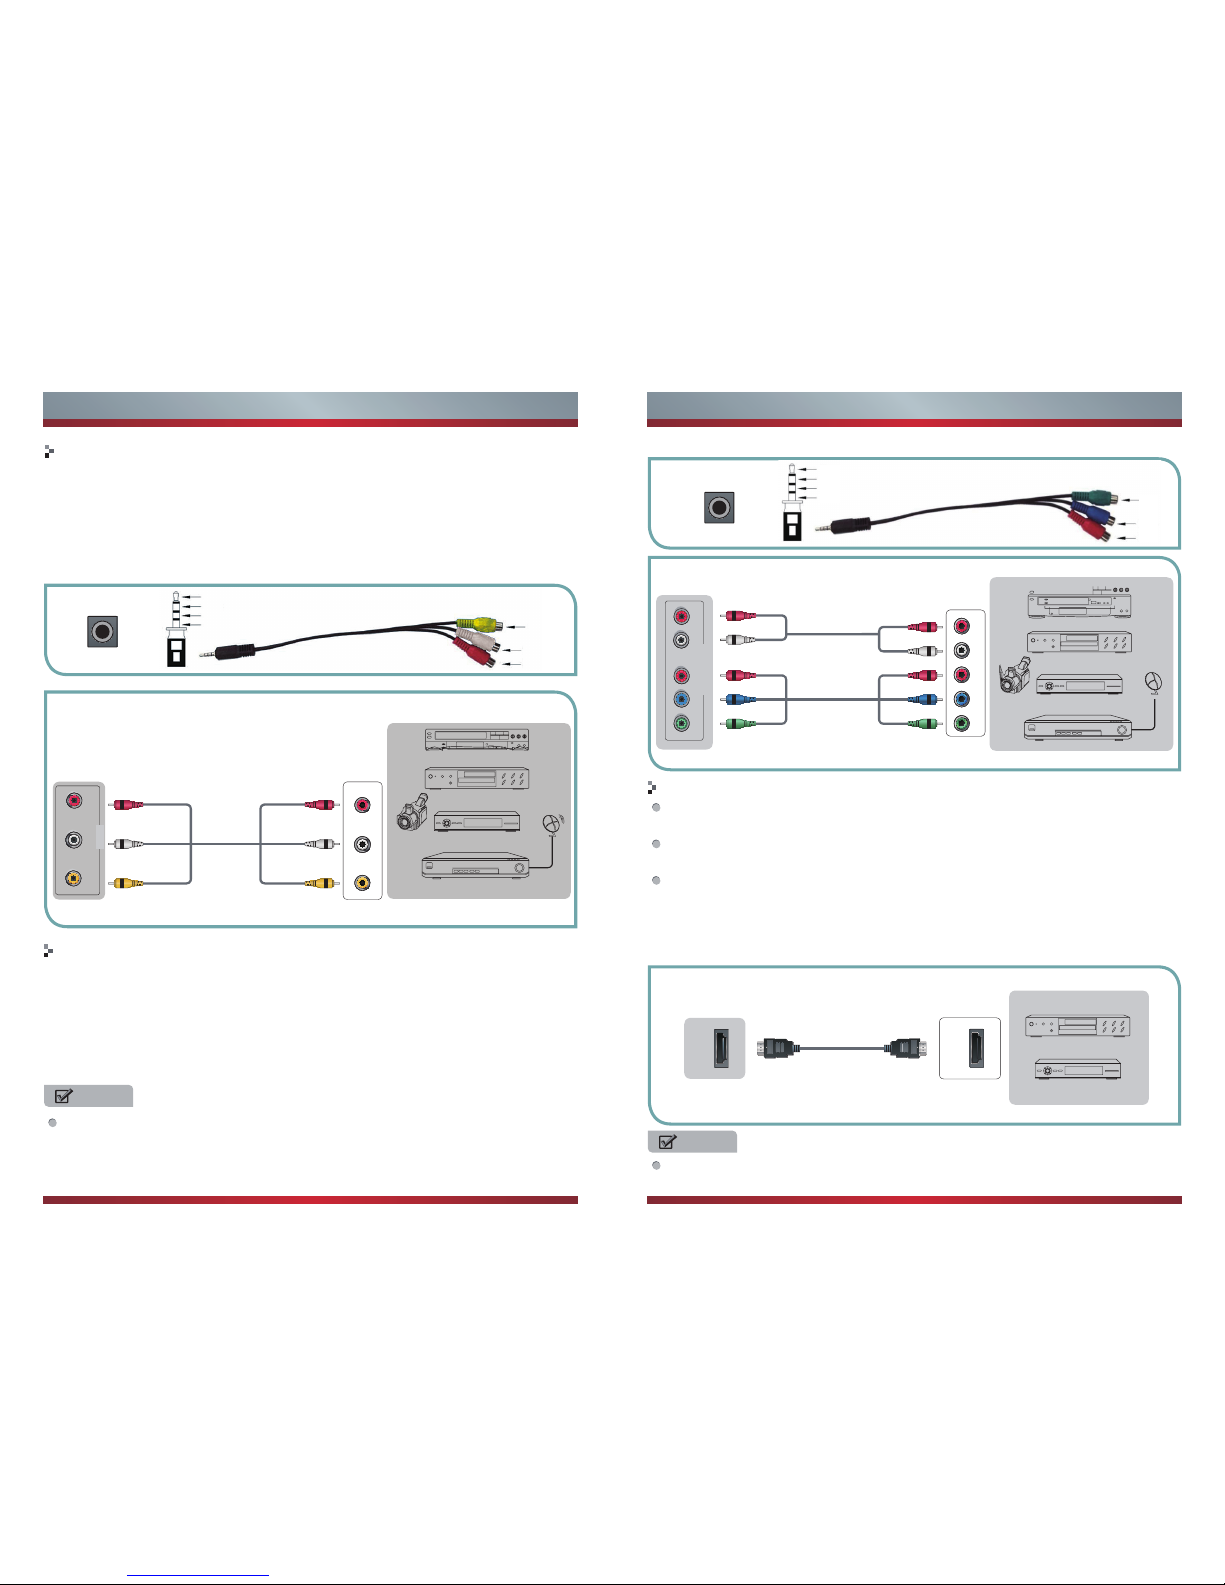
Connect to devices with HDMI interface
Support digital connections between HDMI - enabled AV devices such as PVR,
DVD, Blu-Ray, AV receiver and digital devices.
Some devices such as PVR or DVD player require HDMI signal to be set to output
in the device's settings.
Please consult your device user manual for instructions.
1. Use an HDMI cable to connect the A/V device’s HDMI output jack to the TV’s HDMI
jack.
2. Plug the connected devices into the mains socket before switching on the TV .
3. Select the corresponding source from the TV.
3
Connecting component cevices (DVD/PVR)
1. Component video(Y, Pb, Pr)transmits video as separate Y, Pb, Pr signals. Use this
connection for high-definition video signals from a DVD or other equipment.
2.
Connect Component inputs (“Pr ”,“Pb ”, “Y”) and audio(R/L) of your set with
Component video and audio cables to the corresponding component video and
audio (R/L)out connectors on the PVR or DVD. Component audio Jack common AV
IN audio Jack.
Y P
B
P
R
COMP
L R
Equipment with A/V jacks
Video
Camera
EXTERNAL DEVICES
Satellite
antenna
VCR
White(L)
White(L)
Red(R)
Red(R)
Audio Cable
(not included)
Component Cable
(not included)
Component
R
L
P
R
P
B
Y
P
R
/C
R
P
R
/C
R
PB/C
B
P
B
/C
B
YY
Getting Started
NOTE
The “Y, Pb and Pr ” connectors on your component devices (PVR or DVD) are
sometimes marked with Y, B-Y and R-Y or Y, CB and CR. (Colors for inputs and
cables must correspond on both devices.)
Mini comp cable
Y
Pb/Cb
Pr/Cr
Y
Pb/Cb
Pr/Cr
GND
TV JACK
COMP
Connect to AV devices
1. Connect video terminal to an appropriate external terminal on A/V device such as
a VCR, DVD or Camcorder with a video cable.
2. Connect“R -AUDIO - L” on your set to the corresponding audio terminal with audio
cables on the A/V device.
Equipment with A/V jacks
DVD Player/Recorder
Video
Camera
EXTERNAL DEVICES
Set-top box
Satellite Receiver
Satellite
antenna
cable
VCR
A/V OUT
Video
L
R
White(L)White(L)
Yellow(Video)Yellow(Video)
Red(R)Red(R)
AV Cable
(not included)
Audio R
Audio LAV
AV IN
Mini AV cable
AV
Audio L
Audio R
AV
Audio L
Audio R
GND
TV JACK
AV IN
NOTE
The HDMI connector provides both video and audio signals, it’s not necessary to
connect the audio cable.
HDMI
HDMI
TV JACK
EXTERNAL DEVICES
DVD Player/Recorder
Set-top box
Equipment with HDMI jacks
HDMI Cable
(not included)
6
Getting Started
1. Before you insert/remove the Common Access Module,ensure that the TV is
switched off.Then insert the CI card into the Common Access Module in
accordance with the Service Provider’s instructions.
2. Insert the Common Acdess Module into the slot.Flip the Common Access
Module to another side and try again if you feel resistance.
3. Switch the TV on.
Connect to the devices with SCART interface
It provides a convenient multi-singal connector between the TV set and video
equipment.
Specifications: Scart : CVBS
in/out, RGB in
Connecting a Common Access Module
5
Getting Started
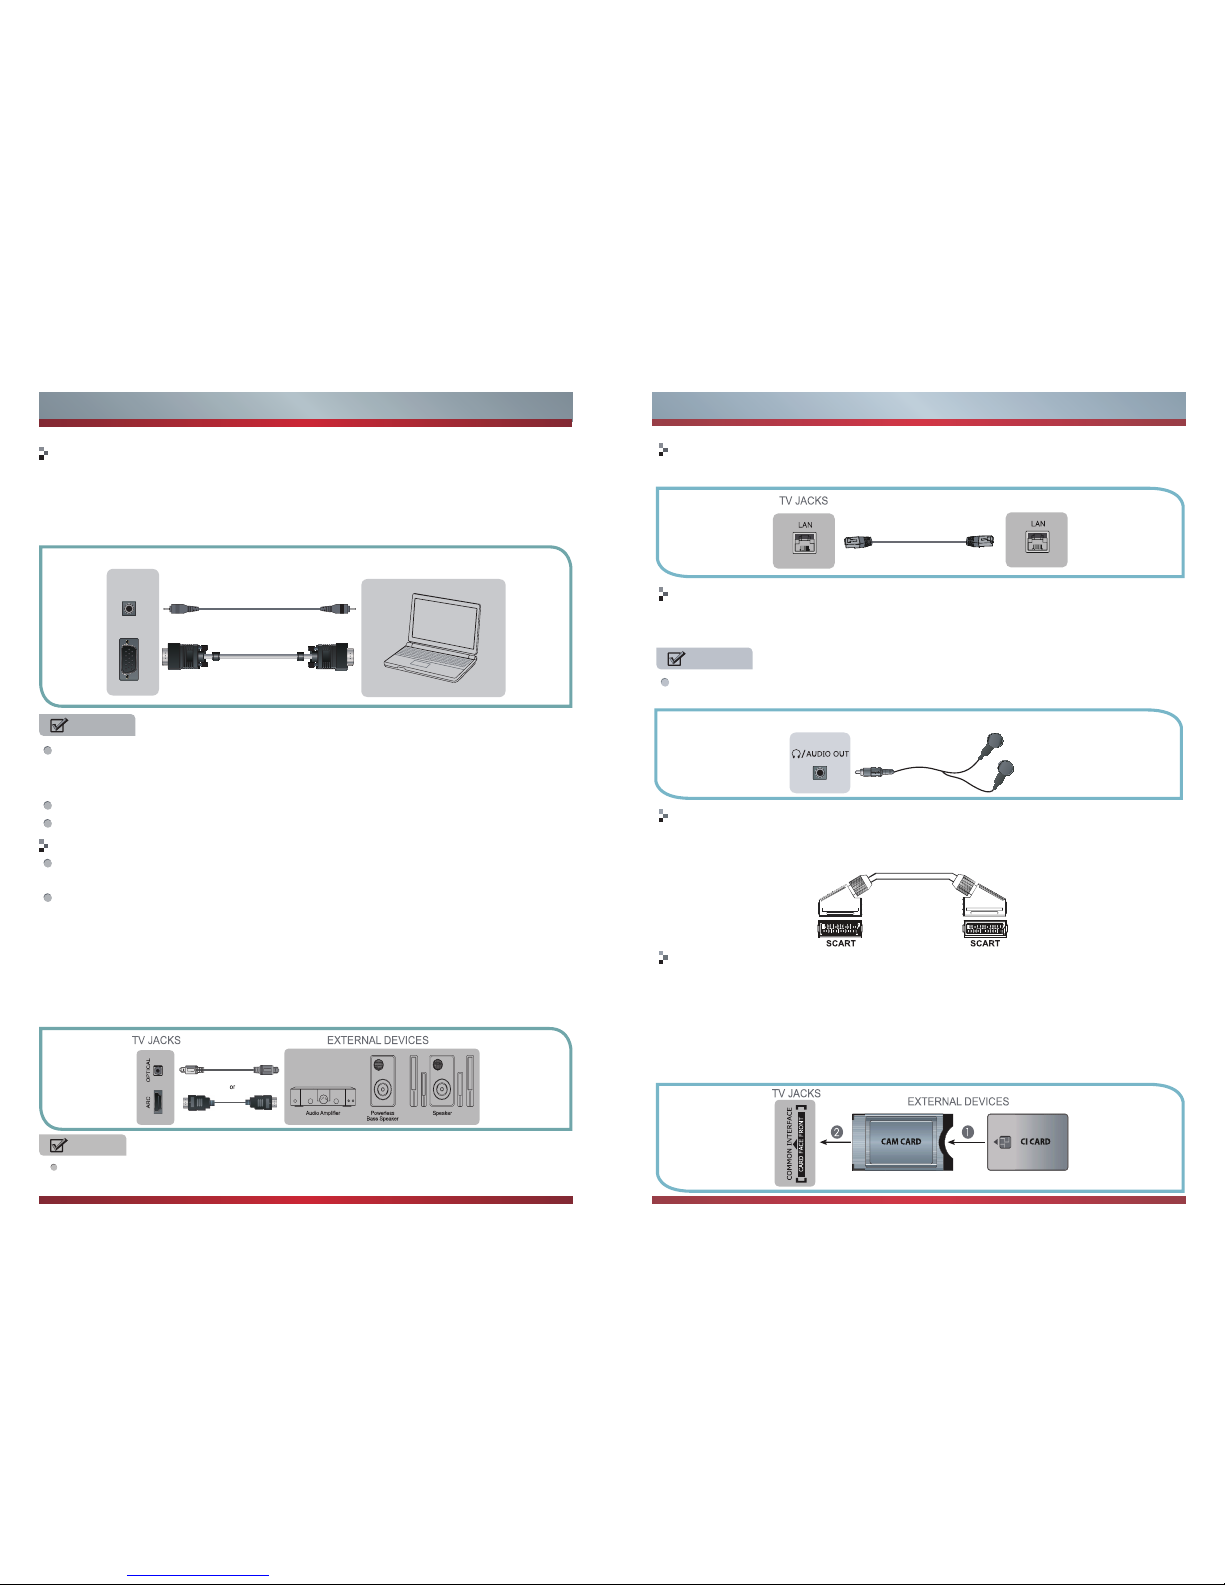
EXTERNAL DEVICES
Computer
TV JACK
VGA
PC/DVI AUDIO IN
Audio Cable
(not included)
NOTES
Primarily this unit is intended for use as an LCD TV. If you want to use it as a
monitor, please contact the manufacturer of the PC Video/Graphic's card for further
support. Perfect compatibility is not warranted.
The VGA cable will not be supplied with the product.
We strongly recommend to use VGA cable with 2 cores as shown in the figure.
headphone is connected, the sound from the built-in speakers will be disabled.)
Connecting a headphone
Headphones can be connected to the HEADPHONE output on your set. (While the
Connecting an ethernet cable to access a network or the Internet
Connect an ethernet cable to access a network or the Internet.
NOTE
To prevent possible hearing damage, do not listen at high volume levels for
long periods
EXTERNAL DEVICESTV JACK
When a digital audio system is connected to the OPTICAL (COAXIAL) jack,
decrease the volume of both the TV and the system.
NOTES
Connecting a PC with VGA cable
1. Use a VGA cable to connect the PC’s VGA output jack to the TV’s VGA jack. Use
an audio cable to connect the PC’s audio output jack to TV’s PC AUDIO IN jack.
2. Plug the connected devices into the mains socket before switching on the TV.
3. Select the corresponding source from the TV.
Connecting an Audio Receiver
1. Use a optical cable to connect the audio receiver’s OPTICAL input jack to the TV’s
OPTIC AL output jack.Or use an HDMI cable to connect the audio receiver’s audio
input jack to the TV’s ARC jack.
2. Plug the connected devices into the mains socket before switching on the TV.
3. Select the corresponding source from the TV.
This product supports the ARC (Audio Return Channel) functions via an HDMI cable.
Note that the ARC function is supported by the HDMI/ARC jack only.
The ARC function enables digital output of sound using the ARC jack and can only
be operated when the TV is connected to an audio receiver that supports the ARC
function.
VG
A Cable
(not included)
 Loading...