

HIS Low Profile Kit Installation Manual

LOW PROFILE KIT INSTALLATION GUIDE
Step 1: Removing the original full-height bracket
Dissipate any static from yourself
•
by touching the metal siding on
your chassis
• Remove all the mounting screws
from the original full height
bracket
• You should keep the removed
bracket for future use, if
necessary
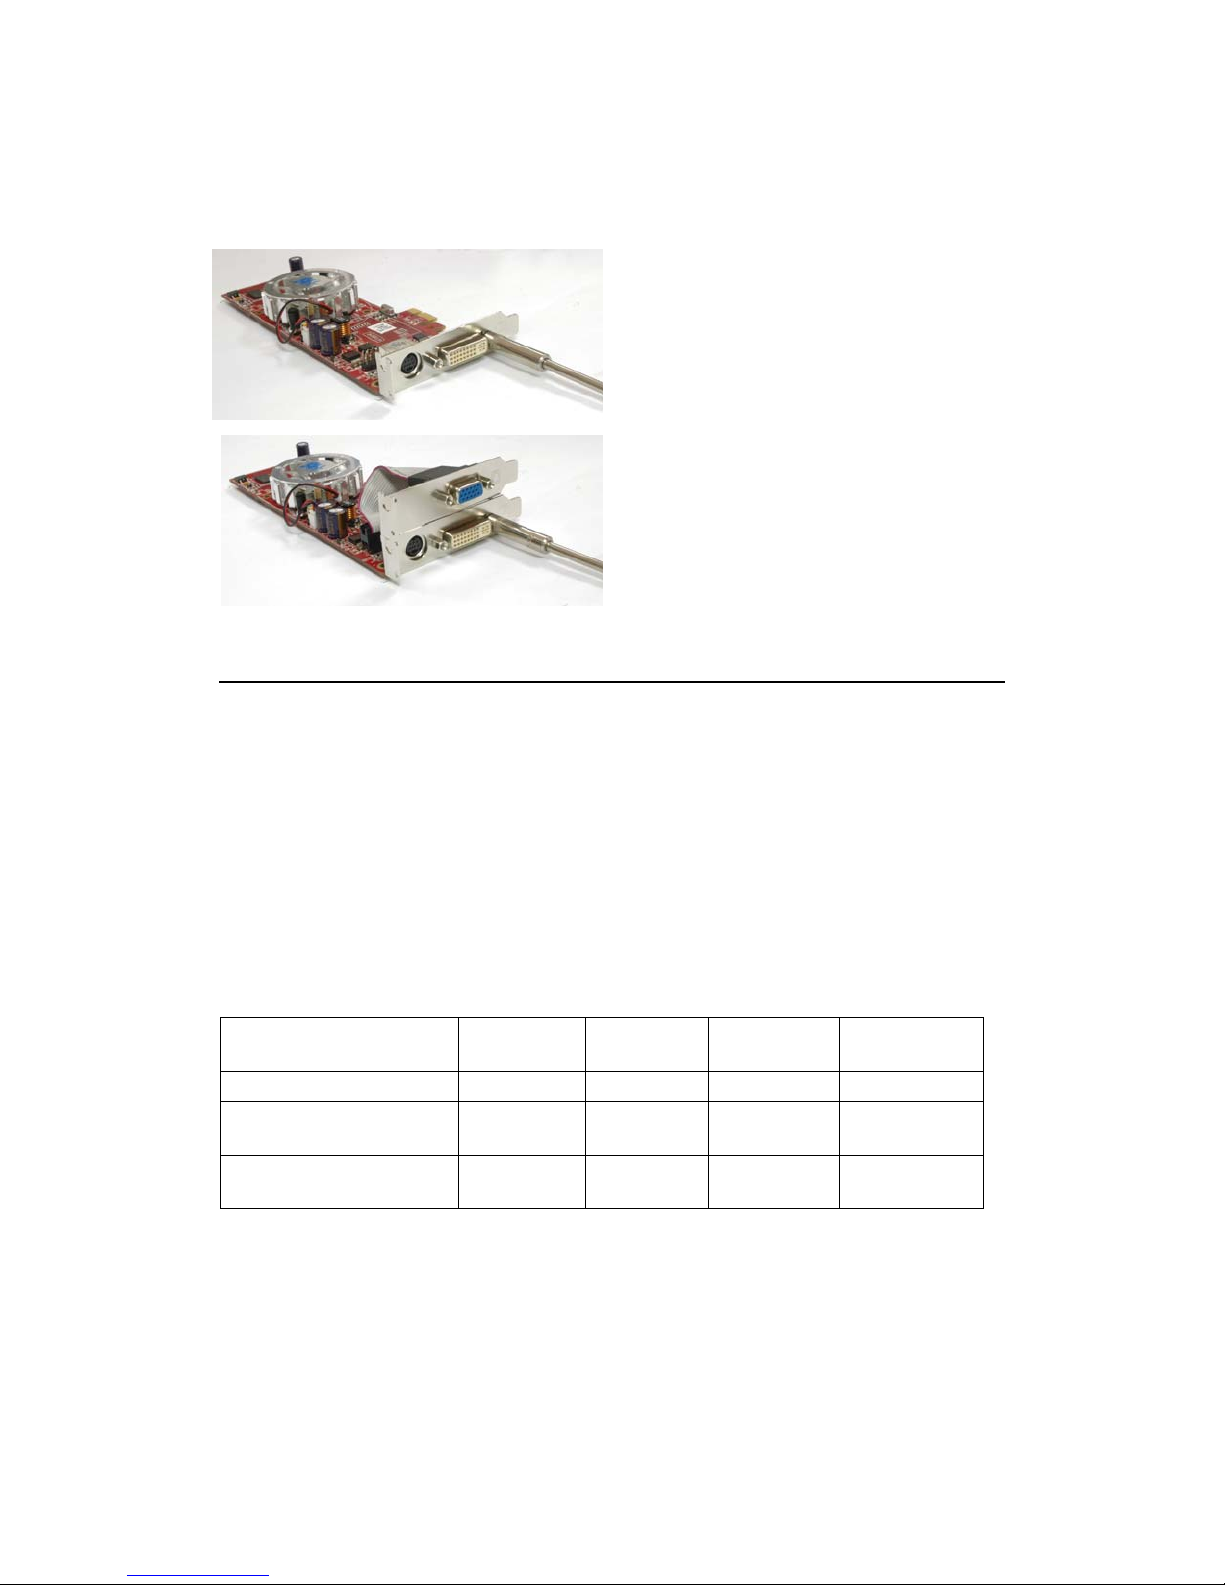
Step 2: Choose the right bracket to install
• Check the output ports of the
HIS video card and match it with
the corresponding low-profile
bracket
• If the (S-Video/DVI) + (D-Sub)
BKT-S8M2NT
BKT-SB22NT BKT-R7B2NT
BKT-GE44NT
bracket configuration is to be
used, the card will need to be
fitted with the extended VGA
ribbon cable
Step 3: Installing the low-profile bracket
• Fit your selected bracket onto
the card
Screw up the screws that you
•
have removed previously
•
If you are using the (SVideo/DVI) + (D-Sub) bracket,
make sure to screw up both the
DVI and VGA ports
Step 4: Install the card back to your computer
• Install the card in your computer
• Power on the computer and install the driver and utilities using the HIS
driver CD supplied
• You are done!
Low Profile Bracket Matrix
Model
7000 / 9250 / 9550 X X
X300SE / X550 / X1050 X X
X1300 / X1550 / X1600Pro /
HD 2400Pro
BKT-R7B2NT
(DVI)
X X
BKT-GE44NT
(VGA)
BKT-S8M2NT
(DVI)
BKT-SB22NT
(DVI)
 Loading...