

HiRO H50194 User Manual
Wireless USB Adapter
User’s Manual
1

Table of Contents
USER’S MANUAL........................................................................................................................ 1
WELCOME ................................................................................................................................... 3
PACKAGE CONTENTS ...............................................................................................................3
WIRELESS USB ADAPTER OVERVIEW.................................................................................... 4
INTERFACE......................................................................................................................... 4
LED DESCRIPTION ............................................................................................................. 4
WPS BUTTON.................................................................................................................... 4
WIRELESS USB ADAPTER INSTALLATION ............................................................................. 5
WINDOWS 7 ....................................................................................................................... 5
WINDOWS VISTA ................................................................................................................8
WINDOWS XP .................................................................................................................. 12
WINDOWS 2000............................................................................................................... 16
MAKING A BASIC WIRELESS NETWORK CONNECTION..................................................... 20
INTRODUCTION TO THE WIRELESS LAN UTILITY ............................................................... 24
GENERAL......................................................................................................................... 25
PROFILE .......................................................................................................................... 26
AVAILABLE NETWORK ....................................................................................................... 27
STATU S............................................................................................................................ 28
STATI STIC S ...................................................................................................................... 29
WI-FI PROTECTED SETUP (WPS) ..................................................................................... 30
UNINSTALL................................................................................................................................ 38
TROUBLESHOOTING ............................................................................................................... 40
SESSION OVERLAP........................................................................................................... 40
TIMEOUT!! ....................................................................................................................... 40
NO REALTEK 11N USB WIRELESS LAN ......................................................................... 40
REALTEK 11N USB WIRELESS LAN IS DISCONNECTED.................................................... 41
CANNOT GET IP ADDRESS FROM WIRELESS AP................................................................. 41
2

Welcome
Thank you for purchasing the IEEE 802.11n Wireless USB Adapter. Wireless USB
Adapter has an extra foundation which is designed to make Wireless USB
Adapter get better signal when it is plugging into the foundation and can be easily
move around. In addition, Wireless USB Adapter is backward compatible with
802.11b/g. When Wireless USB Adapter is connecting to the standard 802.11b,
802.11g or 802.11n APs or routers, it can perform much better than other standard
stations.
Wireless USB Adapter supports higher data throughput than the IEEE802.11n
standard (up to 150Mbps).
For the security of WLAN, Wireless USB Adapter supports 64/128-bit WEP data
encryption which protects your wireless network from eavesdropping.
It also supports WPA/WPA2 which combines IEEE802.1x and TKIP technologies.
Client users are required to authorize before accessing to APs or routers, and the
data transmitted on the network is encrypted and decrypted by a dynamically
changed secret key. Wireless USB Adapter supports WPA2 function which
provides a stronger encryption through AES which is the most advanced WLAN
solution for IEEE802.11i. Besides, Wireless USB Adapter supports WPS function
which provides a stronger encryption and easier configuration through WPA2
which is the most advanced WLAN solution for IEEE802.11i.
Package Contents
The Wireless USB Adapter package includes the following.
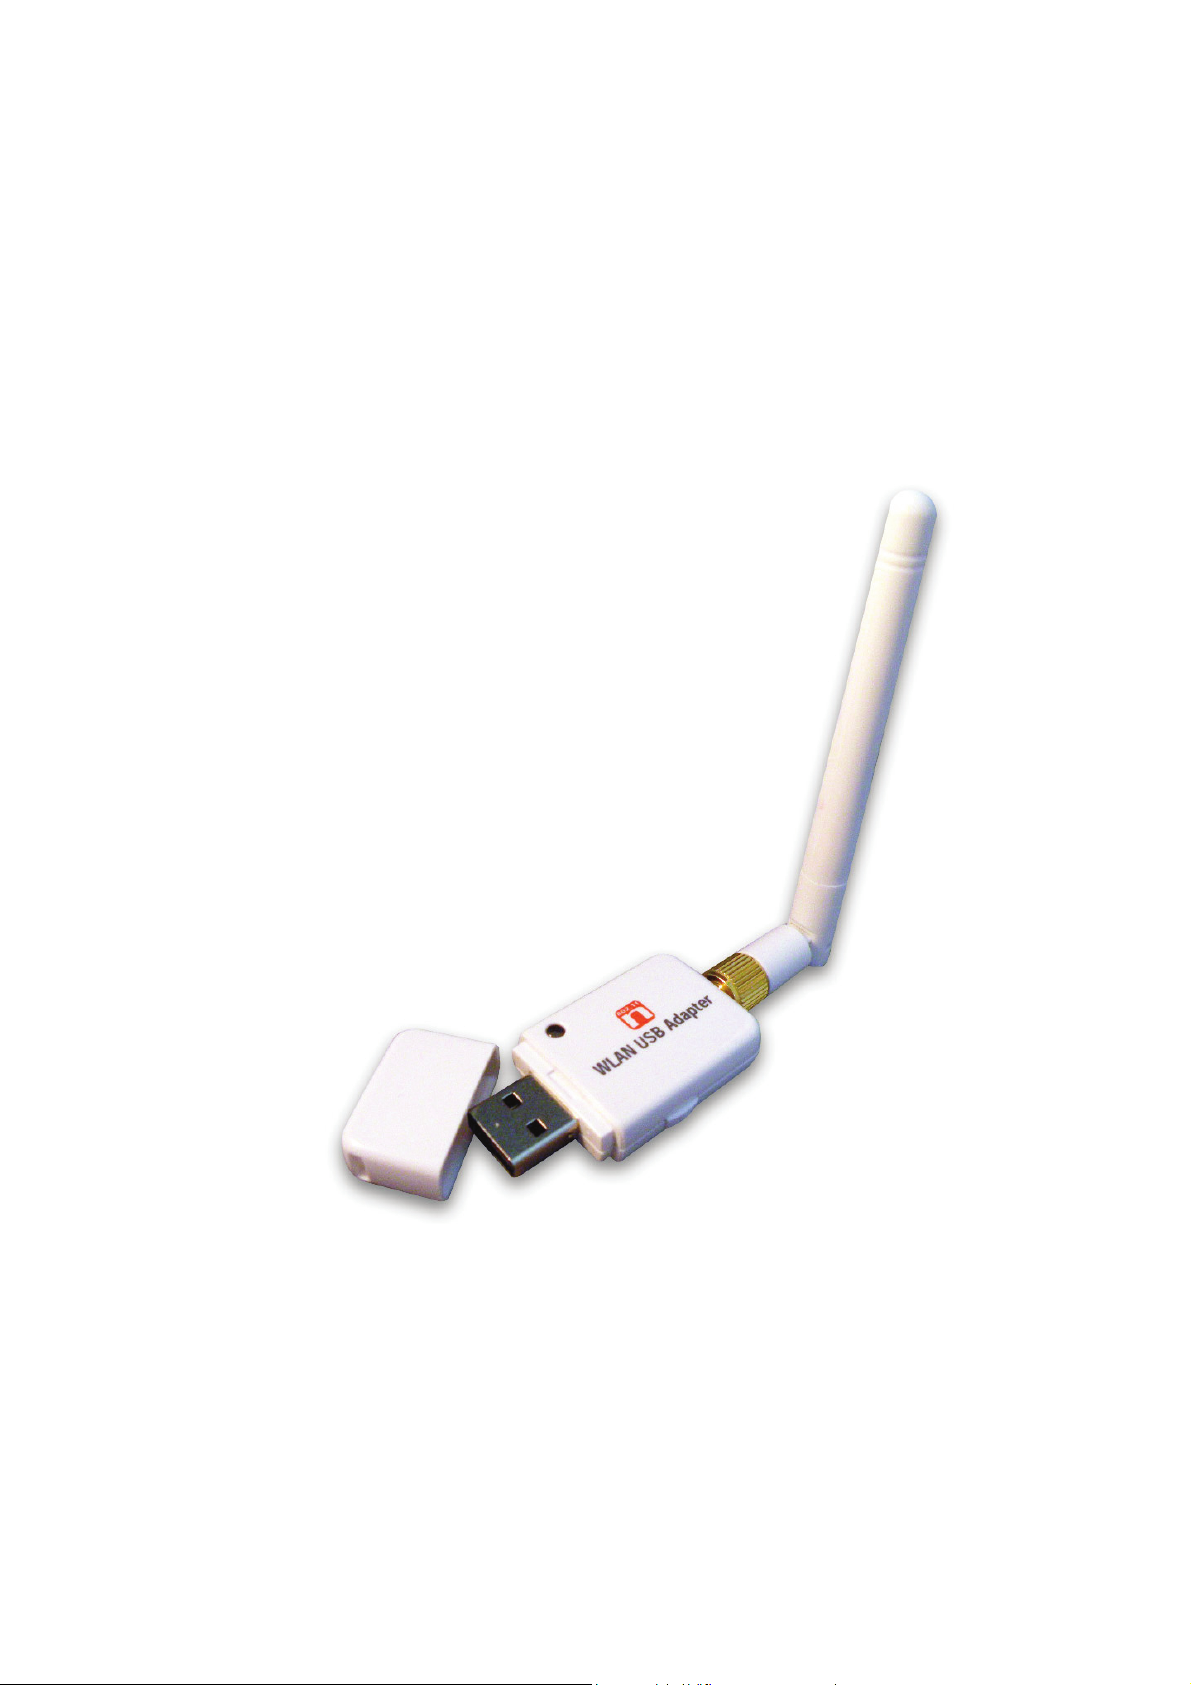
1. Wireless USB Adapter
2. ANETENNA
3. Quick Installation Guide
4. AUTORUN CD
3

Wireless USB Adapter Overview
Wireless USB Adapter has the USB interface, LED and WPS button below.
Interface
USB Interface: Connect the USB Interface to a USB port on your computer.
LED Description
LED: The LED stays lighted to indicate WLAN link established and active.
WPS Button
WPS Button: Press this button to do WPS with AP.
4
Wireless USB Adapter Installation
The following instructions will guide you to through the process of installing the
Wireless USB Adapter.
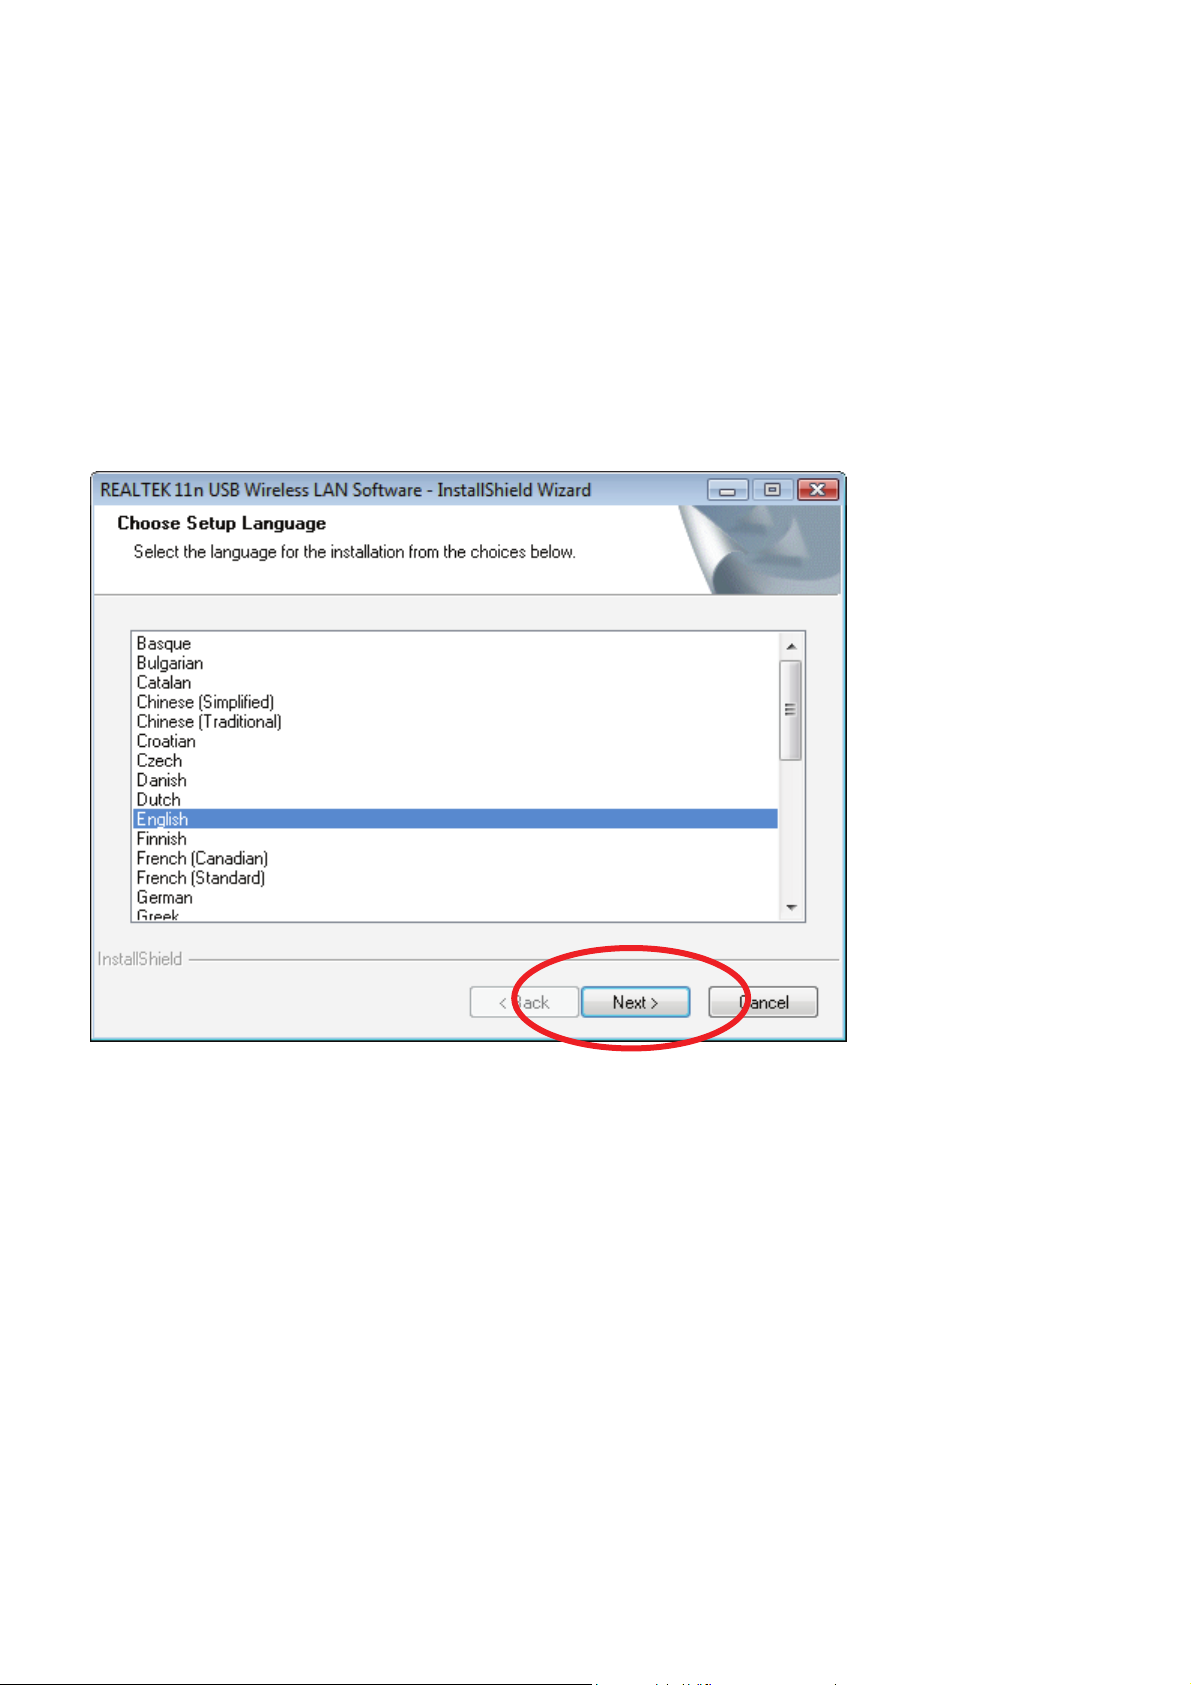
Windows 7
Step 1:
Once USB dongle connected to computer and the following will appear on screen.
Step 2:
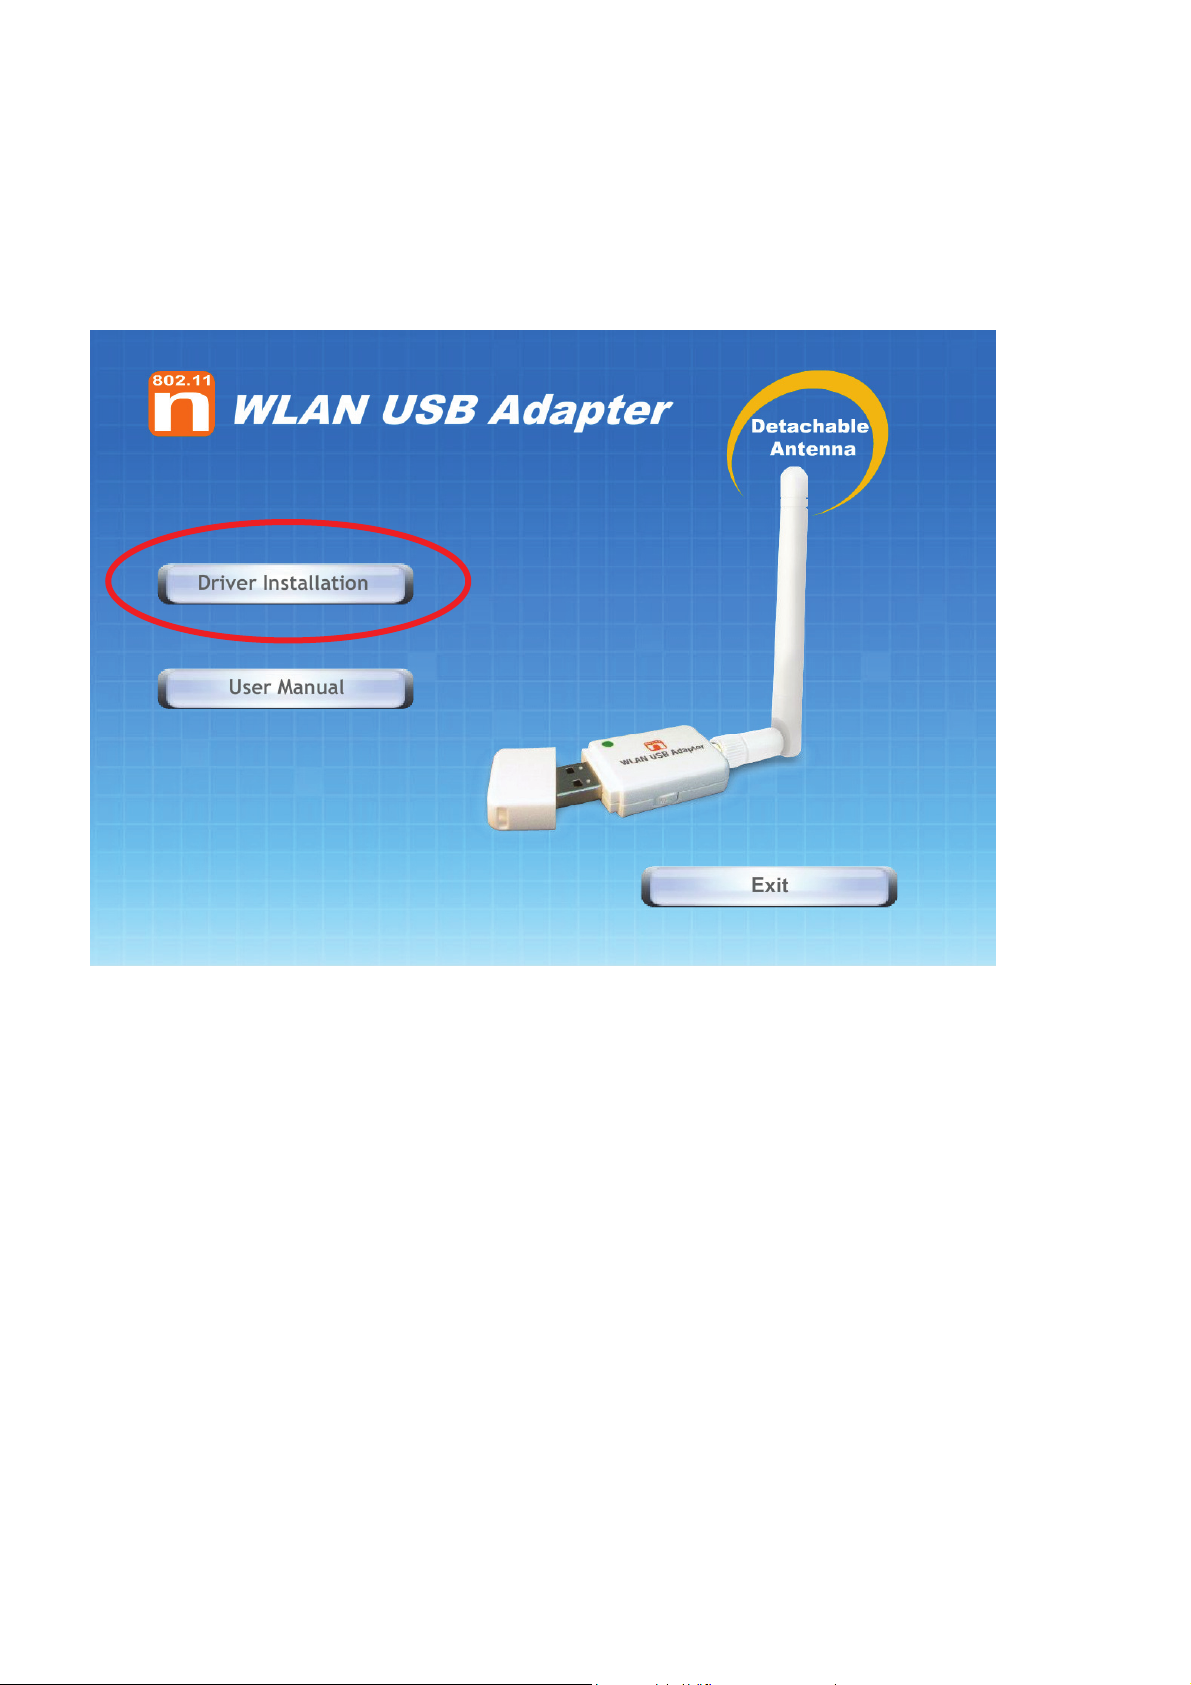
Please insert the AUTORUN CD into your CD-ROM drive.
The CD should auto-start, displaying the following window. If it does not start, click
on Start – Run and type in CD: \autorun.exe (where CD is the drive letter of your
CD-ROM drive.) Click " Driver Installation ".
Step 3:
For Security reasons Windows 7 requires the installer program to have
administrator privileges so the new policy called " User Account Control " has
been introduced in Windows 7. If UAC is enabled Windows pops up a window "
User Account Control " Windows need your permission to continue. User needs
to Click " Yes " to proceed with the installation.
5

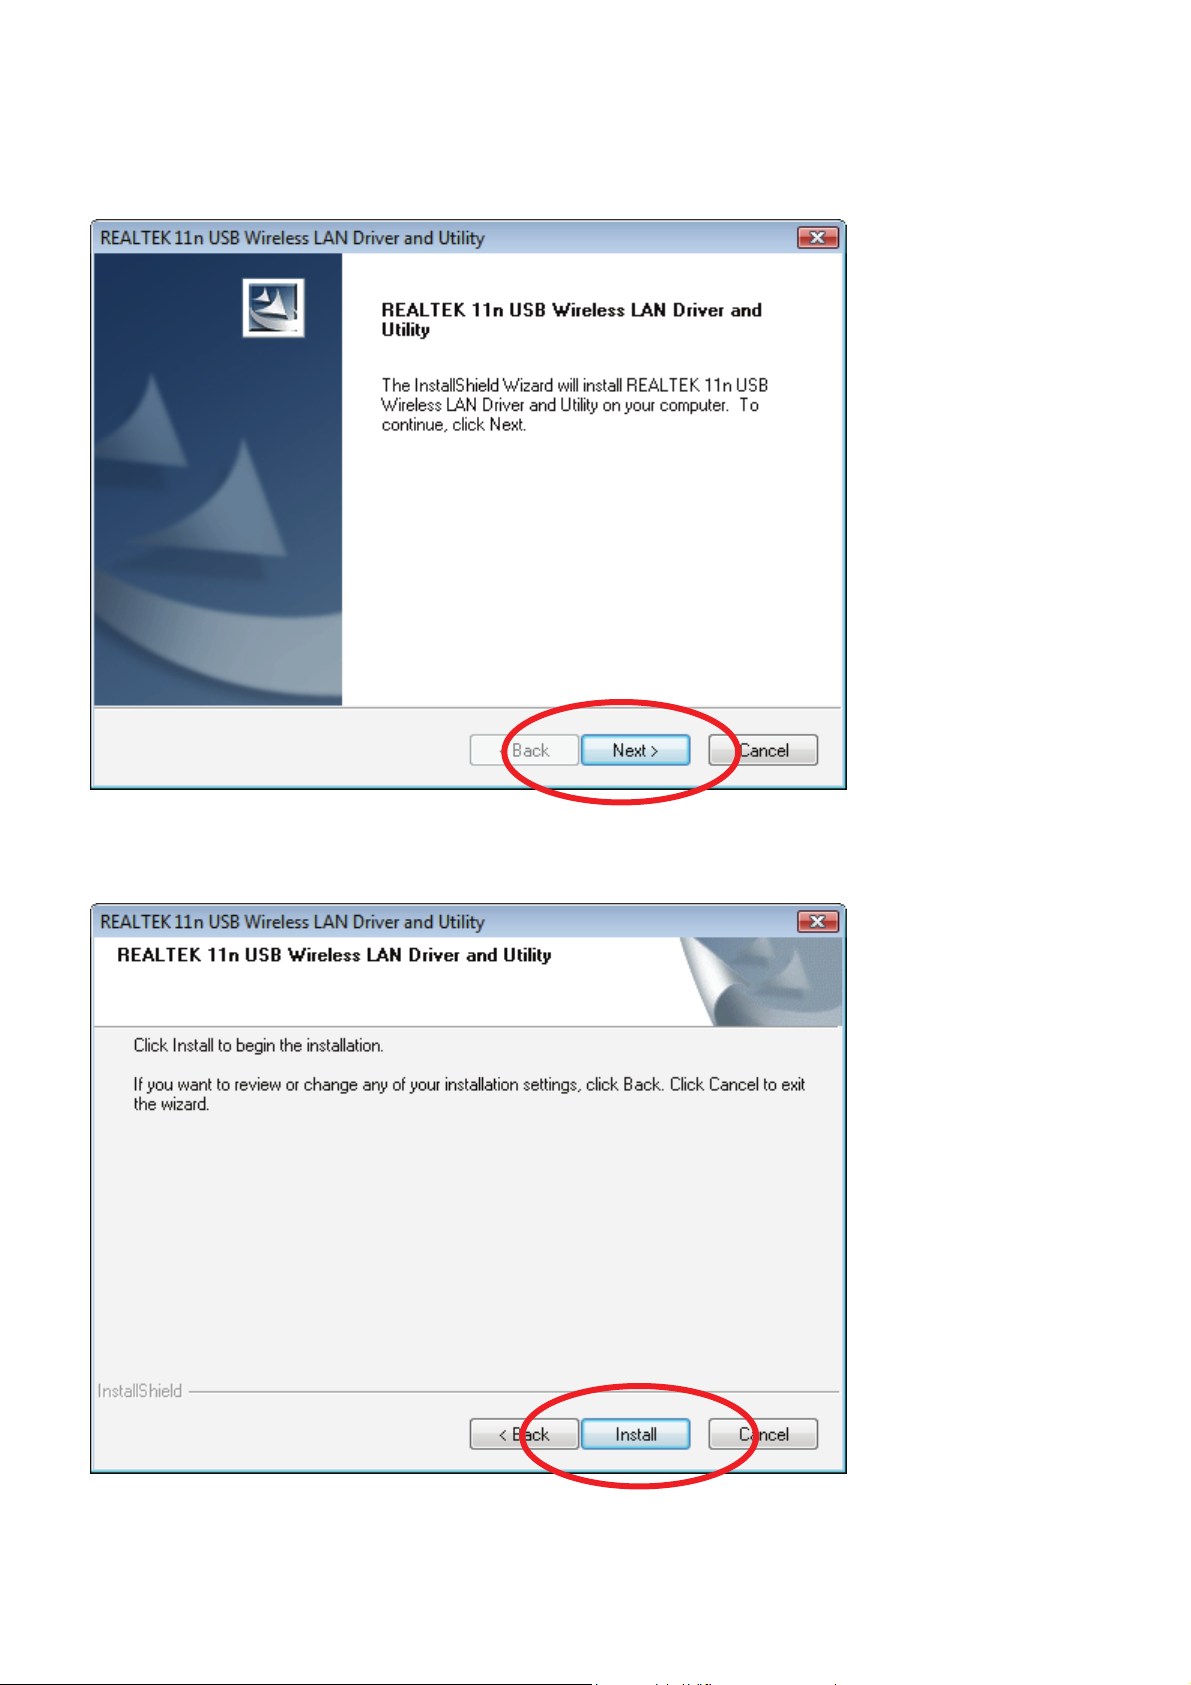
Step 4:
Click " Next ".
Step 5:
Click " Next ".
6
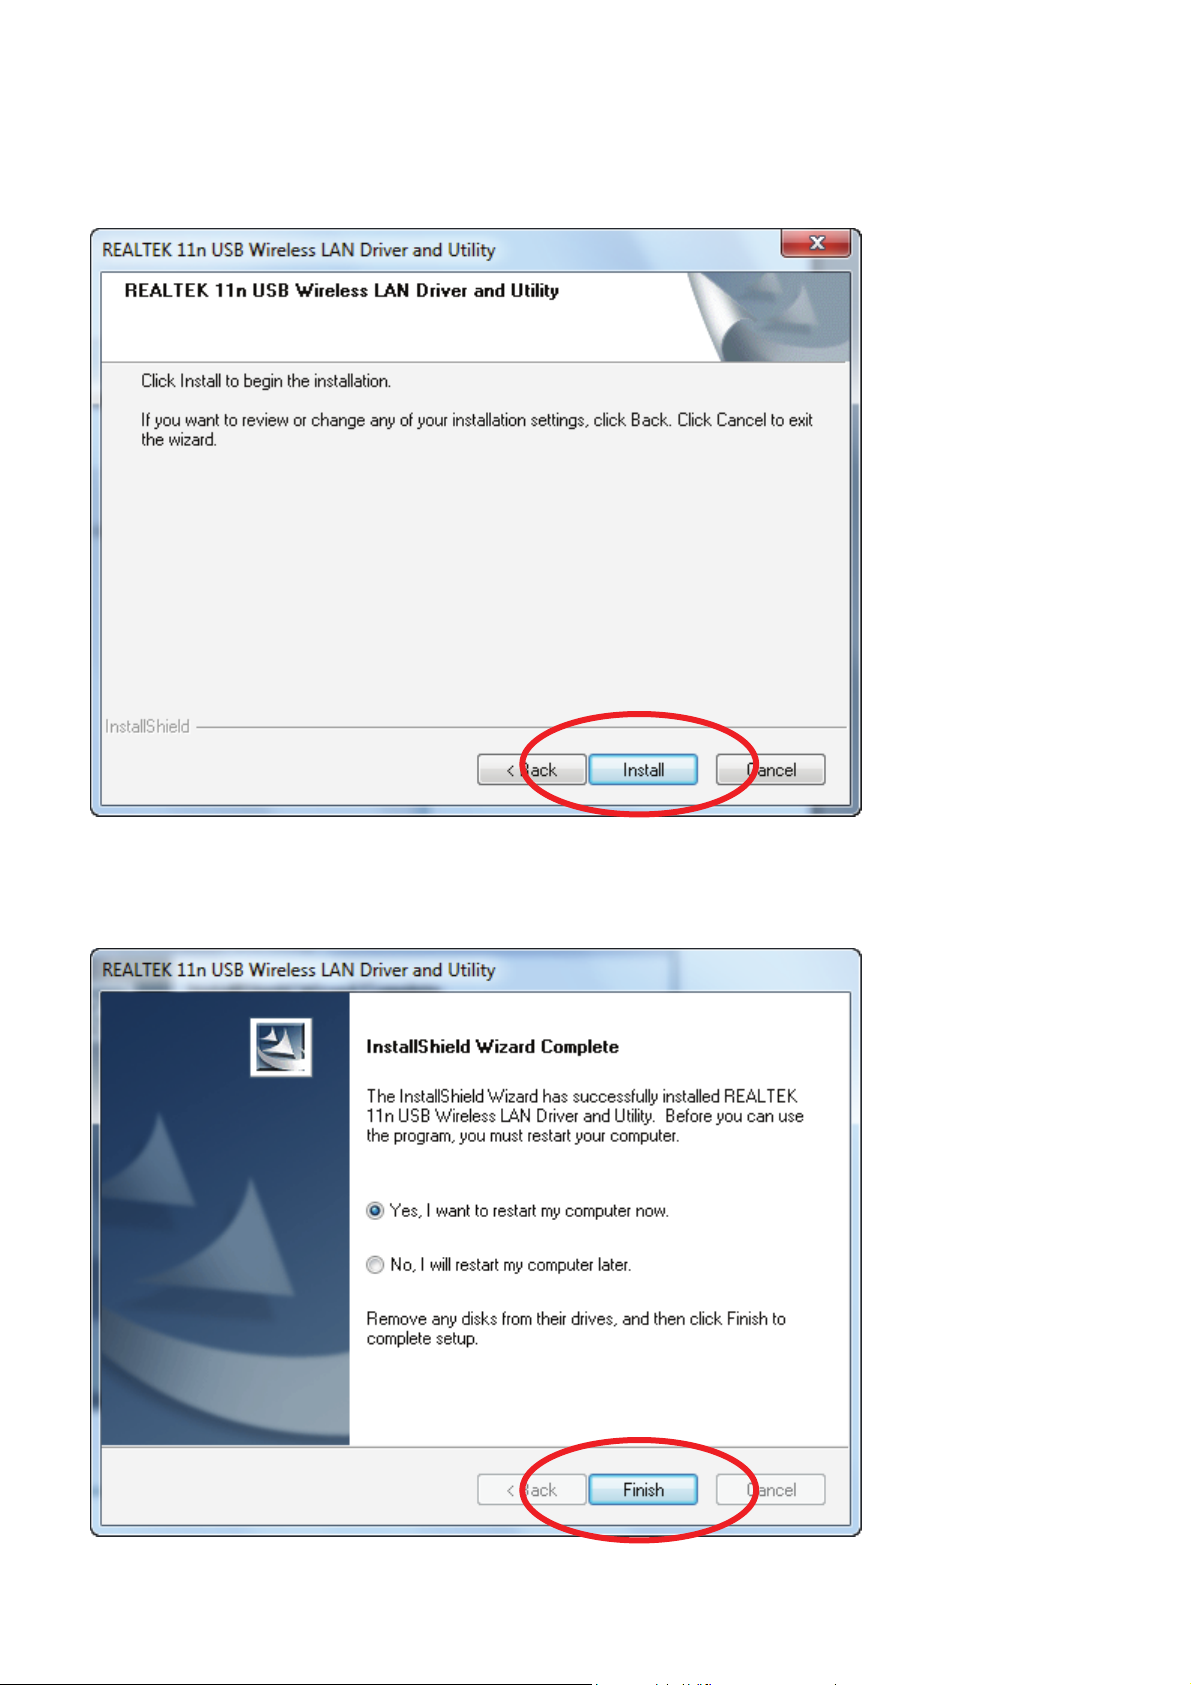
Step 6:
Click " Install ".
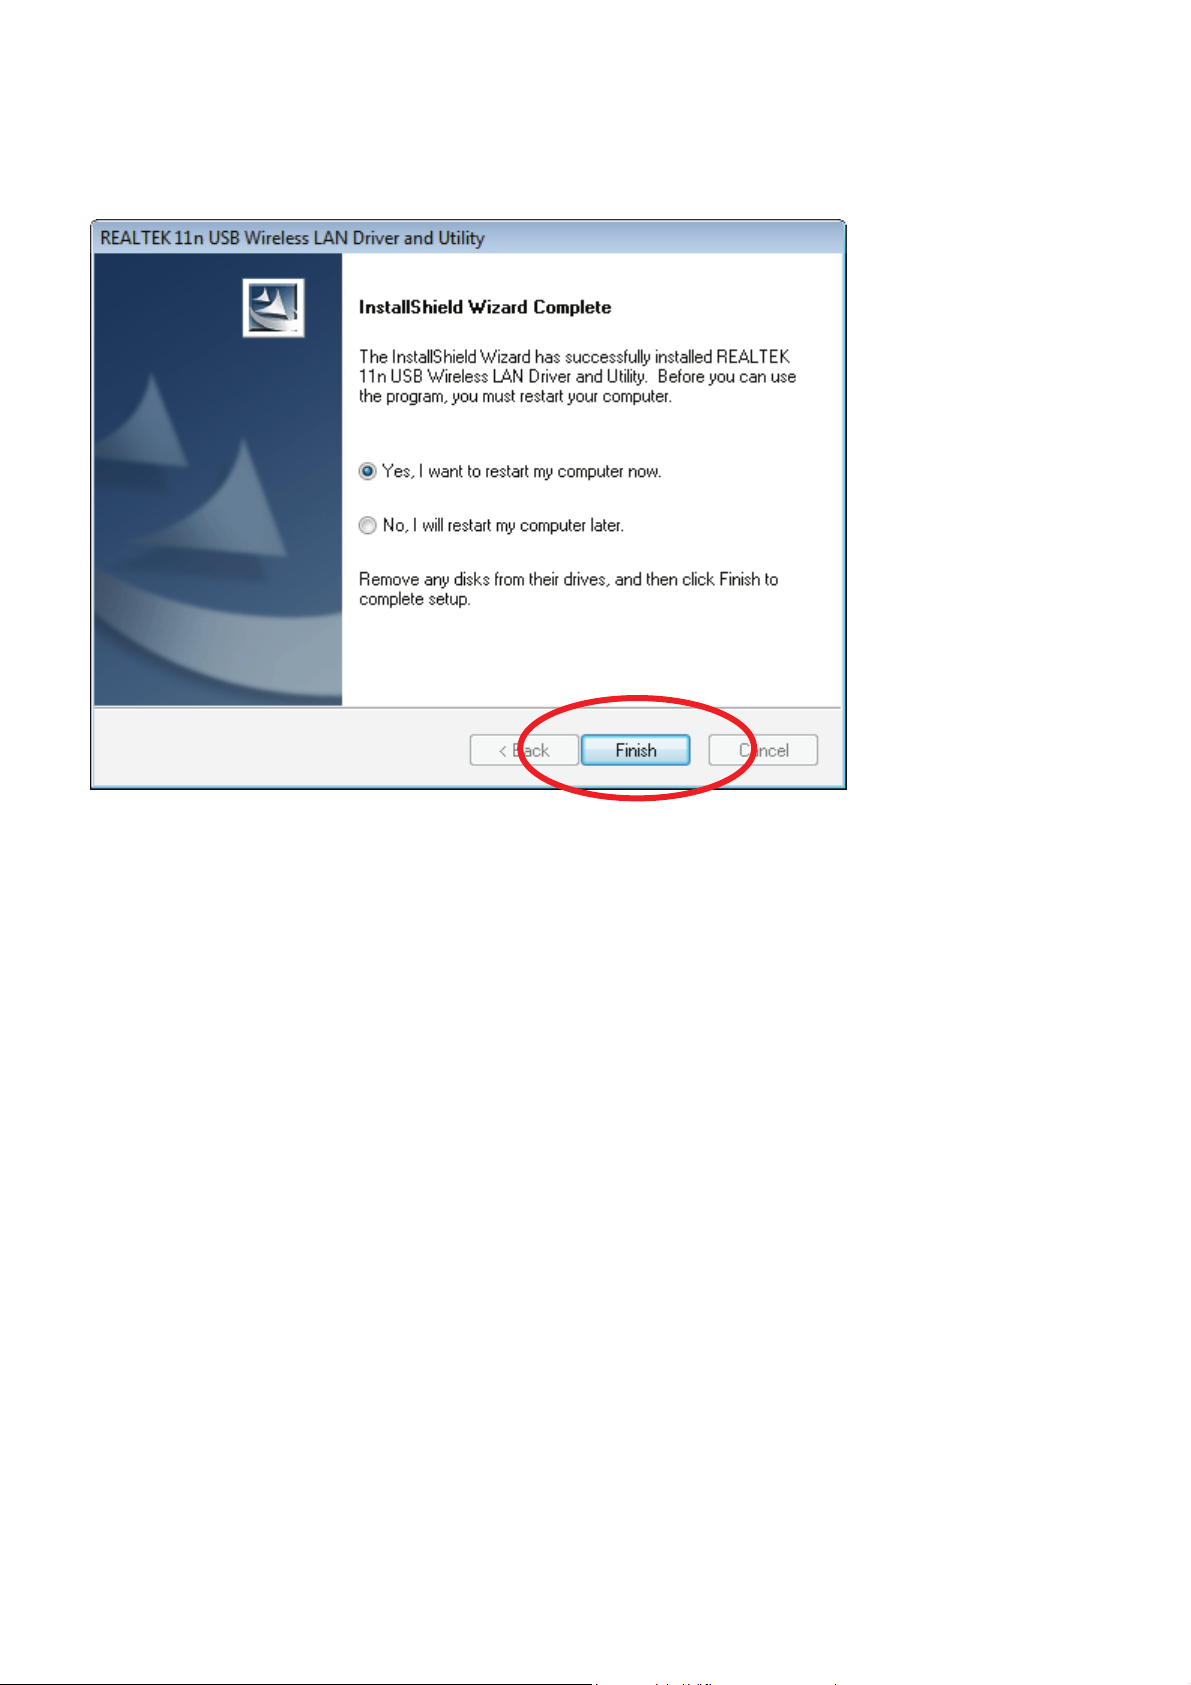
Step 7:
Click " Finish ".
7
Windows Vista
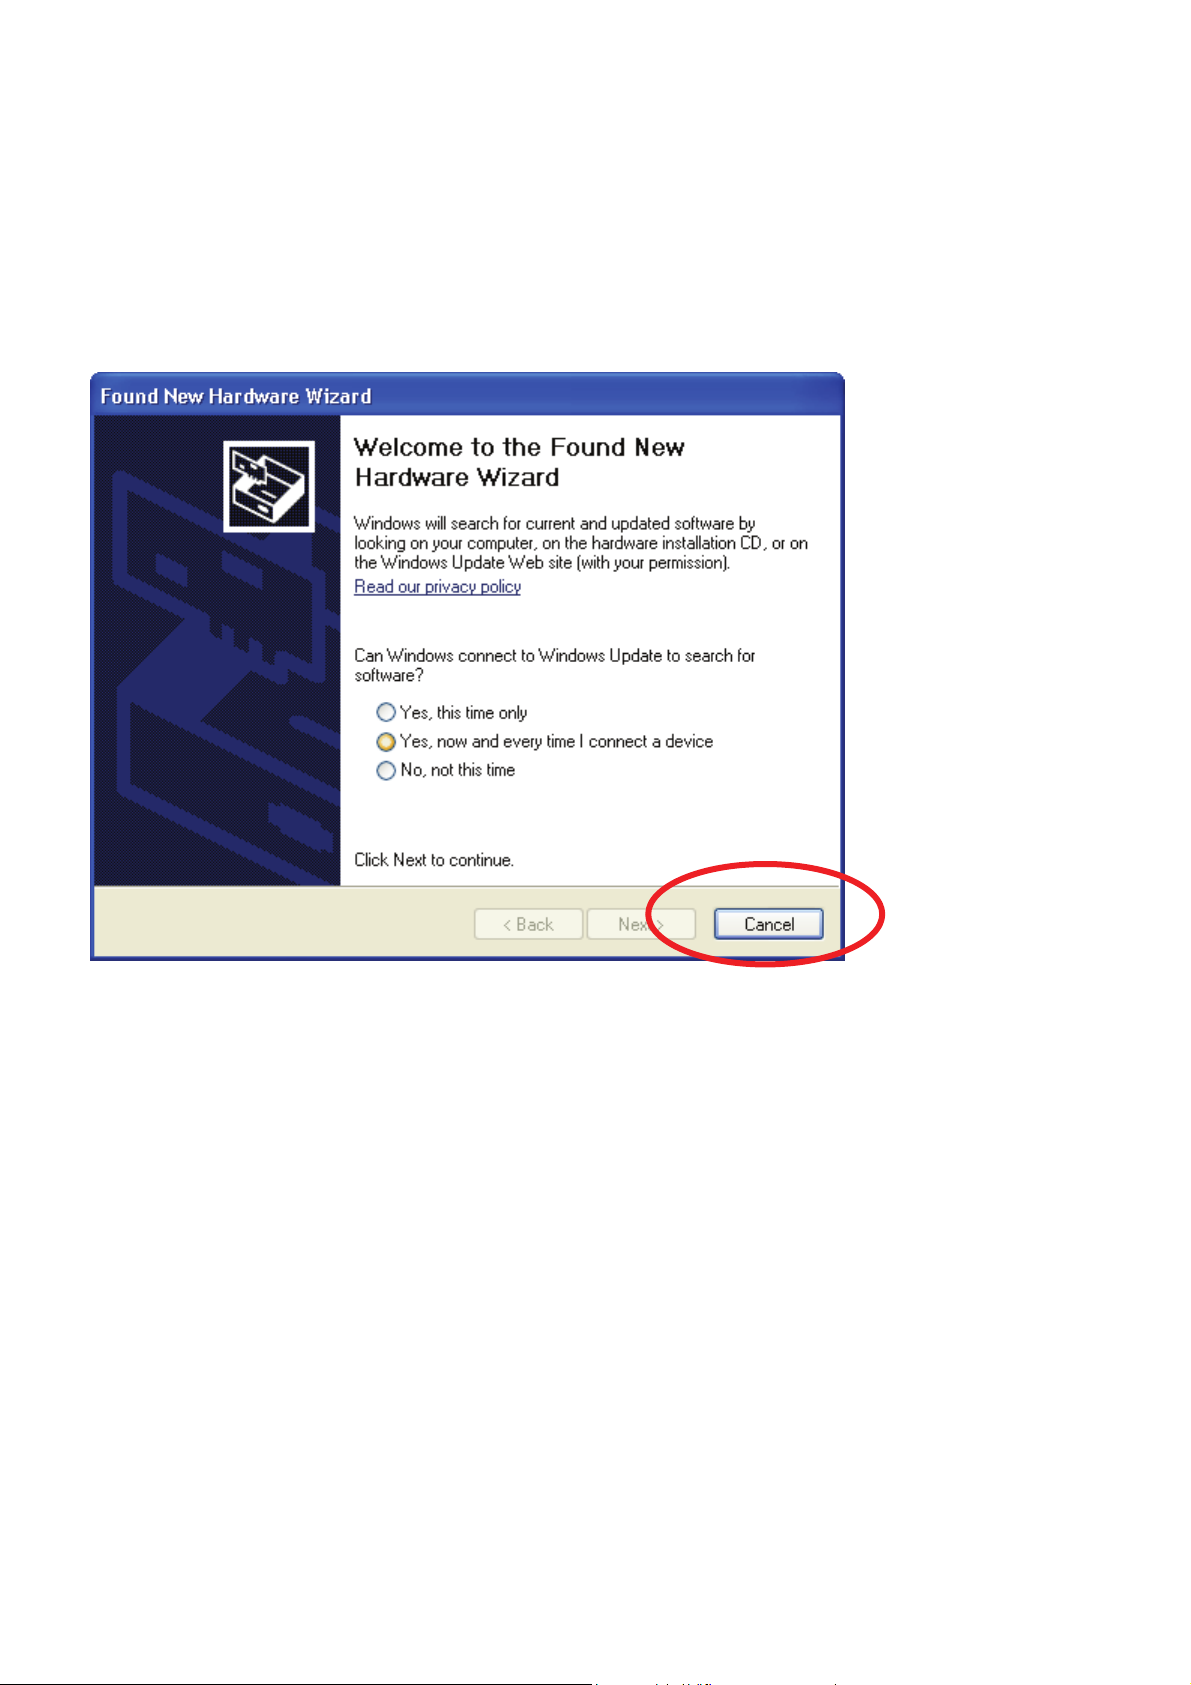
Step 1:
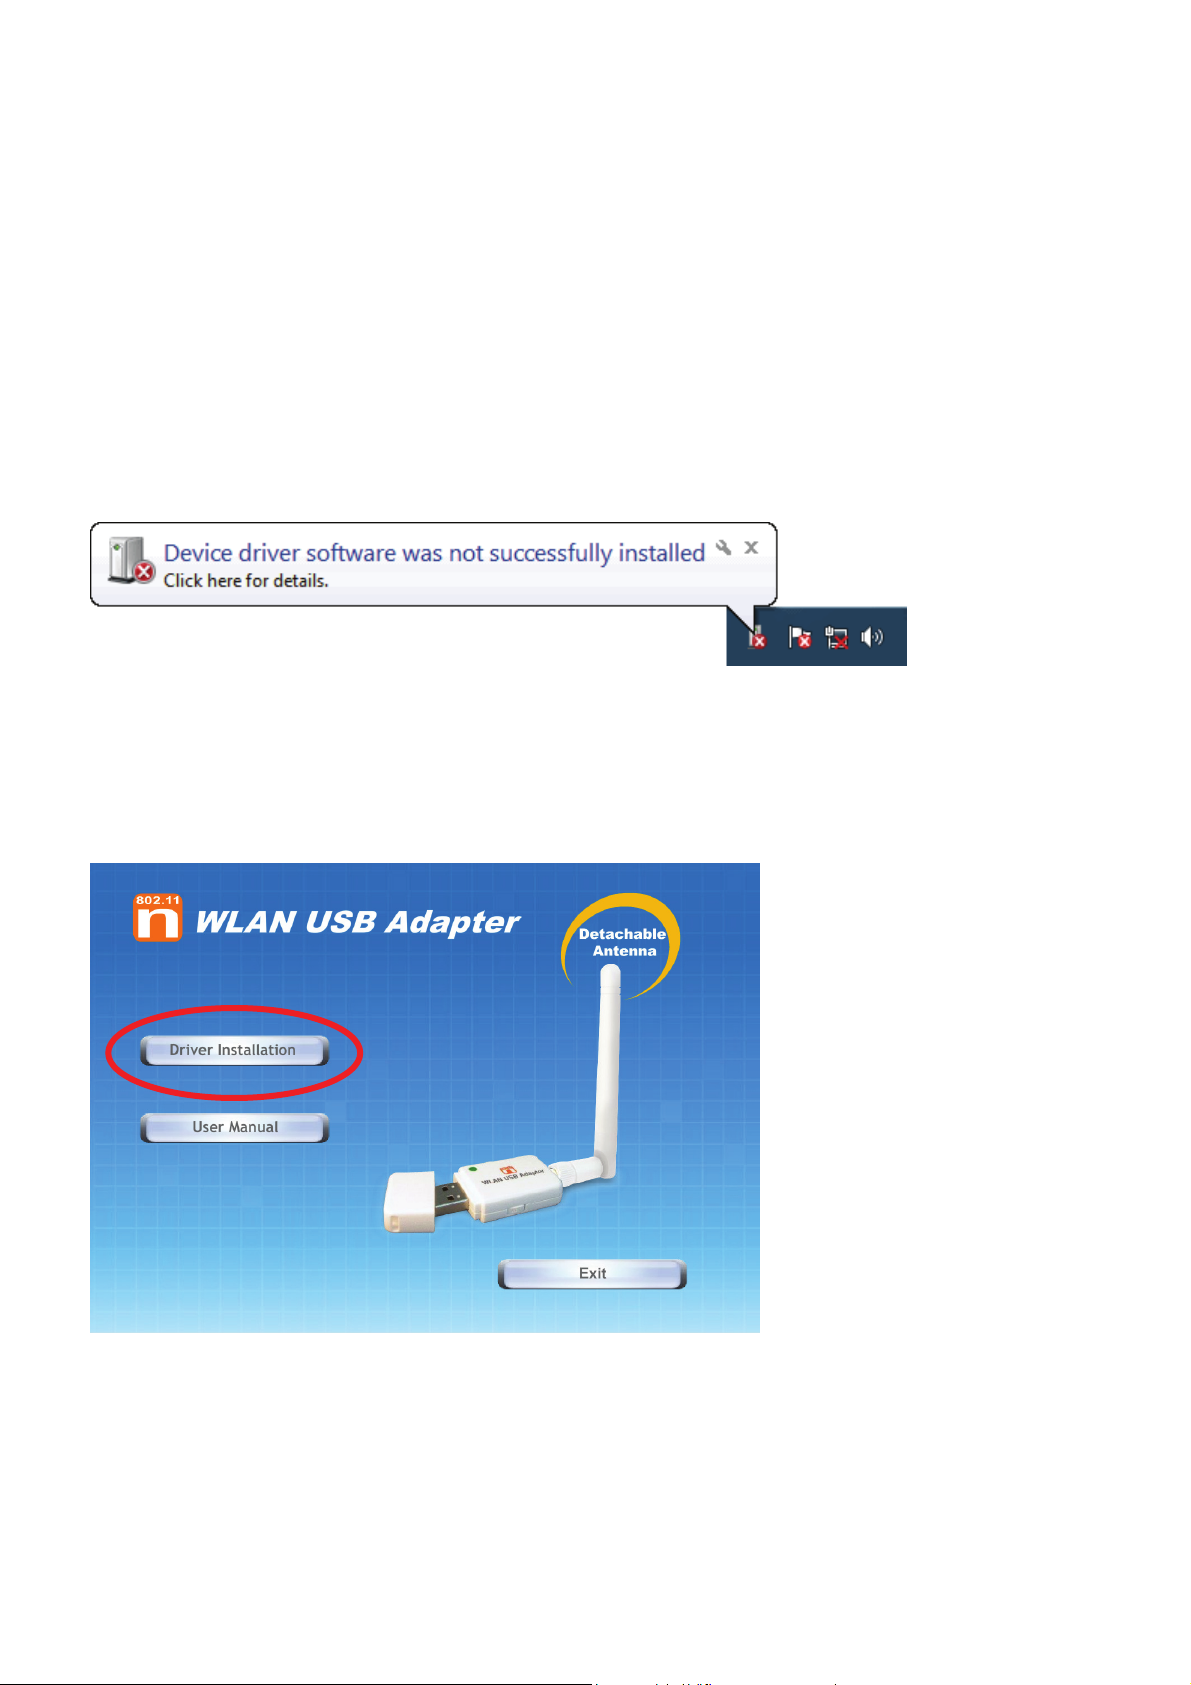
As Windows starts it will detect that new hardware has been added, and start the
" Found New Hardware Wizard ". Click on " Cancel ".
Step 2:
Please insert the AUTORUN CD into your CD-ROM drive.
The CD should auto-start, displaying the following window. If it does not start, click
on Start – Run and type in CD: \autorun.exe (where CD is the drive letter of your
CD-ROM drive.) Click " Driver Installation ".
8
Step 3:
For Security reasons VISTA requires the installer program to have administrator
privileges so the new policy called " User Account Control " has been
introduced in Windows VISTA. If UAC is enabled Windows pops up a window "
User Account Control " Windows need your permission to continue. User needs
to Click " Allow " to proceed with the installation.
Step 4:
Click " Next ".
9
Step 5:
Click " Next ".
Step 6:
Click " Install ".
10
Step 7:
Click " Finish ".
11
Windows XP
Step 1:
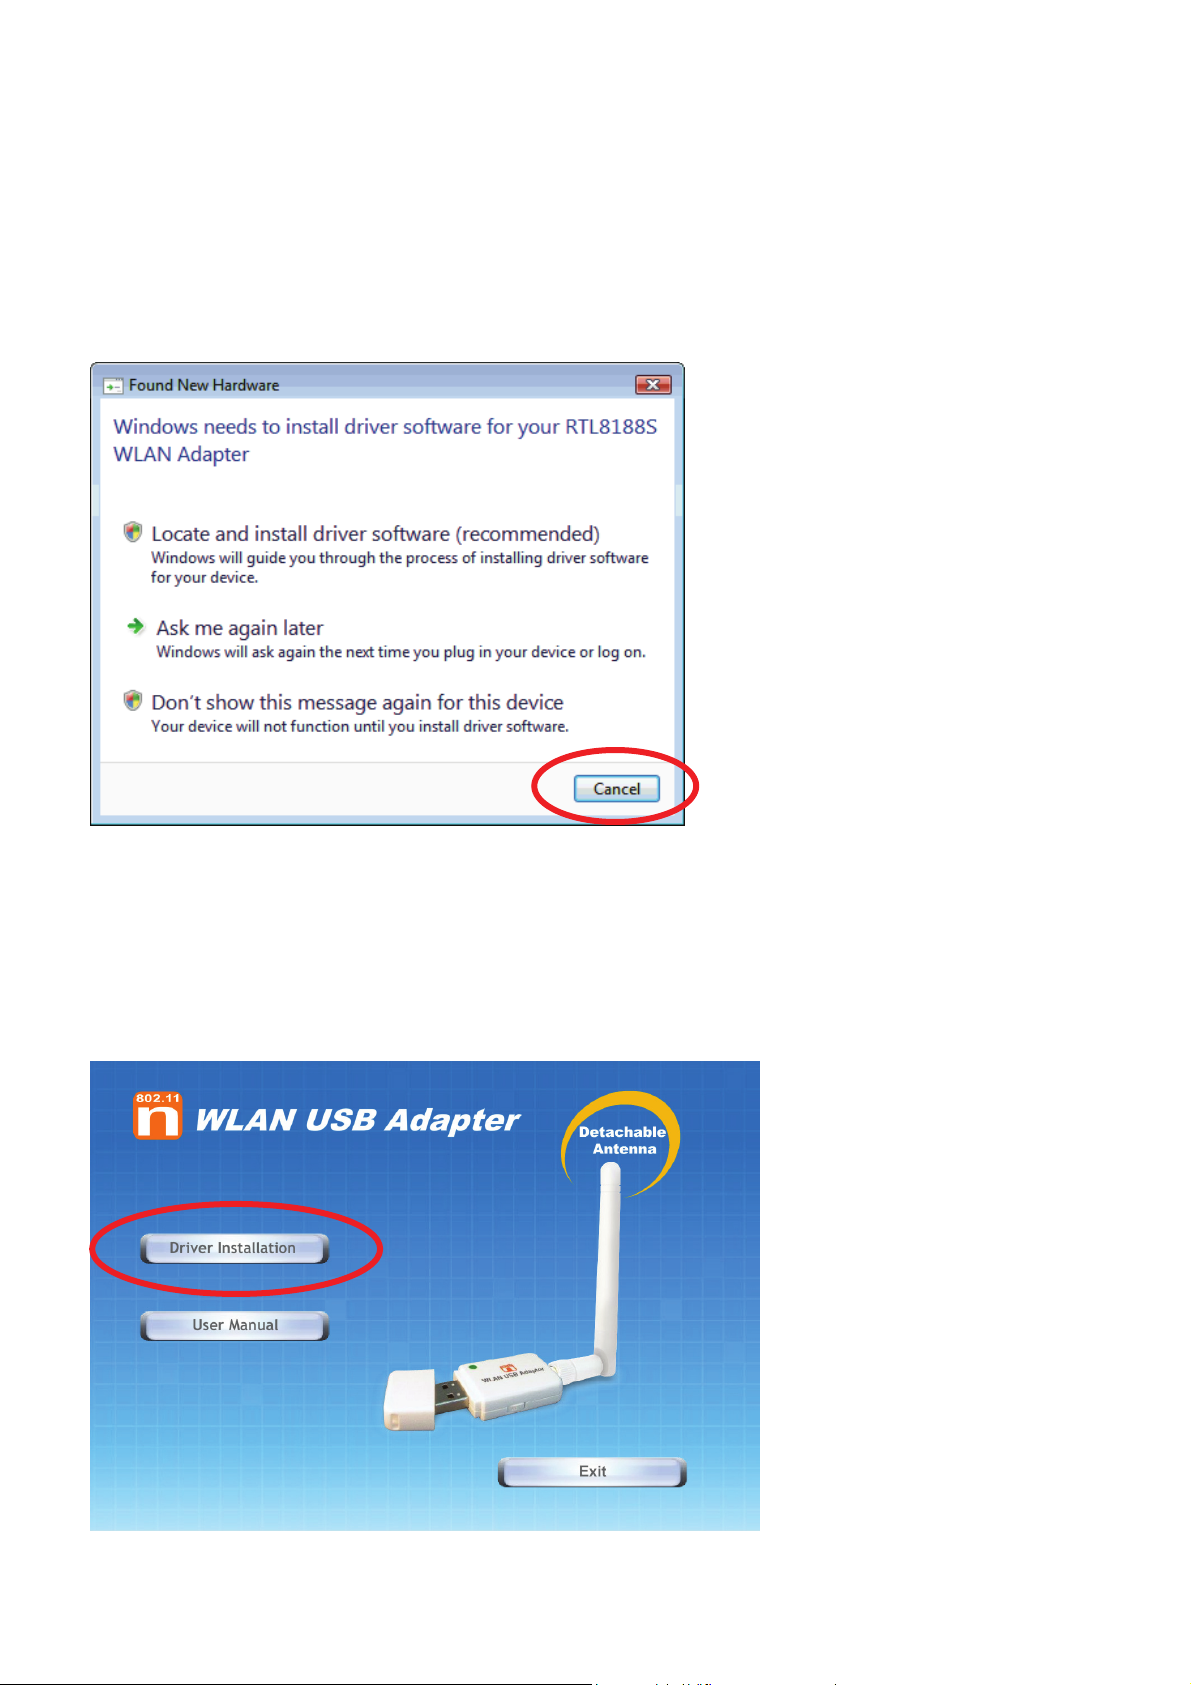
As Windows starts it will detect that new hardware has been added, and start the
" Found New Hardware Wizard ". Click on " Cancel ".
12
Step 2:
Please insert the AUTORUN CD into your CD-ROM drive.
The CD should auto-start, displaying the following window. If it does not start, click
on Start – Run and type in CD: \autorun.exe (where CD is the drive letter of your
CD-ROM drive.) Click " Driver Installation ".
13
 Loading...