

Page 1
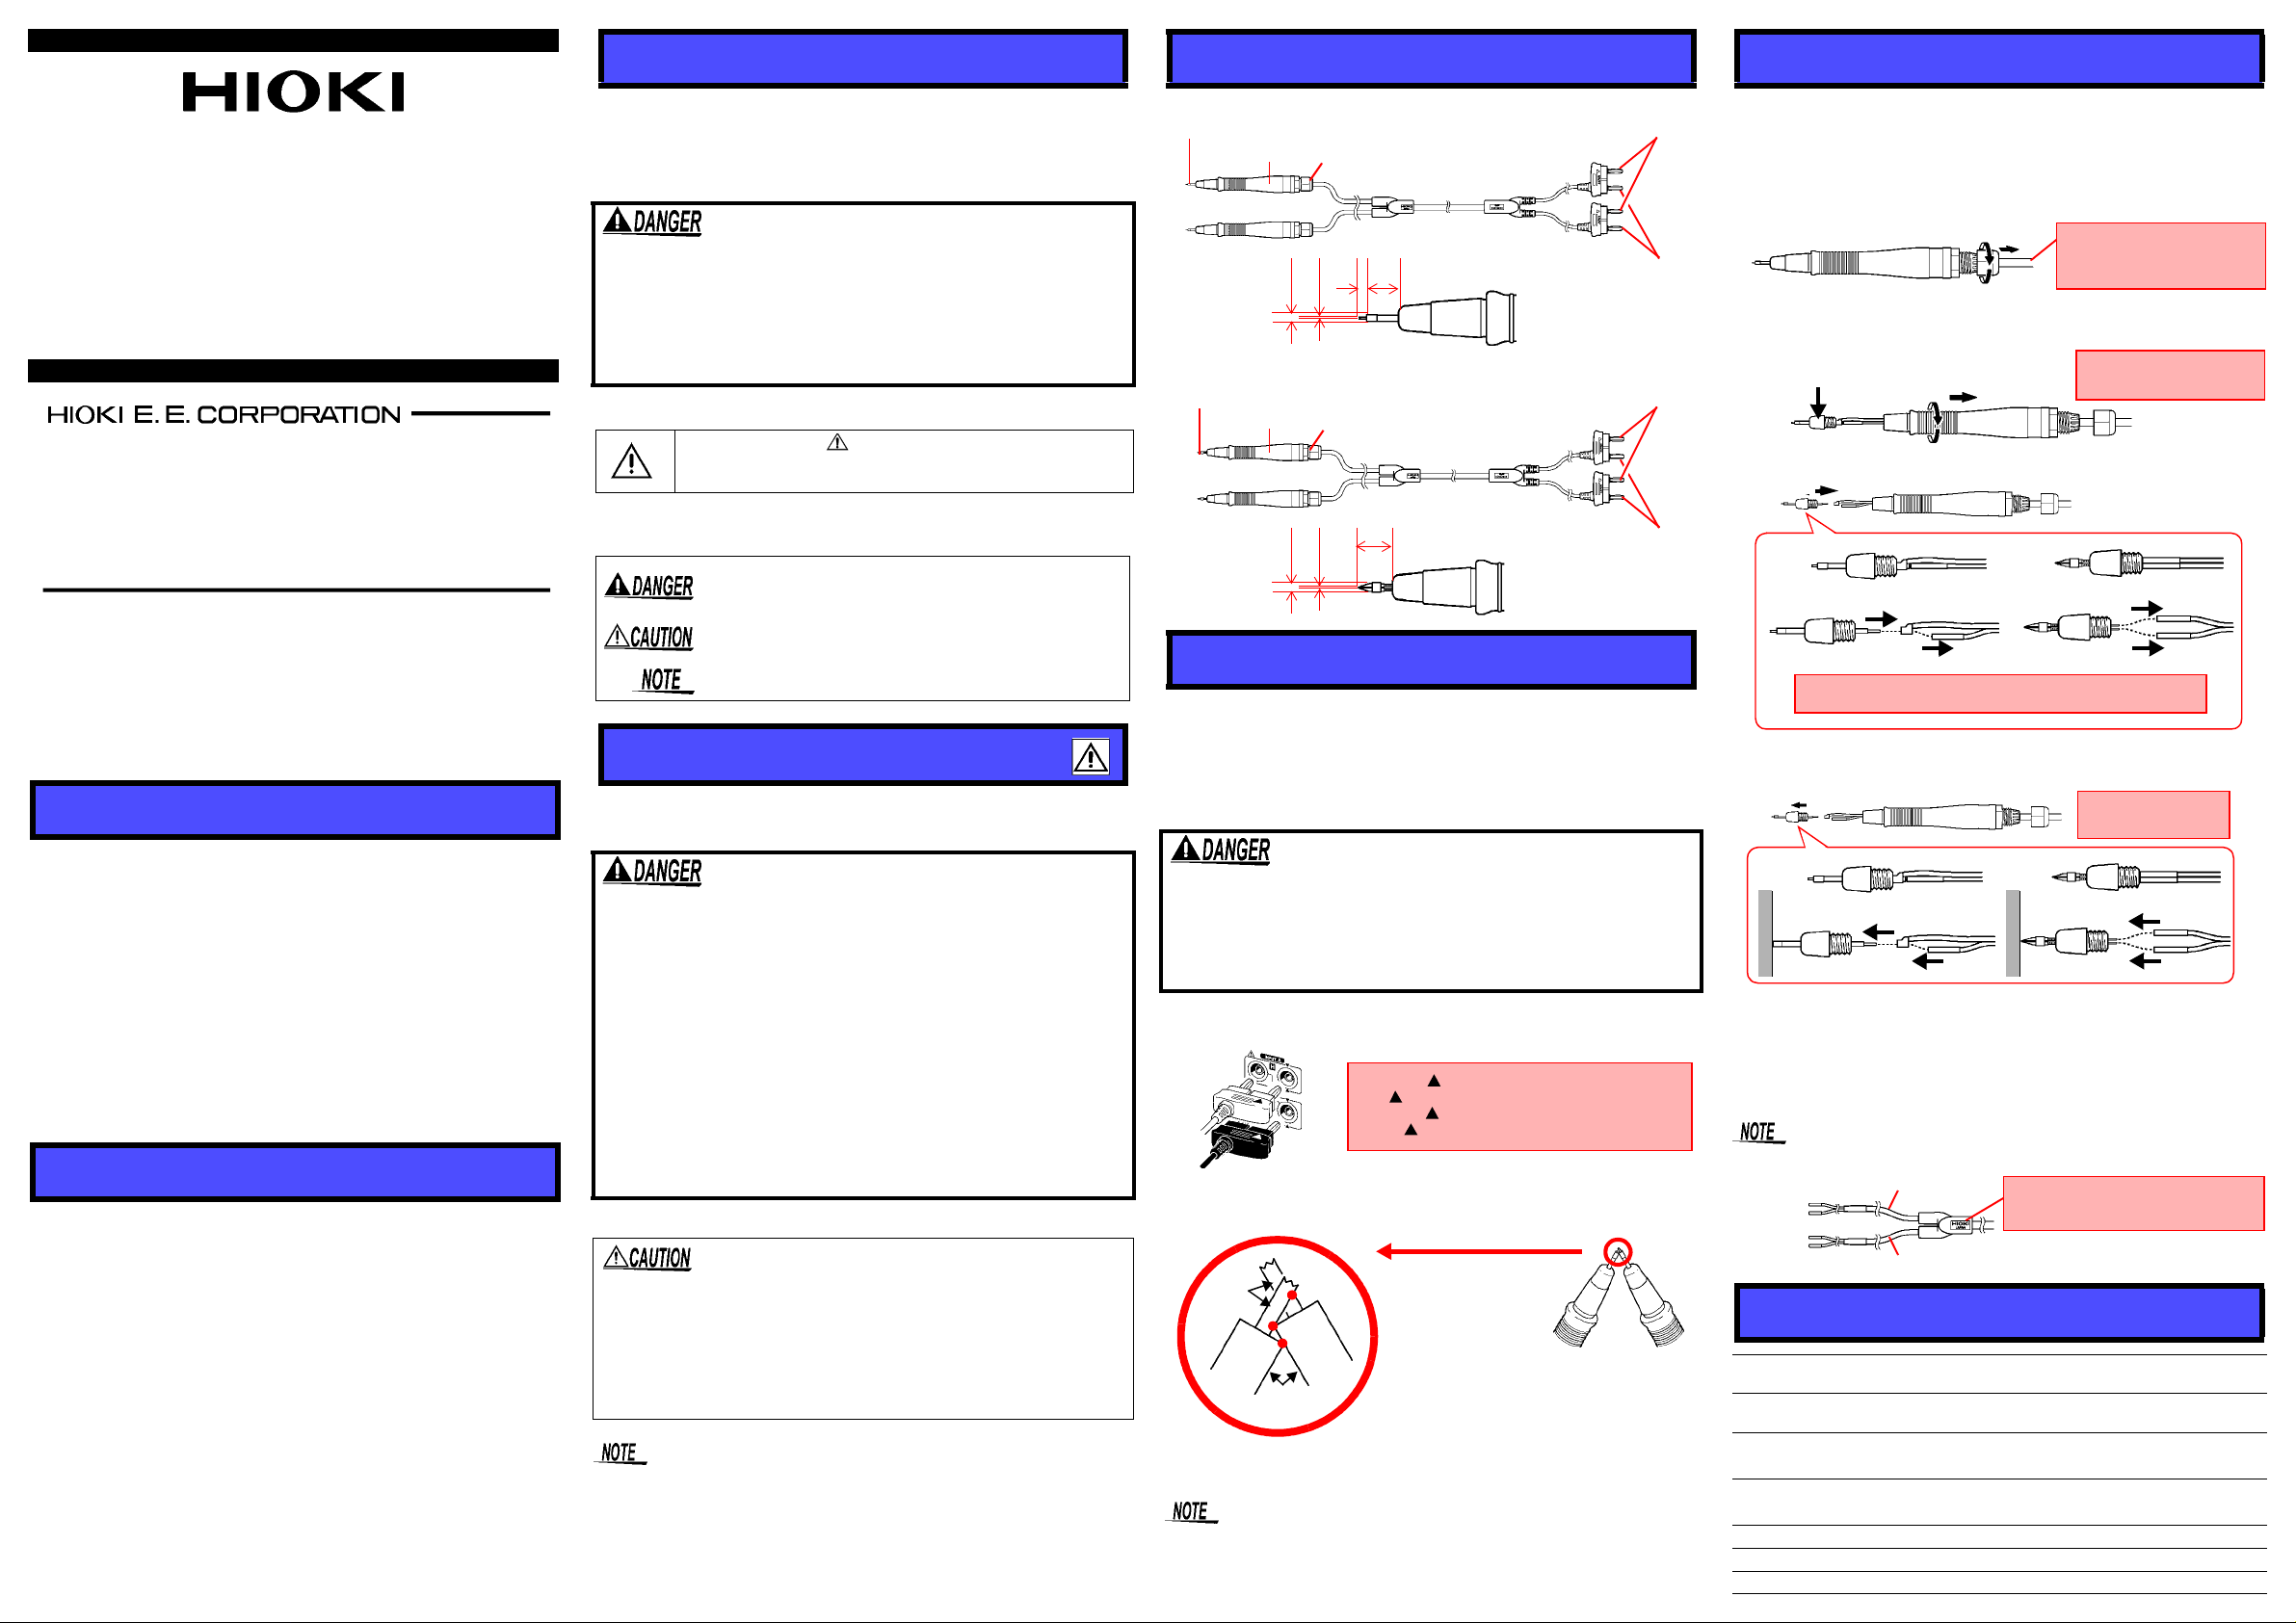
Safety
Parts Names
Replacing the Pin
9770, 9771
PIN TYPE LEAD
INSTRUCTION MANUAL
July 2005 Revised edition 1 Printed in Japan
9770A980-01 05-07H
HEAD OFFICE
81 Koizumi, Ueda, Nagano 386-1192, Japan
TEL +81-268-28-0562 / FAX +81-268-28-0568
E-mail: [email protected] URL http://www.hioki.co.jp/
HIOKI USA CORPORATION
6 Corporate Drive, Cranbury, NJ 08512, USA
TEL +1-609-409-9109 / FAX +1-609-409-9108
Introduction
Thank you for purchasing the HIOKI “Model 9770, 9771 PIN
TYPE LEAD.” To obtain maximum performance from the product, please read thi s manual first, and keep it handy for future
reference.
Overview
The conductive-tip contact pin of the model 9770 has a four-terminal structure that is developed for inspection of small devices,
such as a terminal of a button cell battery. Use of the coaxial pin
with an outside diameter of 1.8 mm makes it easy to contact an
object to be measur ed, ensuring correct resistanc e measurement.
The conductive-tip contact pin of the model 9771 has a four-terminal structure that is developed for inspection of through holes,
pads and surface mounted devices on a PCB. Parallel pins 0.2
mm apart are used and the tip is a four-side d pyram id. Thes e
make it easy to contact very small objects under measurement,
and help measure a through hole efficiently.
Inspection and Maintenance
Initial Inspection
When you receive the product, inspect it carefully to ensure that
no damage occurred during shipping. If damage is evident, or if
it fails to opera te according to the s pecifications, contact your
dealer or Hioki representative.
Maintenance and Service
• To clean the product, wipe i t gently with a soft cloth moistened with water or mild det ergent. Never use solvents such
as benzene, alcohol, acetone, ether, ketones, thinners or
gasoline, as they can deform and discolor the case.
• If the product seems to be malfunctioning, contact your
dealer or Hioki representative.
• Pack the product so that it will not sustain damage during
shipping, and in clude a description of existing damage. We
cannot accept responsibility for damage incurred during shipping.
This manual contains information and warnings essential for
safe operation of the product and for maintaining it in safe operating condition. Before using it, be sure to carefully read the following safety precautions.
Mishandling this product during use could result in injury
or death, as well as damage to the product. Be certain
that you understand the instructions and precautions in
the manual before use. We disclaim any responsibility for
accidents or injuries not resulting directly from product
defects.
Safety Symbol
In the manual, the symbol indicates particularly important information that the user should read before using the
product.
The following symbols in this manual indicate the relative importance of cautions and warnings.
Indicates that incorrect operati on pres en ts an extreme
hazard that could resul t in s erious injur y or de ath to the
user.
Indicates that incorrect operation presents a possibility
of injury to the user or damage to the product.
Indicates advisory items related to performance or correct operation of the product.
Usage Notes
Follow these precautions to ensure safe operation and to obtain
the full benefits of the various functions.
• To avoid electric al shock, be careful to avoid shorting
live lines with the Pin type leads.
• The maximum rated voltage between input terminals
and ground is 33 Vrms, 46.7 Vp AC and 70 V DC.
Attempting to measure voltages ex ceeding these limits
with respect to ground could damage the product and
result in personal injury.
• The maximum input current is is as follows;
The model 9770: 3 A AC/DC
The model 9771: 2 A AC/DC
Never exceed this limit, as doing so could result in
destruction of the instrument and personal injury or
death.
• To avoid shock and short circuits, turn off all power
before connecting leads.
• To avoid damage to the product, protect it from physical
shock when transporting and handling. Be especially careful
to avoid physical shock from dropping.
• To avoid breaking the leads, do not bend or pull them.
• The ends of the leads are sharp. Be careful to avoid injury. Fit the
protective pin cap when the product is not in use.
A cap are placed on pin for protection during transport. Remove
the cap before use.
The model 9770 PIN TYPE LEAD
Conductive contact pin (coaxial pin)
φ1.8
2.2
Cable lock
φ0.6
Cable lock
0.2
92
9
Grip
The model 9771 PIN TYPE LEAD
Conductive contact pin (parallel pin)
Grip
Unit: mm
Unit: mm
SENSE connector
SOURCE connector
Enlarged view of pin
SENSE connector
SOURCE connector
Enlarged view of pin
Procedure
Preliminary Checks
Before using the product the first time, verify that it operates normally to ensure that th e no damage occurred during sto ra ge o r
shipping. If you find an y damage, contact your dealer or Hioki
representative.
Before using the p roduct, make sure that the in sulation
on the test leads is undamaged and that no bare conductors are improperly exposed. Using the product in such
conditions could cause an electric shock, so cont act your
dealer or Hioki representative for repair.
1.
Make sure that power of the device to connect the pin type lead to is off.
2. Connect the pin type lead to the input terminal of the device.
Plug the mark on the red lead into the
red marked jack on the instrument, and
plug the mark on the black lead into the
black marked jack on the instrument.
3. Perform zero adjustment. Short-circuit the pins of the pin type lead in the
specified method and perform zero adjustment.
See the instruction manual for details of connectable devices.
Internal
conductor
Bring the pins into contact at 3 points.
External
conductor
• Internal conductor and internal conductor
• Internal conductor and external conductor
• External conductor and external conductor
The internal conductor shall contact the
external conductor at one point.
4. Connect the model 9770/9771 to a sample.
• Z ero adjustment cannot be performed with the model 9771. Use the model
9287-10 clip type lead for zero adjustment.
• Fit the cap after use.
The model 9770
The conductive-tip contact pin is replaceable. Replace the pin with a new one
if it is broken or worn. One-piece condu ctive-tip contact pins with a plastic pin
base are available separately.
1. Turn off power of the device before connecting the pin type lead.
2. Unscrew the cable lock to unlock the cable.
(The cable is locked by screwing the cable lock.)
The model 9770
(1) (2)
To prevent broken wires;
do not pull the cable, and
do not twist the cable.
3. Hold the pin base so that the cable won’t rotate, and then rotate the grip to
loosen it.
(1) Hold the pin base tightly.
(2)
(3)
Beware of injury.
The tip has a sharp point.
4. Pull off the connector and remove the pin.
The model
9770’s pin
(2)
(1)
Do not apply a load to the cable to prevent broken wires.
The model
9771’s pin
(1)
(2)
5. Fasten a new pin. Press the tip of the pin against a desk so that the pin
won’t spring out, and push the connector onto the pin.
The red shrink tube
should not come out.
The model
9770’s pin
(1)
(2)
The model
9771’s pin
(1)
(2)
6. Assemble the pin type lead in the reverse order of disassembling.
Do not pull or twist the cable.
7. To avoid broken wires and contact failures, after tightening the cable lock,
gently tug and twist the cable to check it is firmly held.
8. Check the performance. Measure an object with a known resistance. Make
sure that the measured resistance is correct before using the pin type lead.
If the grips are detached, reassemble by referring to the picture below.
Red grip
Black grip
Place the cable so that the HIOKI
logo is shown in the upright position.
Specific ations
Maximum rated voltage t o
earth
Maximum input current Model 9770: AC/DC 3 A continuous
Operating temperature
and humidity
Storage temperature
and humidity
Operating Environment Altitude up to 2000 m (6562 feet), Indoors
Size&Weight Approx. 860 mm (33.86”)/ Aprrox. 110 g (3.9 oz.)
Accessories Instruction manual
33 Vrms or less, 46.7 Vp AC or less and 70 V DC
or less
Model 9771: AC/DC 2 A continuous
°C to 40°C (32°F to 104°F), 80%RH or less
0
(no condensation)
°C to 50°C (14°C to 122°C), 80%RH or less
-10
(no condensation)
 Loading...