


Table of Contents
1. What is the SenseView LIGHT? .................... 4
2. Safety precaution ........................................... 5
3. Package ......................................................... 6
4. Configuration ................................................. 7
5. After purchasing ............................................. 9
(1) Charging .................................................. 9
(2) Remove screen protection film ................ 9
6. How to use ................................................... 10
(1) Starting the SenseView LIGHT ............. 10
① Power on/off ..................................... 10
② Location of the camera ..................... 11
(2) Zoom ..................................................... 11
① Changing the magnification rate ....... 11
② Using the legs ................................... 11
③ Semi-distance ................................... 13
(3) Changing color ...................................... 14
(4) Changing brightness on the screen ...... 15
(5) Still image .............................................. 15

(6) Changing the brightness of the illumination . 16
(7) Additional features .................................... 16
① Power saving mode .......................... 16
② Checking the battery status .............. 17
③ Sound on/off ..................................... 18
7. Troubleshooting ........................................... 19
8. Technical Specifications ............................... 22
9. Warranty ...................................................... 22

User manual – SenseView LIGHT
4
1. What is the SenseView LIGHT?
The SenseView LIGHT is compact size so you
can carry in your pocket and use whenever you
want. To read books or newspapers for a long
time, unfold legs at the bottom. If you unfold one
leg, it is inclined so you can read in comfortable
position without bending your neck.
To make vividness text of books or
newspapers more vivid and to see receipts,
statements of way bills, or colorful text clearly, it
provides Full color mode and High contrast
mode.
AMOLED, new the next generation display, of
the SenseView LIGHT provides high contrast to
recognize text easily and equipped with better
viewing display capability which can be viewed
from more diverse angles. It can still be used in
high ambient light such as when you are outside.

User manual – SenseView LIGHT
5
2. Safety precaution
To protect both yourself and the equipment,
observe the following precautions.
Do not use damaged power plug or unsuitable
outlet to prevent electronic shock or fire.
Do not touch power plug with wet hands to
prevent electronic shock.
Only the supplied adapter by HIMS should be
used. Other power adapter may damage the
unit.
Do not use this unit in moisture environment
like a bathroom or shower room to prevent
any damage.
Do not take apart the device by yourself or
anyone else who is not authorized by HIMS. If
an unauthorized person or company
disassembles the device, serious damage may
occur to the device and the warranty is void.
After 6 months use of the device, the lifespan
of the battery may be shortened.
Do not use this unit under the direct sunlight
and in very hot or cold environment. The
screen may not be displayed accurately. Use
this unit not beyond 0°C ~ 35°C.

User manual – SenseView LIGHT
6
3. Package
(1) SenseView LIGHT
(2) AC adapter
(3) Carrying case
(4) Strap
(5) User manual

User manual – SenseView LIGHT
7
4. Configuration
(1) Power switch
(2) AC Jack (connect to a power adapter)
(3) Battery charging indicator
(4) Zoom button
(5) Screen brightness button
(6) Color mode button
(7) Screen
(8) Strap hole
(7)
(4)
(5)
(6)
(2)
(1)
(8)
(3)

User manual – SenseView LIGHT
8
(9) Illumination brightness button
(10) Still image button
(11) Camera
(12) Legs
(13) Illumination
(11)
(12)
(13)
(9)
(10)

User manual – SenseView LIGHT
9
5. After purchasing
(1) Charging
Battery must be fully charged approximately for
3 hours prior to initial use.
To charge the battery, plug the supplied AC
adapter into the AC adapter jack on the
bottom of the device.
A full charge takes about 3 hours.
The battery indicator located left edge side of
the front will glow red while charging and it
will glow green when it's fully charged.
※ The unit might be getting warm while charging.
(2) Remove screen protection film
A protection film is covered on the screen. Make
sure that take it off before using the unit.

User manual – SenseView LIGHT
10
6. How to use
(1) Starting the SenseView LIGHT
① Power on/off
The power switch is located at the center of
the bottom panel.
To turn on, slide the power switch to the right.
The magnified image will show up.
To turn off, slide the power switch to the right
once again.
※ Do not turn on the device right away after
turning it off. The unit might be damaged.

User manual – SenseView LIGHT
11
② Location of the camera
The camera is in the center of the back side of
the unit. Place the camera on the center of the
object you want to magnify.
(2) Zoom
① Changing the magnification rate
You can change the magnification rate
depending on the text size.
The Zoom button is at the upper left of the
top panel.
To increase the magnification rate, press the
Zoom button.
Every time you press the Zoom button, the
magnification rate changes among 4 levels.
The higher level, the higher magnification.
② Using the legs
When you place the unit on the object, unfold
the legs. In this case, the magnification rate is
from 3.5X to 10.5X.

User manual – SenseView LIGHT
12
※ Without unfolding the legs, you can’t get an
accurate image.
※ When you fold up one leg, you can use the
unit without difficulty but text will be titled
slightly.
User manual – SenseView LIGHT
13
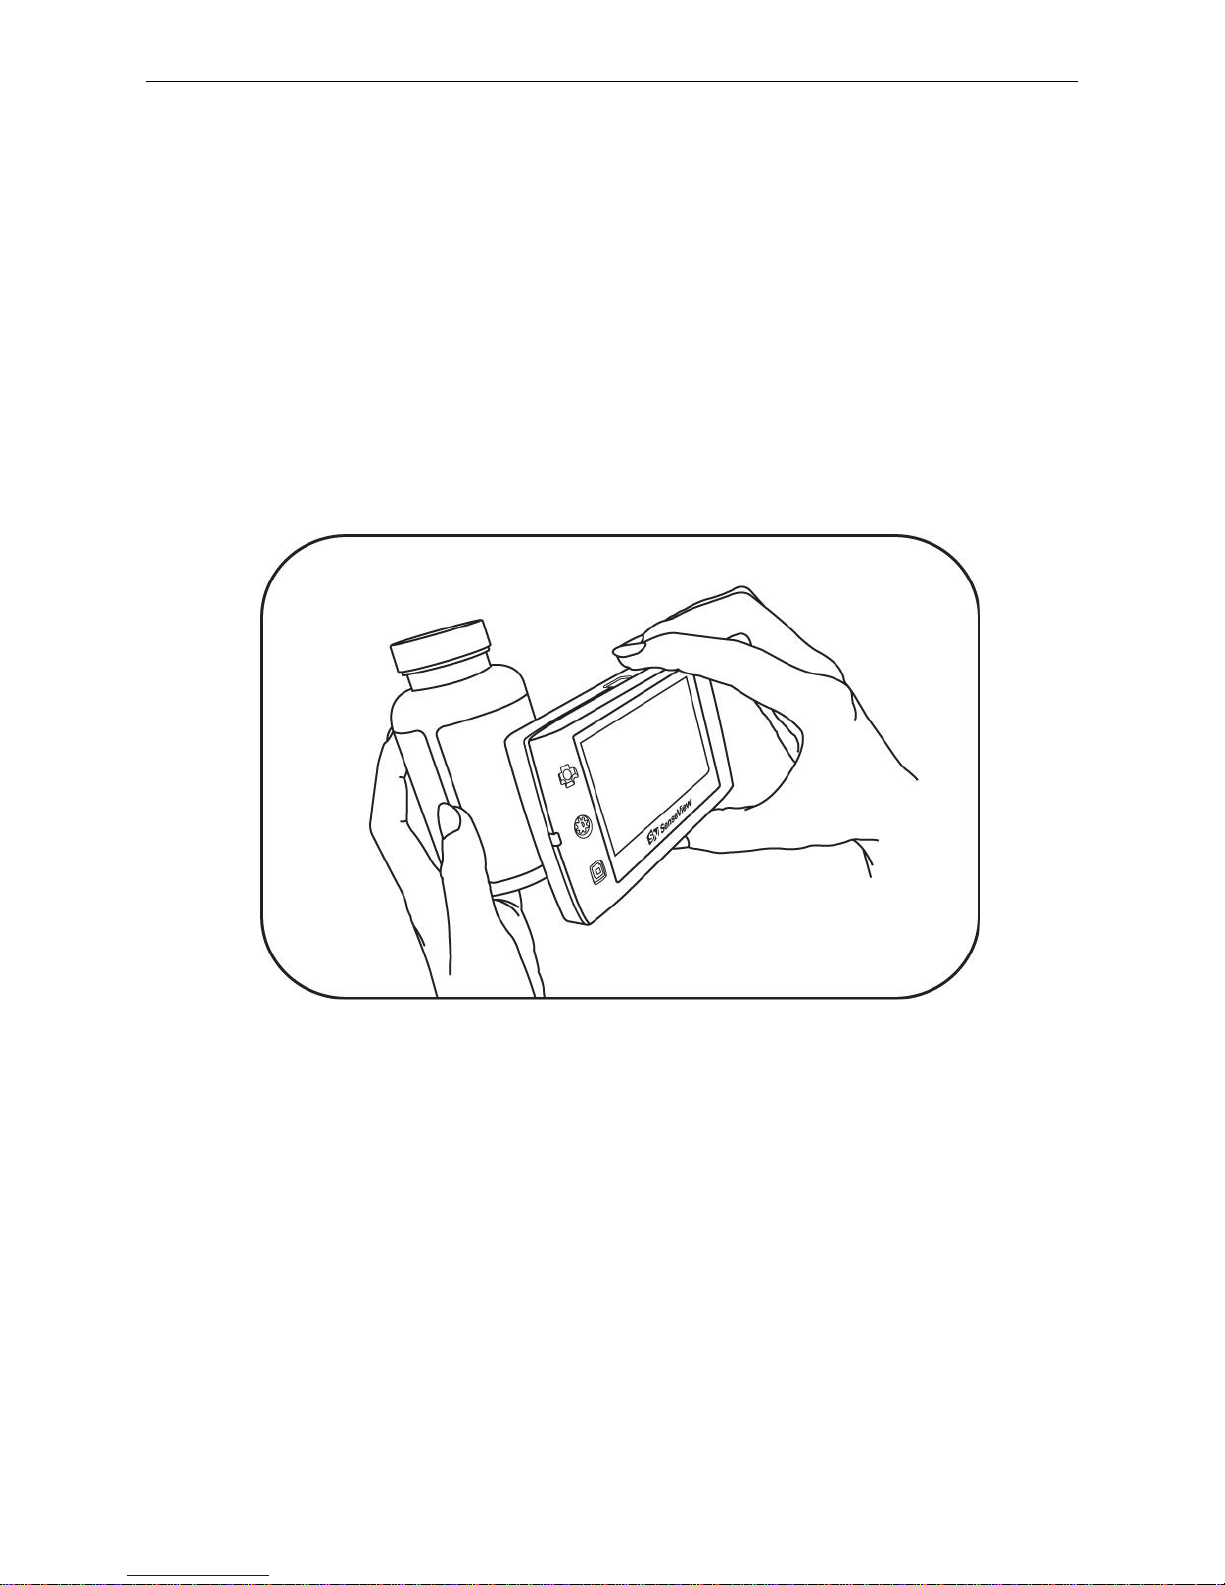
③ Semi-distance
You can use the SenseView LIGHT as a regular
optical magnifier by lifting 20mm~45mm from
the object.
The image on the screen gets larger as the
distance from the object shortens. The
magnification rate is from 1.5X to 10.5X.

User manual – SenseView LIGHT
14
※ Magnification rate
There are 4 magnification levels. The rates are
different, depending on the distance from the object.
Zoom
level
Distance from object
2cm
4.5cm
Level 1
3.5X
1.5X
Level 2
5.25X
2.25X
Level 3
7X
3X
Level 4
10.5X
4.5X
(3) Changing color
You can change the color on the screen. You can
set your preferred color of the text and background
depending on the material being viewed.
The Color mode button is at the lower left of
the top panel.
The image on the OLED screen can be
viewed in 5 color modes.
1) Full color
2) Black on white
3) Black on white with high contrast
4) White on black
5) White on black with high contrast

User manual – SenseView LIGHT
15
Use mode ② and ④ when you want to display
weak contrast or small letters.
Use mode ③ and ⑤ when you want to display
high contrast for more vivid image.
(4) Changing brightness on the screen
You can adjust brightness for the darker and
lighter images depending on material viewing on
the screen.
The Screen brightness button is at the center
left of the top panel.
There are 4 brightness levels. The higher
level, the brighter.
(5) Still image
The feature of still image is useful to read small
letters such as address, and phone number.
The Still image button is at the center of the
rare panel.
Briefly press the button and the image the
SenseView LIGHT is showing at that instant will
remain on the screen.
Press the button again to return to the normal
viewing mode.

User manual – SenseView LIGHT
16
(6) Changing the brightness of the illumination
You can adjust the brightness of the illumination.
Change the brightness, depending on the
circumstance and for your convenience.
The Illumination brightness button is at the
right side.
There are 3 brightness levels.
① Off
② Middle
③ Maximum
The light level doesn’t change when you turn
off the power while the light is on. It changes
to the maximum when you turn off the power
while the light is off.
(7) Additional features
① Power saving mode
In order to save the battery, the Power saving
mode will be activated when you do not use the
unit for few minutes.
If you leave the unit turned on and unmoved
for 2 minutes or more it automatically goes
into a power saving mode.

User manual – SenseView LIGHT
17
In the Power saving mode, the display
screen turns off and the battery charging
indicator flickers.
To exit "Power saving mode", simply touch
any button or move the unit.
If the unit is left a further 3 minutes after
entering the power saving mode, power is
automatically switched off.
※ The Power saving mode is not activated in
the Still image mode. When you don’t use the
unit more than 3 minutes while the capturing
an image mode is activated, the power will
be turned off.
② Checking the battery status
The battery indicator icon is displayed at up
right corner on the screen as a 3 segment
horizontal bars in an oblong frame.
When you press the Zoom button and the
Illumination brightness button simultaneously,
[A battery charging indicator]

User manual – SenseView LIGHT
18
the indicator will appear accompanied by an
audio beep.
The battery status is displayed with 5 levels:
Full, High, medium, Low and Very low.
The icon, Empty battery status, will flicker
when the battery status is needs to be
charged.
The battery indicator icon is red color when
the unit is being charged and it will be
changed to green when the unit is fully
charged.
When you disconnected the adaptor, it will
be changed to blue.
You can remove the battery charge indicator
from the display screen by pressing the
Zoom button and the Illumination brightness
button.
③ Sound on/off
Every time you press each button, you can hear
a sound to confirm your button stroke. You can
turn on/off the sound for your convenience.
To turn on/off the sound, press the
Illumination brightness button and the Color
mode button simultaneously.

User manual – SenseView LIGHT
19
7. Troubleshooting
(1) It does not turn on.
Connect the adapter to AC jack over 3 hours
before using.
(2) The power is on, but I can’t get an
accurate image.
In the Capturing an image mode, it may seem
to be defective. Turn off this mode by
pressing the Image capture button.
The Power saving mode will be activated
when you don’t use the unit for 2 minutes.
Press any button or use the unit to exit from
power saving mode.
If you put the unit on the object without
unfolding the legs, the camera is too close to
display an image. Please fold up it.
(3) The screen is dark and the text is vague.
It is happened when the object is out of range.
When you use the legs, the recommended
range is 20~45mm from the object.
(4) I wiped the screen, but a piece of dirt still
on it.
It may not on the screen but the camera lens.
Wipe the camera lens with soft cloth.

User manual – SenseView LIGHT
20
(5) I want to turn on/off the sound.
When you press each button, you can hear a
sound to confirm your button stroke. To turn
on/off the sound, press the Illumination
brightness button and the Color mode button
simultaneously.
(6) I want to check the battery status.
When you press the Zoom button and the
Illumination brightness button simultaneously,
the battery icon will be displayed on the
screen.
(7) OLED is too light or too dark.
You can adjust the brightness for the darker
and lighter images on the OLED screen with
the Screen brightness button from level 1 to 4.
The higher level you select, the brighter you
can get.
(8) OLED turns off while using the unit.
The Power saving mode will be activated
when you don’t use the unit for 2 minutes.
Press any button or use the unit to exit from
power saving mode. The power turns off after
3 minutes in the Power saving mode, so you
need to turn it on again.

User manual – SenseView LIGHT
21
When the battery runs out, the power will be
turned off. Connect the adapter into AC jack
over 3 hours before using
(9) The battery has been charged for a long
time, but it doesn’t last long.
The lifespan of the battery is shortened.
In order to use the battery for a long time,
charge it frequently before it is discharged.

User manual – SenseView LIGHT
22
8. Technical Specifications
(1) Screen: 3.4 inch wide type AMOLED
(2) Magnification rate: 1.5X~10.5X
(3) Semi-distance: 2cm~4.5cm
(4) Screen brightness: 4 levels
(5) Color modes: 5 color modes
(6) Battery : Rechargeable lithium polymer
(2000mAh, 3.7V)
① Continuous use: 3.5 hours
② Recharging time: 3 hours
(7) Size: 115(W) * 67(D) * 18(H) mm
(8) Weight: 151g
※ (NOTE) This user guide will be differed from actual
operation due to improved function of products and it is
subject to change and modified without prior notice.
9. Warranty
(1) Warranty term is 2 years from your
purchasing. Warranty term of the battery is 6
months.
(2) Warranty does not cover the problem due to
the user’s fault.
※ (NOTE) The warranty term will be different from
each country.

User manual – SenseView LIGHT
23
NOTE: This equipment has been tested and found to
comply with the limits for a Class B digital device,
pursuant to part 15 of the FCC Rules. These limits are
designed to pro-vide reasonable protection against
harmful interference in a residential installation.
This equipment generates, uses and can radiate radio
frequency energy and, if not in-stalled and used in
accordance with the instructions, may cause harmful
interference to radio communications. However, there
is no guarantee that interference will not occur in a
particular installation. If this equipment does cause
harmful interference to radio or television reception,
which can be determined by turning the equipment off
and on, the user is encouraged to try to correct the
interference by one or more of the following measures:
-Reorient or relocate the receiving antenna.
-Increase the separation between the equipment and
receiver.
-Connect the equipment into an outlet on a circuit
different from that to which the receiver is connected.
-Consult the dealer or an experienced radio/TV
technician for help.
CAUTION: Changes or modifications not expressly
approved by the manufacturer responsible for
compliance could void the user’s authority to operate
the equipment.

 Loading...