

HIMS Blaze EZ Quick Start Manual
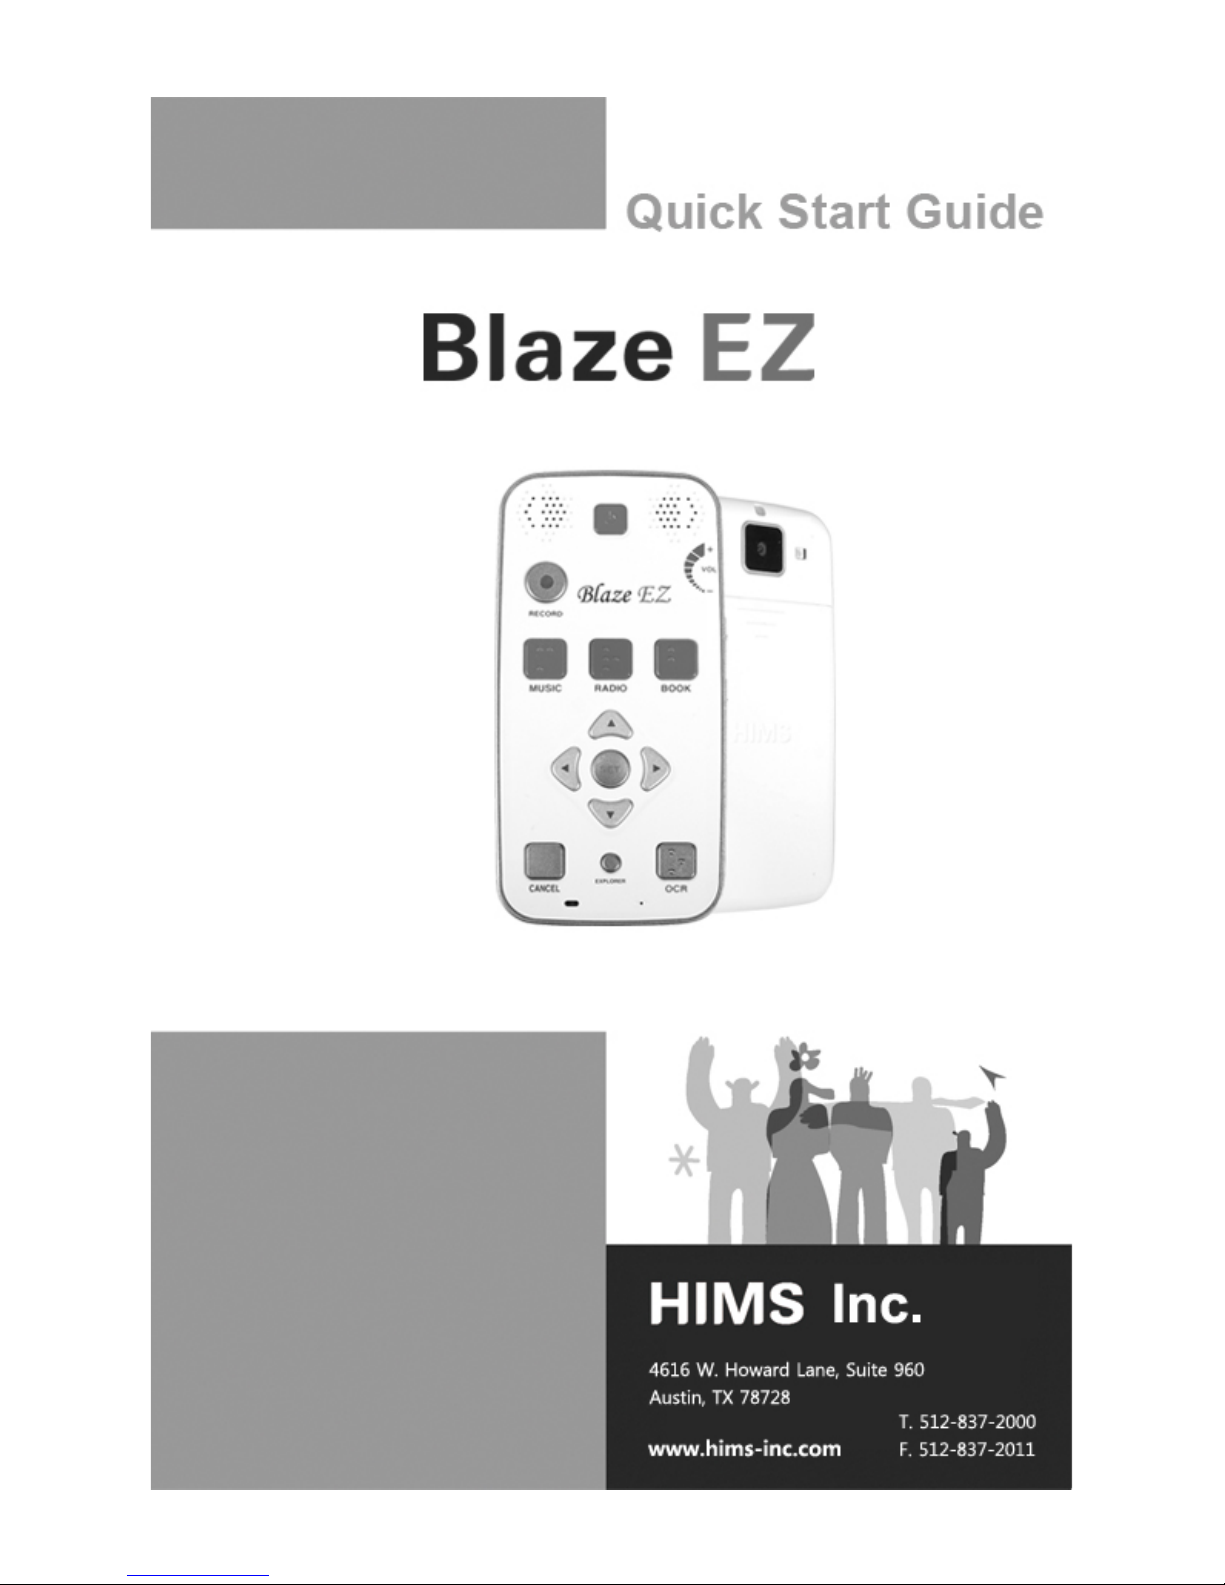

Quick Start Guide – Blaze EZ
II
- Table of Contents -
1. What’s in the box? ................................................................ 1
2. Physical description .............................................................. 1
2.1. The Top Face ................................................................. 1
2.2. The Right Edge .............................................................. 3
2.3. The Left Edge ................................................................. 4
2.4. The Bottom Edge ........................................................... 4
2.5. The Back Face ............................................................... 4
3. Inserting and Removing the Battery ..................................... 5
4. Inserting and Removing the SD Card. .................................. 5
5. Connecting to a PC ............................................................... 6
6. Powering On/Off ................................................................... 7
7. The Home Menu ................................................................... 8
8. Basic Interface and Programming ........................................ 9
8.1. Recording ....................................................................... 9
8.2. Music .............................................................................. 9
8.3. FM Radio ...................................................................... 10
8.4. Books ........................................................................... 11
8.5. OCR ............................................................................. 12
9. Web-based Programming ................................................... 12
9.1. Online DAISY ............................................................... 12
9.2. Podcasts ...................................................................... 13
9.3. Web Radio ................................................................... 14
10. Checking Date and Time .................................................. 15

Quick Start Guide – Blaze EZ
III
Introduction
This Quick Start guide gives you a basic orientation to your Blaze
EZ, shows you how to connect and charge the battery, how to
turn the unit on and off, how to access programs on the unit and
how to prevent the accidental pressing of buttons.
This is a basic guide to help you get oriented to the unit and get
you started using the basic programming. Please refer to the full
user manual for more detailed information on the functions of the
Blaze EZ.

Quick Start Guide – Blaze EZ
1
1. What’s in the box?
Your Blaze EZ packing box should contain all of the following
items:
1) Blaze EZ
2) Rechargeable battery pack
3) AC adapter
4) USB cable for connecting Blaze EZ to a PC
5) USB Gender adapter for connecting USB drives to Blaze
EZ
6) Headphones
7) Carrying pouch
8) Lanyard
9) Quick Start Guide in print and Braille.
10) Documentation CD
2. Physical description
Place the Blaze EZ in your hand or on a desk or table top in front
of you so that the keypad is facing up and the long rectangular
slot on the side of the unit is facing left.
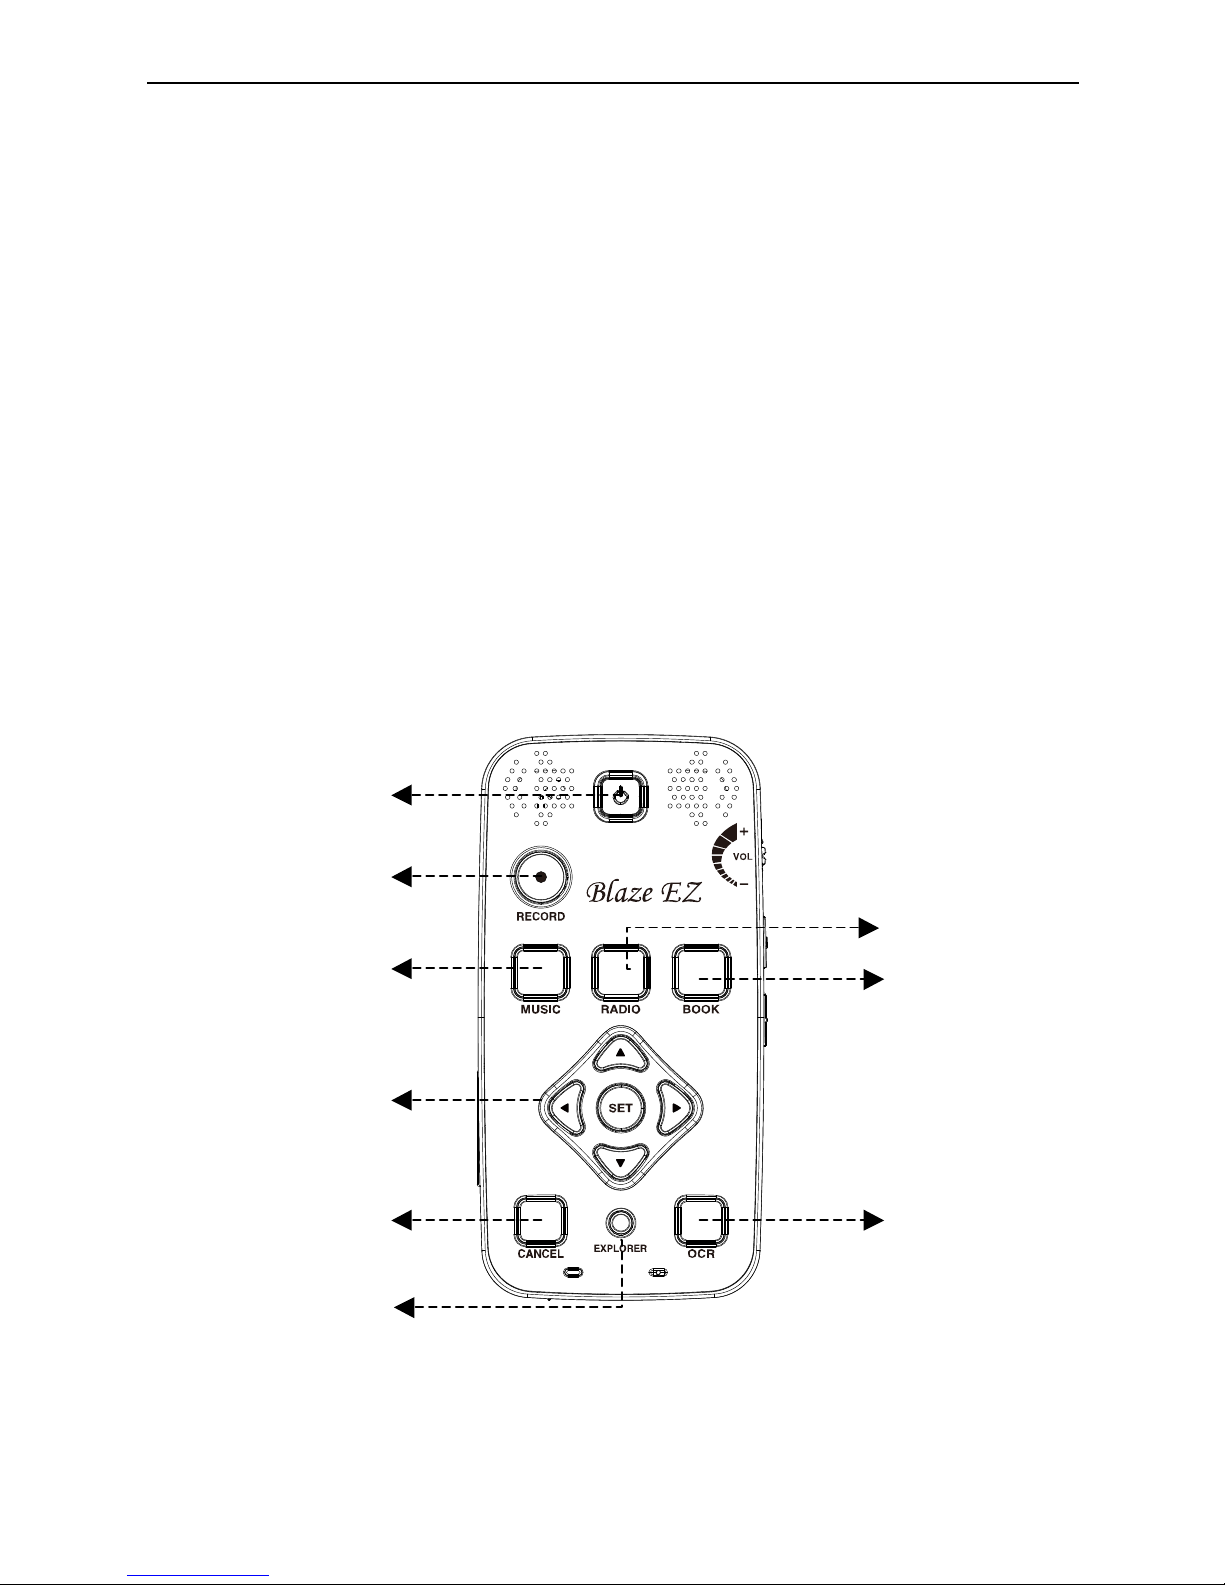
2.1. The Top Face
The top face of the unit contains the main keypad. At the top
center is a slightly recessed square button. This is the Power
On-Off button. To the left and right of the Power button are the
stereo speakers.
Below the Power button, toward the left is a round button. This
is the Record button.
Below the Record button is a row of 3 square buttons with
Braille labels. From left to right these buttons are the Media
button, the Radio button, and the Books button. These buttons
open the Media Player, the FM Radio, and the Book Reader
respectively.
Quick Start Guide – Blaze EZ
2
Below the program buttons is a circular navigation pad
containing 5 keys: the Left, Right, Up and Down arrows, and a
small round button in the center which is the Select button.
Below the navigation pad is a row of 3 buttons: 2 square
buttons with a dot-like button between them. The square button
on the left is the Cancel button. The Square button on the right
is the OCR button. The dot-like button between them is the
Explorer button. The Explorer button brings up a list of files
associated with the currently open program. For example, if
you have the BOOK reader opened, pressing the explorer
button will bring up a list of DAISY books and documents
readable by the Book Reader. The Cancel button is used to
exit a program, menu or dialog.
<The Top Face>
Music Button
OCR Button
Book Button
Radio Button
Record Button
Power On/Off Button
Navigation Pad
Cancel Button
Explorer Button

Quick Start Guide – Blaze EZ
3
2.2. The Right Edge
The right side of the unit contains 3 controls. Nearest the top of
the unit is the volume dial. Turn the dial away from you to
increase the volume, and turn it toward you to decrease it. As
you adjust the volume, you will feel the dial click past each
setting, and the unit announces the volume level as a number.
Below the Volume dial is the Voice Control button. The Voice
Control button allows you to quickly access Speed, volume,
and pitch settings for the TTS. Cycle through the settings with
repeated presses of the Voice Control button, and use the
Volume dial to adjust the chosen setting.
Below the Voice Control button is the Keylock switch. Place the
Keylock switch in the down position to lock the keyboard and in
the up position for normal operation.
Volume Dial
Reset Button
Key lock Switch
Voice control
<The Left and Right EDGE>
SD card slot
 Loading...