


Hi G Tek IGDT40916 Users Manual
DataTag – Application On Object
User Instructions.
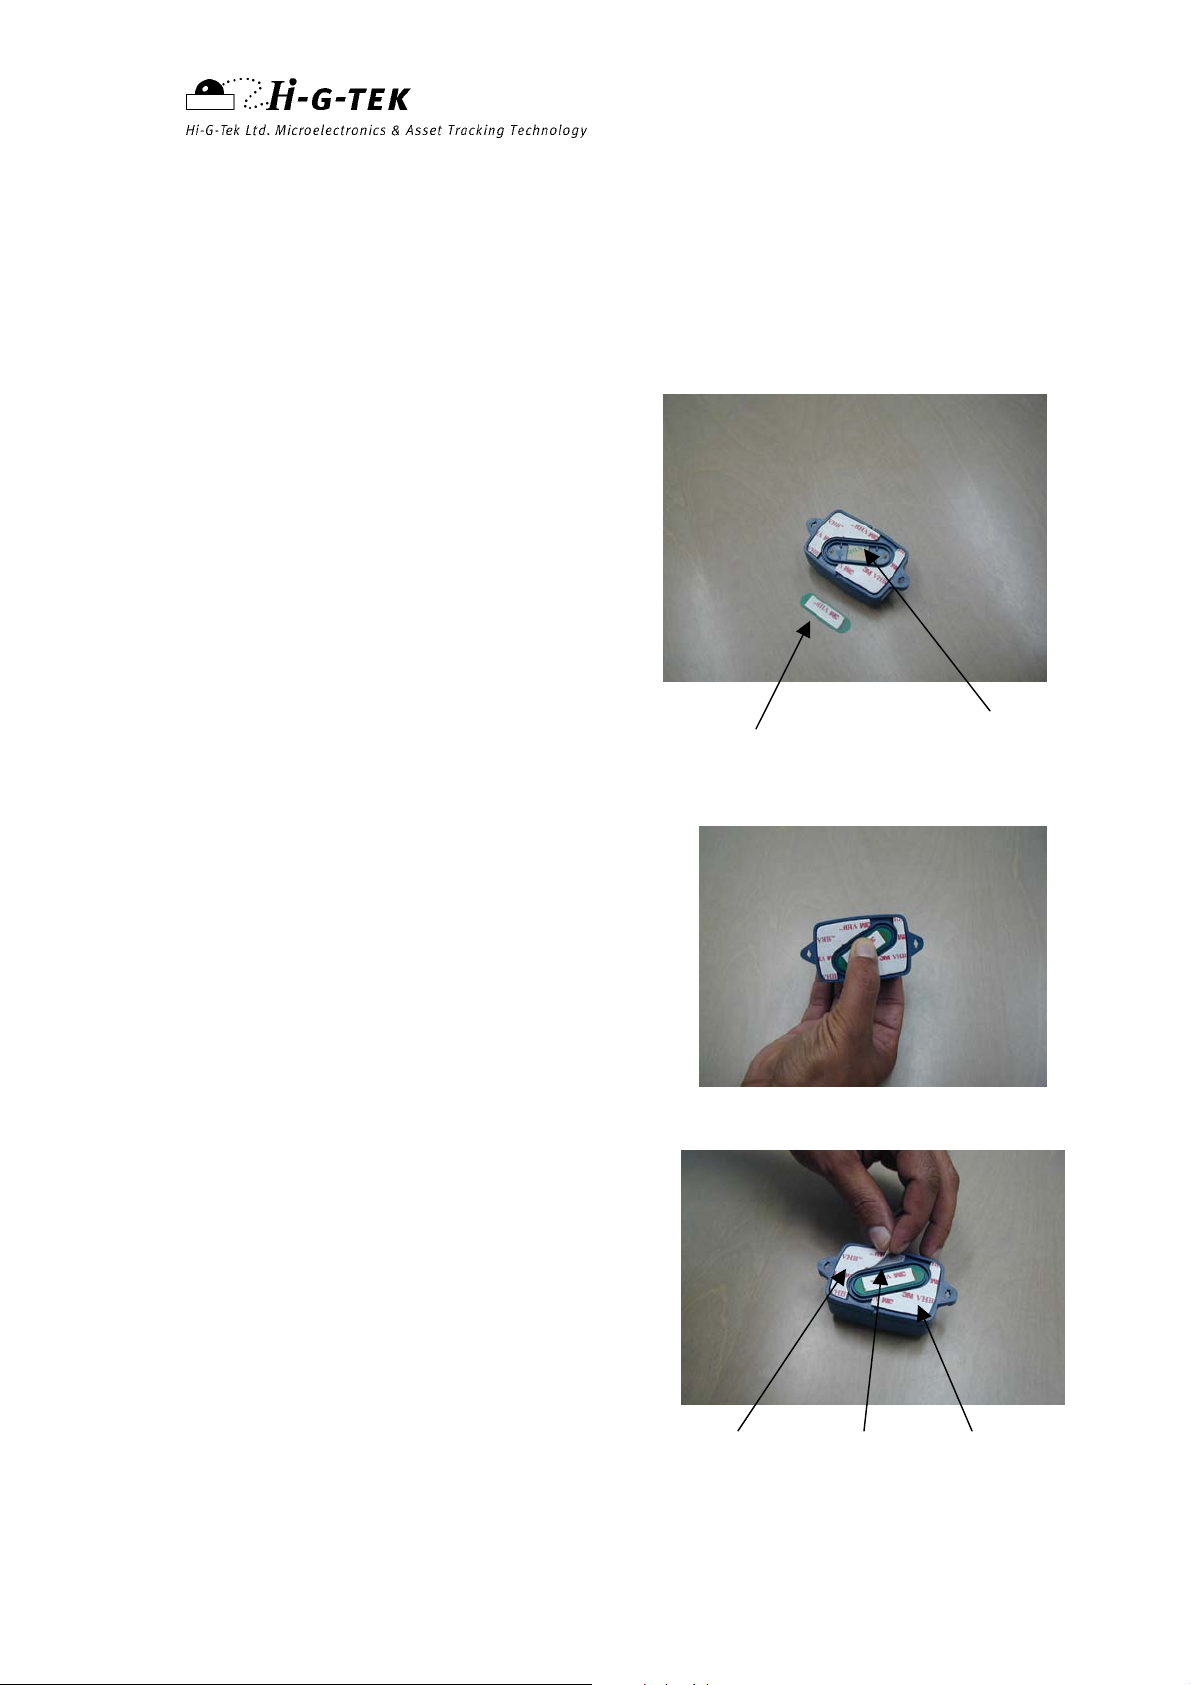
The DataTag is delivered with a set
of double-sided tapes that are used
for placing the DataTag on the
tagged object.
The Sensor Plate (item #1) is supplied
separately from the DataTag.
To place the Sensor Plate peel the paper
from the double-sided tape (item #2) and
place the Sensor Plate in its place.
1 2
Press the sensor Tape to create the contact
between the tape and the sensor Plate.
Make sure the contacts at the bottom part
of the plate are aligned with the pins.
Peel the paper from the three pieces of
double-sided tape: The two larger pieces
(Items #3 & #4) are used for holding the
DataTag to the tagged object while the
smaller piece in the middle (Item #5) is
used for pulling the Sensor Plate off the
DataTag in order to create the TAMPER
event when the DataTag is removed from
the tagged object.
3 5 4
Hi-G-Tek Ltd. Microelectronics & Asset Tracking Technology Pg.1
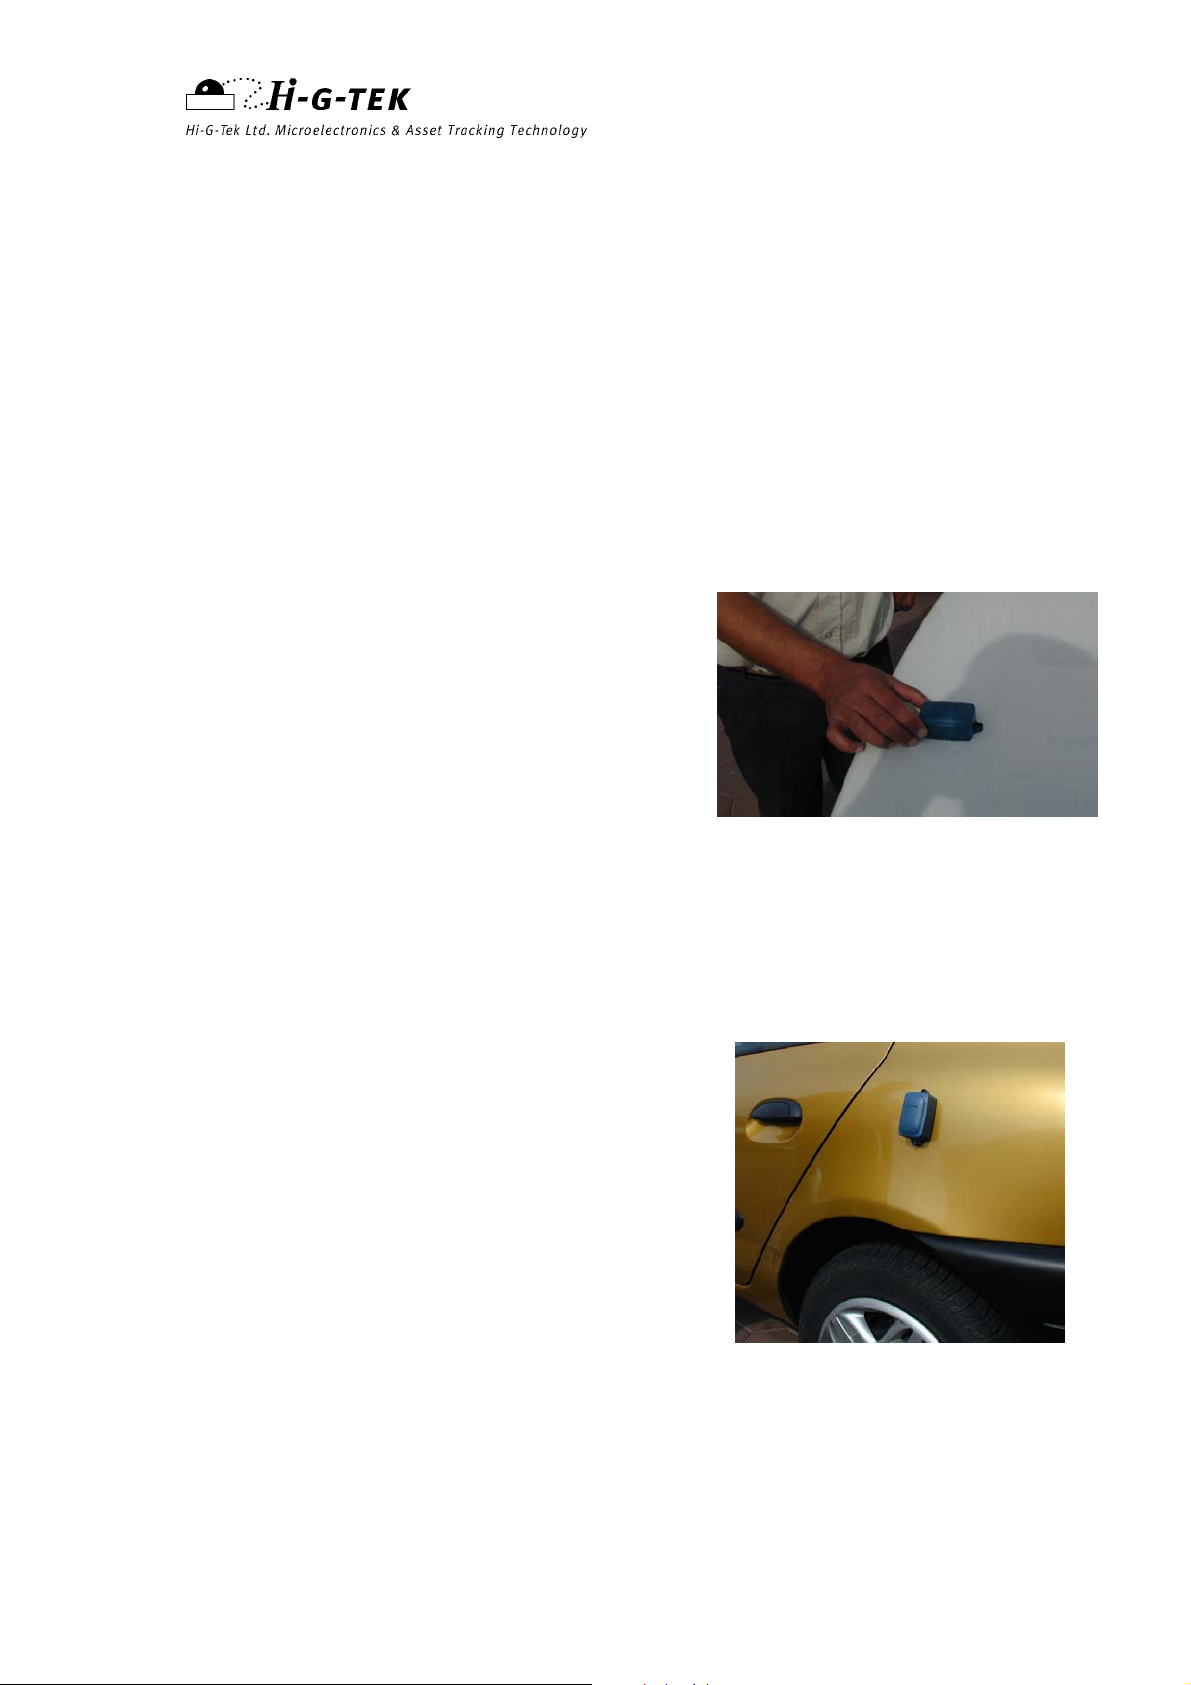
Placing the DataTag on the vehicle
Note: The Installation instructions refer to the case when the DataReader
is installed VERTICALY.
There are two preferred orientations for
placing the DataTag on the vehicle:
Horizontal Orientation:
Place the tag on a flat surface that is
completely horizontal and press firmly
to create good contact between the DataTag
and the tagged object.
Vertical Orientation
Place the DataTag on a flat surface that
is completely vertical and press firmly to
create good contact between the DataTag
and the Tagged object.
It is recommended that the height of the
DataTag above ground will be above 3’
and the optimal height is 5’ above ground.
Hi-G-Tek Ltd. Microelectronics & Asset Tracking Technology Pg.2