

HighSecLabs SK21H-3, SK41D-3, DK22P-3, DK22H-3, DK22PD-3 Quick Setup Manual
...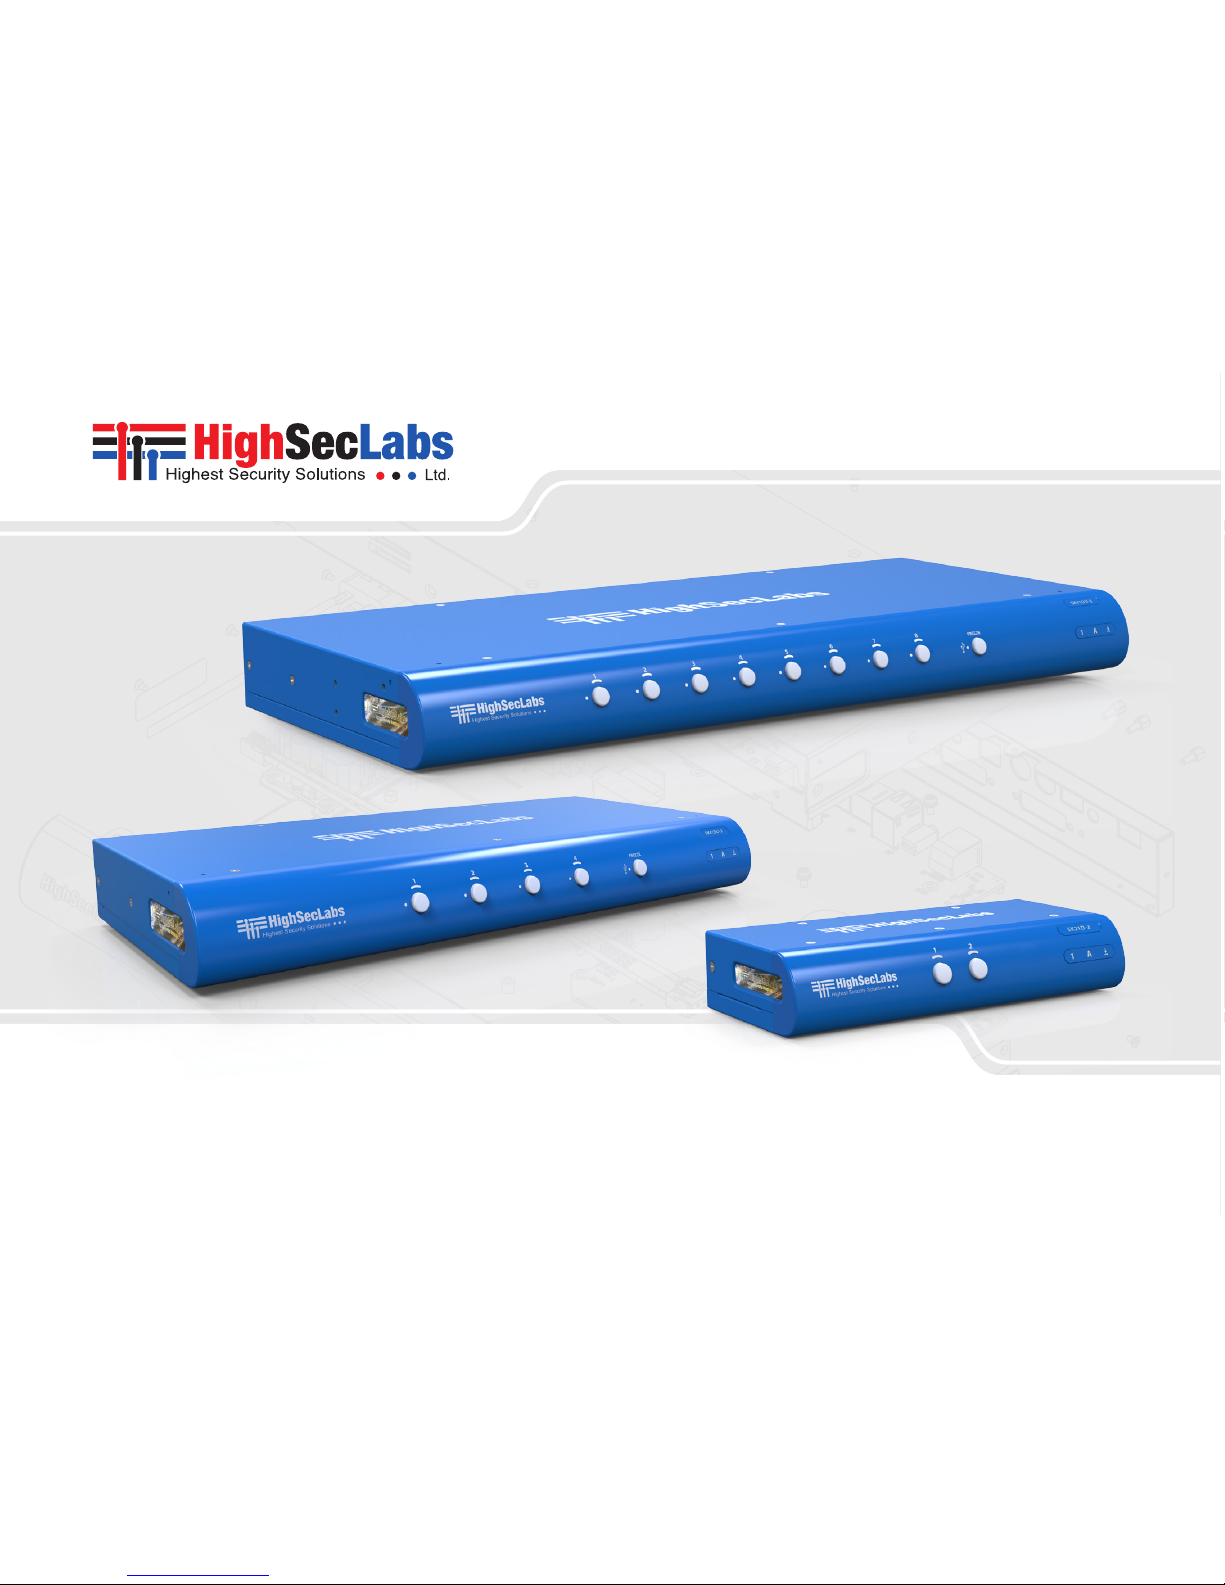
Models:
SK21x-3 / DK22x-3 – Secure 2-Port DVI-I / HDMI / DP Video KVM Switch, PP 3.0
SX41x-3 / DX42x-3 – Secure 4-Port DVI-I / HDMI / DP Video KVM Switch, PP 3.0
SX81x-3 / DX82x-3 – Secure 8-Port DVI-I / HDMI / DP Video KVM Switch, PP 3.0
HDC14467 Rev. 1.1
SECURE KVM SWITCHES | QUICK SETUP GUIDE

1
HSL Mini-Matrix Quick Setup Guide
TABLE OF CONTENTS
SECTIONS
Table of Contents
1 2 3
Introduction .......................................................... 2
HSL Secure KVM Switches .....................................................2
Installation............................................................ 3
Installing the KVM .............................................................3
Operation ............................................................. 6
Operating the KVM............................................................6
Smoothly switch between computers (Virtual Display Technology) ...........7
Interchangeable KVM-to-KM Functionality ....................................8
Keyboard shortcut options...................................................10

2
HSL Mini-Matrix Quick Setup Guide
INTRODUCTION
SECTIONS
Table of Contents
2 3
1
HSL Secure KVM Switches
Simplify and secure user experience when working with multiple
computers.
Keyboard Video Mouse (KVM) switch offered by HSL allows secure
sharing of keyboard, video, mouse, audio and USB peripherals between
multiple computers while maintaining the highest isolation.
Obviate the need for purchasing and installing dedicated, percomputer peripheral sets.
This guide instructs how to install, configure and operate a secure HSL
KVM switch.
This guide refers to the following models:
SK21D-3 – Secure 2-Port DVI-I Video KVM Switch, PP 3.0
SK21H-3 – Secure 2-Port 4K HDMI Video KVM Switch, PP 3.0
SK21P-3 – Secure 2-Port DP to HDMI Video KVM Switch, PP 3.0
DK22D-3 – Secure 2-Port DVI-I Video DH KVM Switch, PP 3.0
DK22H-3 – Secure 2-Port 4K HDMI Video DH KVM Switch, PP 3.0
DK22P-3 – Secure 2-Port DP to HDMI Video DH KVM Switch, PP 3.0
DK22PD-3 – Secure 2-Port DVI and DP Video DH KVM Switch, PP 3.0
SK41D-3 – Secure 4-Port DVI-I Video KVM Switch, PP 3.0
SK41DU -3 – Secure 4-Port DVI-I Video KVM Switch w/fUSB, PP 3.0
SK41H-3 – Secure 4-Port 4K HDMI Video KVM Switch, PP 3.0
SK41HU -3 – Secure 4-Port 4K HDMI Video KVM Switch w/fUSB, PP 3.0
SK41P-3 – Secure 4-Port DP to HDMI Video K VM Switch, PP 3.0
SK41PU-3 – Secure 4-Port DP to HDMI Video KVM Switch w/fUSB, PP 3.0
DK42D-3 – Secure 4-Port DVI-I Video DH KVM Switch, PP 3.0
DK42DU-3 – Secure 4-Port DVI-I Video DH KVM Switch w/fUSB, PP 3.0
DK42H-3 – Secure 4-Port 4K HDMI Video DH KVM Switch, PP 3.0
DK42HU-3 – Secure 4-Port 4K HDMI Video DH K VM Switch w/fUSB, PP 3.0
DK42P-3 – Secure 4-Port DP to HDMI Video DH KVM Switch, PP 3.0
DK42PU-3 – Secure 4-Port DP to HDMI Video DH KVM Switch w/fUSB, PP 3.0
SK81DU-3 – Secure 8-Por t DVI-I Video KVM Switch w/fUSB, PP 3.0
SK81HU-3 – Secure 8-Por t 4K HDMI Video KVM Switch w/fUSB, PP 3.0
SK81PU-3 – Secure 8-Port DP to HDMI Video KVM Switch w/fUSB, PP 3.0
DK82DU-3 – Secure 8-Port DVI-I Video DH KVM Switch w/fUSB, PP 3.0
DK82HU-3 – Secure 8-Port 4K HDMI Video DH KVM Switch w/fUSB, PP 3.0
DK82PU-3 – Secure 8-Port DP to HDMI Video DH KVM Switch w/fUSB, PP 3.0
3
HSL Mini-Matrix Quick Setup Guide
INSTALL ATION
SECTIONS
Table of Contents
1 3
2
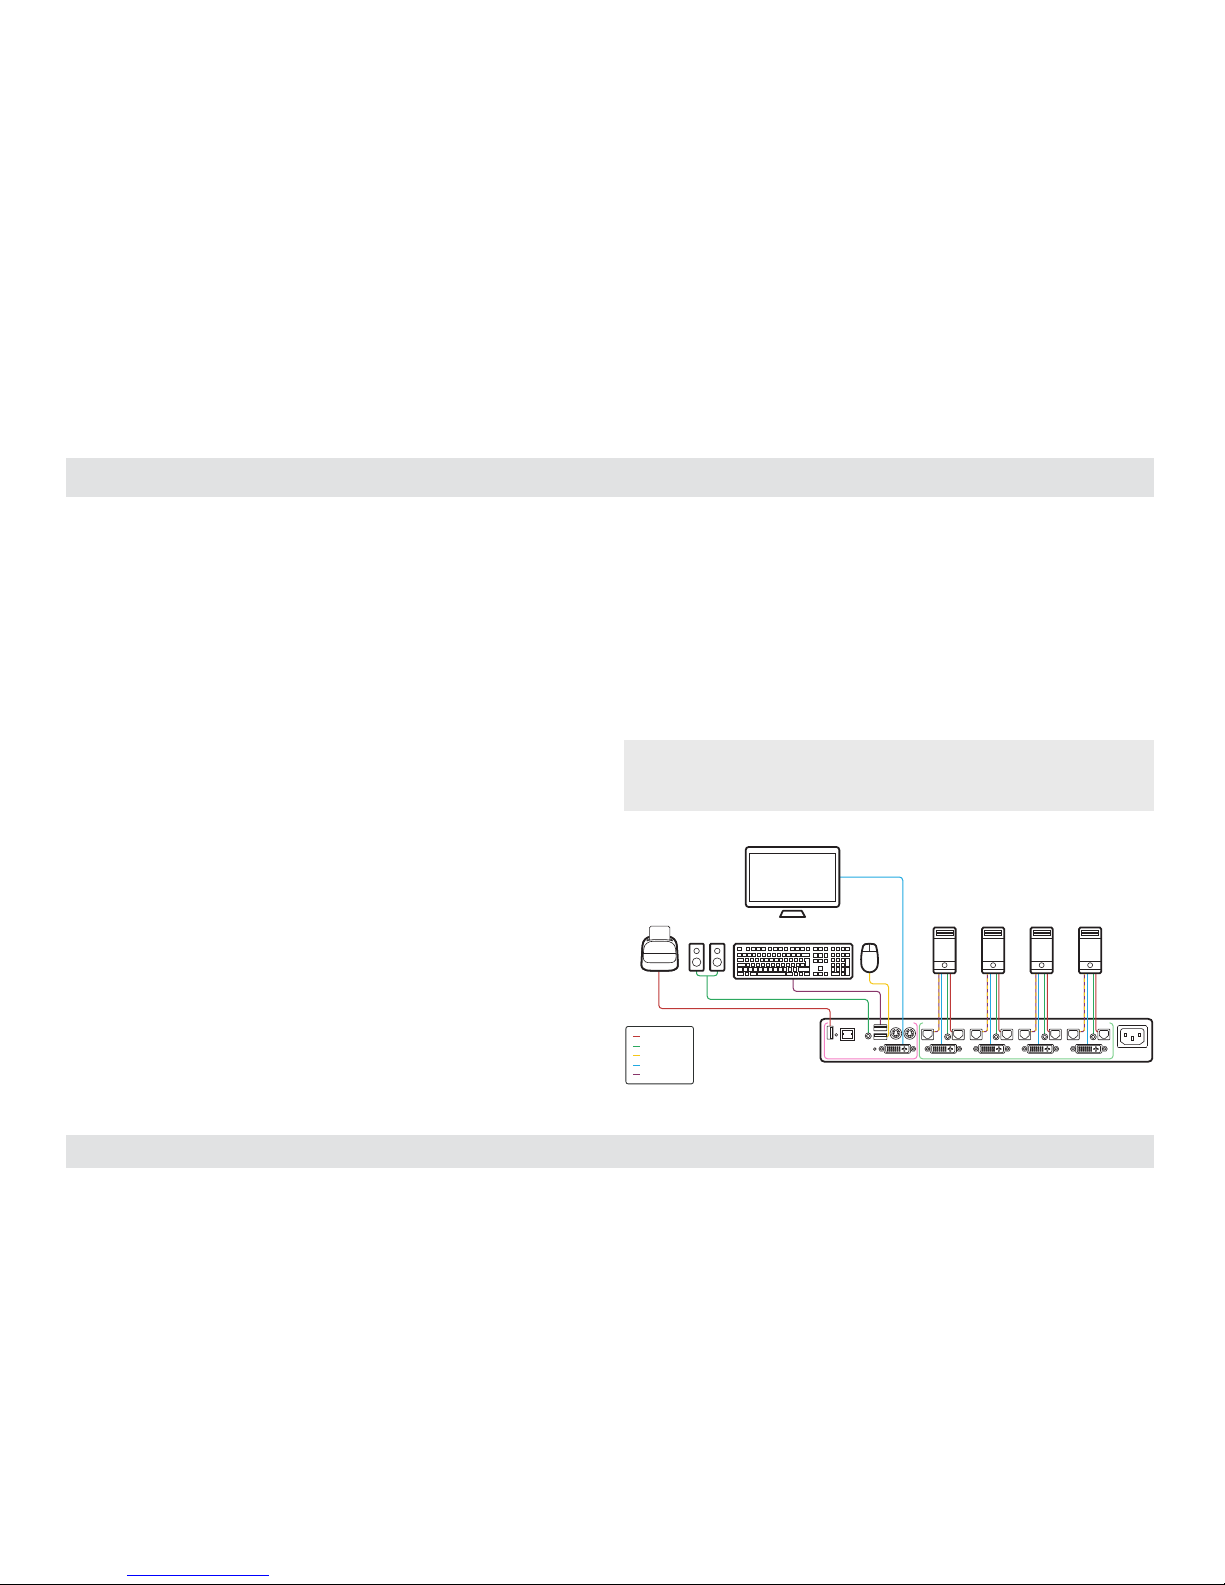
Installing the KVM
General
• Verify that all peripherals and computers are turned off prior to
connecting them to the product.
• The KVM’s back panel is divided into Console Ports and Computer
Ports sections.
– Connect peripherals which are due to be shared by the KVM
to the Console ports.
– Connect each computer that requires access to the shared
peripherals to a Computer port group.
– Make sure that every computer is connected to a separate
Computer port group.
– Computer port group numbers are represented by push
buttons on the product’s front panel.
– Switch peripherals between computers by pressing the push
buttons on the product’s front panel.
Step 1 – Connect peripherals to the KVM Console ports:
• Keyboard: Connect either a USB or PS/2 keyboard to the
corresponding KVM console keyboard port.
• Video: Connect the monitor cable to the KVM console video port.
• Mouse: Connect either a USB or PS/2 mouse to the corresponding
KVM console mouse port.
• Audio peripherals: Connect headphones / speakers to the KVM
console audio-out port.
• USB peripherals: Connect USB peripherals to the KVM console
fUSB port.
Note: Authentication devices such as smartcard and biometric readers are
enabled by default, other devices must be explicitly whitelisted – for further
information please refer to the KVM Administrator’s guide.
fUSB Cable
Audio Cable
Mouse Cable
Display Cable
Keyboard Cable
Smart-Card
Reader
Computers
CONSOLE PORTS COMPUTER/SOURCE PORTS
Audio Keyboard Mouse
Display
 Loading...