

Page 1
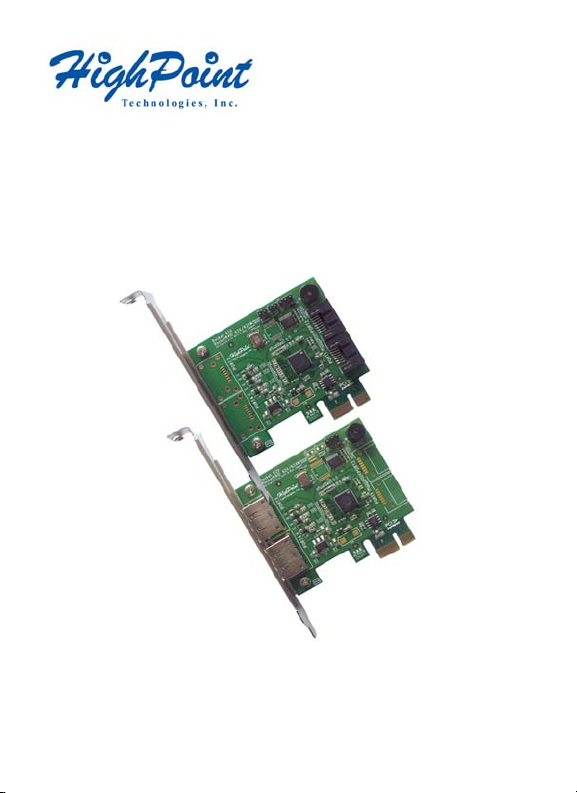
RocketRAID 600 Series 6Gb/s SATA
RAID Host Adapters
(RocketRAID 620 and RocketRAID 622)
Quick Installation Guide
Page 2

RocketRAID 600 Series 6Gb/s SATA Host Adapters Quick Installation Guide
HighPoint RocketRAID 600 Series – PCI-Express 2.0
SATA Revision 3.0, provides dramatically improves performance by doubling
the bandwidth available for storage devices to 600MB/s.
The RocketRAID 600 Series are the premier SATA 3.0 RAID host adapters for
connecting internal or external SATA devices. The RocketRAID 600 series are
designed to optimize storage performance and redundancy with RAID levels 0,
1, 5, 10, and JBOD. Storage connected directly to the RocketRAID 600 series
data ports deliver the highest performance while external disk enclosures with
port multiplier device will enable higher storage capacities.
The RocketRAID 600 series is accompanied by the HighPoint RAID Web
Management interface - a smart and friendly application designed to manage
and maintain storage in Windows, Linux, FreeBSD or Mac OS X operating
systems.
For detailed RocketRAID 600 Series product specifications, please visit
http://highpoint-tech.com/USA/series_600.htm
2
Page 3

RocketRAID 600 Series 6Gb/s SATA Host Adapters Quick Installation Guide
Hardware Installation
Kit Contents
z RocketRAID 62x controller
z 2 SATA cables (RR620)
z HighPoint Software CD
z Low-profile bracket
z Quick Installation Guide
Installing the RR62x Host Adapter
Note: Make sure the system is powered-off before installing the RocketRAID 62x
host adapter.
1) Open the system chassis and locate an unused PCI-E (2.0 or 1.0) x1, x4, x8
or x16 slot.
2) Remove the PCI slot cover.
3) Gently insert the RocketRAID 62x into the PCI-E slot, and secure the
bracket to the system chassis.
4) After installing the adapter, attach the hard disks or disk enclosure to the
RocketRAID card using the SATA or eSATA cables.
5) Close and secure the system chassis.
Driver Installation (Windows 7, Vista, 2008)
1) After installing the RR62x host adapter, boot to the Wind ows operating
system.
2) Windows should automatically detect the card, and displays the “Found New
Hardware Wizard”. Select “Locate and install driver software”. When
Windows asks: “Windows needs your permission to continue ”, select
“Continue”.
3
Page 4

RocketRAID 600 Series 6Gb/s SATA Host Adapters Quick Installation Guide
3) When asked to search online select “Don’t Search Online”.
4) Select “I don’t have disc, show me other options”.
5) and then select “Browse my computer for driver software”.
6) Browse to the location of the driver and click “Next”.
7) When asked: “Would you like to install this driver software?” select “Install”.
8) Reboot the system when prompted. The RocketRAID host adapter will be
ready for use after Windows reboots.
Note: Consult the softwar e copy of the RocketRAID 62x User’s Guide fo r in-
depth installation pr ocedures.
Installing the Web GUI (Windows operating systems)
The Web GUI is located on the HighPoint Software CD: \HighPoint RAID
Management Software\WebGUI\RR2xxx_3xxx_None-OBM\Windows\
1) Double-click “Setup.exe” to start installation. If you are running a 64-bit
version of Windows 7, 2008 or Vista, you may need to right-click the icon,
and select “Run as Administrator.”
2) Click “Run” to continue. The HighPoint Web RAID Management Service
install screen will display. Click “Next” to continue.
3) Click “Yes” to install the Management utility.
4) Specify the Destination folder and click “Next”. Confirm the install location,
and click “Next”.
5) Select the SAF-TE config uration file for the system’s chassis. If the sys tem
does not support SAF-TE, select the default option “Skip and Configure
Later”.
4
Page 5

RocketRAID 600 Series 6Gb/s SATA Host Adapters Quick Installation Guide
6) Specify the listening port. 7402 is the default setting, and recommended for
most systems.
7) Choose to enable or disable Remote Access. Remote access allows the card to
be managed via a Web browser from a separate system .
8) Click OK to complete the installation procedure.
Starting the Web GUI
1) Double-click the “HighPoint Web RAID Management” Icon on the Desktop
to start the Web GUI. The system’s default Web Browser will open the
following page:
2) Type in the default username and password to start the Web GUI:
Username: RAID
Password: hpt
3) Click Login. The Manage – Array screen will be displayed.
Driver Installation (RR622 - Apple OS X)
The driver and software packa ges for the RocketRAID 622 includes both the device
driver for OS X, and a copy of the Web RAID Management utility (Web GUI).
Copy the Mac driver and software package from the Software CD, to the Mac
Desktop. The Mac OS X software package is found in the following directory:
\RR62x\Driver\Mac\rr62x-mac-v100.dmg
Open the rr62x-mac-v100.dmg file, and double click “RR62x” to begin
installation.
1) Click “Continue” to proceed with installation.
2) Select the installation destination. Click “Continue”.
3) Please make sure all opti ons are selected when installing for the first time,
and click “Continue”.
5
Page 6

RocketRAID 600 Series 6Gb/s SATA Host Adapters Quick Installation Guide
4) Click “Restart” – after OS X reboots, the card will be recognized by the
system. After OS X boots to the desktop, check System Profiler (About This
Mac, More Information), and click on “PCI Cards”. The RocketRAID 622
should be recognized as a RAID con troller. OS X should report “Yes ” under
“Driver Installed”.
Starting the Web GUI
1) Open a Web browser and type in the following address: https://localhost:7402
Press Enter to access the host adapter.
2) Type in the default username and password to start the Web GUI:
Username: RAID
Password: hpt
3) Click Login. The Manage – Array screen will be displayed.
Note: Please consult the RocketRAID 62x User’s Guide for more information
about the Web GUI.
RocketRAID Web GUI – Advanced Features
The Web GUI is a full-featured RAID Management interface, and is used to
configure, monitor and maintain the RocketRAID host adapter and its storage
devices. Please consult the Rocke tRAID 62x User’s Guide for the complete Web
GUI instruction guide.
Several advanced RAID features are described below:
Event Notification - The RocketR AID 62x host adapters will record Administra tor
activity or RAID related errors to the Web GUI’s Event Log. This feature allows the
administrator to track and diagnose stor age related problems. The Web GUI can
also be configured to send event log data via e-Mail.
Maintenance Tasks – The Web GUI allows the administrator to schedule regular
maintenance sessions. Routine RAID Maintenance is essential to data security.
6
Page 7

RocketRAID 600 Series 6Gb/s SATA Host Adapters Quick Installation Guide
Rebuild Priority – This feature allows the administrator to control and streamline
system resources during a RAID recovery procedure.
Storage Health Inspector (SHI) - The Storage Health Inspector section provides
real-time device related informa tion including temperature readings, bad sector
counts, and access to SMART data.
Customer Support
If you encounter any problems while utilizing the RocketRAID host adapter, or
have any questions about this or any other HighPoint Technologies, Inc. product,
feel free to contact our Customer Support Department.
Contact Information
HighPoint USA
E-mail address: support@highpoint-tech.com
Phone: 408-240-6108
9:00AM-5:00PM, Pacific Standard Time
Web Support: http://www.highpoint-tech.com/websupport/
HighPoint Technologies, Inc. websites:
http://www.highpoint-tech.com
http://www.hptmac.com
http://www.hptesata.com
7
Page 8

RocketRAID 600 Series 6Gb/s SATA Host Adapters Quick Installation Guide
FCC Part 15 Class B Radio Frequency Interference statement
This equipment has been tested and found to comply with the limits for a Class B
digital device, pursuant to part 15 of the FCC Rules. These limits are designed to
provide reasonable protection against harmful interference in a residential
installation. This equipment generates, uses and can radiate radio frequency energy
and, if not installed and used in accordance with the instructions, may cause
harmful interference to r adio communicat ions. Howev er, there is no guarant ee that
interference will not occur in a particular installation. If this equipment does cause
harmful interference to r adio or television reception , which can be determined by
turning the equipment off and on, the user is encouraged to try to correct the
interference by one or more of the following measures:
z Reorient or relocate the receiving antenna.
z Increase the separation between the equipment and receiver.
z Connect the equipment into an outlet on a circ uit different from that to which
the receiver is connected.
z Consult the dealer or an experienced radio/TV technician for help.
Modifications not expressly approved by the manufacturer could void the user’s
authority to operate the equipment under FCC rules.
This device complies with part 15 of the FCC Rules. Operation is subject to the
following two conditions: (1) this device may not cause harmful interference, and
(2) this device must accep t any interference received, including in terference that
may cause undesired operation.
European Union Compliance Statement
This Information Technologies Equipment has been tested and found to comply
with the following European directives:
z European Standard EN55022 (1998) Class B
z European Standard E N55024 (1998)
8
 Loading...