

Page 1
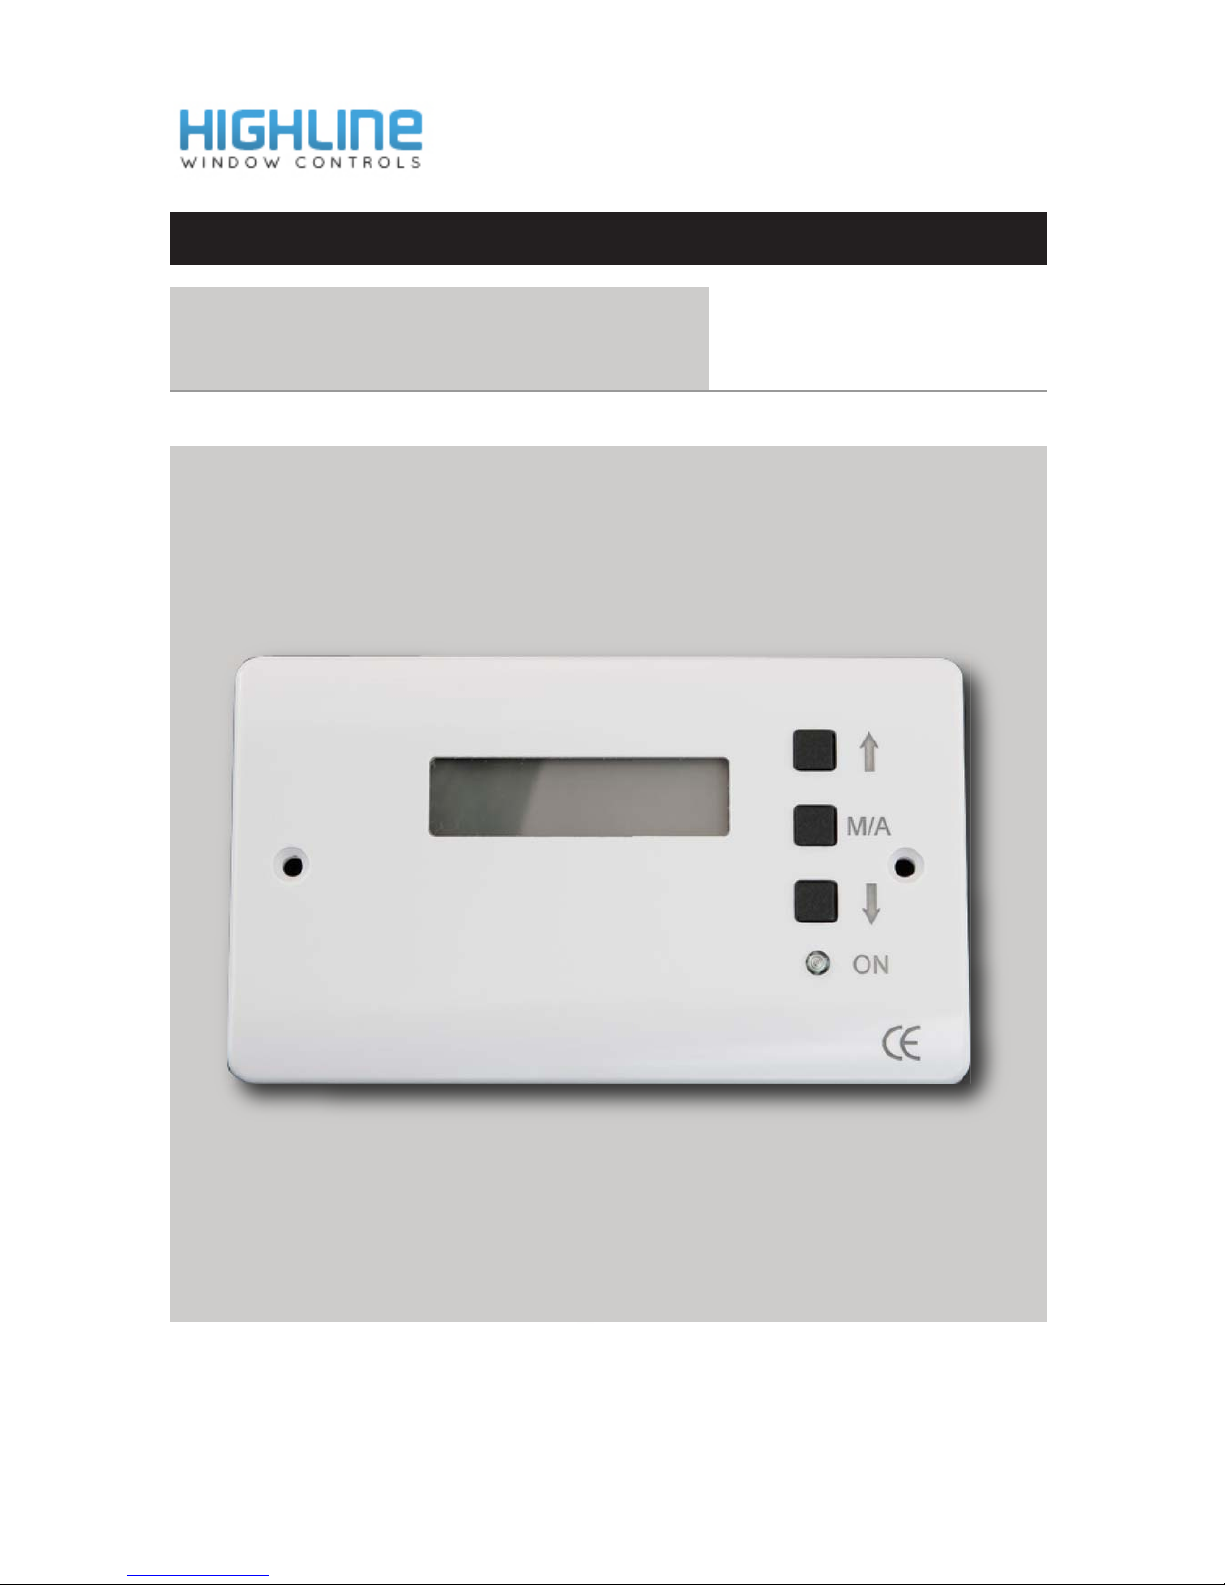
software version: EViii* enclosure design may vary
hiGhLiNe
WINDO W CO NTR OL S
INSTALLATION & USER MANUAL
CCU2
DIGITAL CLIMATE
CONTROL UNIT
Page 2

BOILER FAN
BOILER FAN
T/SEN
T/SEN
SEN
RAIN
RAIN
P/E
TERMINAL BLOCK ATERMINAL BLOCK B
LIVE
EARTH
N/IN
N/OUT
OPEN
CLOSE LIVE 1
LIVE 2 ACTUATOR
NEUTRAL
NEUTRAL
EARTH MAINS
LIVE
}
TEMP
SENSOR
}
RAIN
SENSOR
}
}
CONNECTIONS
CCU2 - USER MANUAL (version 2014)
2
PLEASE NOTE
The installation of all electrical items must be undertaken by a qualified professional.
Mains power must be supplied via a 5-Amp fused spur.
Do not use cable thicker than 1.5mm and multi-strand if possible for flexibility.
This controller will fit into any standard two-gang surface or flush 35mm back box.
Page 3

SETUP INSTRUCTIONS
CCU2 - USER MANUAL (version 2014)
3
1
The front of the controller has a digital display which will give you
information on the current status in LCD form. There are also 3 square
buttons which programme the controller and finally a lamp to signal that
power is present at the module.
2
With your wiring complete switch on the power at the fused spur. The
power lamp should illuminate and a display appear on the LCD screen.
3
Before the controller can work you need to set the parameters by which
the controller operates.
4
Firstly press the ‘M/A’ button until ‘MANUAL’ appears on the display.
Now press the bottom button marked with the ‘down arrow’ this will
fully close the actuator. Next press and hold the top button ‘up arrow’
and count the number of seconds it takes for the actuator to reach its
fully open position.
5
With the power still on press and hold the ‘M/A’ button. Still holding the
button switch off the power at the fused spur. Count to 10 seconds and
switch the power back on. Only when the power is on and the display
showing should you release the ‘M/A’ button.
6
The controller has now entered the “Setup Menu’ and the display now
requires that you enter the time in seconds that your actuator takes to
reach its fully open position. Use the up and down arrows to increase or
decrease the value. When you have set the correct time for your actuator
press the ‘M/A’ button once more.
7
The display now shows the rain sensor sensitivity, please leave at ‘05’
for normal use. Press the ‘M/A’ button once more.
8
This new display relates only to special functions and should be
bypassed. Press the ‘M/A’ button once more.
Page 4

9
The final display is only of interest should you have a conflict between
the temperature shown on the controller and another device in the room.
This display allows you to alter the controller to mimic the second device.
To do so press the up and down arrow to increase or decrease the value.
Press the ‘M/A’ button again when you are finished.
You have now returned to the normal working display.
10
SETUP INSTRUCTIONS
1
To switch from ‘Manual’ operation to ‘Auto’ function simply press
the ‘M/A’ button once and the display will show the selected mode.
2
In ‘Manual’ mode simply press the Up arrow to open, or Down arrow to
close. When you release the button the motor stops and the window
remains in that position until altered. The rain sensor will not function
in ‘Manual’.
3
When in ‘Auto’ mode you will need to input the temperature at which
you wish the room to be maintained. Press the up or down arrow to adjust
accordingly. When the desired temperature is displayed just wait a few
seconds and the controller will automatically accept the new value and the
display will return to ‘Auto’.
4
Your setup is now complete. Obviously if you wish to change anything
just go through the procedure above again.
5
In ‘Auto’ mode your controller will try to maintain your chosen room
temperature by opening/closing the actuator. It does this by only opening
the actuator 1/4 of its opening stroke at a time and depicts the actuator
position on the display. Several minutes will elapse between each opening
of the actuator so as to give the temperature time to stabilise also putting
less strain on the actuator itself as it does so.
OPERATING INSTRUCTIONS
CCU2 - USER MANUAL (version 2014)
4
 Loading...