

Page 1
(Rotary)
GC2268-2BXL
Two Needle Cylindrical Bed Compound Feed
Lockstitch Sewing Machine
Instruction Manual
SHANGHAI BIAOZHUN HAILING SEWING MACHINERY CO., LTD.
Page 2
Page 3
一、PRECAUTIONS BEFORE STARTING OPERATION
1. Safety precautions
1When turning the power on, keep your hands and fingers away from the area around/under the needle
and the area around the pulley.
2Power must be turned off when the machine is not in use, or when the operator leaves the seat.
3Power must be turned off when tilting the machine head, installing or removing the “V” belt,
adjusting the machine, or when replacing.
4Avoid placing fingers, hairs, bars etc., near the pulley, “V” belt, bobbin winder pulley, or motor when
the machine is in operation.
5Do not insert fingers into the thread take-up cover, under/around the needle, or pulley when the
machine is in operation.
2. Precautions before starting operation
1Do not operate the machine before lubricating it.
2When a new sewing machine is first turned on, verify the rotational direction of the pulley with the
power onthe pulley should rotate counterclockwise when viewed from pulley.
3Verify the voltage and (single or three) phase with those given on the machine nameplate.
3. Precautions for operating conditions
1Avoid using the machine at abnormally high temperatures35℃ or higheror low temperatures5℃
or lower.
2Avoid using the machine in dusty conditions.
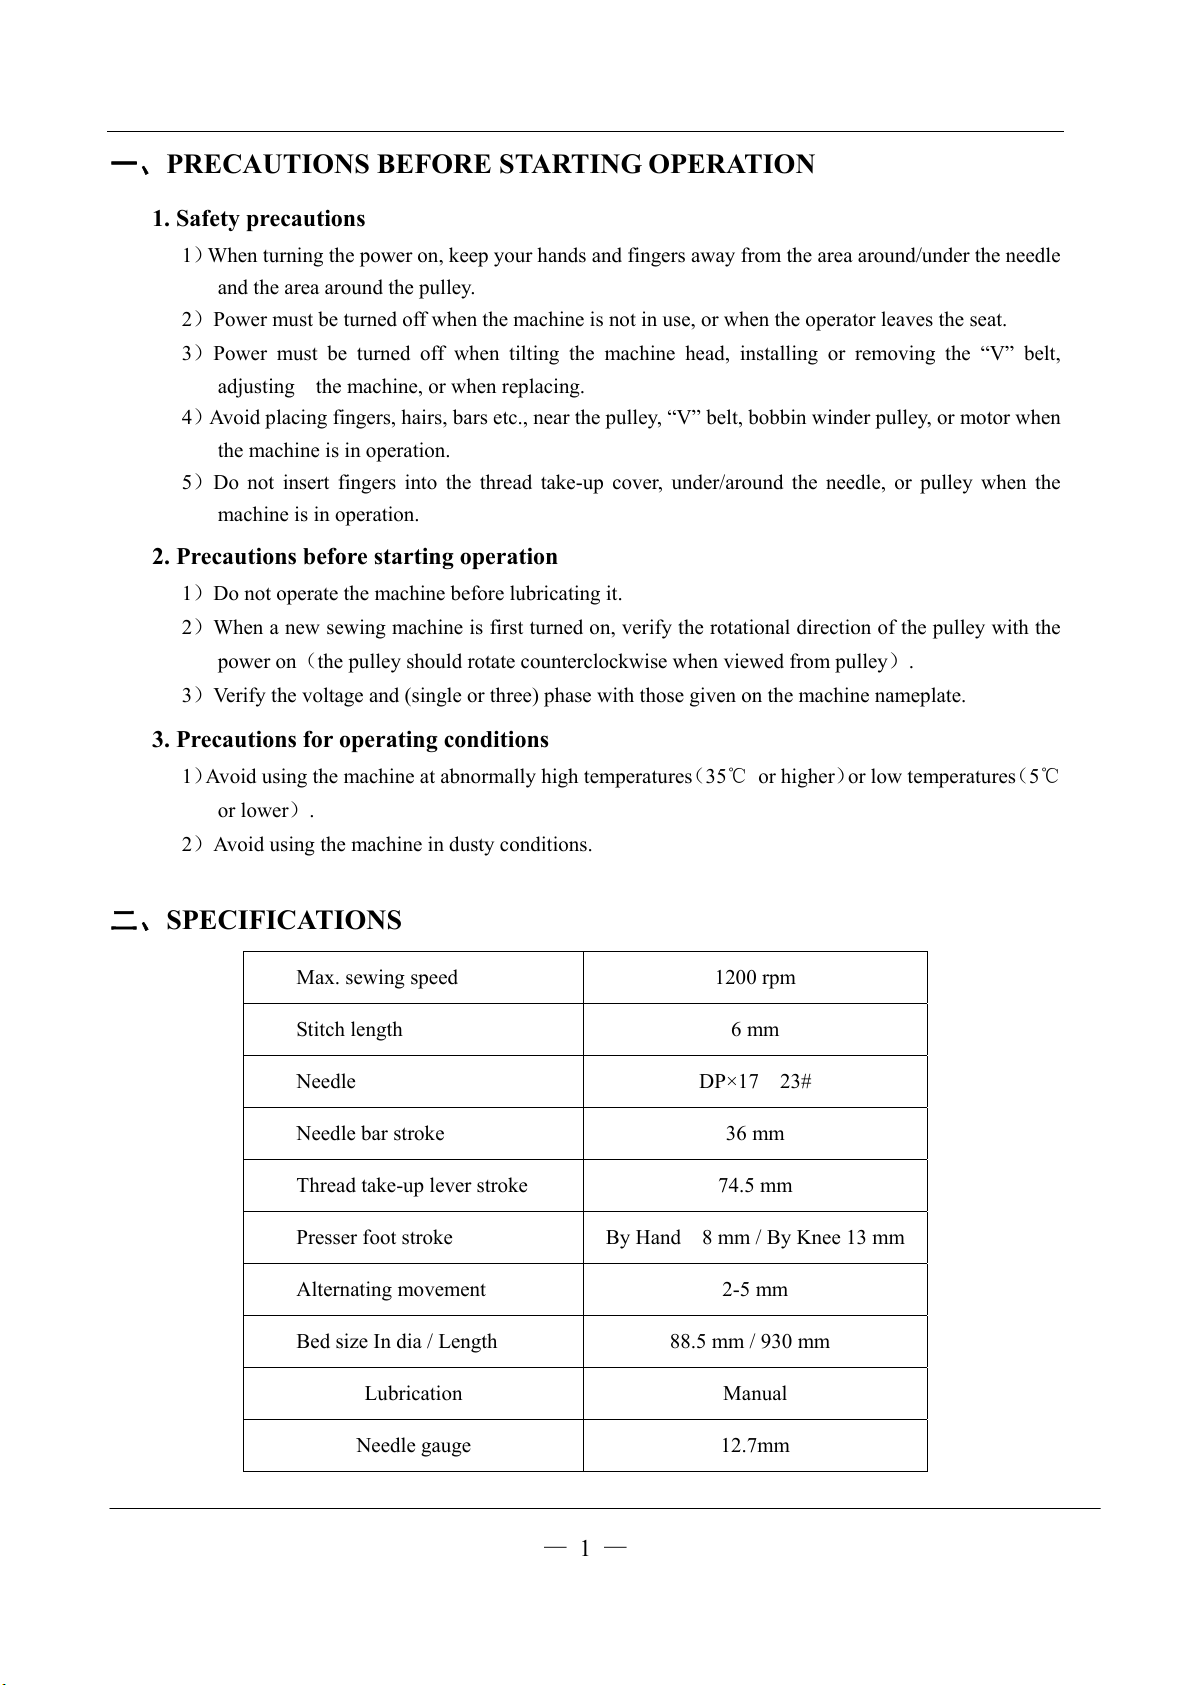
二、SPECIFICATIONS
Max. sewing speed 1200 rpm
Stitch length 6 mm
Needle DP×17 23#
Needle bar stroke 36 mm
Thread take-up lever stroke 74.5 mm
Presser foot stroke By Hand 8 mm / By Knee 13 mm
Alternating movement 2-5 mm
Bed size In dia / Length 88.5 mm / 930 mm
Lubrication Manual
Needle gauge 12.7mm
— 1 —
Page 4

三CAUTIONS ON USE
1. Lubrication
· When a new sewing machine is first operated, or when a sewing machine is operated which is out of
use for long period of time, it will be necessary to oil through the oil holes after removing the
rubber plugs shown below.
· See dripping of oil through the oil sight hole to check oiling condition during operation.
For oil, Use white spindle oil
2. Winding of bobbin thread
Note: When bobbin thread is wound, keep the presser foot lifted.
·Tension of wound thread Slack winding is recommended for polyester thread and nylon thread.
·Conically wound thread Move the thread guide toward smaller diameter of wound thread layer.
·Length of wound thread Loosen the thread length adjusting screw to increase length of
thread and tighten the screw to decrease length of thread.
— 2 —
Page 5

3. Selection of thread
It is recommended to use “S” twist thread in the left needle (viewed from front),
and “Z’ twist thread in the right needle.
When use of needle threads discriminates is impossible, use “Z” twist thread in both
the needles.
For bobbin thread, “S” twist thread as well as “Z” twist thread can be used.
4. Attaching the needle
Note: Before installing the needles, be sure to turn off the power.
5. Threading of needle threads
1Pass each needle thread through thread guide
Note: When thin slippery thread (polyester thread or filament thread, for example) is used
pass the thread through thread guides
2With the take-up lever located at the upper most position, pass each needle thread in the order
shown in the following figure.
Note: Pressing the upper thread loosening button shown in the figure below opens the saucer of
A.
B” as wall.
— 3 —
Page 6

the upper thread tension adjuster, and the upper thread can easily pulled out
6. Setting of bobbin
1Pulling out 5. cm thread tail from the bobbin.
2Hold the bobbin so that the bobbin thread is would in right direction and put it into the hook.
7. Threading of bobbin threads
1Put the hook into the bobbin case and press down the latch
2While holding the two needle threads by left hand, rotate the hand-wheel one turn by right hand.
By pulling up the needle threads, as shown in the figure, the bobbin threads will be lifted.
Each combination of bobbin thread and needle thread should be aligned and led backward.
— 4 —
.
Page 7

8. Thread tension
1Adjusting the bobbin thread tension
decrease it.
Adjusting the needle thread tension
2
Turn tension screw, clockwise to increase the bobbin thread tension, or counter clockwise to
· Needle thread tension should be adjusted in reference to bobbin thread tension.
· Turn tension nut clockwise to increase the needle thread tension, or counter clocking to decrease it.
· Needle thread tension can be also adjusted for special fabric and thread by changing intensity and
movable range of slack thread adjusting spring.
9. Thread take-upspring
1
To change the stroke of thread take-up spring
· Loosen screw
· Move the stopper to the right to increase the stroke of the thread take-up spring, or to the
left to decrease it.
To change the tension of the thread take-up spring
2
Loosen nut
of the spring, or clockwise to decrease it. Fit a screwdriver in the spring shaft and turn it until the
desired tension is provided.
4in the stopper, and move stopper3to the right or left.
2and screw5”.Turn spring shaft1counter clockwise to increase the tension
— 5 —
Page 8

10. Adjusting the stitch length
Turn stitch length dial counter-clockwise to bring the desired value to the top of the
dial so that the value is aligned with the pin.
Reverse feed stitching
1The machine performs reverse feed stitching as long as the lever is held depressed.
2The moment you release the lever, the machine resumed the normal stitching mode.
11. Timing between rotating hook motion and needle motion
1Set feed length (stitch length) to “6” on the feed setting dial.
2When needle is lifted 2.4mm from the lower dead point, as shown in Figure,
the following positional relationship should be maintained.
· The upper edge of needle eye should be 2.3 mm below the hook point.
· The hook point should be located at the center of needle axis.
· Gap between the hook point and the side face of needle should be 0.0.5mm.
— 6 —
Page 9

12. Relationship between hook motion and opener motion
1Turn the balance wheel by hand and stop when the opener holder is located most remotely
from the throat plate.
2 Make sure gap between the bobbin case holder A and the opener is approximately 0.2 mm.
3 If the gap is too large or small , loosen the opener holder set screw B and adjust position of
the opener.
13. Adjusting the pressure of the presser foot
Pressure to fabric can be adjusted by turning the pressure adjusting screw.
14. Adjusting the presser foot and the walking foot
1
Loosen not 1, and change the position of the cam rod boss accordingly.
Highest position---The stroke is maximized.
Lowest position--- The stroke is minimized.
Alternate vertical motions of the walking foot and presser foot
2
The alternate vertical strokes of the walking foot and presser foot
· Loosen screw
· Bring the thread take-up lever to its highest position, and lower the presser bar lifting lever. Move
top feed crank
increase it.
of the top feed crank..
to leftAto increase the stroke of the presser foot, or to the rightBto
A”
B”
— 7 —
Page 10

15. Relationship between needle motion and feed dog motion
1Set feed length to “0” on the feed setting dial
2 Set the needle at the lowest position.
3Lean the machine head backward, remove the back cover, loosen screw B and C.
4Adjust the distance between presser rod and vibration prevention rod to 9 mm.
5After the completion of adjustment, fully tighten the screws B and C.
At this time make certain that needle can enter the feed dog needle hole at the center
Note:
of the hole.
16. Adjusting the height of the feed dog
The max. Height of the feed dog from the surface to the needle plate is normally 1mm.
To adjust this height:
1Set the stitch length at minimum.
2Turn the pulley so as to raise the feed dog to it highest position.
3Loosen the screw
4Tighten the screw
Needle plate 1 mm
A, adjust the height of the feed dog .
Aafter adjustment.
Feed dog
— 8 —
Page 11

17. Regulate the atmospheric pressure
When the air cylinder works normally, the necessary atmospheric pressure is 5~6bar. Can find
out through the dial plate of the filtering.
1Lifting knob 1, clockwise rotation, the pressure increases.
2Lifting knob 1, anticlockwise rotation, the pressure is reduced.
— 9 —
Powered by TCPDF (www.tcpdf.org)Powered by TCPDF (www.tcpdf.org)Powered by TCPDF (www.tcpdf.org)Powered by TCPDF (www.tcpdf.org)Powered by TCPDF (www.tcpdf.org)Powered by TCPDF (www.tcpdf.org)Powered by TCPDF (www.tcpdf.org)Powered by TCPDF (www.tcpdf.org)Powered by TCPDF (www.tcpdf.org)Powered by TCPDF (www.tcpdf.org)Powered by TCPDF (www.tcpdf.org)
 Loading...