

High Energy Sports Quantum Series Manual
High Energy Sports Inc 714-632-3323
Quantum Series
Paraglider Parachute Manual
High Energy Sports Inc.
1081 Shepard Unit A
Anaheim, CA 92806
Phone: (714) 632-3323
FAX: (714) 632-6622
www.highenergysports.com
rev. 8-04
Warrantees Disclaimer
It is expressly understood and agreed that by the use hereof by the buyer or any subsequent user that the
manufacturer and/or seller shall in no way be held liable or accountable, upon or under any guaranties or
warranties, express or implies, statutory, by operation of law or otherwise beyond that expressed herein.
The merchandise is SOLD WITH ALL FAULTS AND WITHOUT ANY WARRANTY INCLUDING THE
WARRENTY OF MERCHANTABILITY OR FITNESS FOR ANY PARTICULAR PURPOSE. Manufacturer also
disclaims any liability in torts for damages, general or consequential, including personal injuries, resulting from a
malfunction or from a defect in design, material, workmanship or manufacture whether caused by negligence on
the part of the manufacturer consumer or seller.
There are no tests, standards, or certifications for paragliding parachutes manufactured in the United States.
“Limited warrenty” High Energy Sports Inc. will warrant all goods against defects in materials or workmanship for 6
months, provided that the consumer follows all inspection, maintenance, registration and use procedures. Any
deviation from manufacturer's specifications concerning maintenance, repair, and alteration or modifications
constitutes willful negligence and will be done at the operator's own risk and result in waiving the above limited
warrenty.
The period of limited warrenty is limited to 180 days because beyond that period of time normal use by purchaser
without inspection by certified rigger or manufacturer may have deleterious effects on it. Damages of buyer and/or
user shall be deemed liquidated in the costs of replacement as above. Manufacturer and/or seller shall in no
event be held liable for personal injuries or for other damages, whether general or consequential to any person,
caused by any use of this merchandise, or by lack of use, or by misuse, and shall have no other liability in
connection with this device.
Manufacturer and seller hereby DISCLAIMS and purchaser and user hereby WAIVES any such liability.
1

High Energy Sports Inc 714-632-3323
INTRODUCTION
Thank you for selecting a High Energy Sports Inc parachute system. This manual will provide
you with information on the installation, operation, and maintenance of your High Energy
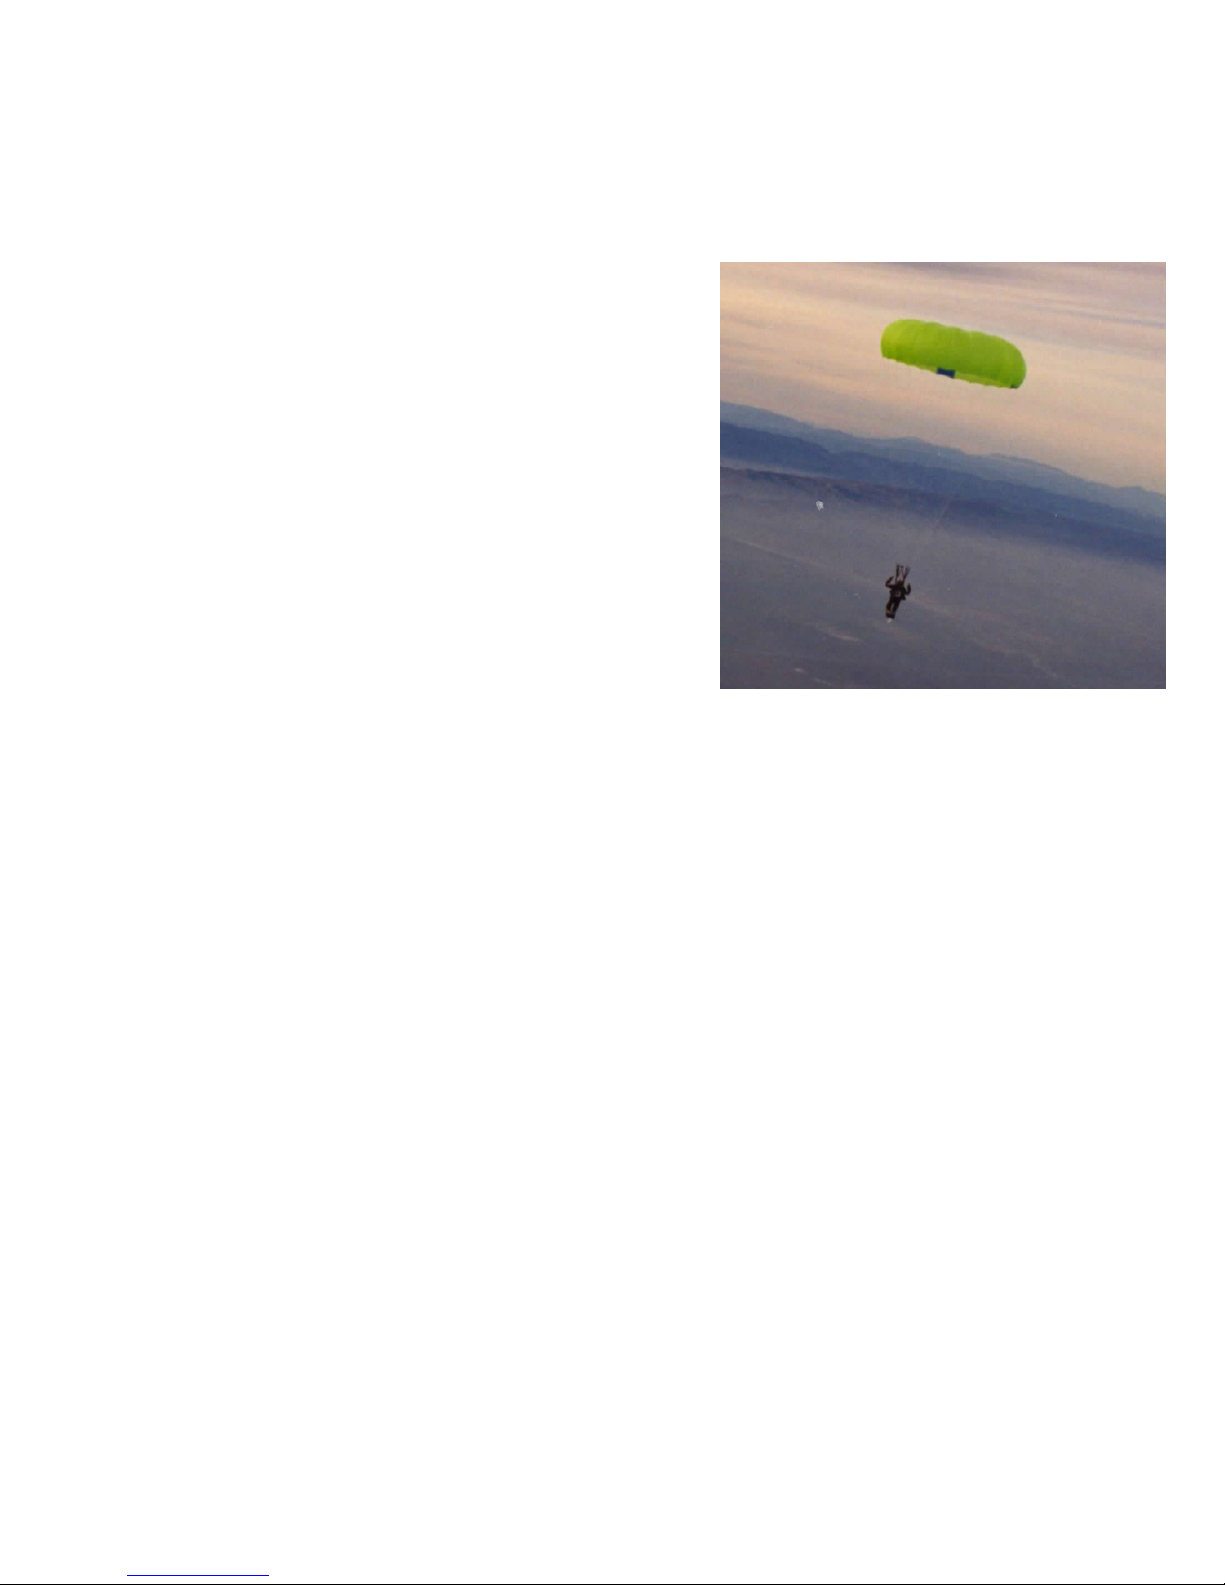
Sports Quantum Series parachute. It must be remembered that this is an emergency reserve
canopy designed to slow your rate of descent and reduce your chance of death.
When you contemplate the use of this system, you will probably be in a life threatening
situation, therefore to reduce your risk of serious bodily injury or death it is critical that you
follow the instillation and maintenance instructions outlined in this manual.
The information contained in this manual is not intended to replace qualified instruction in the
care and use of emergency paragliding parachutes, nor is it intended to replace the packing
and inspection duties of a qualified rigger.
We encourage you to attend as many parachute clinics as possible and practice simulated
deployments on the ground prior to each repack. If you have any questions or concerns
please do not hesitate to contact us.
OWNER'S RESPONSIBILITIES
•
To read and understand this manual before installing and/or using this parachute system.
•
To read all warning labels.
•
To fill out and return owner's registration & installation page.
•
Not to deviate from manufacturer's instructions or from standard practices in the installation
maintenance of the system.
•
Never allow abuse or misuse of the parachute in any manner.
•
Never exceed the operational limits of your paraglider or of yourself.
•
Contact High Energy Sports immediately upon emergency use of this system.
Operational Limitations
QS 330: Maximum total suspended weight= 330 lbs
QS 440 Maximum total suspened weight= 440 lbs
QS 550: Maximum total suspended weight= 550 lbs
Maximum speed=100 mph
Paraglider Harness QS Parachute Installation Guide
Your parachute was packed and transported with rubber bands keeping your risers organized.
To avoid any twists in your system, install your new parachute as follows:
1. Attach the riser loops to the shoulders of your harness by pulling the riser from the rubber
banded stows keeping the system organized.
2. Use Stainless steel Mallion Rapide links #6 or stronger to attach the risers to your harness.
3. Place your QS parachute into your parachute container located on your harness. Take
care not to twist the risers on the parachute.
4. Cut the transport rubber bands off the risers and place the parachute into the parachute
container on your harness.
2
High Energy Sports Inc 714-632-3323
5. Route the risers from your harness shoulder connectors to the parachute container.
6. Stow any excessive riser into the parachute container.
7. Make sure the riser is routed in such a way that that it will not tangle with you paraglider in
the event you drop it during deployment.
8. If you are using a front or side mounted container be sure all 4 risers are routed to the
same side of your harness.
After you place your parachute into your harness:
1. Be sure the handle releases the safety pins before it pulls on the deployment bag.
2. Practice hanging in your harness and pulling your parachute out of the container.
Note: If your parachute is too small for your parachute container,
the handle may not want to release properly. You can add foam to the
bottom of your parachute container to help the parachute ride higher in
your harness container.
4. Check your bridle routing to make sure it will not get hung up.
5. Make sure the bridle is attached to the carabiner on the opposite side of the gate
Before Every Flight Preflight Your Parachute:
• Check your safety pins
• Be sure your handle loop is accessible.
• Look at your bridle routing making sure “extra bridle” has not slipped out of your
parachute container.
• Be sure the bridle is properly installed to your harness.
• Double check your parachute container Velcro or flaps.
IN-FLIGHT SAFETY
You can help to reduce the time it takes to deploy your parachute by looking for your
parachute handle and reaching for the handle during each flight.
Under no circumstances should you ever practice full in-flight
deployments. Even if everything was done perfectly,
sometimes parachutes do not work.
3

High Energy Sports Inc 714-632-3323
DEPLOYMENT PROCEDURE: Memorize these steps!
If you need to deploy your parachute do not waste time...deploy fast.
DEPLOYING YOUR PARACHUTE
1. Look for the deployment bag handle. Paraglider harnesses have a number of adjustment
straps that can easily be confused with the parachute deployment handle in an emergency
situation. Be sure to look for the correct handle so you do not waste precious time tugging
on the wrong strap.
2. Reach and grab the handle securely.
3. Pull the handle. Your deployment system may require a downward yank or, if it is a Velcro
closure, a peeling action, to dislodge the curved pin(s) and Velcro. Be sure to practice this
step in a simulator each time you repack, switch harnesses or change parachute
containers. Be familiar with your equipment.
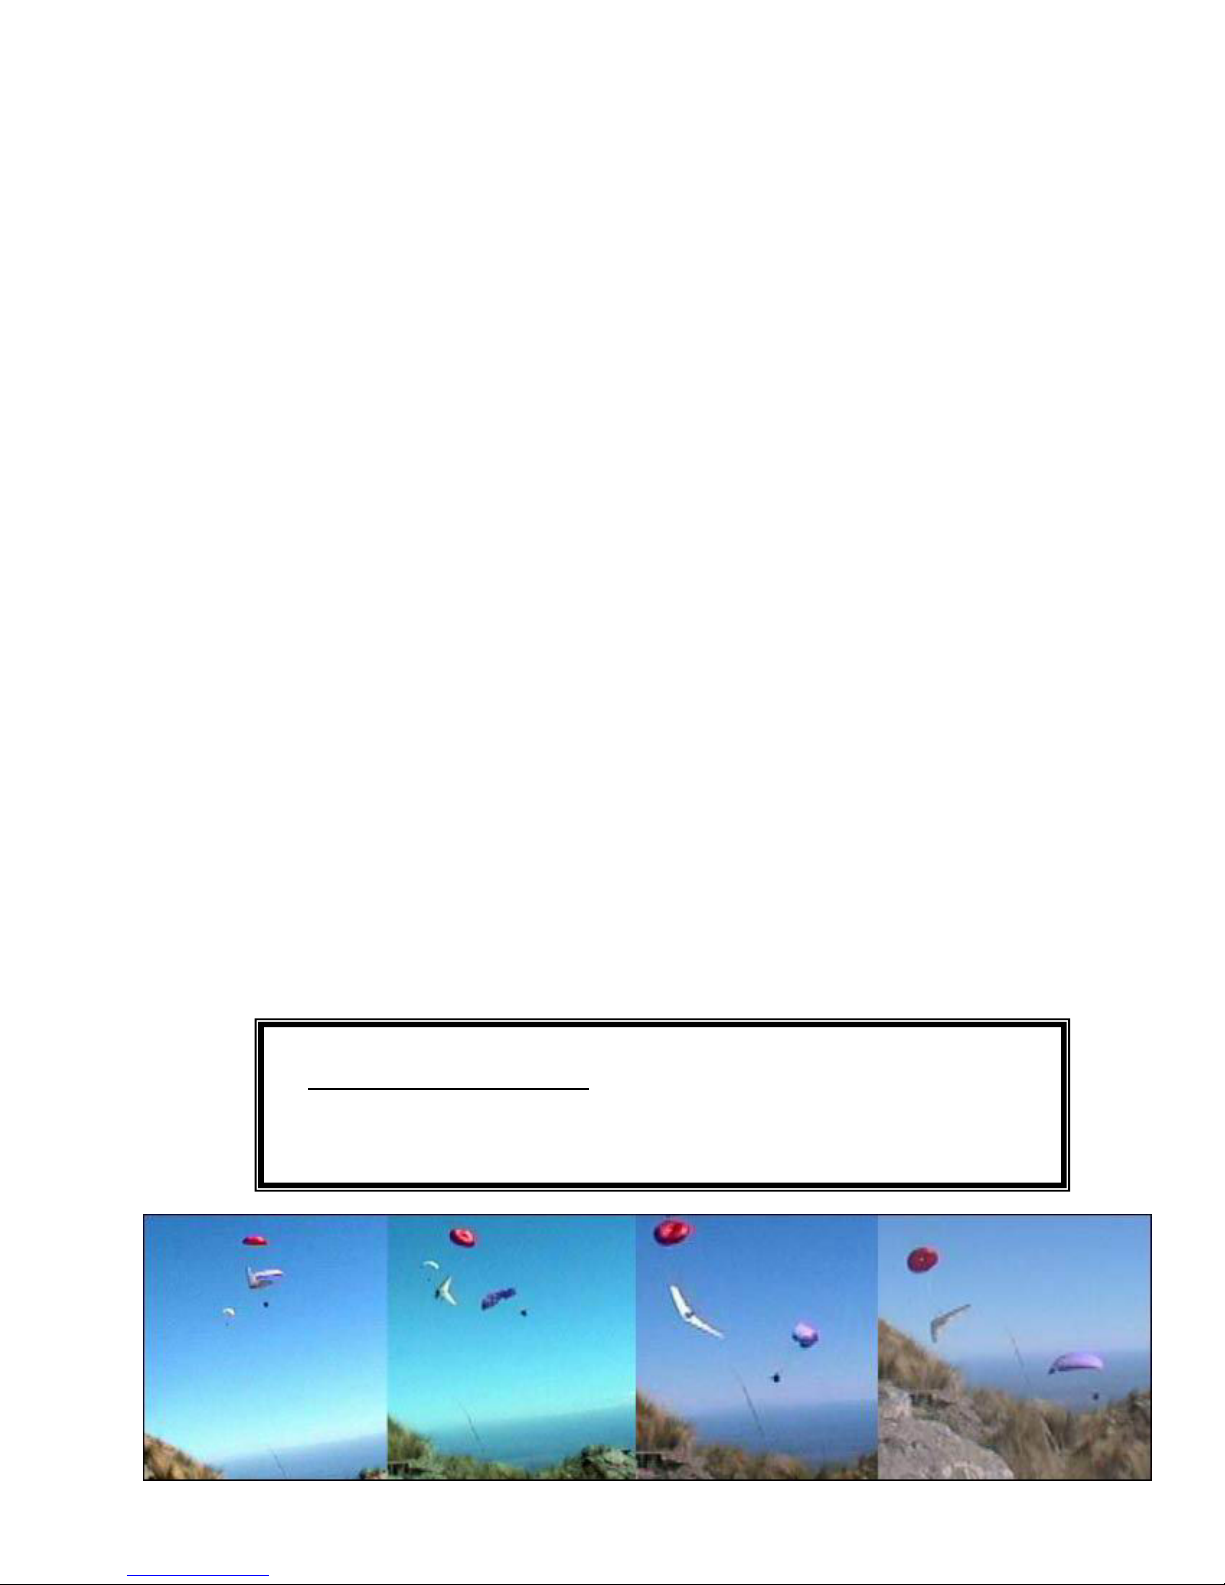
4. Look for clear air. Avoid any lines or paraglider sail that might tangle with your reserve
parachute.
5. Throw the deployment bag towards the clear air. Throw the bag hard, as if your life
depended on it, because it very well could. Your riser should come to full extension
followed by your lines and canopy. If you get a good throw away from you your system will
take less time and altitude to open. If you drop your reserve parachute below you, you risk
entanglement. You also will require to fall a greater distance before your body weight will
load your parachute so it can open.
6. Yank vigorously on the riser. This will help to spread the suspension lines and open the
air channel if your canopy has not yet inflated.
7. If necessary pull your parachute back in with yanking movements and repeat steps #5
& #6.
8. If at low altitude, immediately prepare for impact.
If you have time, evaluate your situation and decide the safest course of action before
impact
.
WHAT TO DO AFTER YOUR RESERVE PARACHUTE OPENS
If you are close to the ground immediately prepare for impact. The most common impact
approach is to do a PLF . To do a PLF it takes proper training and practice. The military
spends about 2 weeks teaching the PLF techneque.
PLF
To do a PLF position your body feet down, legs together and knees slightly bent, toes slightly
pointed, arms in, elbows in and eyes on the horizon.. Allow your muscles enough tension to
protect your bones on impact. Basically you are preparing to use your legs and body as shock
absorbers on impact. As you reach the ground try to hit in a rolling motion with your feet-calfthigh-butt-side of torso-shoulder impacting in the direction you are drifting. Your arms and
elbows should be tucked in as not to impact the ground. Be careful to keep your head tucked in
order to avoid snapping your neck.
PLF Altenative
Try to stand on impact but know that you can’t. Allow yourself to use your legs as shock
absorbers but be sure to allow yourself to roll. A PLF is not appropriate for certain landing
4
 Loading...